Home>Production & Technology>Sound Bar>How To Set Up A Sony Sound Bar
Sound Bar
How To Set Up A Sony Sound Bar
Published: December 25, 2023
Learn how to set up a Sony Sound Bar and enhance your audio experience. Follow our step-by-step guide to the perfect Sound Bar installation.
(Many of the links in this article redirect to a specific reviewed product. Your purchase of these products through affiliate links helps to generate commission for AudioLover.com, at no extra cost. Learn more)
Table of Contents
Introduction
Welcome to the world of immersive audio experience with the Sony sound bar. Whether you’re a cinephile, a music enthusiast, or simply someone who wants to enhance their TV audio, a sound bar is a great addition to your entertainment setup. With its sleek design and cutting-edge technology, the Sony sound bar delivers superior sound quality and amplifies your audio experience to new heights.
In this article, we will guide you through the process of setting up your Sony sound bar, step by step. From unboxing to connecting it to your TV and adjusting the settings, we will ensure that you have everything you need to make the most out of your new audio powerhouse.
Before we dive into the setup process, it’s worth mentioning a few reasons why the Sony sound bar is an excellent choice. The sound bar is equipped with advanced audio technologies, such as Dolby Atmos and DTS:X, which deliver three-dimensional sound for a truly immersive experience. Additionally, the Sony sound bar offers various connectivity options, including HDMI and Bluetooth, allowing you to connect it to a wide range of devices and stream your favorite content effortlessly.
Now that we have highlighted the features and benefits of the Sony sound bar, let’s move on to the exciting part – setting it up and unleashing its audio prowess. Without further ado, let’s begin unboxing the Sony sound bar and get ready to elevate your audio experience to a whole new level!
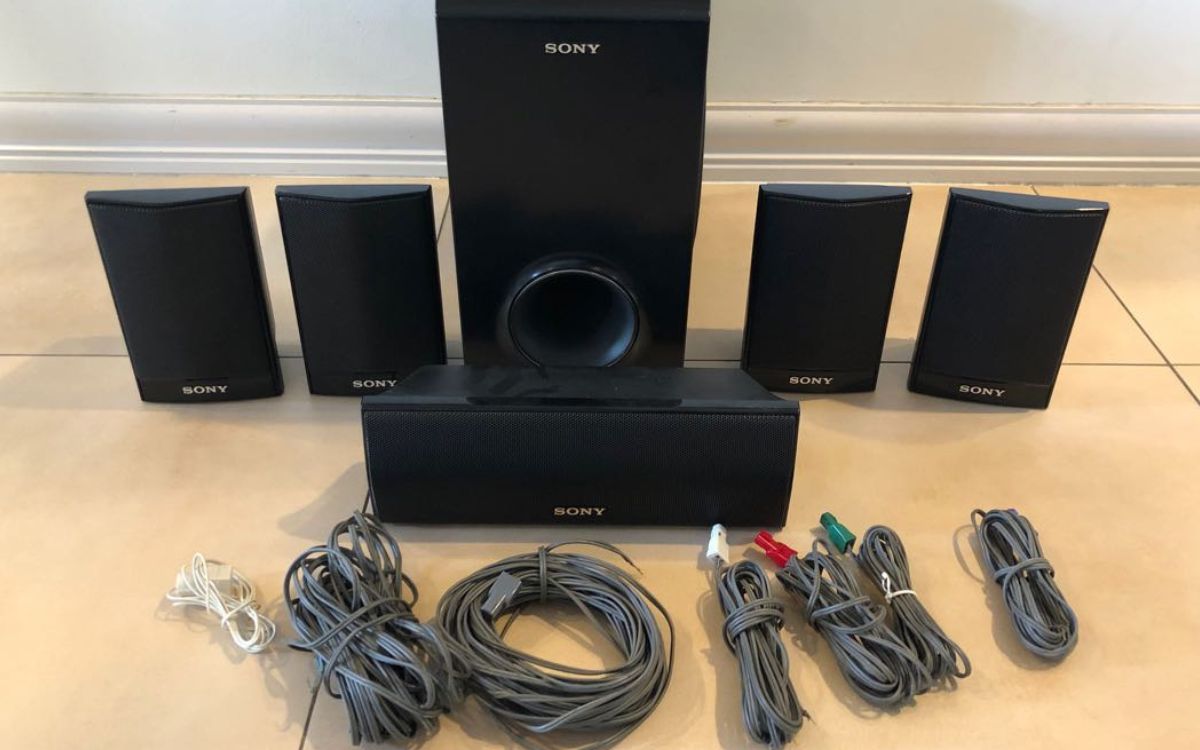
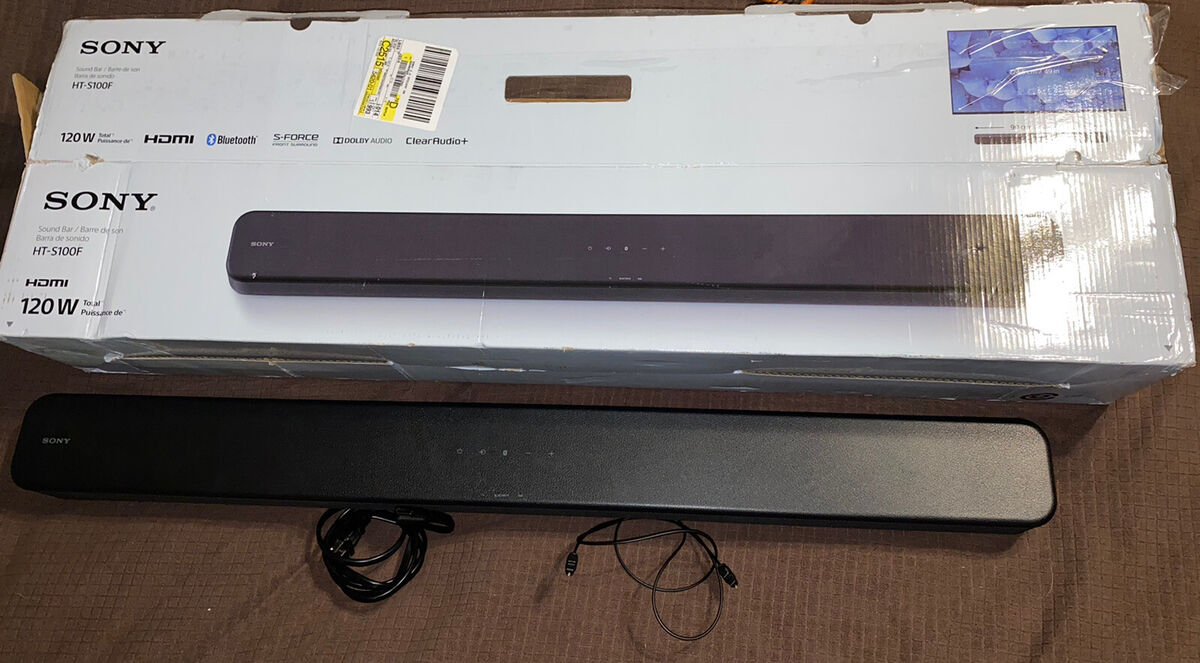
Step 1: Unboxing the Sony Sound Bar
Unboxing the Sony sound bar is the first step towards enjoying its exceptional audio quality. Follow these simple steps:
- Find a spacious and well-lit area to unbox your sound bar. Make sure to have enough room to maneuver and unpack the components.
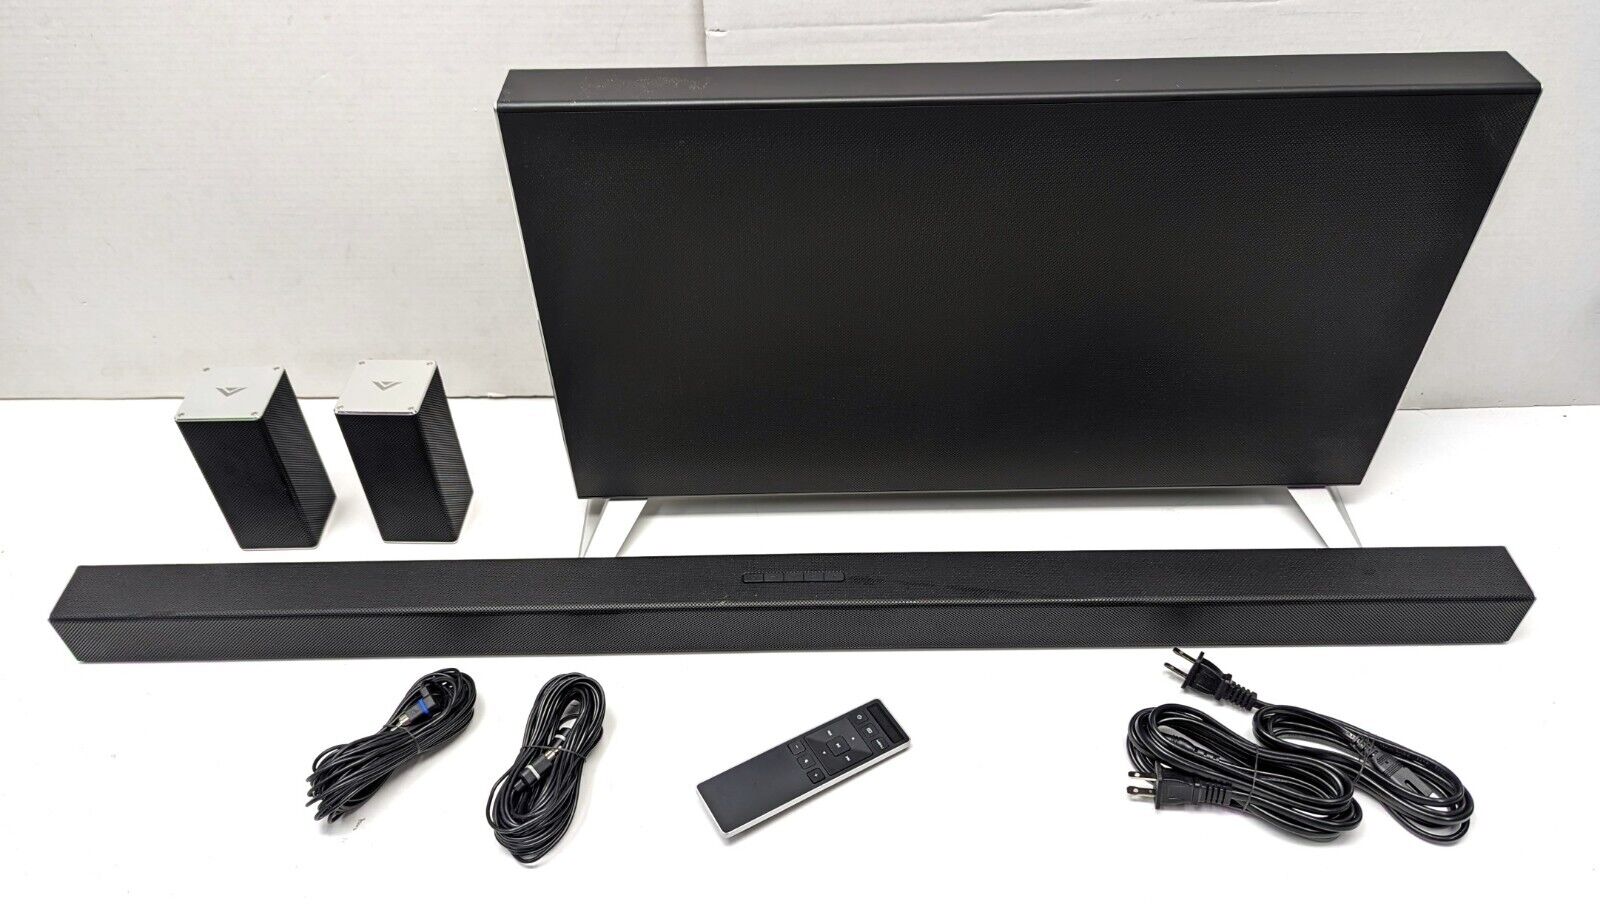
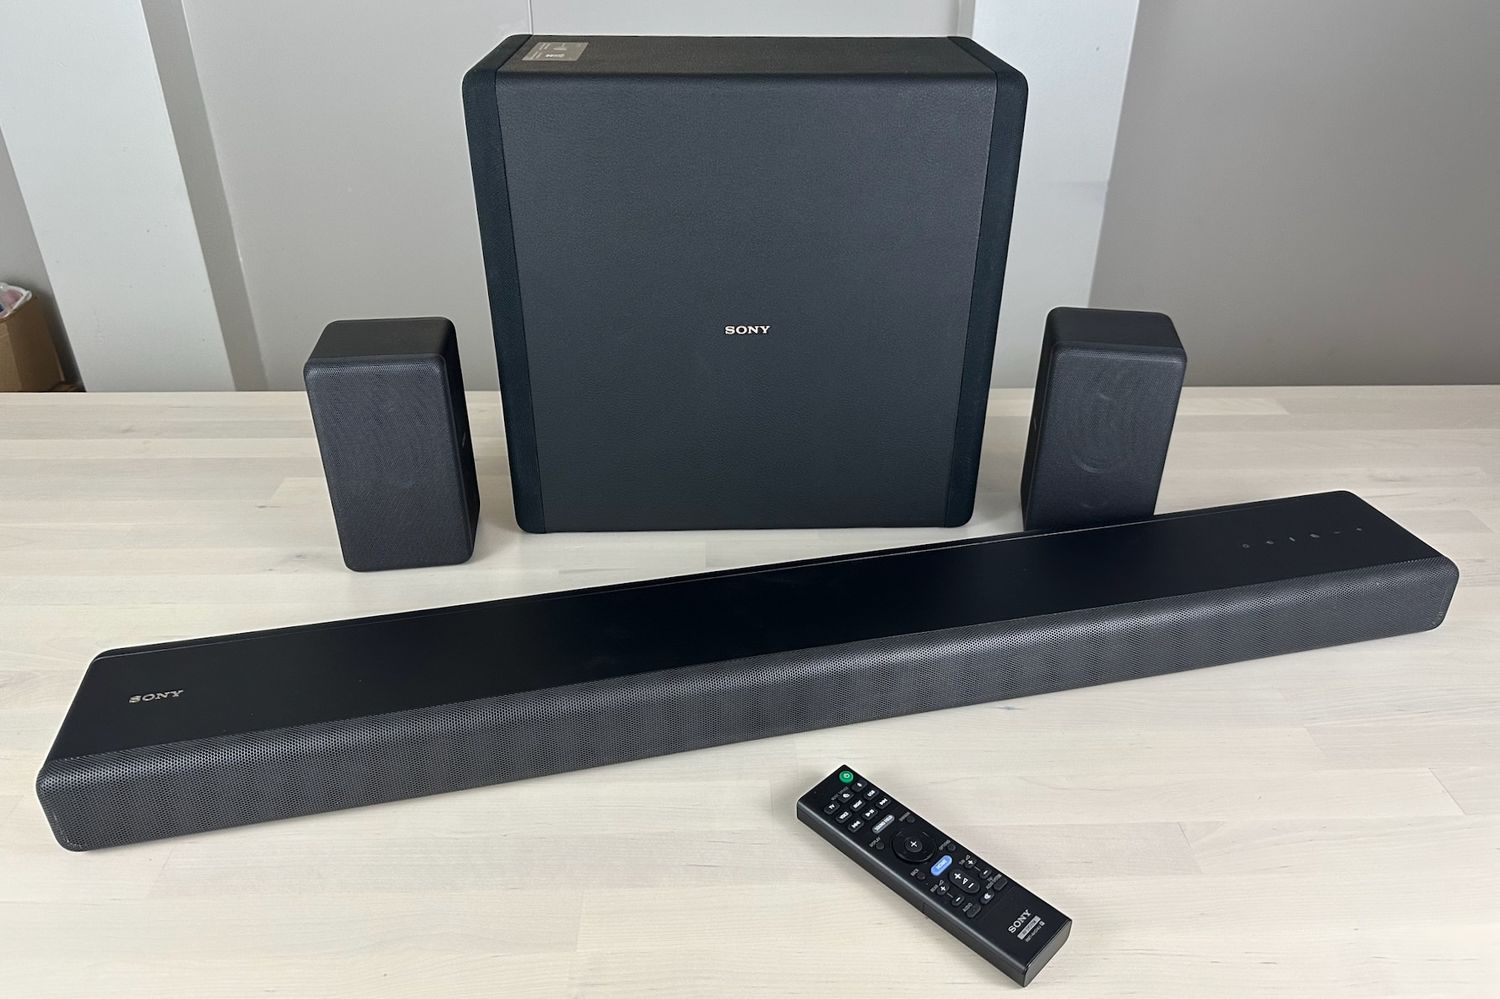
- Carefully open the box, and you’ll find the sound bar itself, along with a power cable, a remote control, an HDMI cable, and any additional accessories that may come with your specific model.
- Remove the protective packaging from the sound bar, making sure to peel off any plastic films or coverings. Take a moment to appreciate the sleek design and craftsmanship of your new sound bar.
- Locate the user manual and quick start guide included in the box. It’s always a good idea to go through these documents to familiarize yourself with the sound bar’s features, functions, and setup instructions.
- Inspect the cables and accessories to ensure they are in good condition and free from any damage. If you notice any issues, contact Sony customer support for assistance.
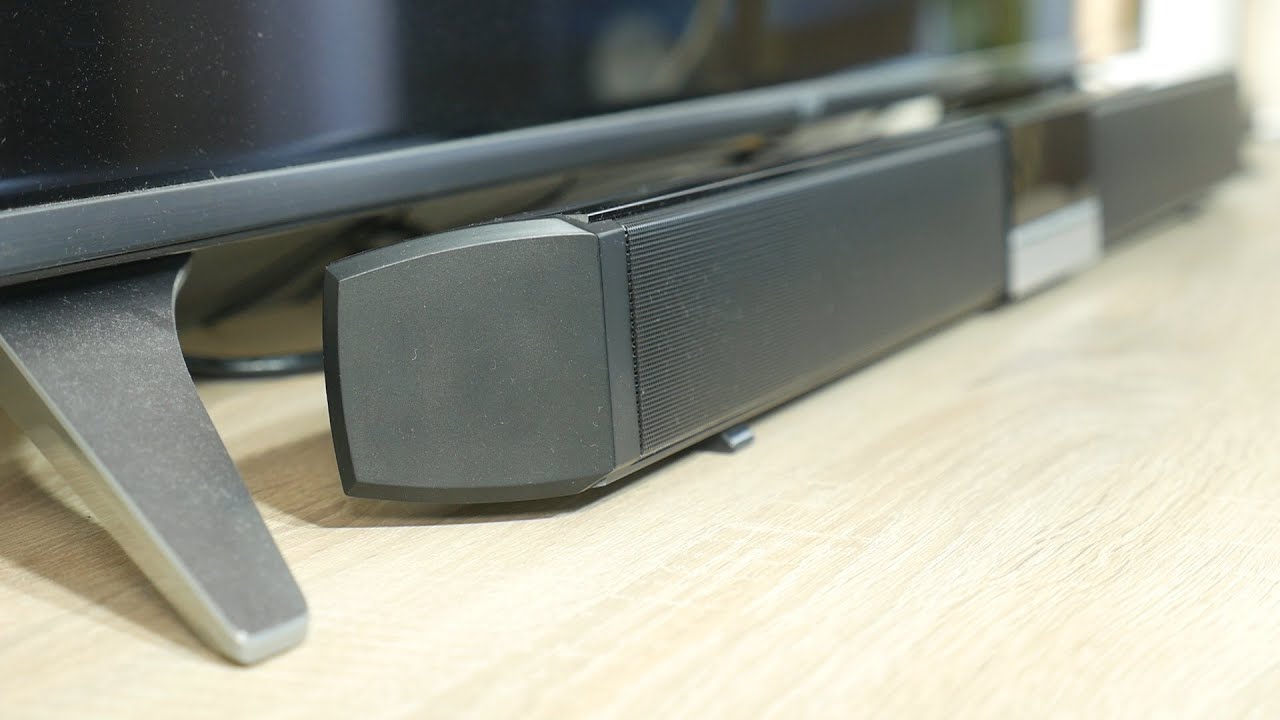
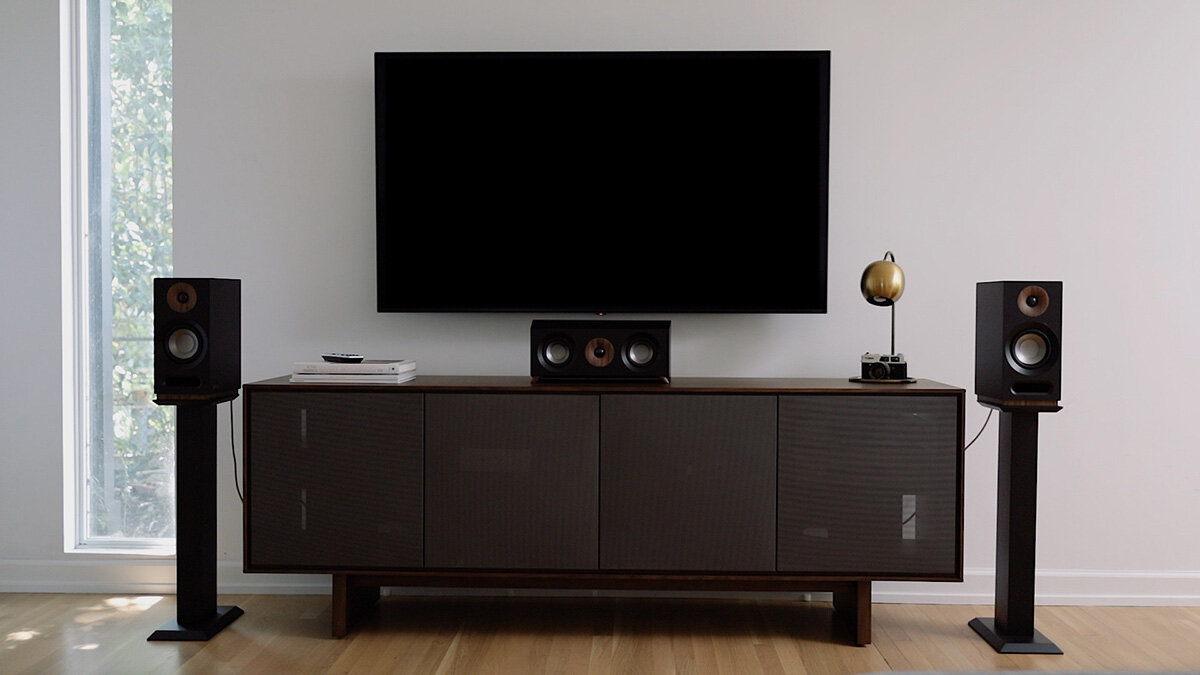
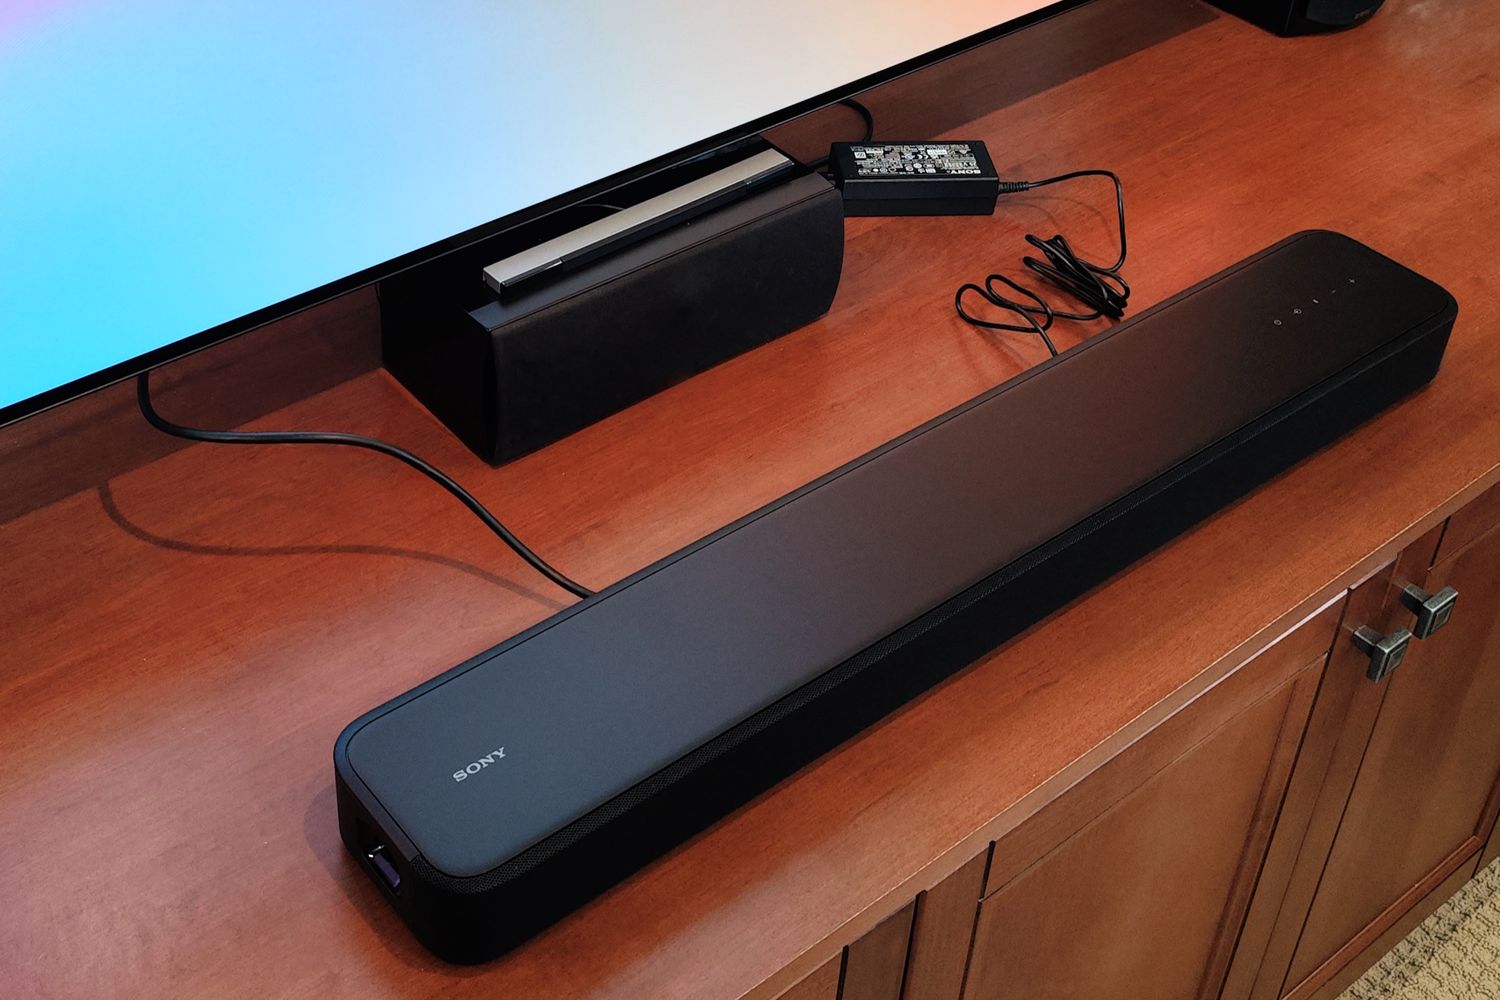
- Place the sound bar in an ideal position near your TV, such as directly under it or mounted on the wall. Ensure that there is enough clearance and that the sound bar is aligned with the TV screen for optimal audio performance.
- Connect the power cable to the sound bar and plug it into a power outlet. Make sure the power switch is turned on.
Congratulations! You have successfully unboxed your Sony sound bar and prepared it for the setup process. In the next step, we will explore how to connect the sound bar to your TV.
Step 2: Connecting the Sound Bar to the TV
Now that you have unboxed your Sony sound bar, it’s time to connect it to your TV and unlock its full audio potential. Follow these simple steps:
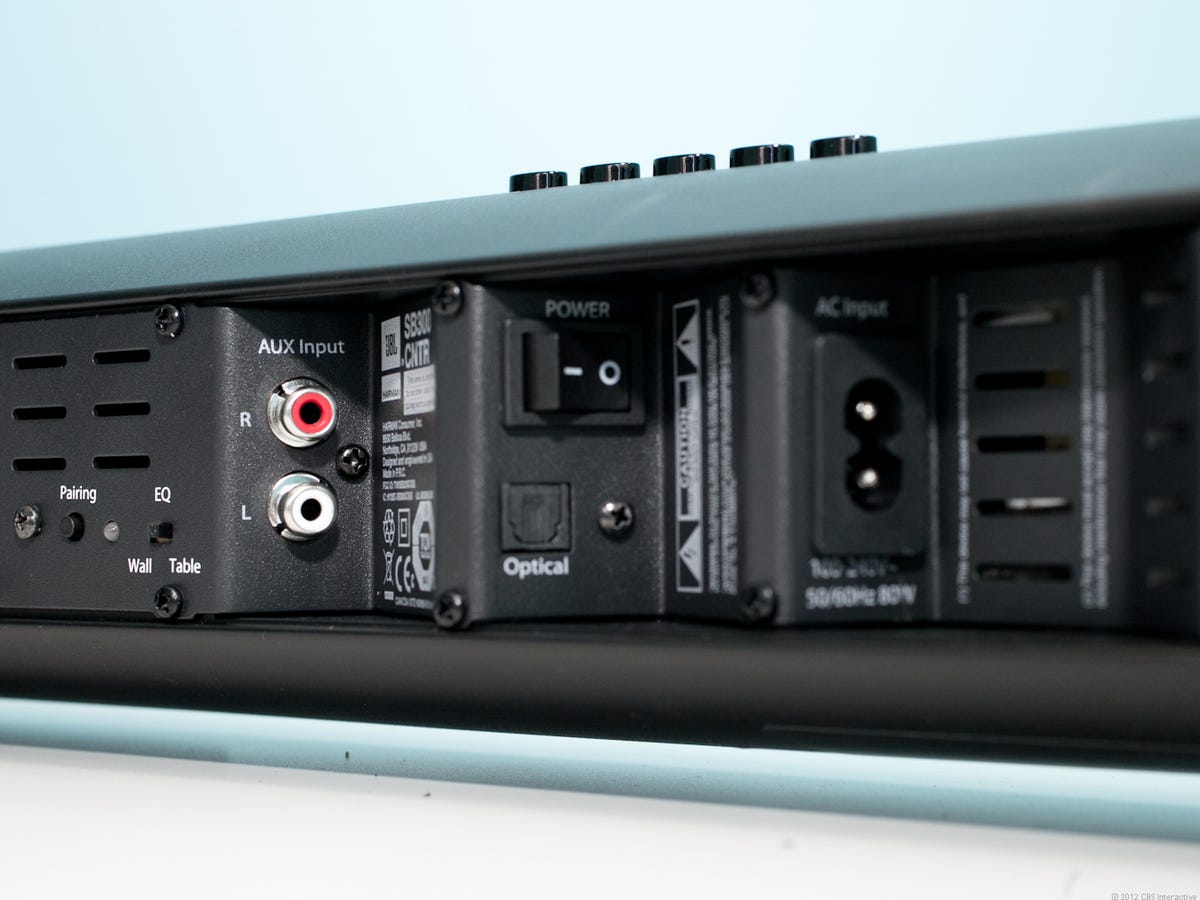
- Identify the available audio output ports on your TV. Most modern TVs have an HDMI ARC (Audio Return Channel) port, optical (TOSLINK) port, or a 3.5mm headphone jack. Check your TV’s user manual if you’re unsure about the available options.
- If your TV and sound bar both support HDMI ARC, this is the recommended connection method for the best audio quality and convenience. Connect one end of the HDMI cable to the HDMI ARC port on your TV and the other end to the HDMI ARC port on your sound bar.
- If HDMI ARC is not available, you can use the optical (TOSLINK) port. Connect one end of the optical cable to the optical port on your TV and the other end to the optical input on your sound bar.
- If your TV only has a 3.5mm headphone jack, you can use a 3.5mm to RCA adapter cable. Connect one end of the adapter cable to the headphone jack on your TV and the RCA connectors to the corresponding input on your sound bar.
- Once the physical connections are made, turn on your TV and sound bar. Use the TV remote to access the audio settings menu and select the sound bar as the audio output device.
- Test the audio by playing some content on your TV. You should now hear the sound coming from your Sony sound bar. Adjust the volume levels on both the TV and sound bar to your preference.
Great job! You have successfully connected your Sony sound bar to your TV. In the next step, we will explore how to adjust the sound bar settings to optimize your audio experience.
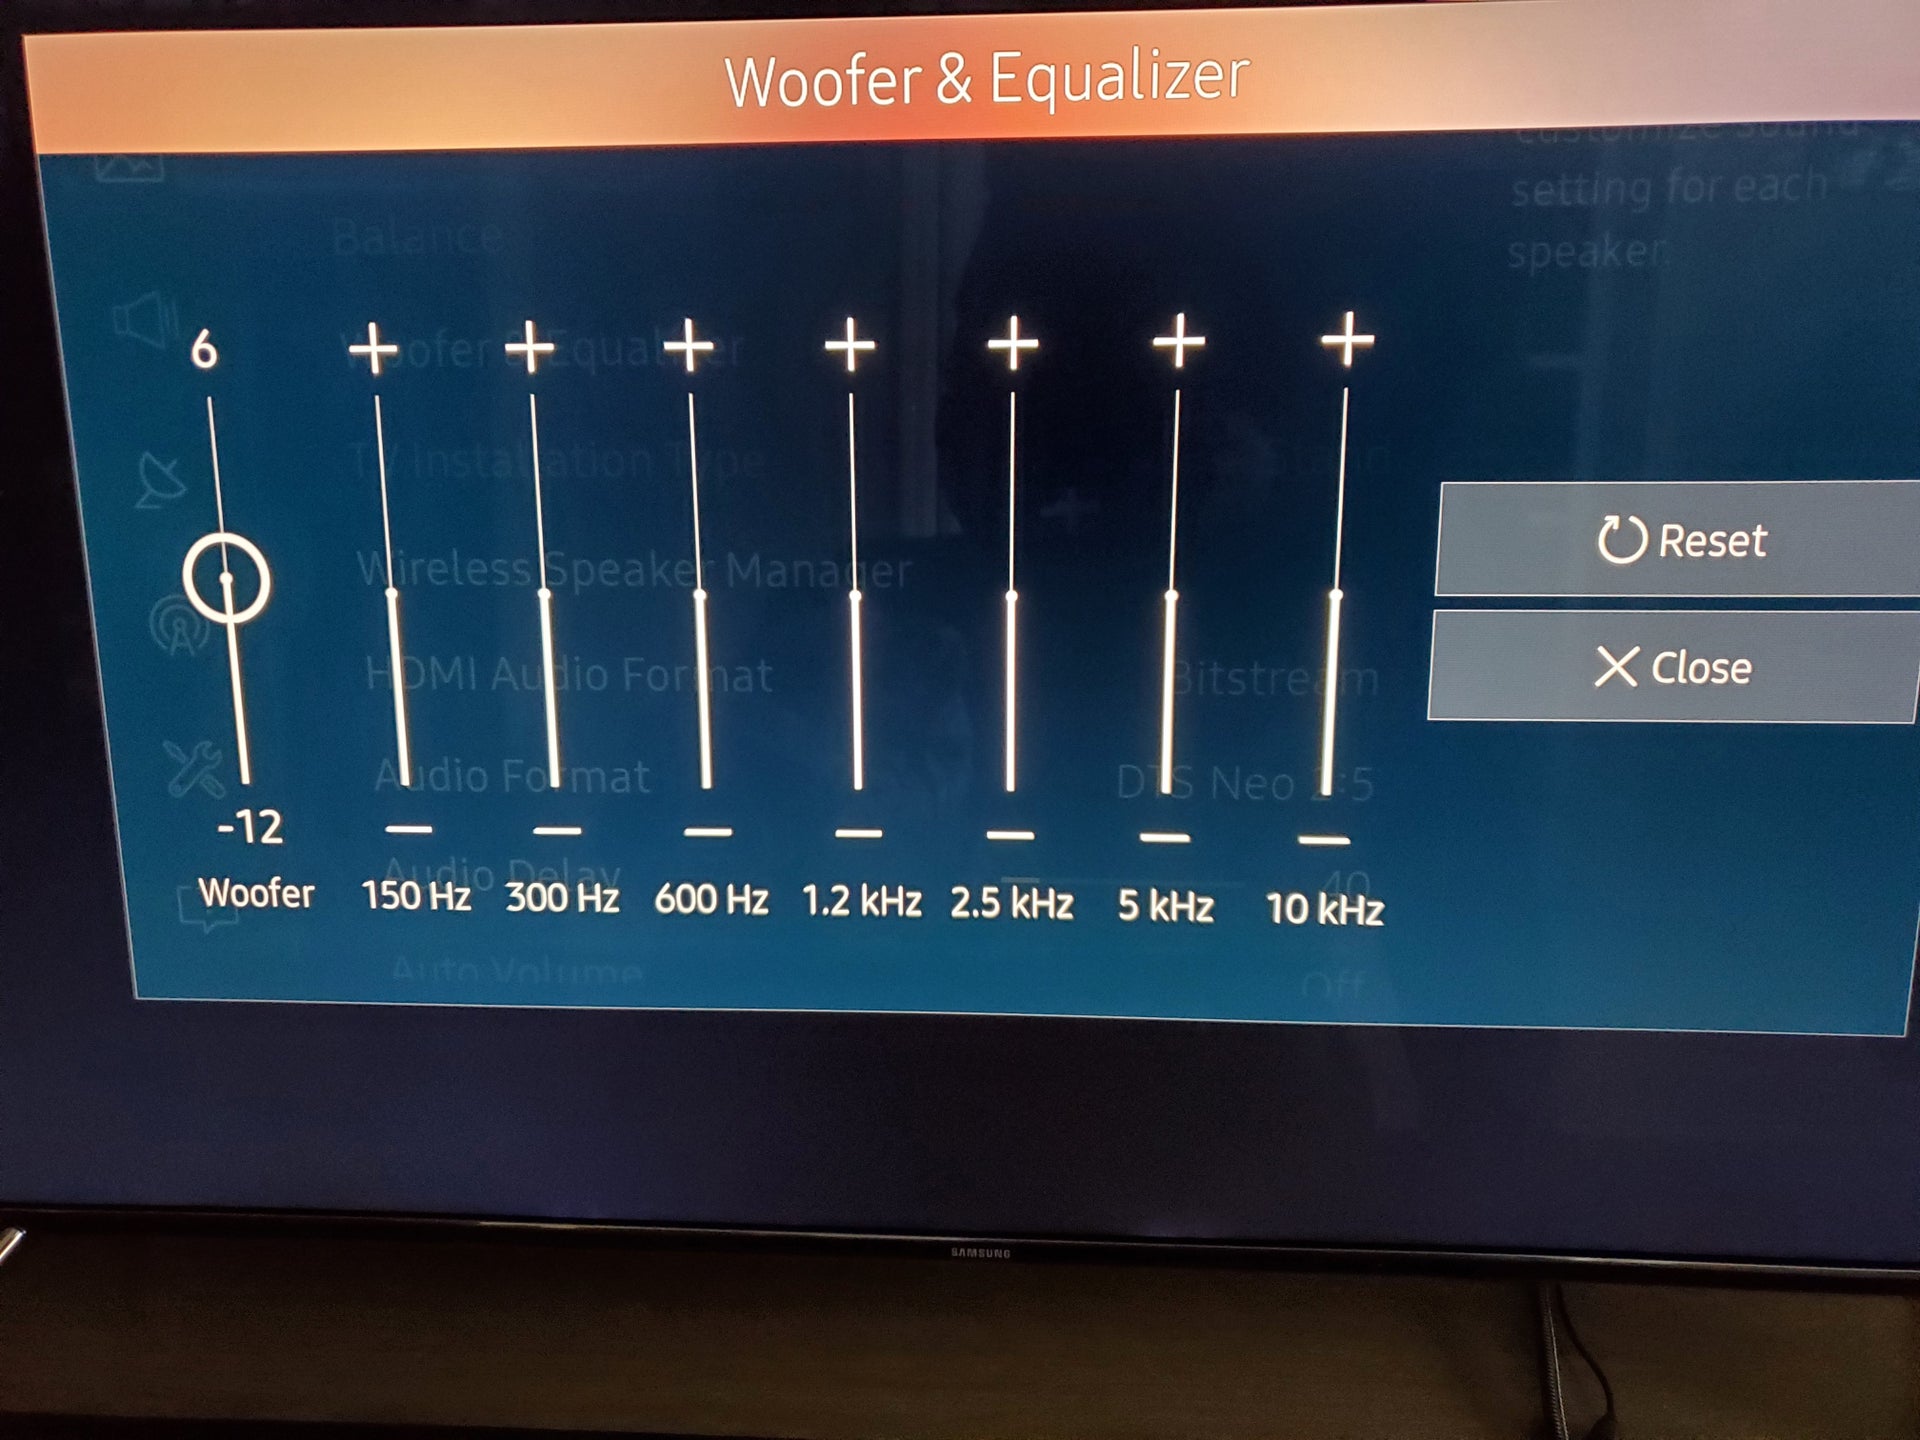
Step 3: Adjusting Sound Bar Settings
Now that your Sony sound bar is connected to your TV, it’s time to fine-tune the settings and customize the audio to suit your preferences. Follow these steps for optimal sound:
- Access the settings menu on your sound bar. This can usually be done using the remote control or through the on-screen display.
- Explore the different audio modes and equalizer settings available on your sound bar. These settings can enhance specific audio frequencies or simulate different sound environments, such as Movie, Music, or Sports modes.
- Experiment with the different audio modes and equalizer settings to find the one that best suits your listening preferences. Adjust the bass, treble, and other settings to your liking.
- If your sound bar supports virtual surround sound technology, enable it to create a more immersive audio experience. This feature can mimic the effect of a multi-speaker setup, enhancing the perception of sound direction and depth.
- Take advantage of any advanced audio technologies available on your sound bar, such as Dolby Atmos or DTS:X. Enable these features to enjoy three-dimensional sound that envelops you from all directions.
- Test the sound bar with a variety of audio content, including movies, music, and games. This will help you fine-tune the settings and discover the best audio settings for each type of content.
- Don’t forget to adjust the volume levels on your sound bar and TV to achieve a balanced audio output. Ideally, you should set the TV volume to a comfortable level and adjust the sound bar volume accordingly.
By adjusting the sound bar settings to your liking, you can enhance your overall audio experience and enjoy your favorite content with immersive sound quality.
In the next step, we will explore how to connect external devices to your Sony sound bar, expanding its functionality even further.
Step 4: Connecting External Devices to the Sound Bar
One of the great advantages of the Sony sound bar is its versatility in connecting to external devices, expanding your entertainment possibilities. Follow these steps to connect external devices to your sound bar:
- Identify the available input ports on your sound bar. Common options include HDMI, optical (TOSLINK), and Bluetooth.
- If you have a gaming console, Blu-ray player, or other devices with HDMI output, connect them to the HDMI input ports on your sound bar. This allows you to enjoy high-quality audio from these devices through your sound bar.
- If you have a device that only has an optical output, use an optical cable to connect it to the optical input port on your sound bar. This ensures that the audio from the device is routed through the sound bar.
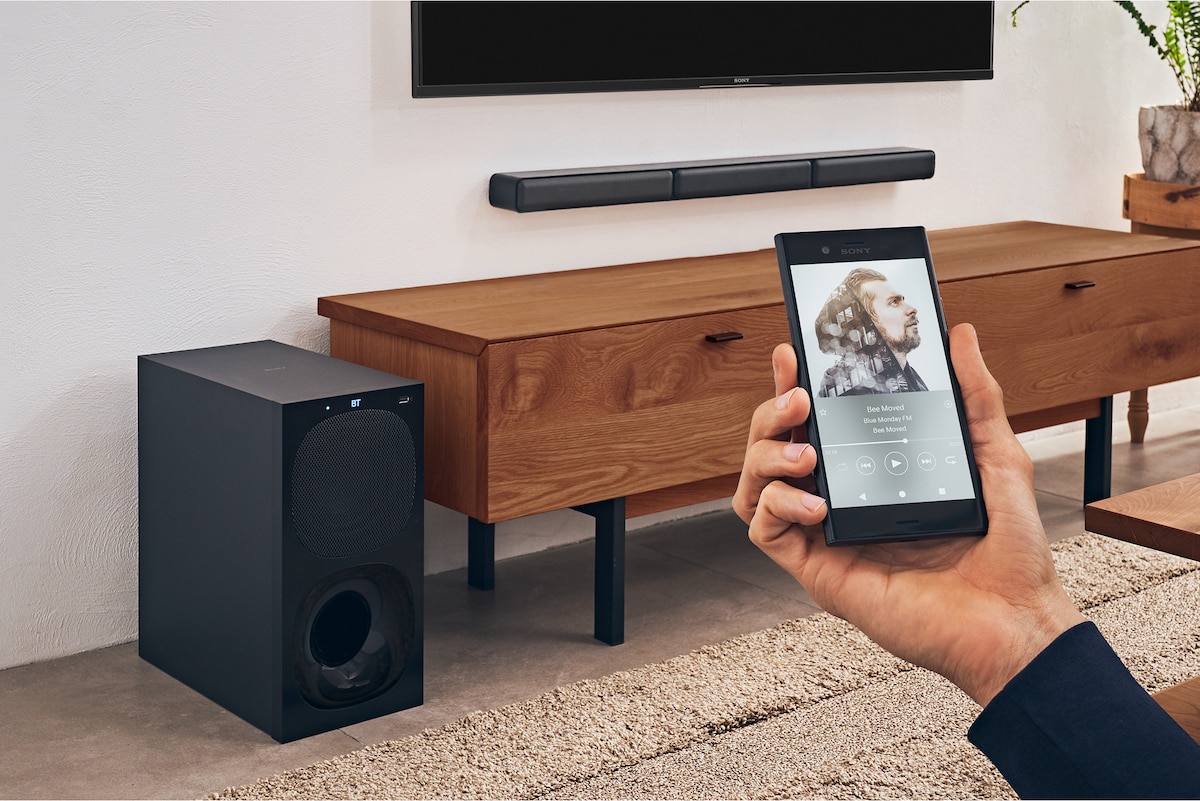
- For devices that support Bluetooth connectivity, enable Bluetooth pairing mode on your sound bar and pair it with your device. This allows you to wirelessly stream audio from your phone, tablet, or other devices directly to the sound bar.
- Once connected, select the appropriate input source on your sound bar to switch between different devices. This ensures that the audio from the selected device is played through the sound bar.
- Test the audio from the connected external devices to ensure that everything is working correctly. Adjust the volume levels on both the device and the sound bar if necessary.
By connecting external devices to your Sony sound bar, you can enjoy enhanced audio quality not only from your TV but also from other entertainment devices, providing a comprehensive audio experience.
In the final step, we will provide some troubleshooting tips to help you address any potential issues that may arise during the setup or usage of your sound bar.
Step 5: Troubleshooting Tips
While setting up and using your Sony sound bar, you may encounter some common issues. Here are a few troubleshooting tips to help you resolve them:
- If you’re experiencing no audio or low volume, make sure the sound bar is properly connected to the TV and that the volume levels are adjusted correctly on both the sound bar and the TV.
- If the sound bar is not turning on or is unresponsive, check if it is properly plugged into a power outlet. Try unplugging it for a few seconds and then plugging it back in. If the issue persists, consult the user manual or contact Sony customer support for further assistance.
- If you’re not getting any sound from specific devices connected to the sound bar, ensure that the correct input source is selected on the sound bar. Verify the cables are securely connected and functioning properly.
- If you’re experiencing audio syncing issues, where the audio is out of sync with the video, adjust the audio delay settings on your sound bar. This can usually be done through the settings menu or remote control.
- If you’re having trouble with Bluetooth connectivity, ensure that both the sound bar and the device you’re trying to connect are within the Bluetooth range. Additionally, make sure that there are no other devices causing interference and try restarting both the sound bar and the device.
- If you’re still facing issues or have other technical difficulties, consult the user manual or visit the Sony support website for troubleshooting guides and solutions. You can also contact Sony customer support for assistance.
Remember, troubleshooting is a normal part of any electronic setup, and with a little patience and some troubleshooting tips, you can overcome common issues and enjoy a seamless audio experience with your Sony sound bar.
With the completion of Step 5, you have successfully set up and troubleshooted your Sony sound bar. Now, sit back, relax, and immerse yourself in the captivating sound quality that your sound bar delivers.
Conclusion
Congratulations! You have successfully set up your Sony sound bar and unlocked a new level of audio immersion in your entertainment space. By following the steps outlined in this guide, you have unboxed the sound bar, connected it to your TV, adjusted the settings, connected external devices, and even troubleshooted common issues.
With its advanced audio technologies, sleek design, and versatile connectivity options, the Sony sound bar has transformed your audio experience. Whether you’re watching movies, listening to music, or playing games, you can now enjoy enhanced sound quality and a more immersive audio environment.
Remember, as you explore the various audio modes, equalizer settings, and advanced features of your sound bar, don’t hesitate to experiment and find the settings that suit your personal preferences. Fine-tuning the sound bar to your liking will ensure that you get the most out of its capabilities.
If you encounter any further issues or have additional questions, consult the user manual or reach out to Sony customer support for expert assistance. They will be able to provide further guidance and solutions to enhance your audio experience.
Now, it’s time to sit back, grab some popcorn, and enjoy the cinematic experience from the comfort of your own home with your newly set up Sony sound bar. Happy listening!