Home>Production & Technology>Soundproofing>How To: Studio Soundproofing
Soundproofing
How To: Studio Soundproofing
Published: January 26, 2024
Learn how to soundproof your studio and improve audio quality with our step-by-step guide. Achieve a quiet and professional space for recording and mixing.
(Many of the links in this article redirect to a specific reviewed product. Your purchase of these products through affiliate links helps to generate commission for AudioLover.com, at no extra cost. Learn more)
Table of Contents
Introduction
Welcome to the ultimate guide on studio soundproofing! If you are a musician, podcaster, or audio engineer, you know the importance of having a quiet and distraction-free environment to work in. Soundproofing your studio is crucial to ensure that unwanted noise from outside or within the building does not interfere with your recording sessions.
Whether you are setting up a professional recording studio or creating a home studio, this comprehensive guide will walk you through the essential techniques and equipment you need to achieve optimal soundproofing. We will explore different strategies to block external noise, insulate walls, doors, and windows, reduce floor vibrations, and minimize sound leakage through the ceiling. By the end of this guide, you will have all the knowledge you need to create a soundproof space that allows you to focus on your creative process without any disturbances.
Before we dive into the soundproofing techniques, it is important to assess the nature and level of the noise you want to block. This will help you determine the best course of action and ensure that you address the specific needs of your studio setup. Whether it’s traffic noise, neighbor’s loud music, or HVAC system hum, understanding the source of the noise will guide you in selecting the most effective soundproofing solutions.
Keep in mind that soundproofing is not about complete silence. It’s about minimizing unwanted noise to create an environment conducive to recording and producing high-quality audio. With that in mind, let’s start exploring the different soundproofing techniques and strategies to transform your studio into a haven of tranquility and productivity.
Assessing the Noise
Before you begin the process of soundproofing your studio, it’s crucial to assess the type and level of noise you want to block. This will help you determine the most effective soundproofing techniques and solutions for your specific needs.
Start by identifying the primary sources of noise that are affecting your studio. Is it external noise, such as traffic, construction, or neighbors? Or is it internal noise, such as HVAC systems, appliances, or room reverberation?
To assess the noise, take some time to observe and listen carefully to your surroundings. Note down the times when the noise is most problematic and the specific frequencies or sounds that are causing the most disturbance. This will provide you with valuable insights when it comes to selecting the right soundproofing materials and techniques.
It’s also important to measure the noise levels in your studio using a sound level meter. This will give you an objective assessment of the sound intensity and help you determine the effectiveness of your soundproofing efforts. Measure the noise levels during both quiet and noisy periods to get a comprehensive understanding of the noise sources and their impact.
Another aspect to consider is the frequency range of the noise. Low-frequency sounds, such as traffic rumbles or bass-heavy music, require different soundproofing techniques compared to high-frequency sounds, like voices or birds chirping. Understanding the frequency range will guide you in selecting suitable materials and methods for sound absorption or blocking.
Once you have gathered all the necessary information, you can consult with a soundproofing expert or do some research to identify the most appropriate soundproofing techniques for your specific situation. Keep in mind that every studio is unique, and what works for one may not work for another. Tailor your approach to address the specific noise challenges you are facing.
By taking the time to assess the noise meticulously, you can develop a well-informed plan and address the noise issues effectively. With a thorough understanding of the noise sources and their characteristics, you can proceed with confidence to implement the best soundproofing techniques and create a peaceful and acoustically controlled studio environment.
Soundproofing Techniques
When it comes to soundproofing your studio, there are various techniques you can employ to create a quieter and more controlled environment. The key is to use a combination of these techniques to address different aspects of sound transmission and absorption. Here are some effective soundproofing techniques to consider:
- Adding Mass: Mass is crucial in soundproofing as it helps to block sound transmission. Increase the mass of your studio walls by using dense materials like mass-loaded vinyl or soundproof drywall. These materials effectively reduce the passage of sound vibrations.
- Sealing Air Leaks: Identifying and sealing air leaks in your studio is essential to minimize sound leakage. Use weatherstripping, acoustic caulk, or door sweeps to seal gaps and cracks, ensuring a tight seal around doors, windows, and electrical outlets.
- Decoupling: Decoupling refers to the process of isolating the studio space from the surrounding structure. By creating a separate structure or using resilient materials like sound isolation clips or resilient channels, you can prevent sound vibrations from traveling through walls and ceilings.
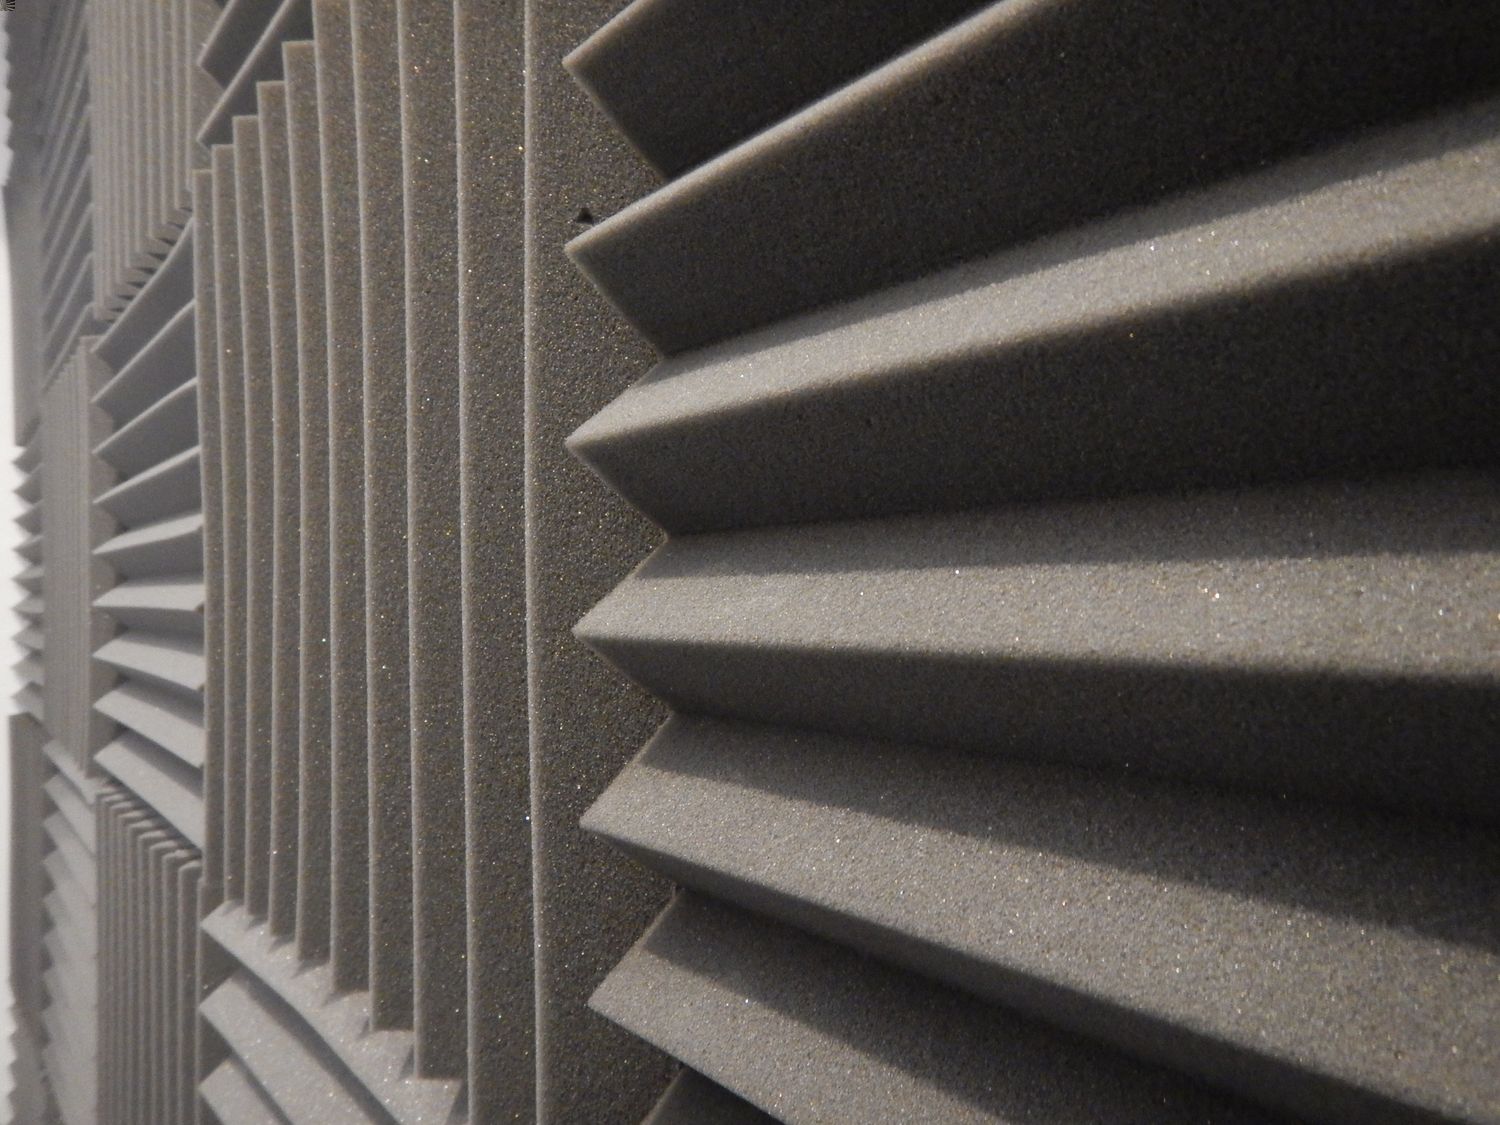
- Sound Absorption: Use acoustic panels, bass traps, and soundproof curtains to absorb and reduce sound reflections within the studio. These materials help to improve the acoustics of your space and prevent excessive reverberation, creating a more controlled audio environment.
- Vibration Isolation: Vibrations can greatly impact the sound quality in your studio. Use vibration isolation pads or platforms under equipment such as speakers or amplifiers to minimize vibrations traveling through the floor and walls.
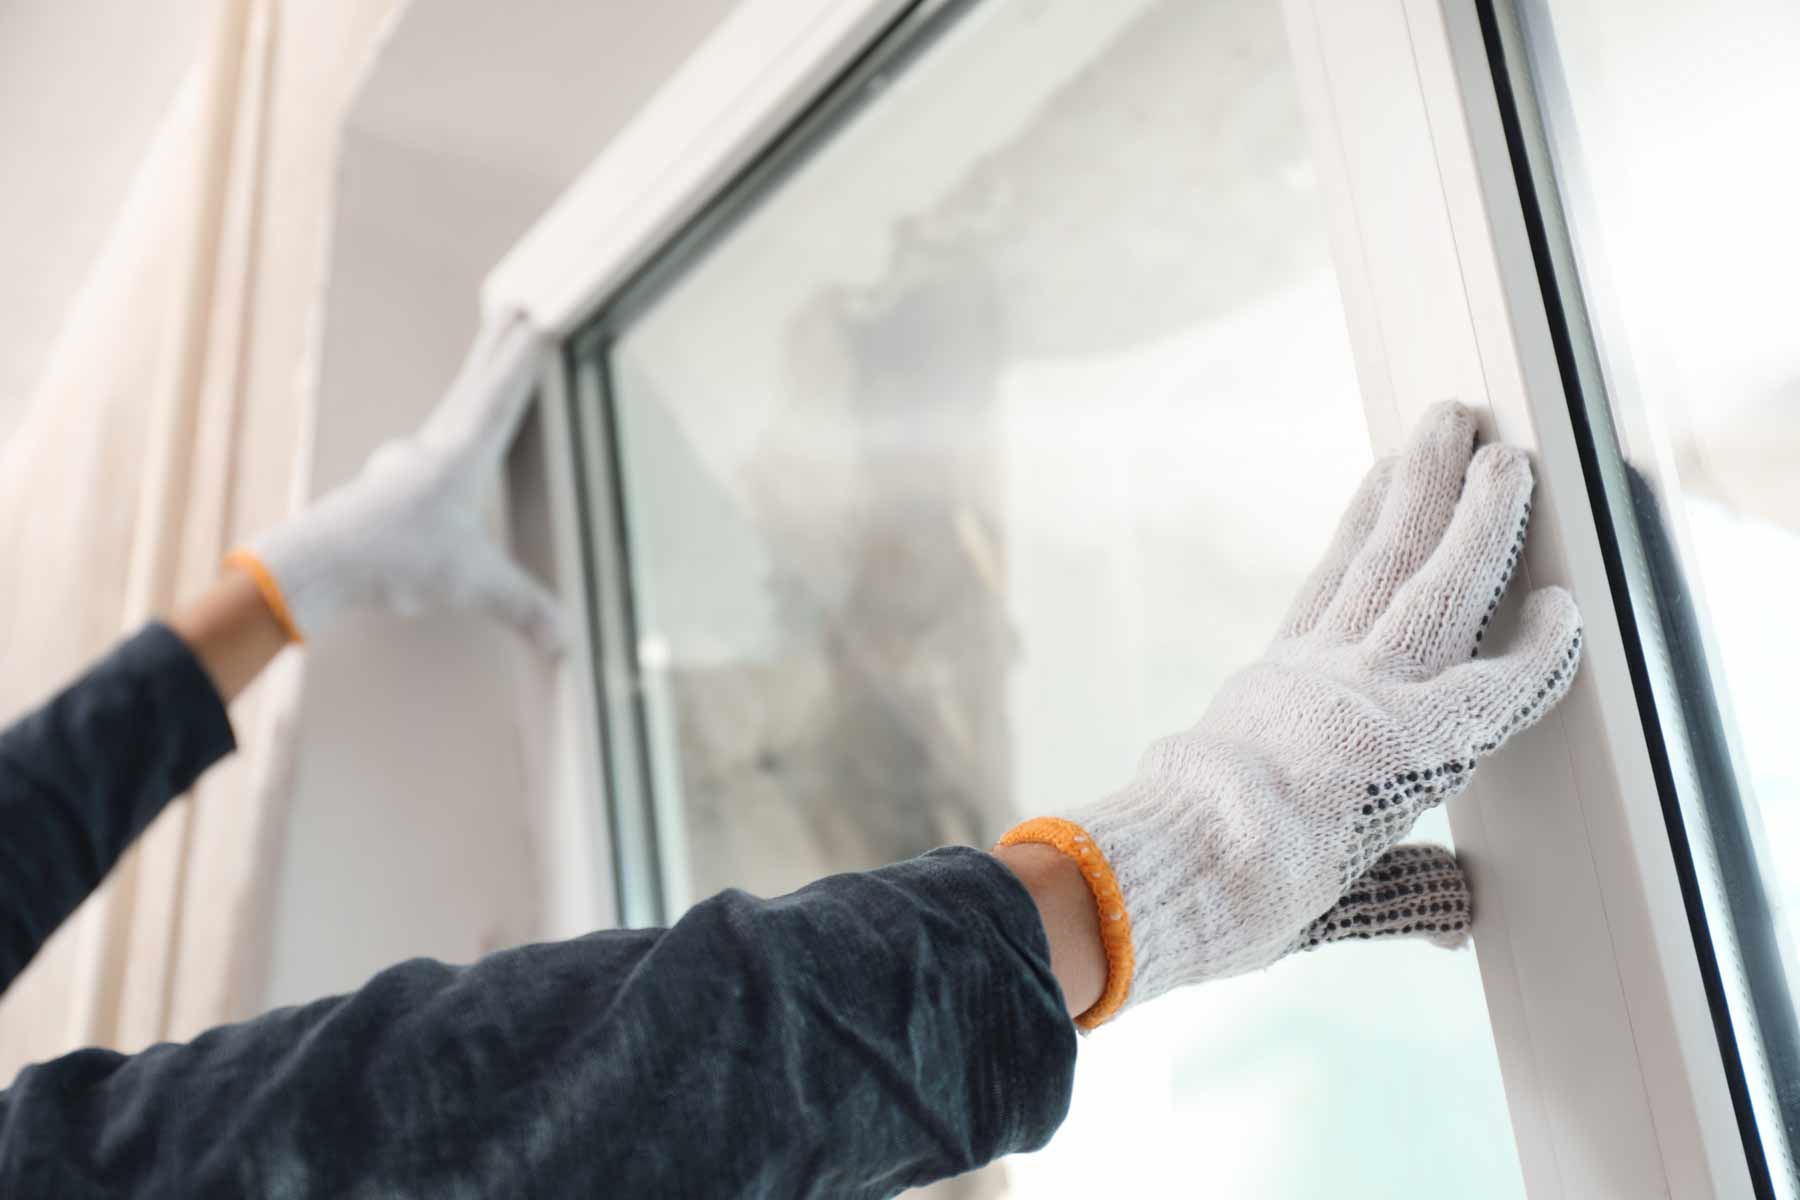
- Soundproofing Doors and Windows: Upgrade your studio doors and windows with soundproofing materials such as acoustic seals, double or laminated glass, or window inserts to reduce sound leakage. Additionally, using solid core doors with weatherstripping helps in reducing noise transmission.
- Soundproofing the Ceiling: Install acoustic panels or soundproof tiles on the ceiling to prevent sound reflections and noise transmission between floors. Adding insulation between ceiling joists can also help in reducing airborne sound transmission.
- Using Soundproof Equipment and Furniture: Invest in soundproof equipment like studio monitors, microphones, and headphones that have effective noise reduction features. Additionally, using soundproofing furniture like bookshelves, curtains, or acoustic room dividers can further enhance sound control within your studio.
Remember that successful soundproofing often requires a combination of techniques, tailored to your specific studio space and noise challenges. By implementing these techniques, you can create a studio environment that is conducive to high-quality audio recording and production.
Blocking External Noise
External noise can be a major obstacle when it comes to creating a quiet and controlled studio environment. It’s crucial to employ effective techniques to block and minimize the impact of outside disturbances. Here are some strategies to help you block external noise:
- Sealing Gaps and Cracks: Identify any gaps or cracks in the walls, windows, or doors of your studio space. Seal them using weatherstripping, acoustic caulk, or door sweeps to prevent sound from entering through these openings.
- Install Soundproof Windows: Ordinary windows are a significant source of noise leakage. Consider upgrading to double-pane or laminated glass windows, which provide better insulation against sound transmission. Window inserts or acoustic seals can also be used to further improve soundproofing.
- Use Soundproof Curtains: Thick, heavy curtains made from sound-absorbing materials can help in reducing noise entering through windows. They can be easily installed and provide an additional barrier against external disturbances.
- Construct a Soundproof Barrier: If the external noise is particularly loud and persistent, consider constructing a soundproof barrier around your studio space. This can be done by using materials like mass-loaded vinyl or acoustic fencing to create a physical barrier that absorbs or reflects sound waves.
- Landscaping: If possible, strategically plant trees, shrubs, or install a sound-absorbing fence around the perimeter of your studio. These natural barriers can help reduce the impact of external noise by blocking and absorbing sound waves.
- Use Noise-Canceling Technology: Noise-canceling devices such as active noise-canceling headphones or sound masking systems can be helpful in reducing the impact of external noise. These devices work by generating sound waves that cancel out or mask the unwanted noise.
Combining these techniques can effectively block and minimize the impact of external noise on your studio. However, it’s important to note that complete elimination of all external noise may not be possible. The goal is to significantly reduce the noise levels to create a quiet and focused environment for your recording and production needs.
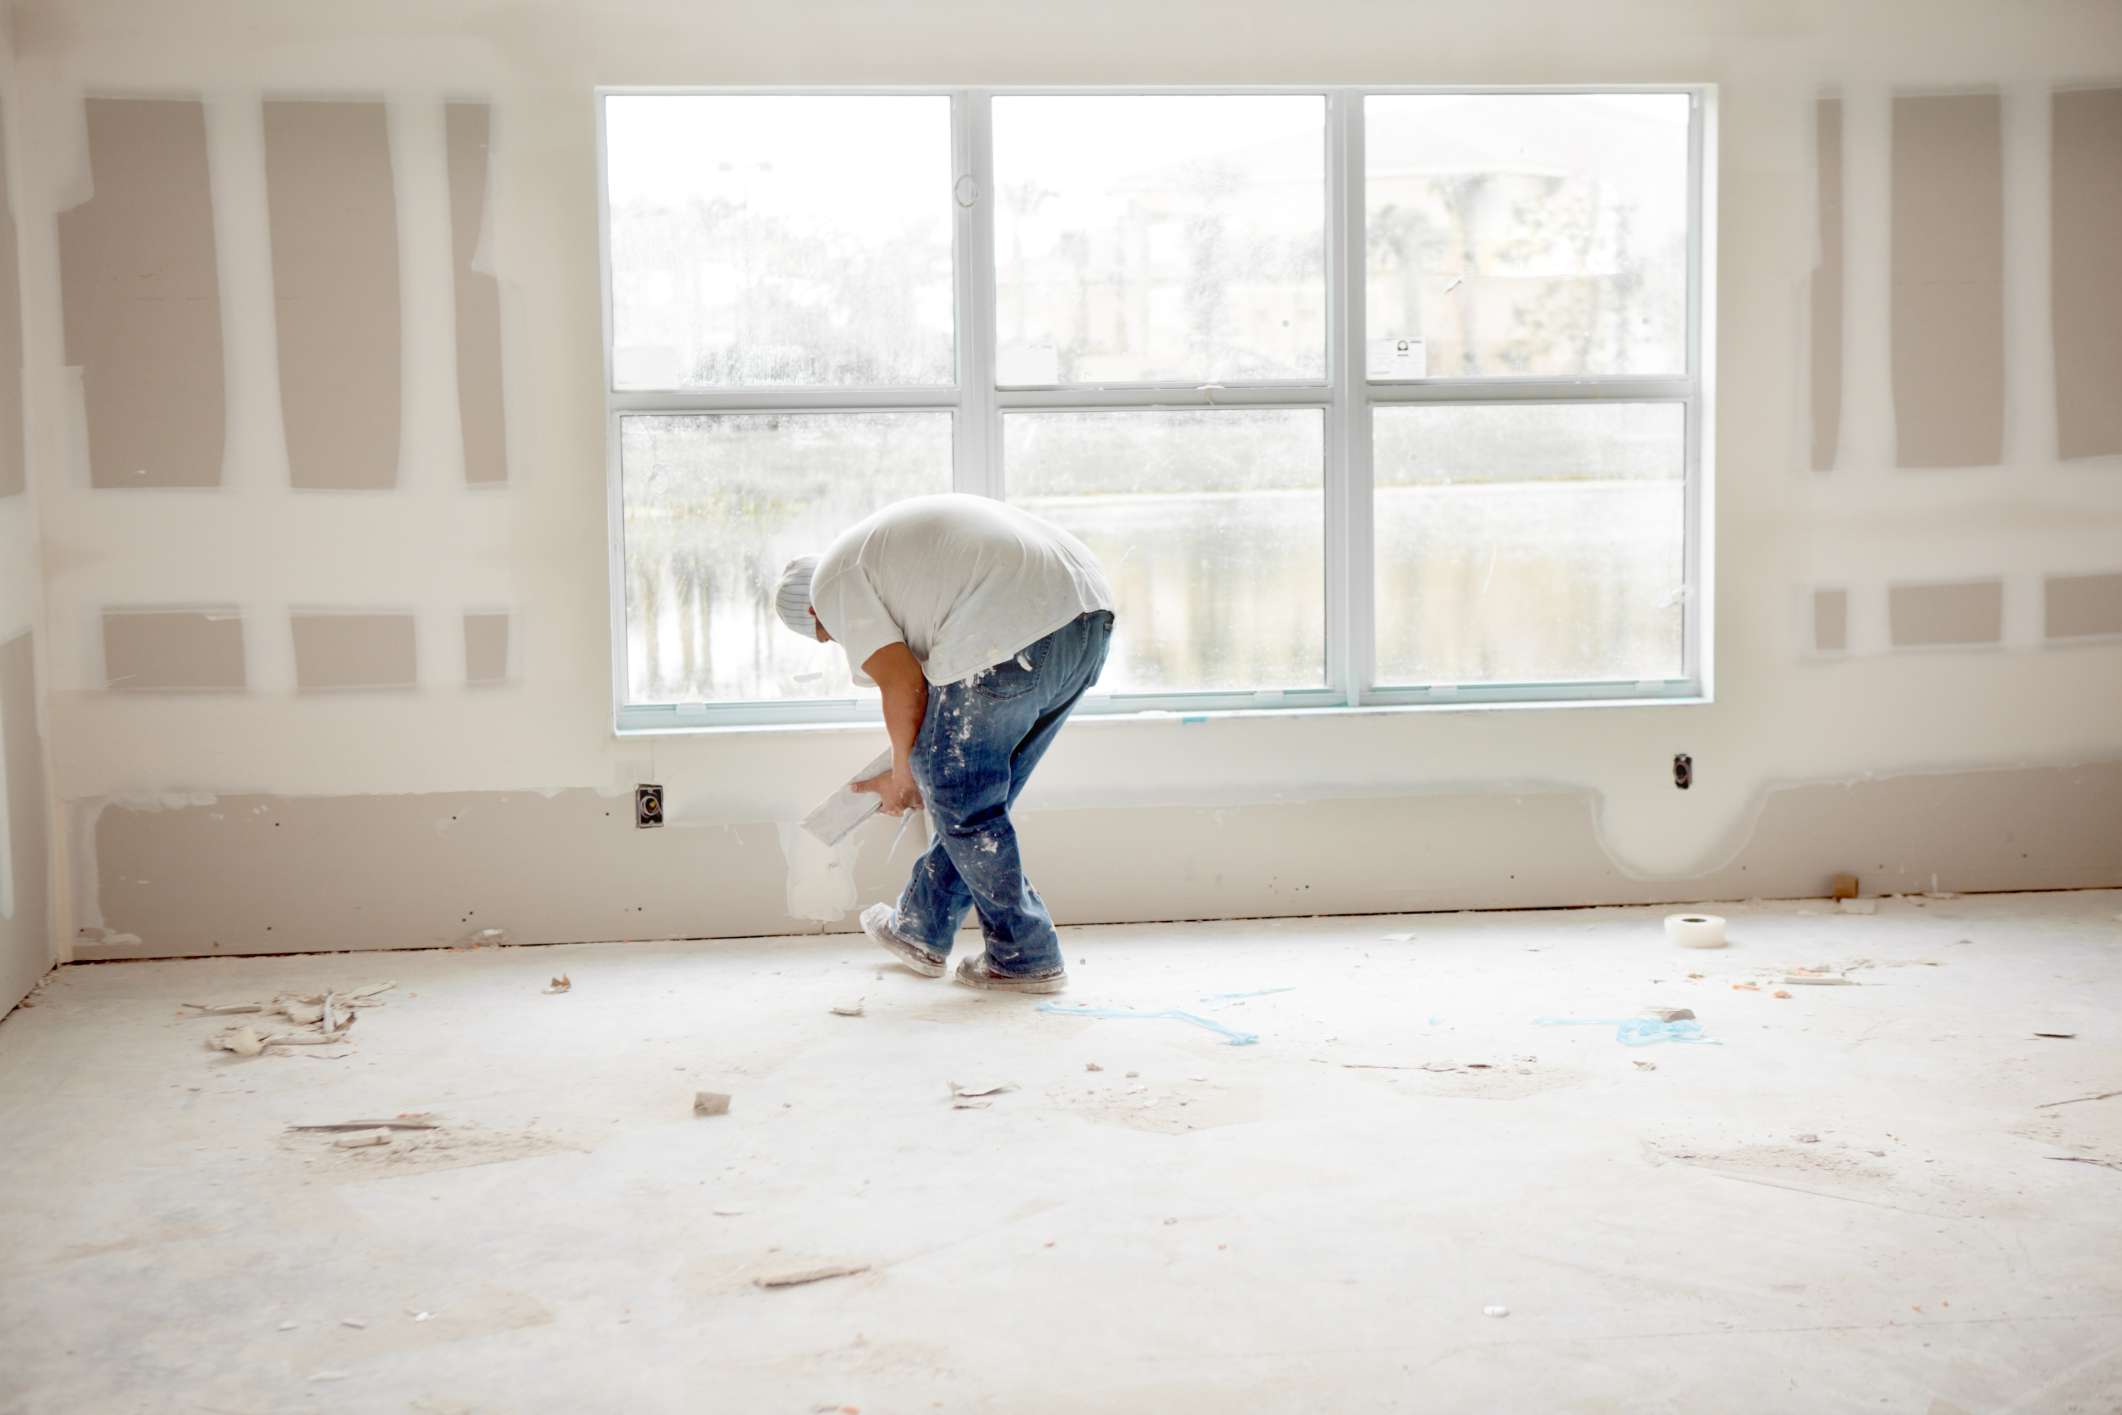
Soundproofing the Walls
When it comes to soundproofing your studio, one of the most important areas to focus on is the walls. Sound can easily transmit through walls, so it’s crucial to implement effective soundproofing techniques to minimize noise leakage. Here are some strategies to soundproof your studio walls:
- Add Mass: Increase the mass of your walls by using dense materials such as mass-loaded vinyl (MLV) or soundproof drywall. These materials help to block sound transmission by absorbing and reflecting sound waves.
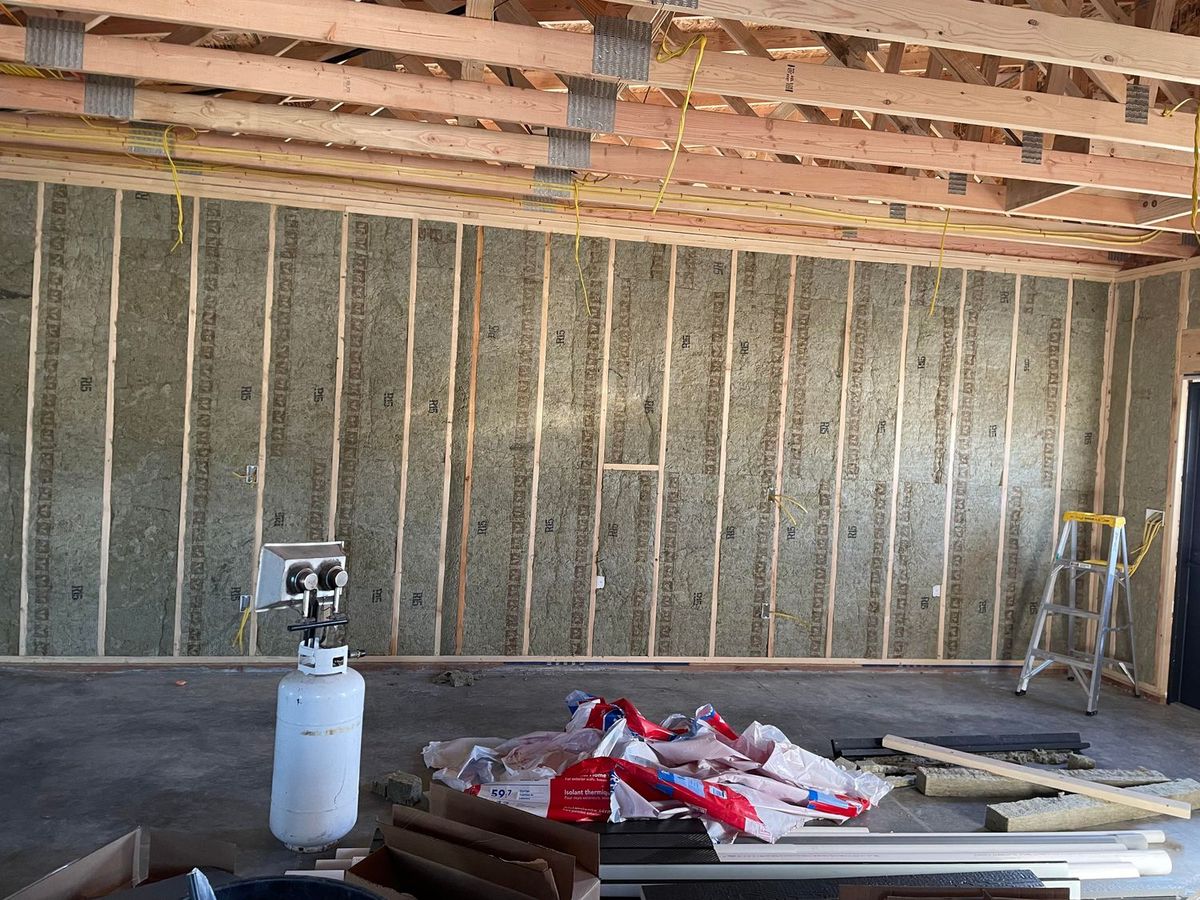
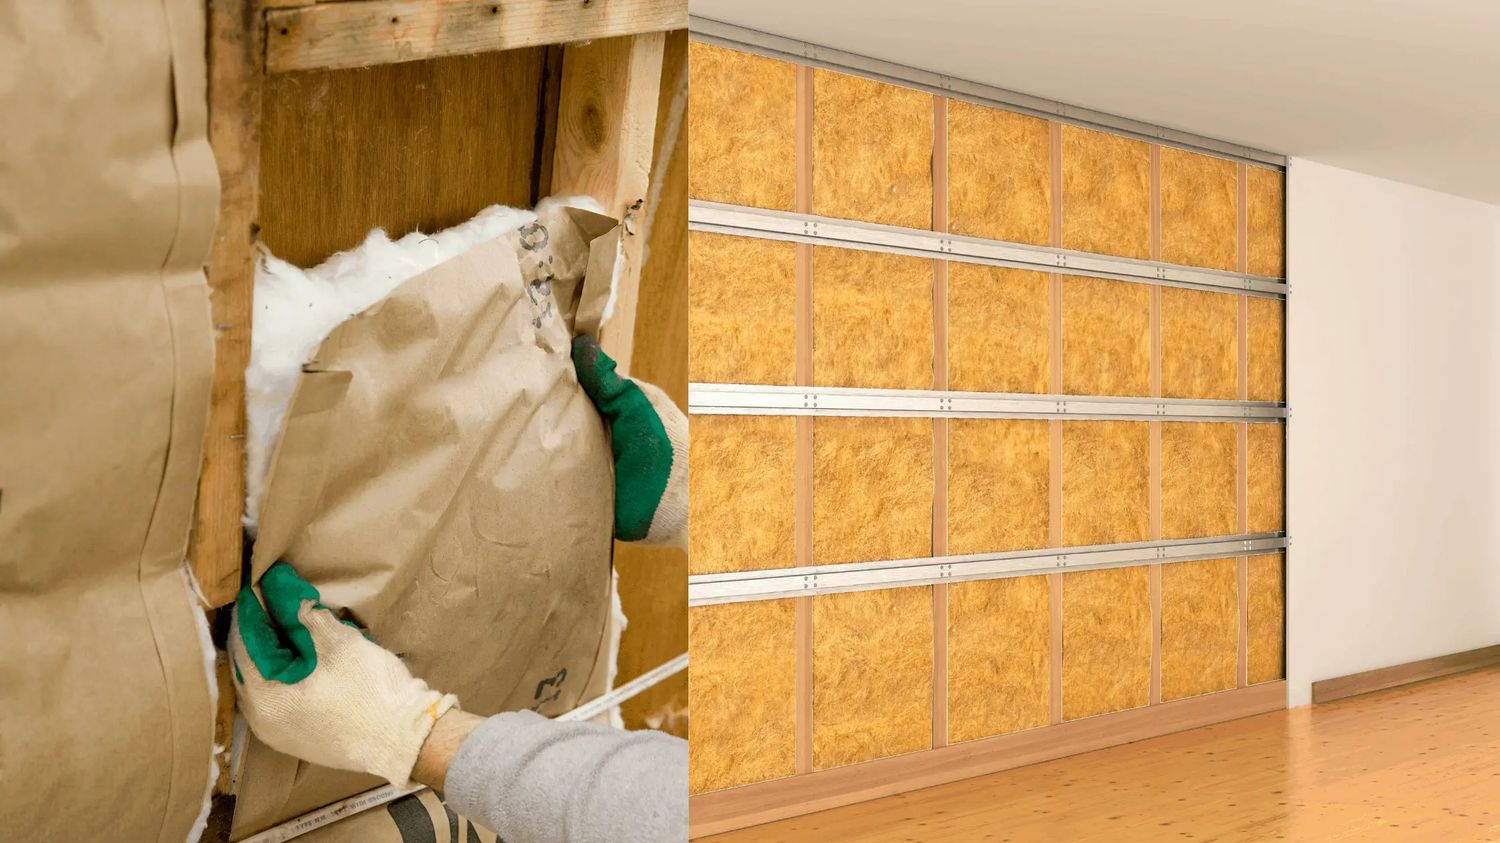
- Use Soundproof Insulation: Install soundproof insulation within the wall cavities to improve sound absorption. Materials such as mineral wool or acoustic foam can effectively reduce the passage of sound vibrations.
- Decouple the Walls: Decoupling involves creating a separate structure or using resilient materials to isolate the studio walls from the surrounding structure. This prevents sound vibrations from traveling through the walls. Resilient channels or sound isolation clips can be used to achieve decoupling.
- Seal Gaps and Cracks: Identify any gaps, cracks, or air leaks in the walls and seal them using acoustic caulk or weatherstripping. This will help prevent sound from leaking in or out through these openings.
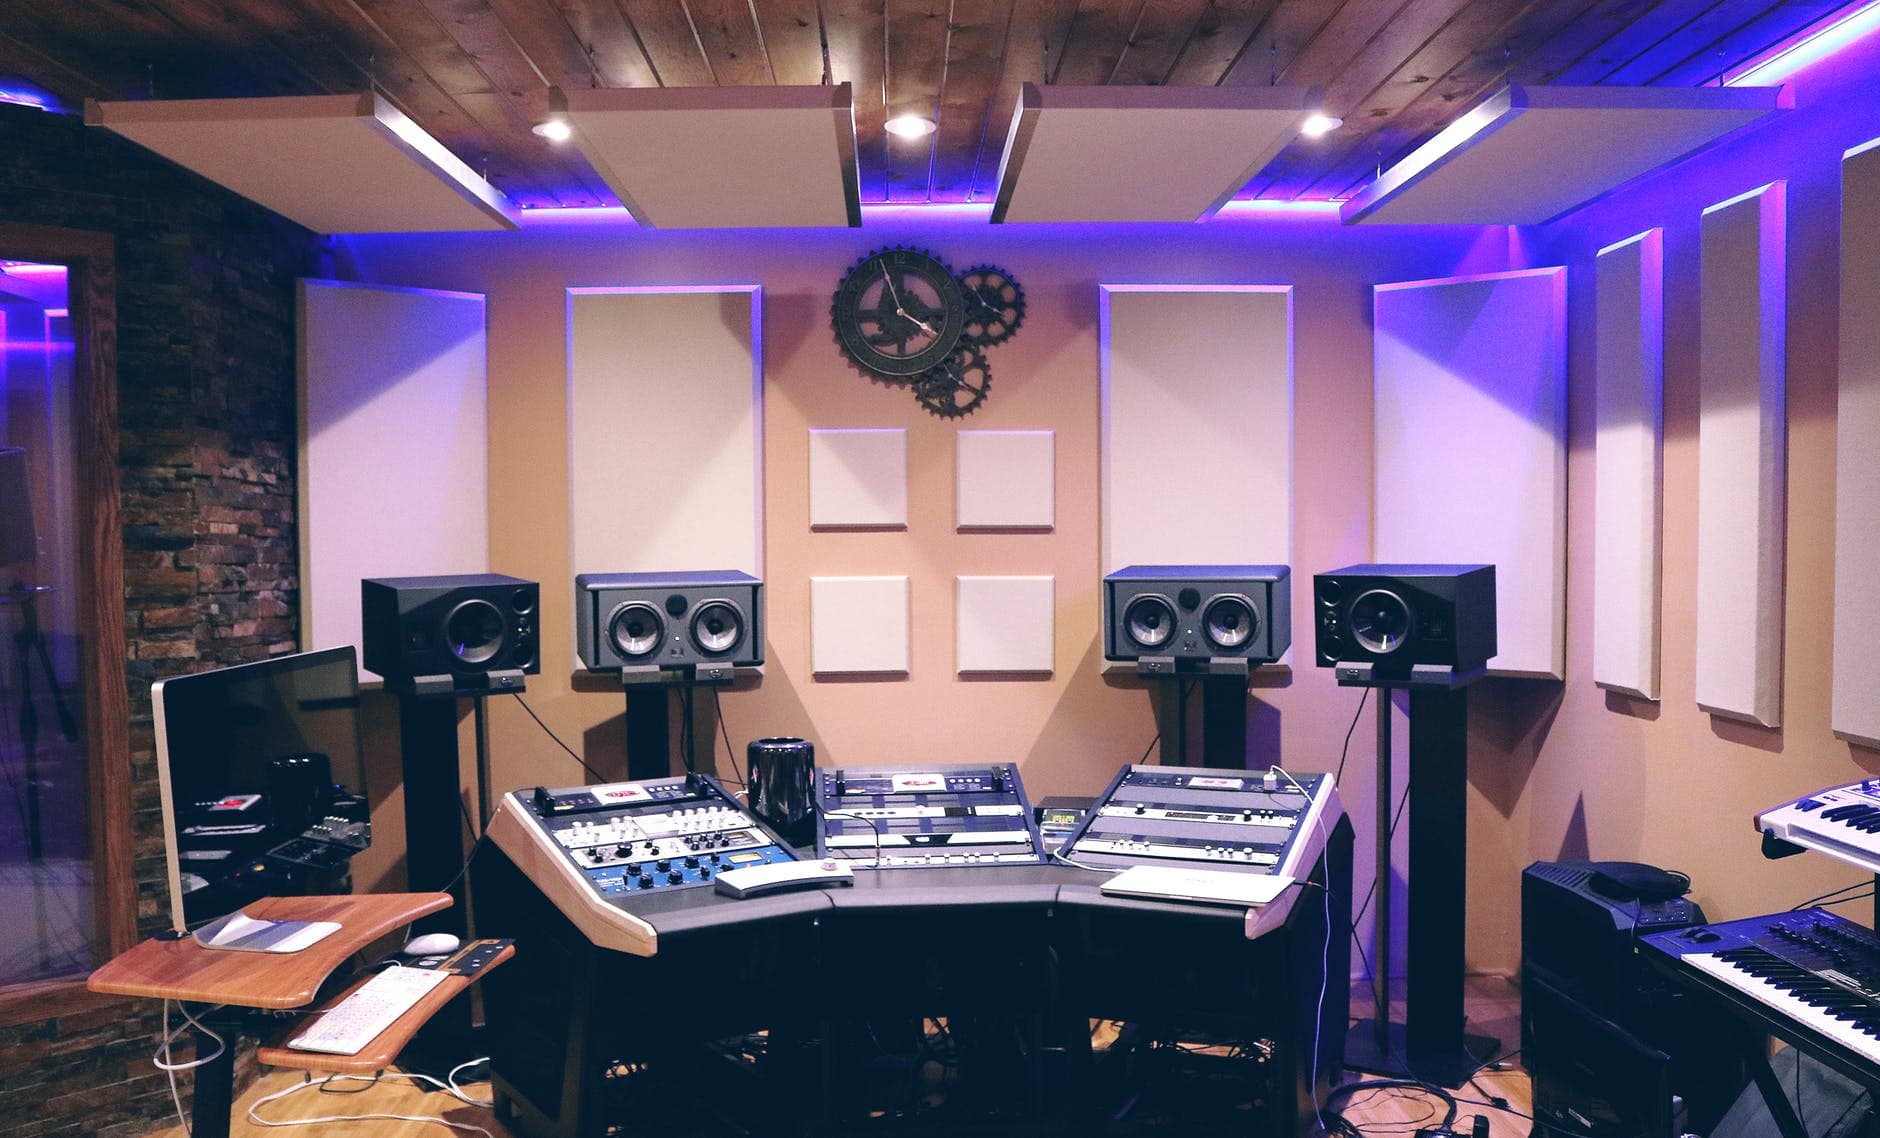
- Install Acoustic Panels: Adding acoustic panels to the walls can improve sound absorption and reduce sound reflections within the room. These panels are designed to absorb sound waves, enhancing the acoustics of your studio and reducing reverberation.
- Use Soundproof Wallpaper: Soundproof wallpaper is an effective option for adding an additional layer of soundproofing to your walls. It contains materials that help absorb and block sound vibrations, reducing noise transmission.
- Consider Double Wall Construction: If the existing walls are not providing adequate soundproofing, you may consider constructing a double wall. This involves building a second layer of wall either adjacent or spaced apart from the existing wall, creating an air gap that acts as a barrier for sound transmission.
Combining these wall soundproofing techniques can significantly reduce noise leakage and improve the acoustics of your studio. Keep in mind that the effectiveness of each technique may vary depending on factors such as the type of noise, wall construction, and the materials used. It’s important to assess your specific situation and consult with soundproofing experts if needed to determine the best approach for your studio walls.
Insulating Doors and Windows
Doors and windows are common points of sound leakage in any space, including a studio. Properly insulating these areas is crucial to minimizing noise transmission and ensuring a quieter studio environment. Here are some effective techniques for insulating doors and windows:
- Weatherstripping: Install weatherstripping around the edges of doors and windows to create a tight seal. Weatherstripping materials, such as rubber or silicone seals, help prevent air leakage and reduce noise infiltration.
- Door sweeps: Install door sweeps at the bottom of doors to seal the gap and block sound from entering or escaping through the bottom of the door. Door sweeps are typically made of rubber or brush-like materials and are effective in minimizing sound leakage.
- Upgrade Door Construction: Consider replacing hollow core doors with solid core doors for better sound insulation. Solid core doors are denser and provide greater sound blocking capabilities compared to hollow doors.
- Soundproof Window Treatments: Install soundproofing window treatments such as acoustic curtains or blinds. These specialized curtains are made with dense, noise-absorbing materials that help reduce sound transmission through windows.
- Double Glazing: If budget and feasibility allow, consider upgrading single-pane windows to double-glazed or laminated glass windows. These windows have a layer of air or soundproof material sandwiched between two panes, effectively reducing noise transmission.
- Window Inserts: Window inserts are additional layers of acrylic or glass that can be installed on the inside of existing windows. They create an extra barrier against sound and improve the soundproofing performance of the windows.
- Seal Window Frames: Apply acoustic caulk or foam sealant around the window frames to fill any gaps or cracks. This helps to reduce air leakage and minimize sound transmission.
Implementing these techniques for insulating doors and windows in your studio will significantly reduce noise leakage and improve the overall soundproofing effectiveness of your space. Remember to assess your specific needs and the level of noise you want to block to determine the most suitable approach for insulating your doors and windows.
Reducing Floor Vibrations
Vibrations can pose a significant challenge when it comes to soundproofing a studio. They can travel through the floors and walls, causing unwanted noise and disturbances in your recording or production process. Here are some effective techniques for reducing floor vibrations:
- Isolate Equipment: Place equipment such as speakers, amplifiers, and subwoofers on vibration isolation pads or platforms. These pads absorb vibrations, preventing them from being transferred to the floor and reducing the impact of equipment-induced vibrations.
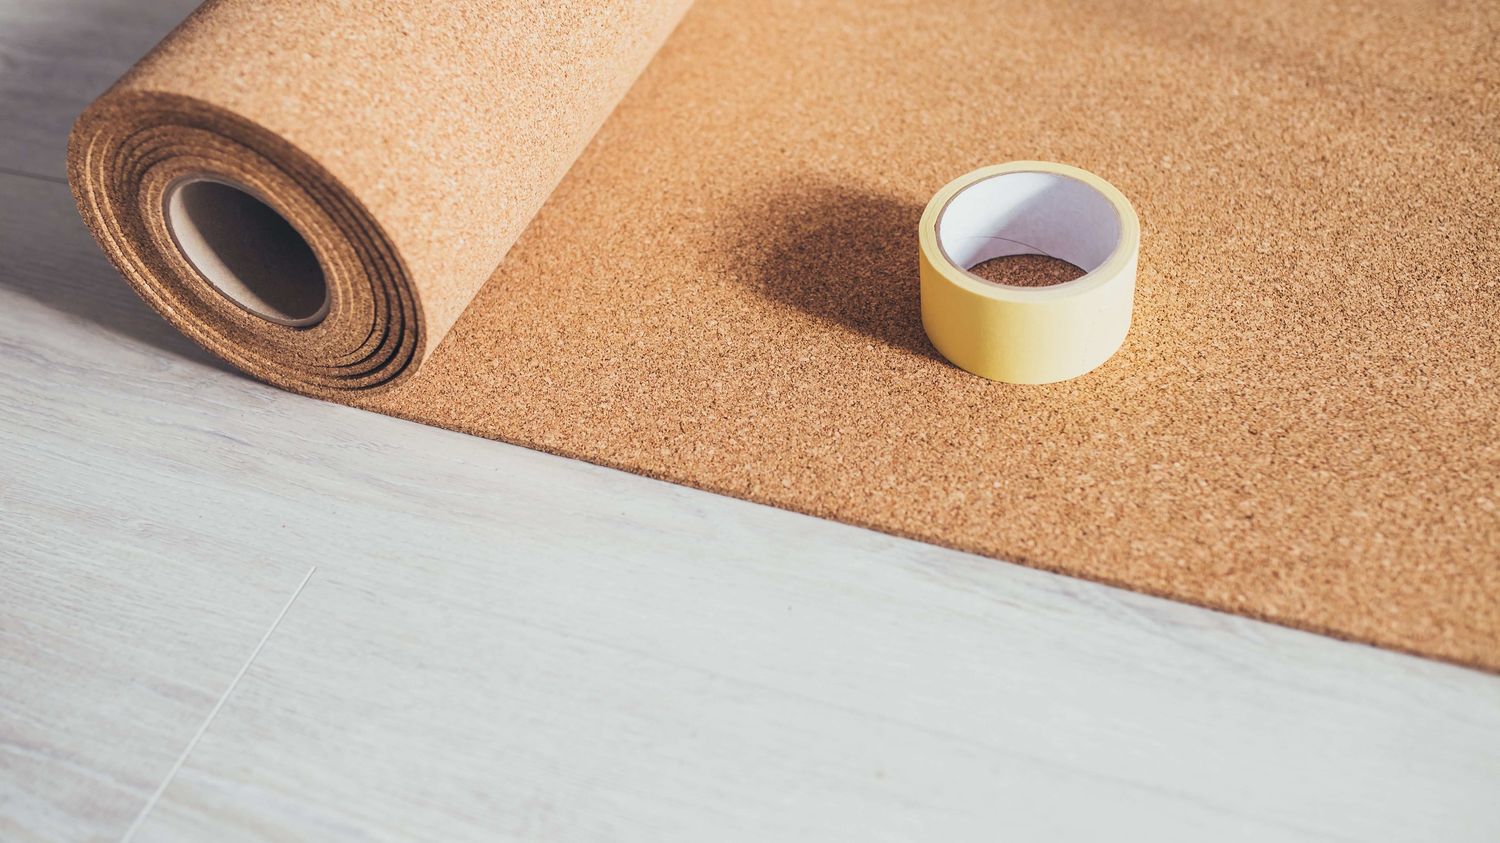
- Use Soundproof Underlayment: Install a soundproof underlayment beneath the flooring surface to help absorb and dampen vibrations. Materials such as rubber or cork underlayment are effective in reducing impact noise and floor vibrations.
- Add Mass: Increase the mass of the floor by using dense materials. Adding additional layers of plywood or installing soundproof flooring materials like mass-loaded vinyl (MLV) can help in absorbing vibrations and reducing noise transmission through the floor.
- Float the Floor: Floating the floor involves creating a separated layer between the subfloor and the finished floor. This can be done using resilient channels, acoustic underlayment, or special floating floor systems. Floating the floor helps to decouple it from the structure, reducing vibrations and sound transmission.
- Carpet and Rug Placement: Using carpets or area rugs in your studio space can help absorb vibrations and minimize the impact of footfall noise. The thickness and density of the carpet or rug will determine its effectiveness in reducing floor vibrations.
- Eliminate Structural Deficiencies: If floor vibrations persist, it may be necessary to address any existing structural deficiencies in the building. Consult with a structural engineer to identify and rectify any issues that may contribute to excessive floor vibrations.
By implementing these floor vibration reduction techniques, you can create a more stable and isolated studio environment. This will help minimize the impact of floor vibrations on your recording equipment and create a quieter and more accurate audio recording and production space.
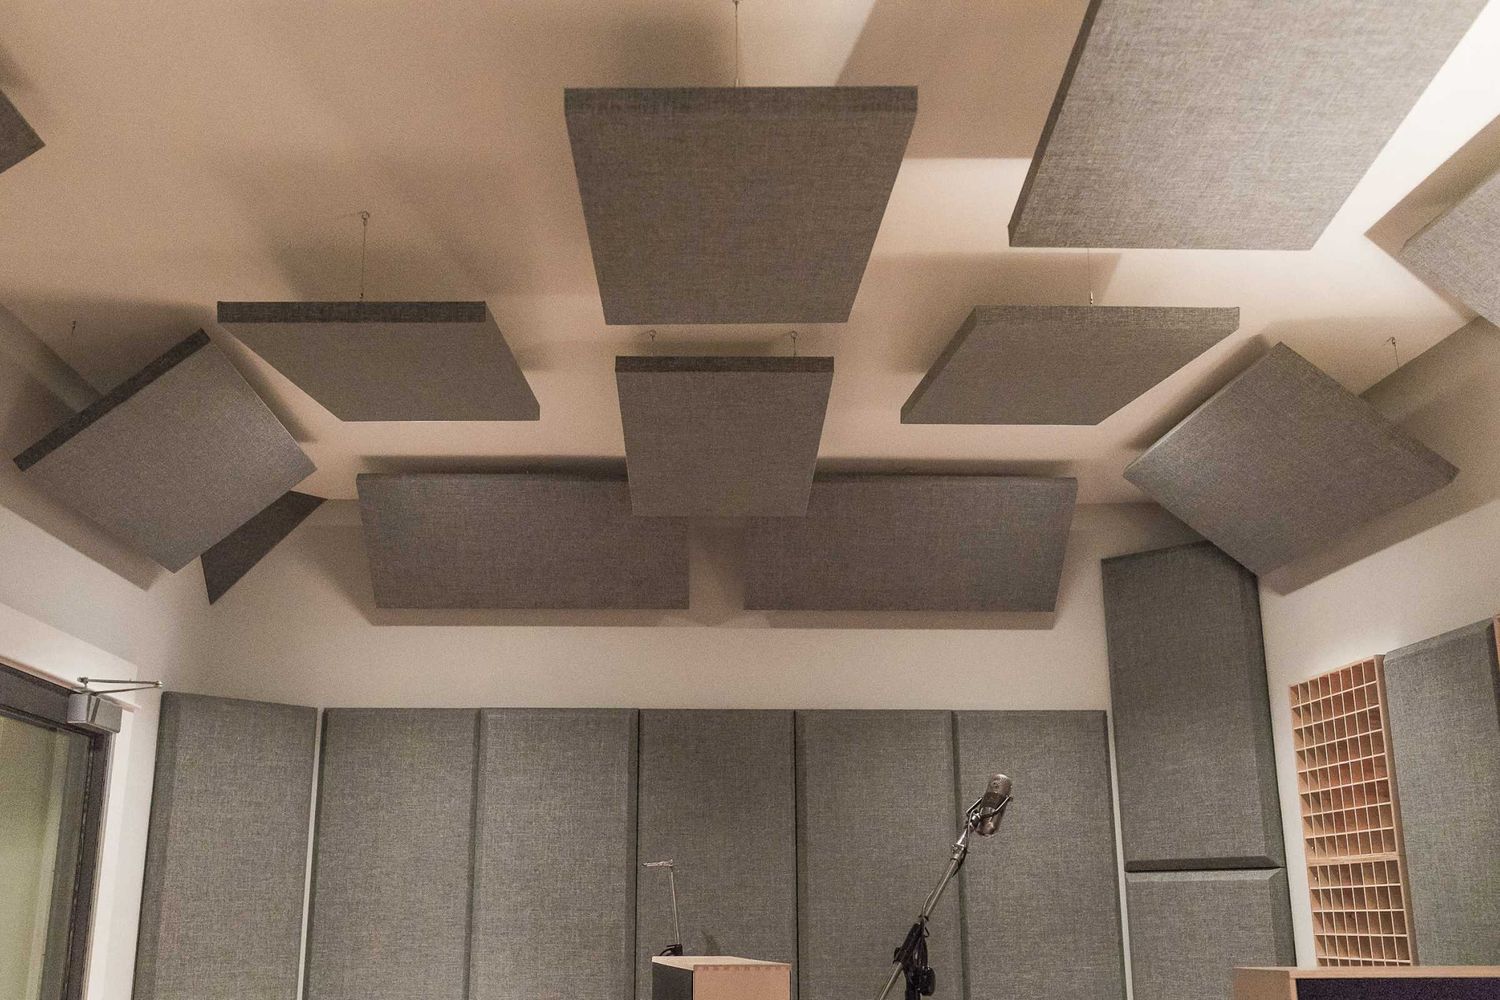
Soundproofing the Ceiling
The ceiling plays a crucial role in soundproofing a studio as it prevents sound from traveling between floors and reduces noise reflections within the room. Here are some effective techniques for soundproofing the ceiling:
- Acoustic Panels: Install acoustic panels on the ceiling to absorb sound waves and reduce echoes or reverberations. These panels are designed to improve the acoustics of your studio and minimize sound reflections.
- Soundproof Insulation: Add soundproof insulation between ceiling joists to enhance the soundproofing performance. Materials like mineral wool or fiberglass insulation help absorb sound vibrations and reduce airborne noise transmission.
- Mass Loaded Vinyl: Attach mass-loaded vinyl (MLV) to the ceiling surface to add mass and block sound transmission. MLV is a dense material that effectively reduces noise penetration through the ceiling.
- Decoupling: Decoupling the ceiling from the floor above can help minimize impact noise and sound transmission. Use resilient channels or acoustic hangers to create a separate structure that isolates the ceiling from the rest of the building.
- Seal Air Leaks: Identify and seal any air leaks or gaps around fixtures, speakers, lighting fixtures, or vents in the ceiling. This prevents sound from leaking in or out and helps improve the overall soundproofing effectiveness.
- Soundproofing Drywall: Replace the existing ceiling with soundproof drywall, also known as gypsum board, which has excellent noise reduction properties. It provides an additional layer of insulation, reducing sound transmission through the ceiling.
- Ceiling Clouds: Ceiling clouds, also known as baffles or hanging panels, are suspended from the ceiling to absorb sound reflections. They can be especially effective in large studios or rooms with high ceilings.
When soundproofing the ceiling, it’s important to consider a combination of techniques that address both airborne and impact noise. The effectiveness of each technique may vary depending on factors such as the type of noise, the structure of the building, and the specific needs of your studio space.
By implementing soundproofing techniques on the ceiling, you can significantly reduce sound transmission between floors and create a more controlled and acoustically pleasing environment for recording and producing high-quality audio.
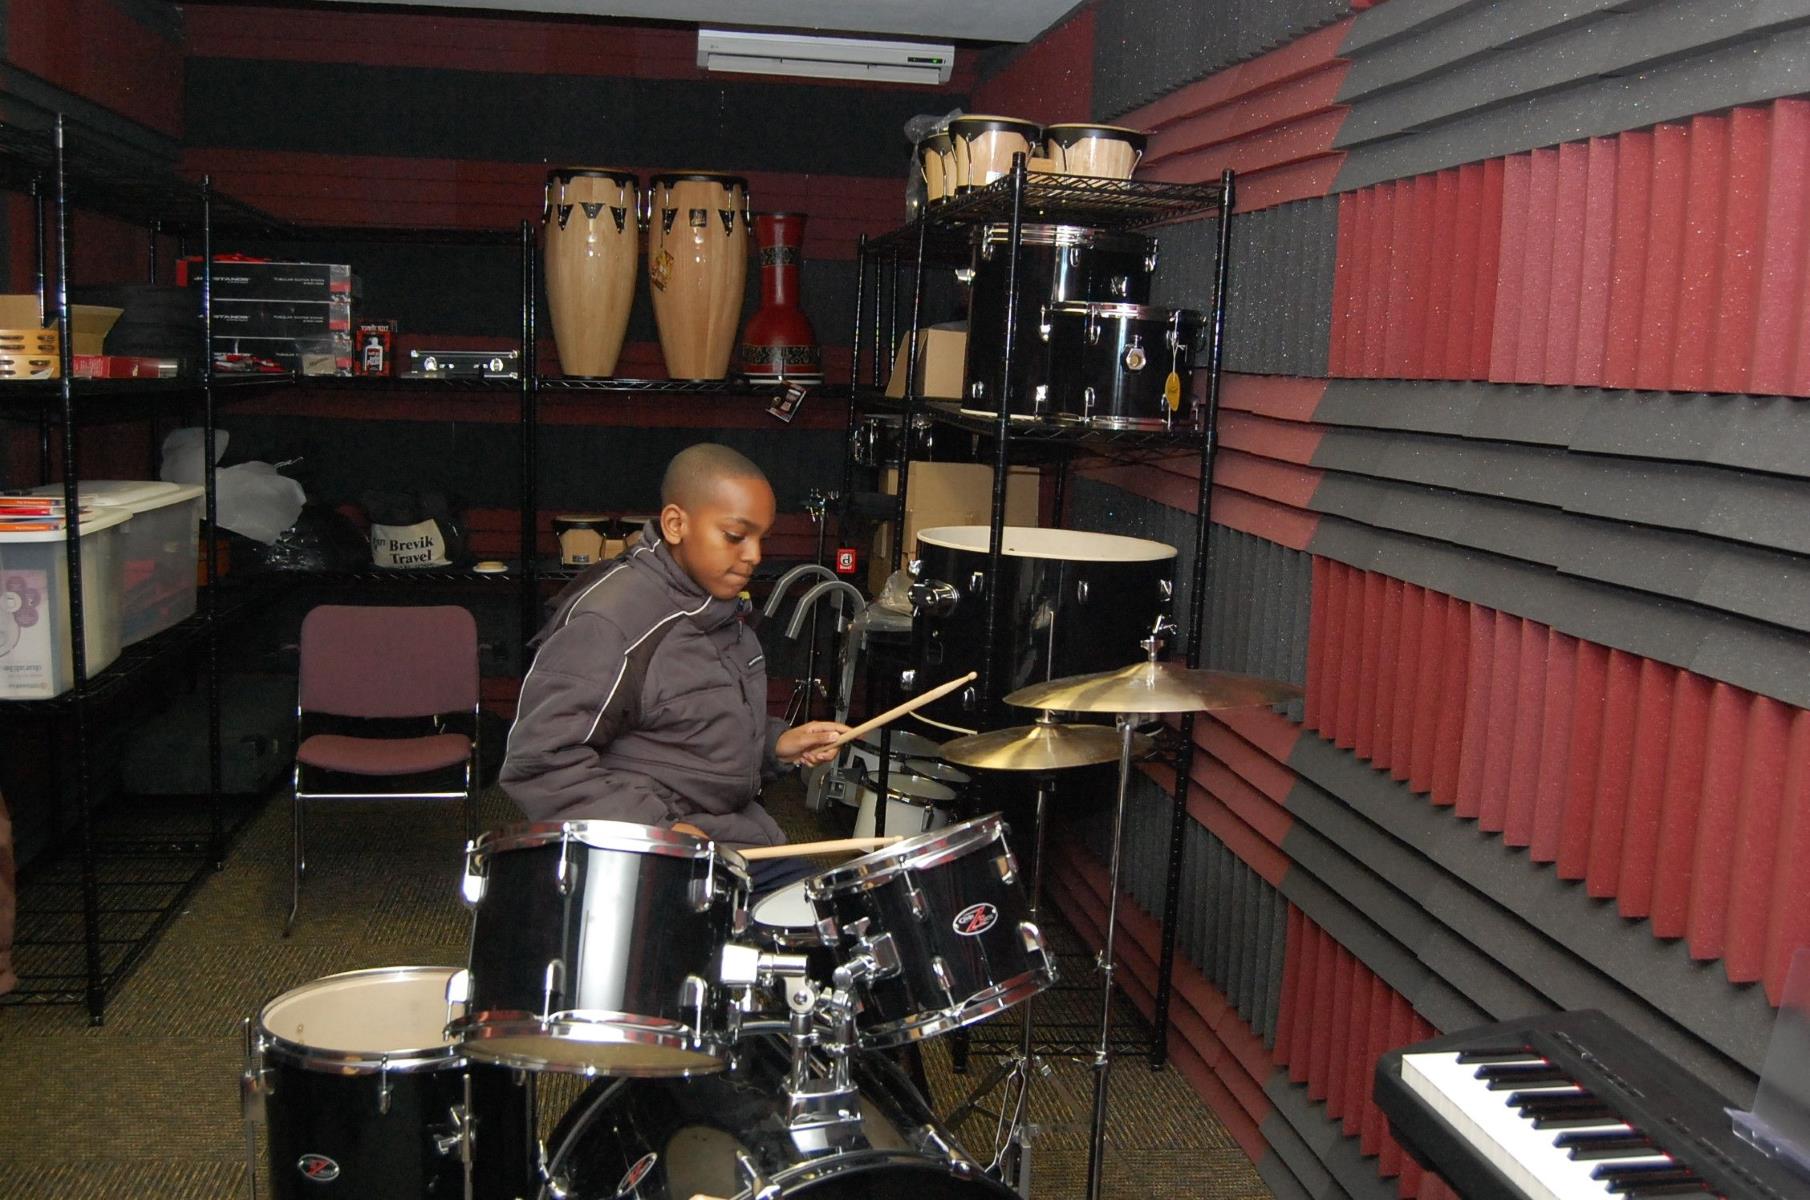
Soundproofing Equipment and Furniture
Effective soundproofing goes beyond treating the physical space of your studio. It’s also important to consider the equipment and furniture you use, as they can contribute to noise and vibrations. Here are some strategies for soundproofing your equipment and furniture:
- Studio Monitors: Invest in high-quality studio monitors that have built-in noise reduction features. Look for monitors with proper shielding and isolation to minimize electromagnetic interference and unwanted vibrations.
- Microphones: Use microphones with good noise rejection capabilities to prevent unwanted external noise from being picked up during recordings. Dynamic microphones are known for their excellent noise rejection properties.
- Headphones: Choose headphones that offer effective noise isolation, reducing the impact of external noise during monitoring and recording. Look for closed-back headphones that create a seal around your ears.
- Soundproofing Equipment: Consider using soundproofing equipment such as isolation pads or enclosures for machinery like computers or hard drives. These accessories can help reduce vibrations and noise generated by electronic devices.
- Soundproofing Furniture: Select furniture that has sound-absorbing properties to minimize sound reflections within your studio. Utilize bookshelves, curtains, or acoustic room dividers to help dampen sound and improve the overall acoustics.
- Elevate Equipment: For equipment that tends to produce vibrations, like amplifiers or subwoofers, place them on vibration isolation pads or shelves to minimize the transmission of vibrations to the surrounding surfaces and reduce the impact on your recordings.
- Isolate Desks and Workstations: Use vibration isolation pads or mats under your desks or workstations to reduce the transmission of vibrations from your computer or other equipment to the floor. This can help minimize unwanted noise during recordings.
By incorporating soundproofing techniques for your equipment and furniture, you can enhance the overall sound quality and minimize unwanted noise and vibrations within your studio. These measures help create a more controlled and professional environment for your audio recording and production needs.
Conclusion
Creating a soundproof studio is essential for ensuring optimal recording and production conditions. By employing effective soundproofing techniques, you can minimize external noise, reduce internal vibrations, and create a controlled acoustic environment. Throughout this guide, we have explored various strategies for soundproofing different aspects of your studio.
Assessing the noise is the first step in understanding the specific challenges you face. By identifying the sources and frequency range of the noise, you can tailor your soundproofing efforts accordingly. This allows for a more targeted approach in selecting the appropriate techniques and materials.
We discussed techniques such as adding mass, sealing gaps, decoupling, and using sound-absorbing materials to soundproof walls, doors, and windows. These methods help block sound transmission, eliminate air leaks, and reduce noise reflections in your studio.
Additionally, we explored how to reduce floor vibrations and soundproof the ceiling, as both can significantly impact the overall sound quality. By employing techniques like adding mass, using acoustic insulation, and decoupling, you can minimize impact noise and prevent sound from traveling through the floor and ceiling.
Furthermore, we discussed soundproofing equipment and furniture, highlighting the importance of using specially designed monitors, microphones, headphones, and vibration isolation pads to reduce noise and vibrations generated by your studio equipment and furniture.
Remember, soundproofing is a combination of techniques that should be tailored to your specific needs. Experiment with different methods and materials to find the best soundproofing solutions for your studio. While achieving complete soundproofing may not always be possible, implementing these techniques will significantly reduce the impact of external noise and create a more focused and productive environment for your audio projects.
Ultimately, by investing time and effort into soundproofing your studio, you are investing in the quality of your recordings and creating an environment that allows your creativity to flourish without disruptions. So, get started with soundproofing your studio and enjoy the benefits of a quieter, more controlled, and acoustically optimized space.