Home>Production & Technology>Soundproofing>How To Put Soundproofing On Walls
Soundproofing
How To Put Soundproofing On Walls
Published: January 26, 2024
Learn how to effectively soundproof your walls with our step-by-step guide. Create a peaceful and noise-free environment with our soundproofing techniques.
(Many of the links in this article redirect to a specific reviewed product. Your purchase of these products through affiliate links helps to generate commission for AudioLover.com, at no extra cost. Learn more)
Table of Contents
- Introduction
- Understanding the Need for Soundproofing
- Assessing the Walls for Soundproofing
- Choosing Suitable Soundproofing Materials
- Preparing the Walls for Installation
- Installing Soundproofing on Walls
- Sealing and Insulating the Soundproofed Walls
- Testing the Effectiveness of Soundproofing
- Maintenance and Upkeep of Soundproofed Walls
- Conclusion
Introduction
When it comes to creating a peaceful and quiet environment, soundproofing is an essential consideration. Whether you’re dealing with noisy neighbors, street traffic, or even your own appliances, soundproofing can help reduce unwanted noise and provide a more serene living or working space.
Soundproofing involves the use of materials and techniques that absorb, dampen, or block sound waves, preventing them from passing through walls, floors, and ceilings. It not only improves the acoustics of a room but also enhances privacy and concentration.
Understanding the basics of soundproofing and knowing how to apply it effectively can make a significant difference in creating a tranquil space. In this article, we will explore the ins and outs of soundproofing walls, helping you transform any room into a haven of peace and quiet.
Before delving into the specifics of soundproofing walls, it’s important to note that soundproofing is not a one-size-fits-all solution. The level of sound reduction required will depend on factors such as the type of noise, the thickness of walls, and the desired level of soundproofing. By customizing your approach, you can achieve optimal results.
In the following sections, we will guide you through the process of soundproofing walls, from assessing the need for soundproofing to selecting the right materials and executing the installation. We will also share tips on sealing and insulating the soundproofed walls and testing their effectiveness. Additionally, we will discuss the importance of maintenance and upkeep to ensure long-term performance.
By the end of this article, you will have a comprehensive understanding of soundproofing walls and be ready to embark on your soundproofing journey, transforming your living or work space into a sanctuary of tranquility. So let’s dive in and explore the world of soundproofing!
Understanding the Need for Soundproofing
Noise can have a significant impact on our daily lives, affecting our sleep, concentration, and overall well-being. Whether it’s the sound of traffic outside, a neighbor’s barking dog, or even the hum of appliances in our own homes, unwanted noise can be a constant source of frustration and stress.
Soundproofing is the solution to combating this noise pollution and creating a more peaceful and quiet environment. But why exactly do we need soundproofing?
- Improved Privacy: Soundproofing walls can enhance privacy by preventing sound from escaping or entering a room. This is especially important in shared living spaces, offices, or apartments where noise travels easily, compromising privacy and confidentiality.
- Better Sleep: Unwanted noise can disrupt our sleep, leading to fatigue, irritability, and decreased productivity. Soundproofing walls can minimize disturbances, allowing for a more restful and rejuvenating sleep.
- Enhanced Concentration: Whether you work from home or have a study area, a quiet environment is crucial for focus and productivity. Soundproofing walls can reduce distracting external noise, helping you concentrate on your tasks and achieve optimal performance.
- Noise Control: If you live in a bustling neighborhood or near a busy road, soundproofing walls can provide a barrier against external noise, allowing you to enjoy a peaceful and serene living space.
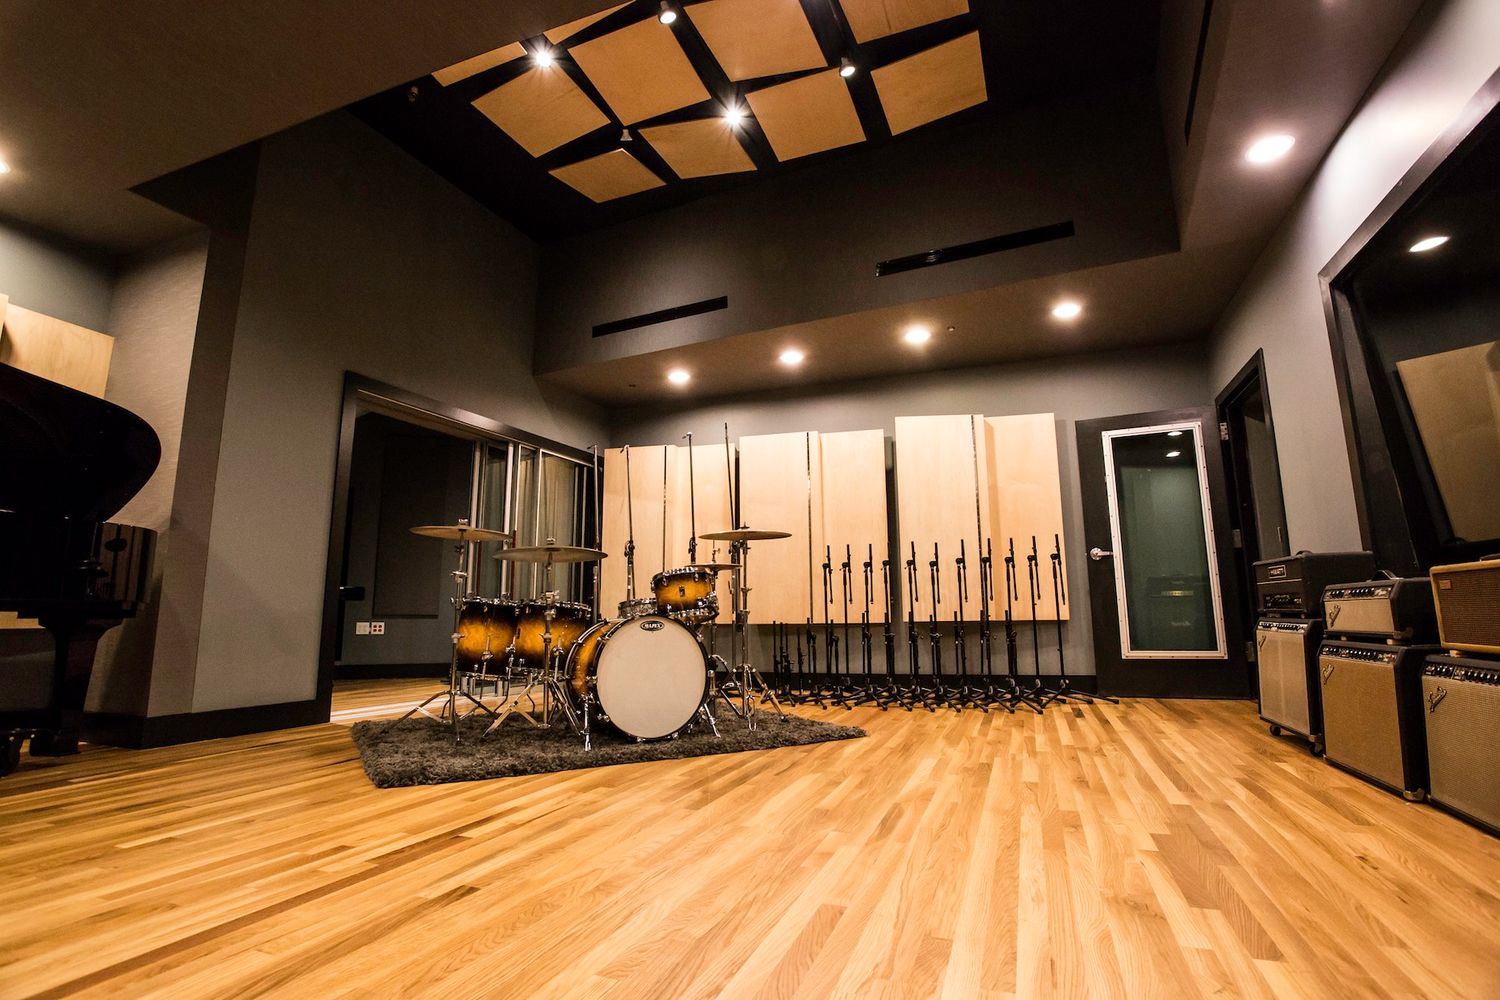
- Acoustic Optimization: Soundproofing materials can improve the acoustics within a room, reducing echoes and reverberations. This is especially beneficial in home theaters, music studios, or conference rooms, where clear and undistorted sound is desired.
By understanding the need for soundproofing, you can make informed decisions about where and how to implement soundproofing measures. Whether you want to create a calm and quiet bedroom, a productive home office, or a peaceful living room, soundproofing walls can be a game-changer in achieving your desired environment.
Now that we’ve outlined the importance of soundproofing, let’s move on to the next section and explore how to assess your walls to determine the appropriate soundproofing approach.
Assessing the Walls for Soundproofing
Before diving into the process of soundproofing your walls, it’s essential to assess the current state of your walls and determine the soundproofing needs based on several factors:
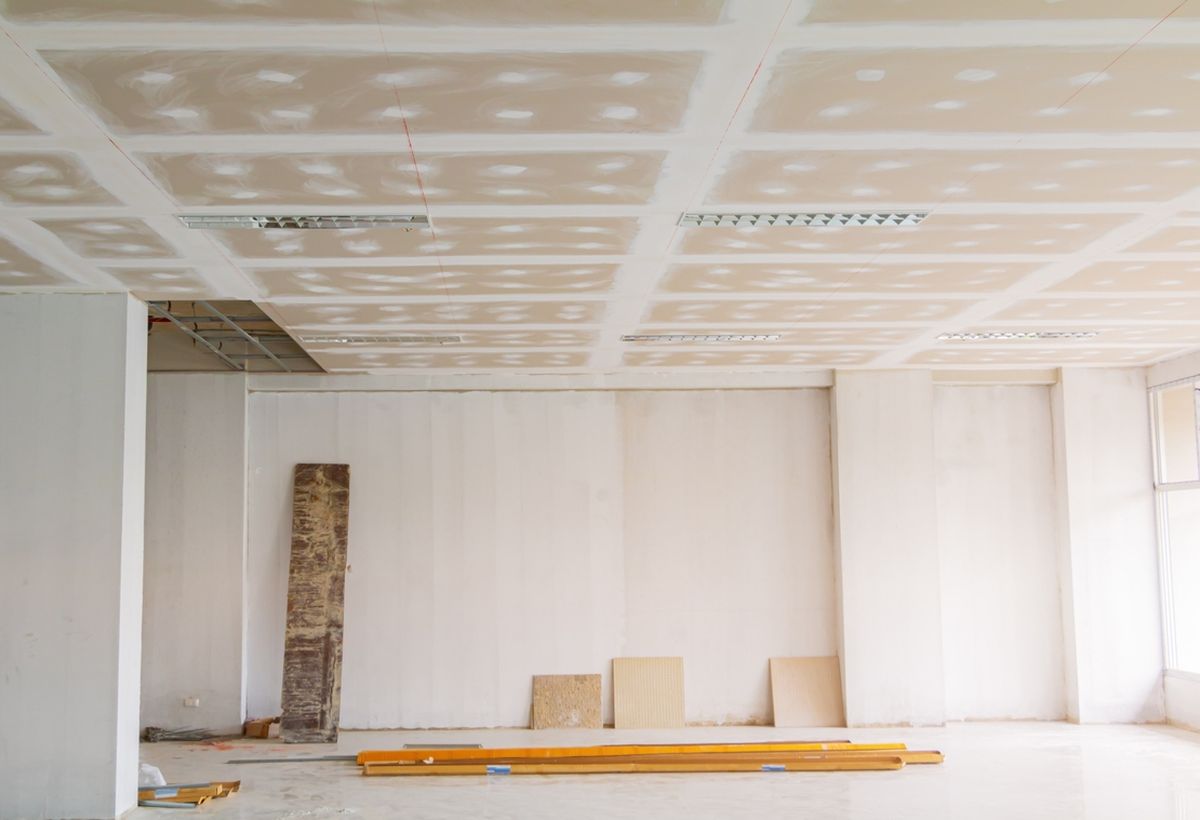
- Wall Composition: The type of wall you have plays a significant role in determining the soundproofing requirements. Are your walls made of concrete, drywall, or another material? Concrete walls have inherent soundproofing properties, while drywall walls may require additional measures.
- Wall Thickness: Thicker walls tend to provide better sound insulation. If you have thin walls, you may need to consider additional soundproofing measures to achieve the desired level of noise reduction.
- Noise Source: Identifying the source of the noise is crucial in determining the most effective soundproofing strategy. Is the noise coming from outside, such as traffic or neighbors, or is it generated within your own space?
- Noise Frequency: The frequency of the noise also influences the soundproofing approach. Low-frequency noises, like bass sounds, require different techniques compared to high-frequency noises, like voices or loud music.
- Desired Sound Reduction: Consider how much noise reduction you require. Do you want to completely eliminate all noise, or are you looking for a substantial reduction in sound? This will determine the extent of soundproofing measures you need to take.
Once you have assessed these factors, you can determine the appropriate soundproofing materials and techniques for your walls. It’s important to note that different walls may require different approaches, so a thorough evaluation is crucial for optimal results.
Additionally, consider any electrical outlets, light switches, or other features on the walls that may affect the installation of soundproofing materials. You’ll need to plan and adapt accordingly to ensure a seamless integration of soundproofing without hindering the functionality of these elements.
By conducting a detailed assessment, you can identify the unique soundproofing needs of your walls and tailor your approach accordingly. In the next section, we will discuss various soundproofing materials available and how to choose the most suitable ones for your project.
Choosing Suitable Soundproofing Materials
Choosing the right soundproofing materials is crucial in achieving effective noise reduction on your walls. There are a variety of soundproofing options available, each with its own advantages and applications. Here are some commonly used materials for soundproofing walls:
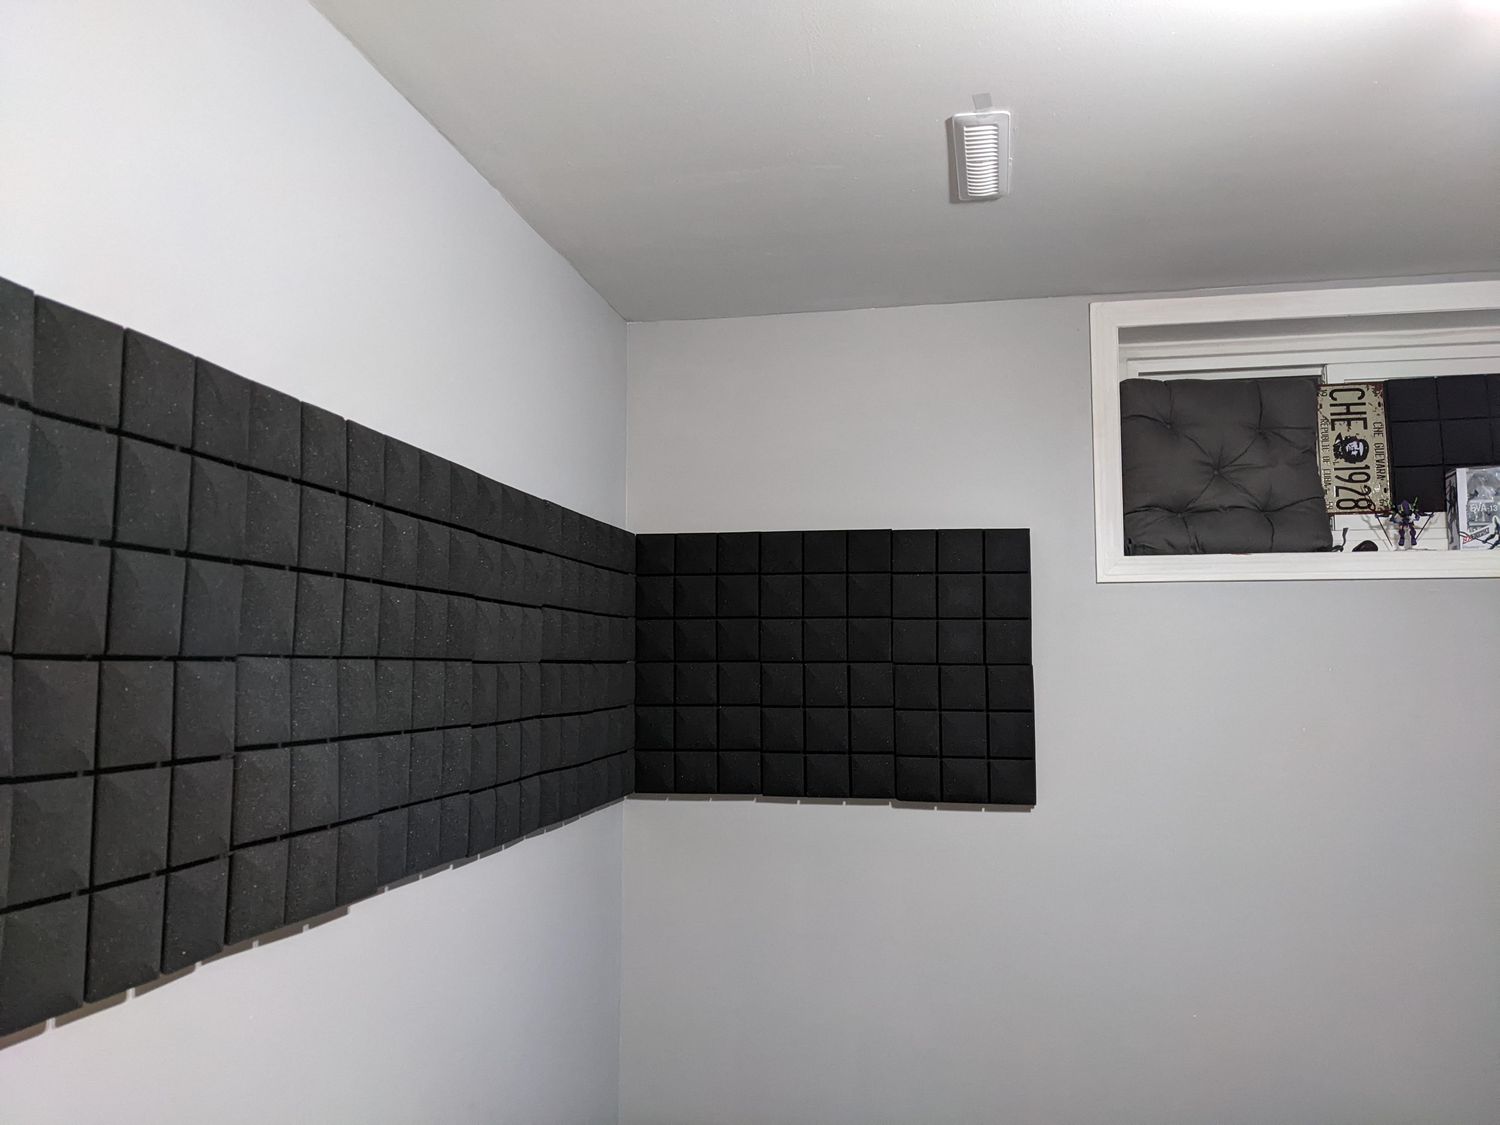
- Acoustic Foam Panels: Acoustic foam panels are lightweight and easy to install. They are effective in absorbing sound waves and reducing echoes within a room. However, they may not provide sufficient soundproofing against external noises.
- Mass Loaded Vinyl (MLV): MLV is a dense and flexible material that offers excellent soundproofing capabilities. It can be installed directly on walls or used as a layer within wall constructions. MLV is particularly effective at blocking low-frequency noises.
- Fiberglass Insulation: Fiberglass insulation is commonly used for thermal insulation but also provides some soundproofing benefits. It helps absorb sound waves and reduces noise transmission through walls. Fiberglass insulation can be installed between wall studs or used as a barrier behind drywall.
- Soundproof Drywall: Soundproof drywall is specially designed to reduce noise transmission through walls. It has a higher density compared to regular drywall, which enhances soundproofing capabilities. Soundproof drywall can be installed as a replacement for existing drywall or as an additional layer.
- Green Glue: Green Glue is a viscoelastic compound that is applied between layers of drywall or other materials. It converts sound energy into heat, reducing noise transmission. Green Glue is often used in combination with other soundproofing materials to enhance their effectiveness.
When choosing soundproofing materials, consider factors such as the noise source, desired sound reduction level, and budget. It’s also important to pay attention to the installation process and ensure that the materials will not negatively impact the aesthetics of your space.
In addition to these materials, there are various other soundproofing options available, such as soundproof curtains, resilient channels, and soundproof wallpapers. Each of these materials serves a specific purpose, so it’s essential to research and select the ones that align with your soundproofing goals.
By carefully selecting suitable soundproofing materials, you can create an effective barrier against unwanted noise and achieve the desired level of sound reduction. In the next section, we will delve into the preparations needed for installing soundproofing materials on your walls.
Preparing the Walls for Installation
Before you can begin installing soundproofing materials on your walls, it’s crucial to properly prepare the walls to ensure optimal performance and longevity. Here are some steps to follow when preparing your walls for the installation of soundproofing materials:
- Clean the Walls: Start by cleaning the walls thoroughly to remove any dirt, dust, or debris. This will ensure better adhesion of the soundproofing materials and create a clean surface for installation.
- Inspect for Cracks or Holes: Check for any cracks, holes, or gaps in the walls that could compromise the effectiveness of the soundproofing materials. Fill in any such defects using caulk or putty and allow it to dry completely before proceeding.
- Seal Air Leaks: Soundproofing is not just about blocking sound waves, but also about preventing air leakage. Inspect the walls for any gaps or openings that could allow air to pass through. Use weather stripping or silicone sealant to seal these gaps and ensure better soundproofing and energy efficiency.
- Remove Outlet and Switch Covers: Before installing soundproofing materials, remove outlet and switch covers from the walls. This will allow for seamless installation of the materials and prevent any interference with electrical components.
- Consider Wall Surface Treatment: Depending on the soundproofing materials you have chosen, you may need to prepare the wall surface accordingly. Some materials, such as adhesive-backed acoustic panels or soundproof wallpapers, may require a smooth and even surface for proper adhesion.
- Measure and Plan: Take accurate measurements of the walls to determine the quantity of soundproofing materials needed. Plan the installation layout, considering any architectural features or obstructions that may affect the placement of the materials.
By preparing the walls adequately, you ensure a solid foundation for the installation of soundproofing materials. This will enhance both the effectiveness and the longevity of the soundproofing solution.
Once the walls are properly prepared, you are ready to move on to the installation process. In the next section, we will guide you through the steps of installing soundproofing materials on your walls, helping you achieve maximum noise reduction and a more peaceful living or working space.
Installing Soundproofing on Walls
Installing soundproofing materials on your walls is a crucial step in achieving effective noise reduction. The process may vary depending on the type of soundproofing materials you have chosen. Here are some general steps to follow when installing soundproofing on your walls:
- Start with the Bottom of the Wall: Begin by installing the soundproofing material at the bottom of the wall and work your way up. This ensures a layered approach and helps prevent any gaps or overlaps between the materials.
- Apply Adhesive: If your soundproofing materials require adhesive, follow the manufacturer’s instructions for applying it to the back of the material. Use a trowel or putty knife to evenly spread the adhesive, ensuring complete coverage.
- Press and Hold: Press the soundproofing material firmly against the wall, starting from the bottom. Hold it in place for the recommended duration specified by the adhesive manufacturer. This ensures proper adhesion and minimizes the chance of the material slipping or coming loose.
- Overlap or Align: Depending on the type of soundproofing materials, you may need to overlap the edges or align them precisely. Follow the instructions provided with the material to ensure correct alignment for optimal soundproofing performance.
- Trim if Necessary: Once the soundproofing material is installed, trim any excess or protruding edges using a utility knife or sharp scissors. This will give the installation a clean and finished look.
- Repeat for the Remaining Walls: Repeat the installation process for all the remaining walls. Take care to maintain consistency in the installation technique and ensure a uniform soundproofing effect throughout the space.
It’s important to note that some soundproofing materials may require additional steps, such as screwing or nailing them into place. Always refer to the manufacturer’s instructions for proper installation techniques specific to the materials you are using.
While installing soundproofing materials, keep in mind the electrical outlets, switches, and other fixtures on the walls. Make necessary cutouts or accommodations to ensure uninterrupted access and functionality of these elements.
By following these steps and taking the necessary precautions, you can effectively install soundproofing materials on your walls and significantly reduce unwanted noise. In the next section, we will discuss how to seal and insulate the soundproofed walls to enhance their performance.
Sealing and Insulating the Soundproofed Walls
Once you have installed soundproofing materials on your walls, it’s important to seal and insulate them to further enhance their performance. Proper sealing and insulation can help prevent air leaks and improve the overall soundproofing capabilities. Here are some steps to follow:
- Seal Gaps and Cracks: Inspect the areas where the soundproofing materials meet the walls, ceiling, and floor. Fill any gaps or cracks using acoustic caulk or sealant. This will prevent sound waves from escaping or entering through these openings.
- Install Weatherstripping: If there are windows or doors in the room, apply weatherstripping around these openings to create a tight seal. This will help prevent noise leakage and enhance the soundproofing effectiveness of the walls.
- Insulate Electrical Boxes: In wall-mounted electrical boxes, such as those for outlets and switches, add insulation material to reduce sound transmission through these openings. Specialized soundproofing gaskets or box inserts can also be used for this purpose.
- Consider Wall Insulation: If your walls were not properly insulated before soundproofing, consider adding insulation material between the wall studs. Fiberglass insulation is commonly used for this purpose, as it helps absorb sound and further reduces noise transmission.
- Install Acoustic Putty Pads: For electrical outlets and switches, apply acoustic putty pads to the back of the boxes before securing them to the wall. This helps dampen vibrations and prevent sound transmission through these openings.
- Use Soundproofing Paint: Consider using soundproofing paint on the walls as an additional layer of sound-dampening. These paints contain sound-absorbing additives that can help further reduce noise within the room.
Sealing and insulating the soundproofed walls helps create a more airtight and well-insulated space, minimizing sound leakage and enhancing the overall effectiveness of the soundproofing materials.
Remember to pay attention to any electrical wiring or fixtures while performing these sealing and insulation steps. Ensure that all electrical components remain accessible and unaffected by the installation process.
By implementing these sealing and insulation techniques, you can optimize the performance of your soundproofed walls and create a truly quiet and peaceful environment. In the next section, we will discuss how to test the effectiveness of your soundproofing efforts.
Testing the Effectiveness of Soundproofing
After installing and sealing your soundproofing materials, it’s important to evaluate the effectiveness of your efforts. Testing the soundproofing performance can help you identify any areas that may require additional attention and ensure that your desired level of noise reduction has been achieved. Here are some methods to test the effectiveness of your soundproofing:
- Auditory Inspection: Conduct a simple auditory inspection by standing in the room and listening for any noticeable reduction in noise. Pay attention to both external noises and sounds generated within the space to assess the overall impact of the soundproofing materials.
- Sound Transmission Class (STC) Rating: The Sound Transmission Class (STC) rating measures the soundproofing performance of materials and constructions. You can hire a professional acoustical engineer to conduct an STC test, which involves generating sound in one room and measuring its transmission to an adjacent room with a sound meter.
- Noise Dosimetry: Noise dosimetry is a method that measures the noise exposure in a given space over an extended period of time. This can be useful in determining the effectiveness of soundproofing for long-term noise reduction.
- Subjective Evaluation: In addition to objective testing methods, consider gathering feedback from individuals who regularly occupy the space. Ask them about their perception of the noise reduction and whether they notice a significant improvement in the overall sound levels.
It’s important to note that while these methods provide a general assessment of soundproofing effectiveness, the subjective experience may vary. Factors such as individual perception, existing ambient noise levels, and the type of noise being attenuated can influence the outcome.
If you find that the soundproofing measures are not meeting your desired level of noise reduction, you may need to consider additional soundproofing techniques or materials. Consulting with a professional acoustical engineer or soundproofing expert can provide valuable insights and recommendations tailored to your specific situation.
Regularly testing and evaluating the effectiveness of your soundproofing measures can help you maintain a quiet and peaceful environment and make any necessary adjustments to achieve optimal noise reduction. In the next section, we will discuss the maintenance and upkeep of your soundproofed walls to ensure long-term performance.
Maintenance and Upkeep of Soundproofed Walls
Maintaining and taking proper care of your soundproofed walls is essential to ensure their long-term performance and effectiveness in reducing noise. While soundproofing materials are designed to be durable, some regular maintenance and upkeep can help prolong their lifespan and maintain optimal soundproofing capabilities. Here are some maintenance tips for your soundproofed walls:
- Regular Cleaning: Keep your soundproofed walls clean by dusting them regularly with a soft cloth or vacuuming with a brush attachment. This helps remove any dirt or debris that may accumulate on the surface and potentially affect the soundproofing performance.
- Check for Damage: Periodically inspect the soundproofing materials for any signs of wear, tear, or damage. Look for cracks, peeling, or loose sections of materials and address them promptly. If there are any noticeable issues, consult with a professional for repair or replacement.
- Address Moisture Issues: Moisture can damage soundproofing materials and compromise their effectiveness. Ensure that your walls are free from any moisture issues, such as leaks or condensation. Install proper ventilation and address any moisture problems immediately to prevent damage to your soundproofing materials.
- Reinforce Loose Materials: Over time, certain soundproofing materials may become loose or dislodged. Regularly check for any loose sections and reattach or reinforce them as needed. Properly secure any edges or seams to maintain the integrity of the soundproofing installation.
- Address Structural Changes: If you plan on making any modifications to your walls, such as installing new electrical outlets or making structural changes, take care to preserve the integrity of the soundproofing. Make appropriate cutouts or accommodations in the soundproofing materials and ensure proper reinstallation or reinforcement afterward.
- Monitor Soundproofing Performance: Keep track of the noise levels in your space and periodically evaluate the effectiveness of the soundproofing materials. If you notice any significant changes or a decrease in the soundproofing performance, investigate the cause and take necessary measures to address the issue.
By following these maintenance tips, you can ensure the longevity and optimal performance of your soundproofed walls. Regular upkeep will help preserve the soundproofing materials and continue to provide a quiet and peaceful environment for years to come.
If you have any concerns or questions about the maintenance of your soundproofed walls, it’s always a good idea to consult with professionals or soundproofing experts who can provide valuable guidance and recommendations specific to your situation.
Now that you understand the importance of maintenance, you are equipped to enjoy the benefits of your soundproofed walls for the long term. In the concluding section, we will summarize the key points and emphasize the impact of soundproofing on creating a tranquil living or working environment.
Conclusion
Soundproofing walls is a valuable investment that can greatly enhance the quality of your living or working environment. By effectively reducing unwanted noise, soundproofing allows for increased privacy, better sleep, improved concentration, and overall peace and tranquility.
In this article, we have covered the essential aspects of soundproofing walls, from understanding the need for soundproofing to assessing the walls, choosing suitable materials, and executing the installation. We have also discussed the importance of sealing and insulating the soundproofed walls, testing their effectiveness, and maintaining them for long-term performance.
During the process, we learned that different soundproofing materials, such as acoustic foam panels, mass loaded vinyl (MLV), fiberglass insulation, soundproof drywall, and green glue, offer various benefits and applications. The selection of the right materials depends on factors like the wall composition, desired sound reduction level, and budget.
We explored the steps involved in preparing the walls, installing the soundproofing materials, and ensuring proper sealing and insulation. We also discussed the importance of testing the soundproofing effectiveness through auditory inspection, STC rating, noise dosimetry, and subjective evaluation.
To secure the long-term benefits of soundproofing, we emphasized the significance of regular maintenance and upkeep. Cleaning the walls, checking for damage, addressing moisture issues, and monitoring performance are essential for preserving the soundproofing materials’ quality and effectiveness over time.
Soundproofing walls allows you to create a tranquil sanctuary where you can focus, relax, and enjoy a quiet atmosphere. Whether you live in a noisy neighborhood, work from home, or simply desire a peaceful space, soundproofing provides the solution to combat noise pollution and create a more serene environment.
By following the guidelines outlined in this article and seeking professional assistance when needed, you can transform your walls into a barrier against unwanted noise, allowing you to fully enjoy your living or working space in tranquility.
Remember, effective soundproofing involves careful planning, proper installation, and ongoing maintenance. With each step, you move closer to a quieter and more peaceful environment, improving your overall well-being and quality of life.