Home>Production & Technology>Vinyl>How To Burn Music Onto A Vinyl Record
Vinyl
How To Burn Music Onto A Vinyl Record
Modified: January 22, 2024
Learn how to burn music onto a vinyl record with our step-by-step guide. Discover the art of preserving your favorite songs on classic vinyl format.
(Many of the links in this article redirect to a specific reviewed product. Your purchase of these products through affiliate links helps to generate commission for AudioLover.com, at no extra cost. Learn more)
Table of Contents
Introduction
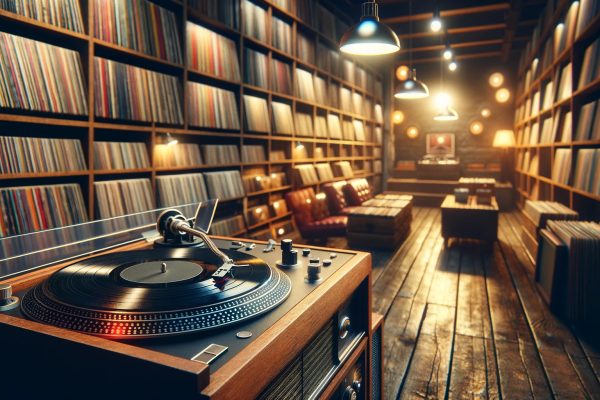
Vinyl records have experienced a resurgence in popularity in recent years, captivating music lovers with their warm sound and nostalgic charm. If you’re a fan of vinyl records and want to take your music appreciation to the next level, you may be interested in learning how to burn your own music onto a vinyl record. Not only does this give you the opportunity to curate your own custom vinyl collection, but it also allows you to share your favorite tunes with others in a unique and tangible format.
Burning music onto a vinyl record may seem like a daunting task, but with the right equipment, preparation, and know-how, it can be a rewarding and fun experience. In this guide, we’ll walk you through the steps to successfully burn your music onto a vinyl record.
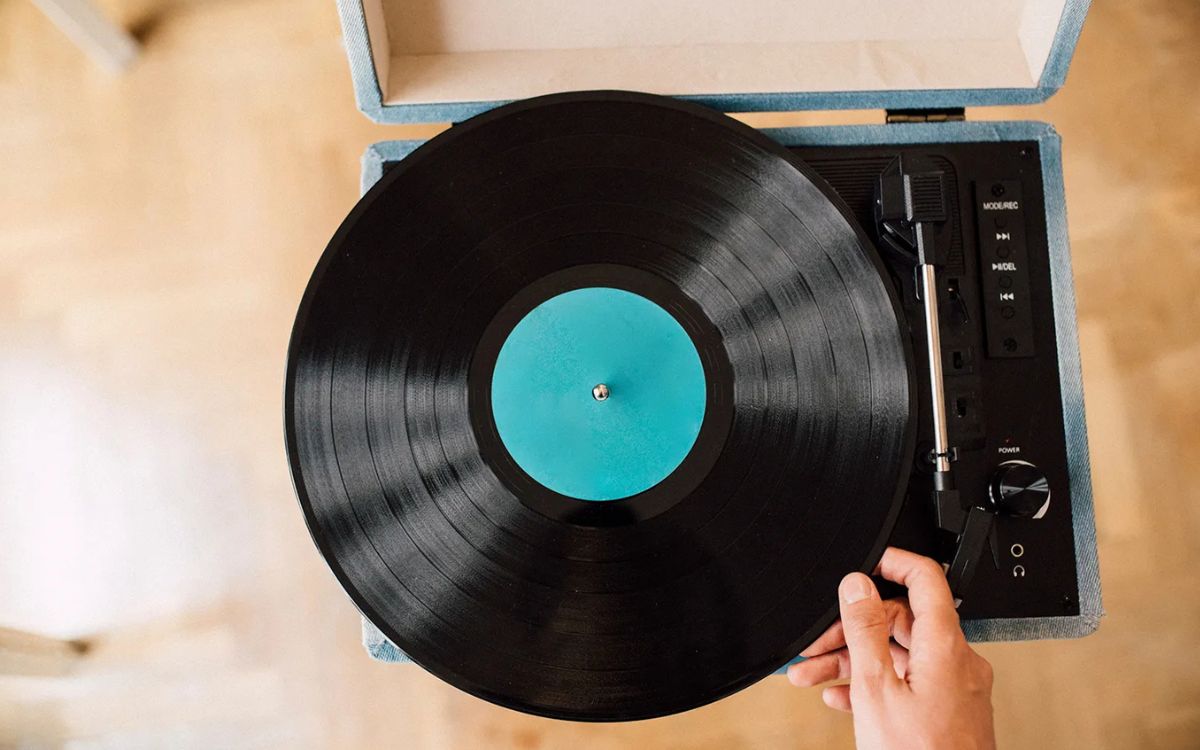
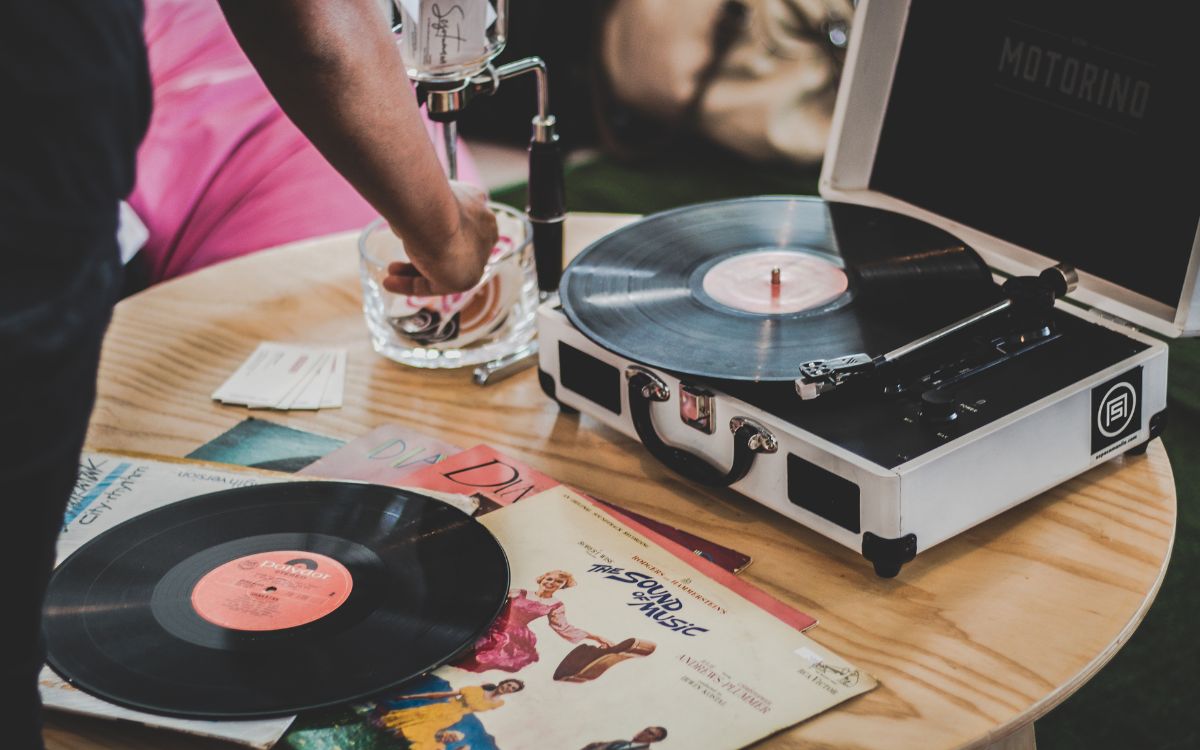
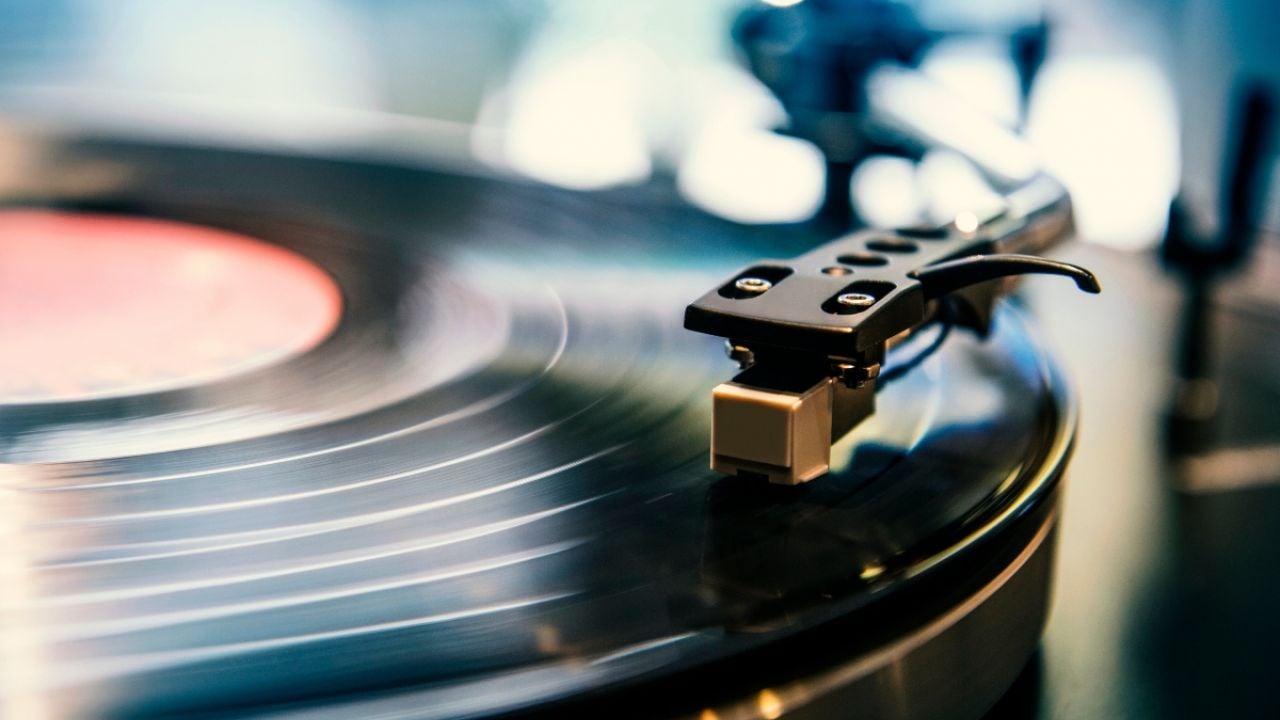
Before we dive into the process, it’s important to have a basic understanding of vinyl records and the burning process. Vinyl records are analog audio storage mediums that consist of a circular disc made of polyvinyl chloride. Sound is etched onto the surface of the record in the form of grooves, which are then read by a turntable’s stylus to produce music. Burning music onto a vinyl record involves transferring audio from a digital source to an analog format, allowing it to be played on a turntable.
Now that you have a general idea of what we’ll be covering, let’s move on to the next section, where we’ll discuss the process of preparing your music for burning.
Understanding Vinyl Records and Burning Music
Before we dive into the process of burning music onto a vinyl record, it’s important to have a solid understanding of how vinyl records work and the intricacies involved in creating a high-quality, playable record.
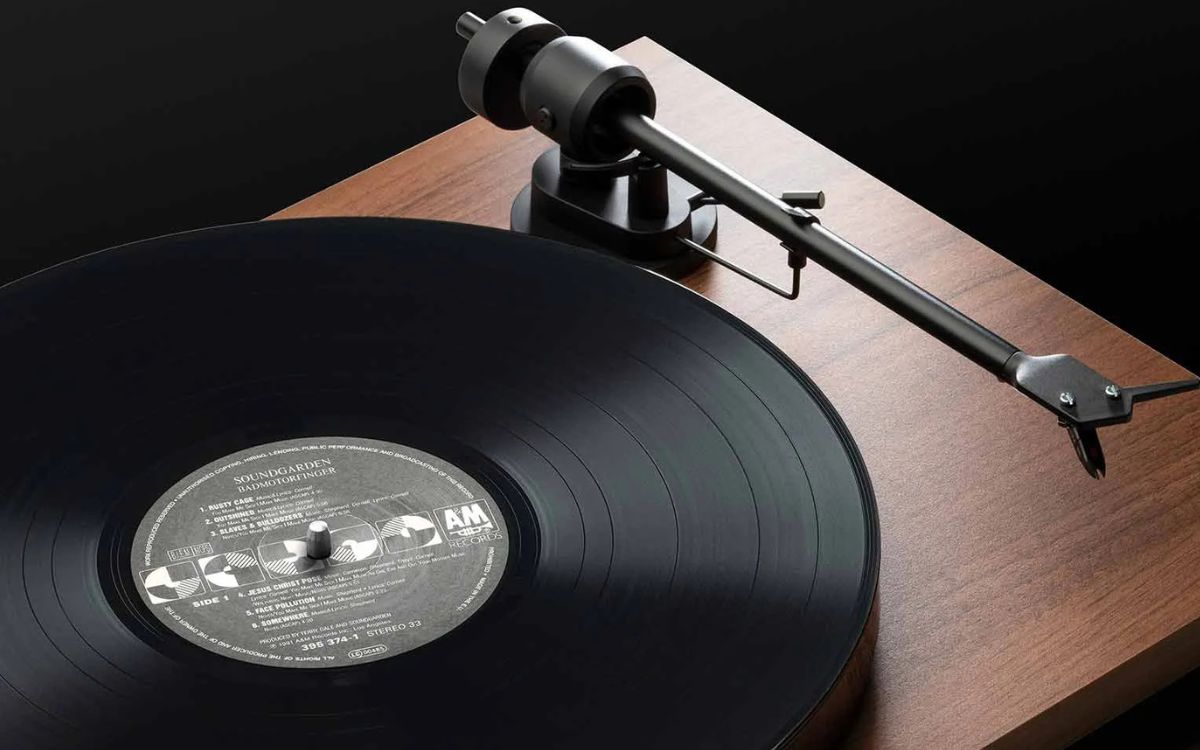
Vinyl records are unique in that they store music in an analog format. Unlike digital audio formats, such as CDs or MP3 files, which store music as numerical data, vinyl records use physical grooves to reproduce sound. When a record is played on a turntable, a needle, or stylus, reads the grooves and translates the physical movements into audible sound.
This analog format is what gives vinyl records their distinct sound and warmth. Audiophiles and music enthusiasts often declare that vinyl records offer a richer, more authentic listening experience compared to digital formats.
Burning music onto a vinyl record involves the process of transferring audio from a digital source to a format that can be read by turntables. This process requires careful attention to ensure that the audio quality is preserved and that the final result is a playable record.
It’s important to note that burning your music onto a vinyl record is different from pressing a vinyl record. Pressing vinyl involves creating a master plate from the audio source and then using that plate to stamp multiple copies of the record. Burning music, on the other hand, typically involves making a one-off or limited-edition record for personal use.
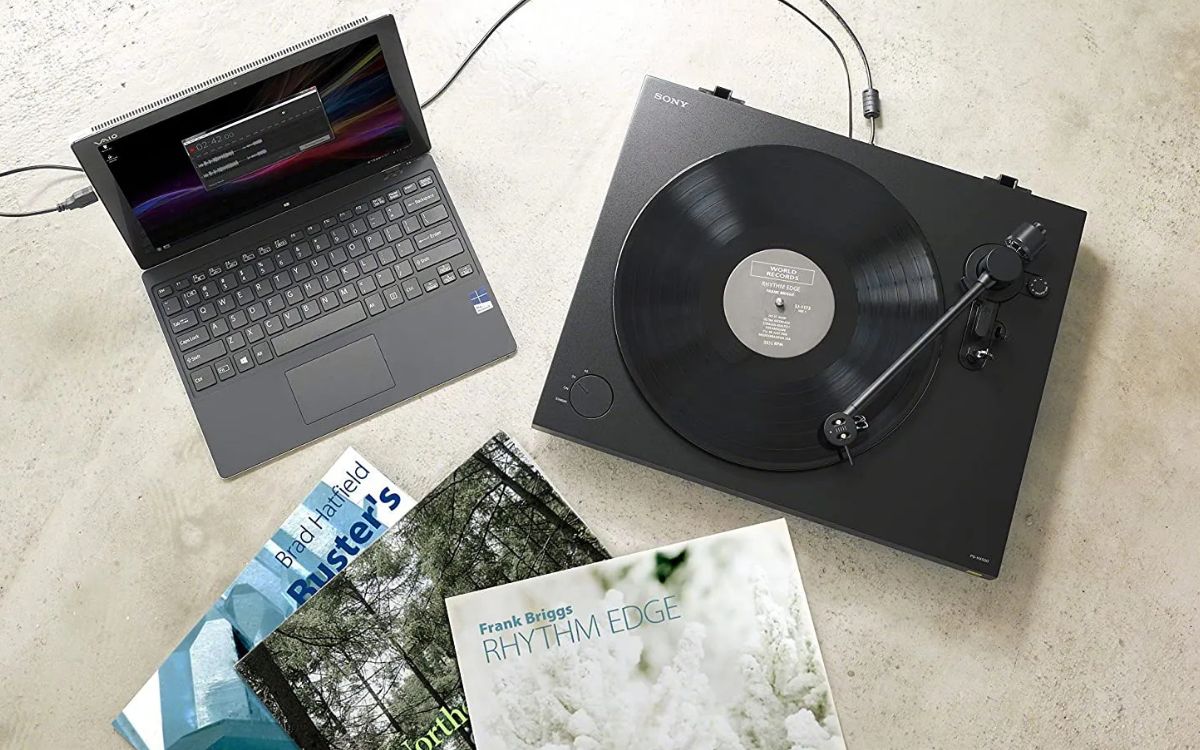
To ensure a successful burn, you’ll need several key components, including a record burner, blank vinyl discs, and appropriate software for transferring and editing audio. Additionally, you’ll want to ensure that your audio source is of high quality, as it will directly impact the sound of the final record.
Now that we have a basic understanding of vinyl records and burning music, let’s move on to the next section, where we’ll discuss the process of preparing your music before burning it onto a vinyl record.
Preparing Your Music
Before you can start the process of burning your music onto a vinyl record, you need to ensure that your music files are properly prepared. This involves selecting the right songs, organizing them, and optimizing their audio quality for the best possible playback on vinyl.
The first step is to curate a playlist of the songs you want to burn onto your vinyl record. Consider the theme or mood you want to create with your record and choose songs accordingly. Whether it’s a collection of your favorite tracks, a mix of different genres, or a themed compilation, taking the time to curate your playlist will result in a more cohesive and enjoyable listening experience.
Once you have your playlist ready, it’s a good idea to organize the songs in the desired playback order. Take into account factors such as tempo, transitions, and overall flow to create a smooth listening experience from start to finish.
Next, you need to ensure that the audio quality of your songs is optimized for vinyl playback. Vinyl records have certain limitations compared to digital formats, so it’s important to take these into consideration to avoid any potential issues. Here are a few tips to help you optimize your audio files:
- Choose high-quality audio files: Use lossless, uncompressed file formats like WAV or FLAC for the best audio quality. Avoid using highly compressed formats like MP3, as they can result in loss of audio detail.
- Check and adjust audio levels: Use audio editing software to check the levels of your songs and make any necessary adjustments. Ensure that the volume levels are consistent among all the songs to avoid drastic changes in volume while playing the record.
- Remove any unwanted noise or artifacts: Use noise reduction tools to minimize any background noise or artifacts in your audio files. This will help enhance the overall clarity and quality of the final record.
- Add appropriate silence between tracks: Insert a few seconds of silence between each track to allow for smooth transitions and prevent audio blending.
By taking the time to properly prepare your music files, you’ll ensure that the final vinyl record sounds its best and provides an enjoyable listening experience.
Now that you have your music files ready, it’s time to move on to the next step: choosing the right vinyl record for your burn.
Choosing the Right Vinyl Record
When it comes to burning your music onto a vinyl record, choosing the right type of vinyl is crucial. Not all vinyl records are created equal, and selecting the appropriate one will ensure that your music sounds great and the record lasts for a long time.
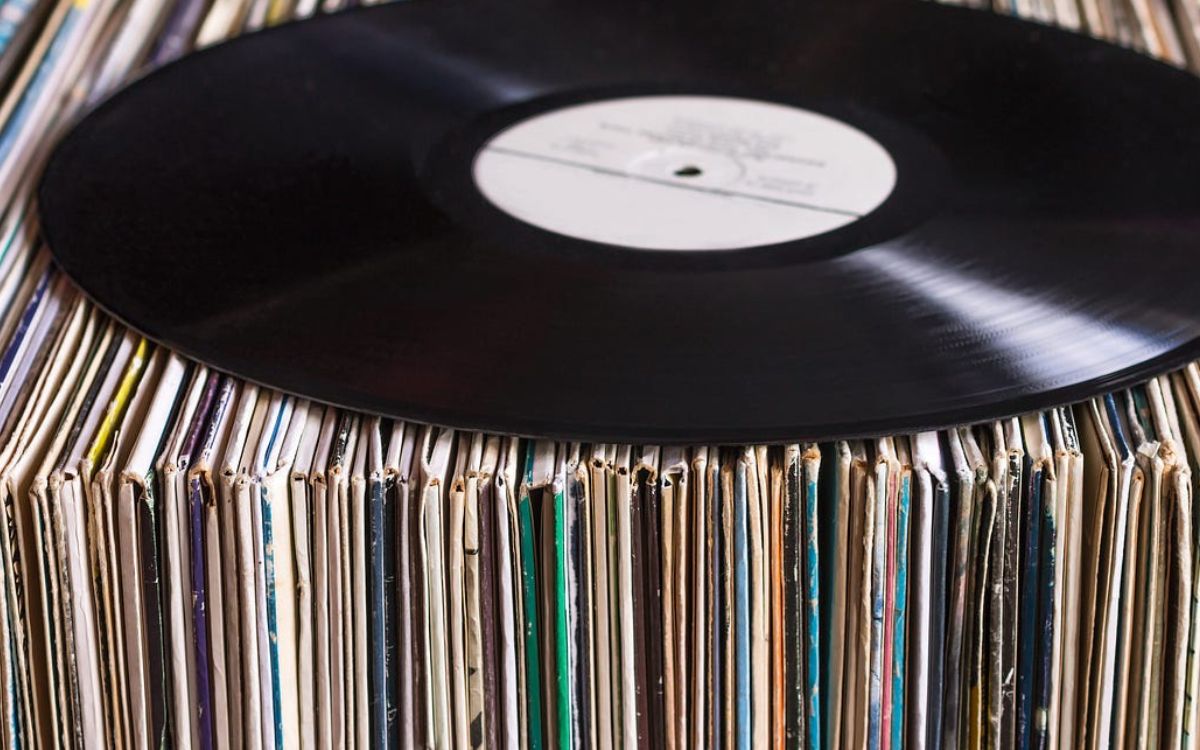
First and foremost, it’s important to choose high-quality blank vinyl discs. Look for discs that are specifically designed for recording purposes, as they have a smoother and more durable surface compared to regular commercial vinyl records. These blank discs are typically available in different sizes, such as 12-inch or 7-inch, so choose the size that best suits your needs.
The next aspect to consider is the playback speed of the vinyl record. Most vinyl records are available in three different playback speeds: 33 1/3 RPM (revolutions per minute), 45 RPM, and 78 RPM. The most common and widely used speed for modern music is 33 1/3 RPM, so it’s recommended to choose blank vinyl discs with this speed. However, if you are planning to burn older or vintage recordings, check the recommended playback speed for those recordings and choose a matching vinyl disc.
Additionally, you need to decide whether you want to create a single-sided or double-sided vinyl record. Single-sided records have grooves only on one side, making them suitable for shorter playlists or special limited-edition releases. Double-sided records, on the other hand, have grooves on both sides and allow for longer playtime.
Another important factor to consider is the thickness of the vinyl record. Standard vinyl records are typically 140-180 grams in weight, but you can also find heavyweight records that are 200 grams or more. The thickness of the vinyl affects the overall durability and playback quality, so choose a thickness that suits your preferences and budget.
Lastly, consider the color and aesthetics of the vinyl record. While this doesn’t directly affect the audio quality, it can add to the overall visual appeal of your custom record. Choose a color or design that aligns with the theme or mood of your music compilation.
By carefully selecting the right type of blank vinyl record for your burn, you’ll ensure that your music sounds great and the record stands the test of time. Now that you have your vinyl record ready, it’s time to set up your burner and prepare for the burning process.
Setting Up Your Burner
Setting up your burner properly is essential to ensure a successful burn and to protect your vinyl record from damage. Here are the steps to follow when setting up your burner:
1. Choose a suitable record burner: There are various options available for burning music onto a vinyl record. You can use a dedicated vinyl cutting machine or a lathe, or you can opt for a DIY approach using a modified turntable. Whichever method you choose, ensure that your burner is compatible with the blank vinyl disc you have selected.
2. Calibrate your burner: Before you start the burning process, it’s important to calibrate your burner to ensure accurate cutting and optimal audio quality. Follow the manufacturer’s instructions for calibrating your specific burner model. This step is crucial to avoid issues like skipping, distortion, or misalignment of grooves.
3. Install suitable cutting stylus: The cutting stylus is responsible for etching the grooves onto the vinyl record. Use a cutting stylus that is suitable for the type of blank disc you are using. Different discs may require different stylus shapes or sizes. It’s essential to choose the right stylus to achieve the desired audio quality and longevity of the record.
4. Adjust the cutting depth: The cutting depth determines how deep the grooves will be etched onto the vinyl record. It’s important to adjust the cutting depth based on the thickness of the blank disc you are using. Follow the instructions provided with your burner or consult the manufacturer’s guidelines to determine the appropriate cutting depth setting.
5. Verify the speed and rotation: Ensure that the burner is set to the correct playback speed (usually 33 1/3 RPM) and that the rotation is steady throughout the burning process. Any irregularities in speed or rotation can result in distorted or uneven audio playback.
6. Clean and maintain your burner: Regularly clean and maintain your burner to ensure optimal performance. Keep the components dust-free and lubricate moving parts, as recommended by the manufacturer. This will help maintain the accuracy and reliability of the burner over time.
By properly setting up your burner, you’ll be ready to move on to the next step: adjusting the audio levels to ensure the best possible sound quality on your vinyl record.
Adjusting the Audio Levels
Adjusting the audio levels is a crucial step in the burning process to ensure that your vinyl record has consistent sound quality and optimal playback. Properly adjusting the audio levels will help avoid distorted or quiet playback and ensure that your music sounds its best on the vinyl format.
Here are the steps to follow when adjusting the audio levels for burning:
1. Use a dedicated audio editing software: Choose a reliable audio editing software that allows you to adjust the volume and levels of your music files. Popular options include Adobe Audition, Audacity, and Logic Pro.
2. Check and normalize the volume: Start by checking the volume levels of each song in your playlist. Normalize the volume of each track to ensure that they are consistent and balanced. This will prevent any extreme changes in volume between songs, providing a more pleasant listening experience on the vinyl record.
3. Avoid excessive loudness or compression: While it may be tempting to make your music as loud as possible, it’s important to avoid excessive loudness or compression. This can result in distorted playback and compromise the overall audio quality. Aim for a balanced and natural sound, allowing for dynamic range in your music.
4. Adjust EQ and tone: If necessary, make small adjustments to the equalization (EQ) and tone of your music files. Enhancing or reducing certain frequencies can help achieve a more balanced and pleasing sound on vinyl. However, be cautious not to overdo it, as extreme adjustments may affect the playback quality or introduce unwanted artifacts.
5. Consider the limitations of vinyl: Keep in mind the limitations of the vinyl format when adjusting your audio levels. Vinyl records have inherent physical restrictions, such as limited bass frequencies and susceptibility to surface noise. Aim to strike a balance between maintaining the integrity of your music and adapting it to the vinyl medium.
6. Test and fine-tune: After adjusting the audio levels, it’s crucial to test the tracks and listen to them to ensure that the sound quality is satisfactory. Make any necessary tweaks or refinements based on the test playback to achieve the desired results.
By carefully adjusting the audio levels, you’ll create a well-balanced and consistent sound on your vinyl record. Now that the levels are set, it’s time to move on to the exciting part – burning your music onto the vinyl record.
Burning Your Music onto the Vinyl Record
Now comes the exciting part – burning your music onto the vinyl record! This step is where your carefully curated playlist and properly adjusted audio levels come to life on the physical medium. Follow these steps to successfully burn your music onto the vinyl record:
1. Prepare the blank vinyl record: Ensure that your blank vinyl record is clean and free from any dust or debris. Wipe the surface gently with a microfiber cloth to remove any particles that could affect the quality of the burn.
2. Set up your burner: Ensure that your burner is properly set up and calibrated, as discussed in the previous section. Make sure that your cutting stylus is securely in place and that the rotation speed is set to the appropriate level for your chosen blank disc.
3. Transfer the audio to the vinyl record: Use your chosen audio software to transfer the curated playlist onto the vinyl record. Follow the specific instructions provided with your burner or refer to the software’s guidelines for burning audio onto vinyl. Pay attention to any specific settings or options that need to be selected, such as track spacing or etching depth.
4. Monitor the burning process: Keep an eye on the burning process as it progresses. Ensure that the stylus is cutting the grooves smoothly and that the audio is being accurately etched onto the record. Monitor for any errors, skips, or issues that may require adjustments or troubleshooting.
5. Finalize the burn: Once the burning process is complete, allow the vinyl record to cool down and settle. Then, carefully remove it from the burner, taking care not to touch the grooves or scratch the surface. Inspect the record for any imperfections or defects that may have occurred during the burn, such as incomplete grooves or excessive noise.
6. Play and test the vinyl record: Finally, it’s time to test the vinyl record! Place it on a clean turntable, gently lower the needle onto the surface, and listen to the music. Pay attention to the sound quality, any skips, or other playback issues. Make notes of any adjustments that need to be made for future burns or improvements.
Congratulations! You’ve successfully burned your music onto a vinyl record. Each record you create is a unique piece that reflects your personal musical taste and creativity. Now, let’s move on to the last section, where we’ll discuss the finalizing steps for your vinyl record.
Finalizing the Vinyl Record
After burning your music onto the vinyl record, there are a few final steps to ensure that your record is in its best possible condition and ready for playback. These finalizing steps will help preserve the integrity of your music and enhance its longevity:
1. Cleaning: Before you play your newly burned vinyl record, it’s important to clean it to remove any dust, fingerprints, or other debris that may have accumulated during the burning process. Use a carbon fiber brush or a dedicated record cleaning kit to gently remove any particles from the surface of the record.
2. Sleeve and label: Place the vinyl record into a protective inner sleeve to shield it from dust and scratches. Additionally, you can create a personalized label for your record to add a personal touch and make it easier to identify in your collection.
3. Store in a proper jacket: Place the sleeved vinyl record into a jacket or album cover designed specifically for vinyl records. Ensure that the jacket is clean and in good condition to protect the record from environmental factors that could cause damage.
4. Store in a suitable environment: Store your vinyl record in a cool, dry, and stable environment to prevent warping or other damages. Avoid exposure to direct sunlight, extreme temperatures, and high humidity, as these can affect the quality and longevity of the record.
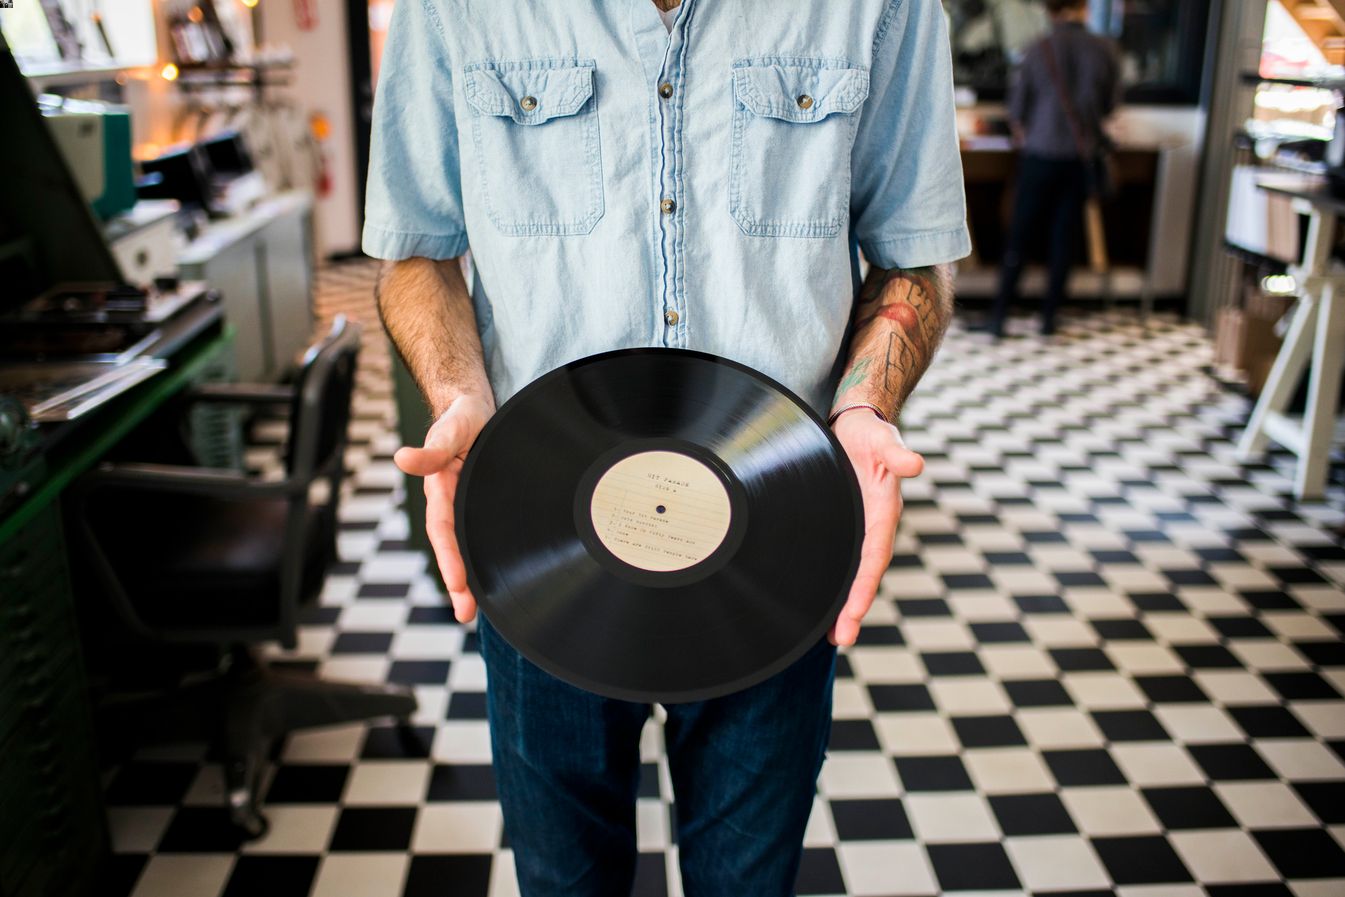
5. Handle with care: When handling your vinyl record, always hold it by the outer edges or the label to avoid touching the grooves. Fingerprints or scratches on the surface can affect the sound quality and cause skips or distortion during playback.
6. Regular maintenance: Regularly inspect and clean your vinyl records to maintain their optimal condition. Use a carbon fiber brush or a record cleaning solution to remove any dust or dirt before playing. It’s also a good idea to periodically check for any signs of wear or damage that may require professional maintenance or repair.
By following these finalizing steps, you’ll ensure that your vinyl record remains in great shape and that you can enjoy your custom music for years to come. Congratulations on successfully completing the burning process and creating your own unique vinyl record!
With the finalizing steps covered, you’re now equipped with the knowledge to burn your own music onto a vinyl record. It’s time to unleash your creativity and start curating your personalized vinyl collection. Happy burning!