Home>Production & Technology>Vinyl>How To Transfer Music From Vinyl Records To Computer
Vinyl
How To Transfer Music From Vinyl Records To Computer
Modified: January 22, 2024
Learn how to transfer your favorite music from vinyl records to your computer with our step-by-step guide. Preserve the nostalgic sound of your vinyl collection and enjoy it anytime, anywhere.
(Many of the links in this article redirect to a specific reviewed product. Your purchase of these products through affiliate links helps to generate commission for AudioLover.com, at no extra cost. Learn more)
Table of Contents
- Introduction
- Required Equipment
- Setting Up Your Record Player
- Connecting Your Record Player to Your Computer
- Selecting and Configuring Audio Recording Software
- Adjusting the Recording Settings
- Playing and Recording Your Vinyl
- Saving and Organizing the Recorded Files
- Cleaning and Enhancing the Audio
- Final Thoughts and Tips
- Conclusion
Introduction
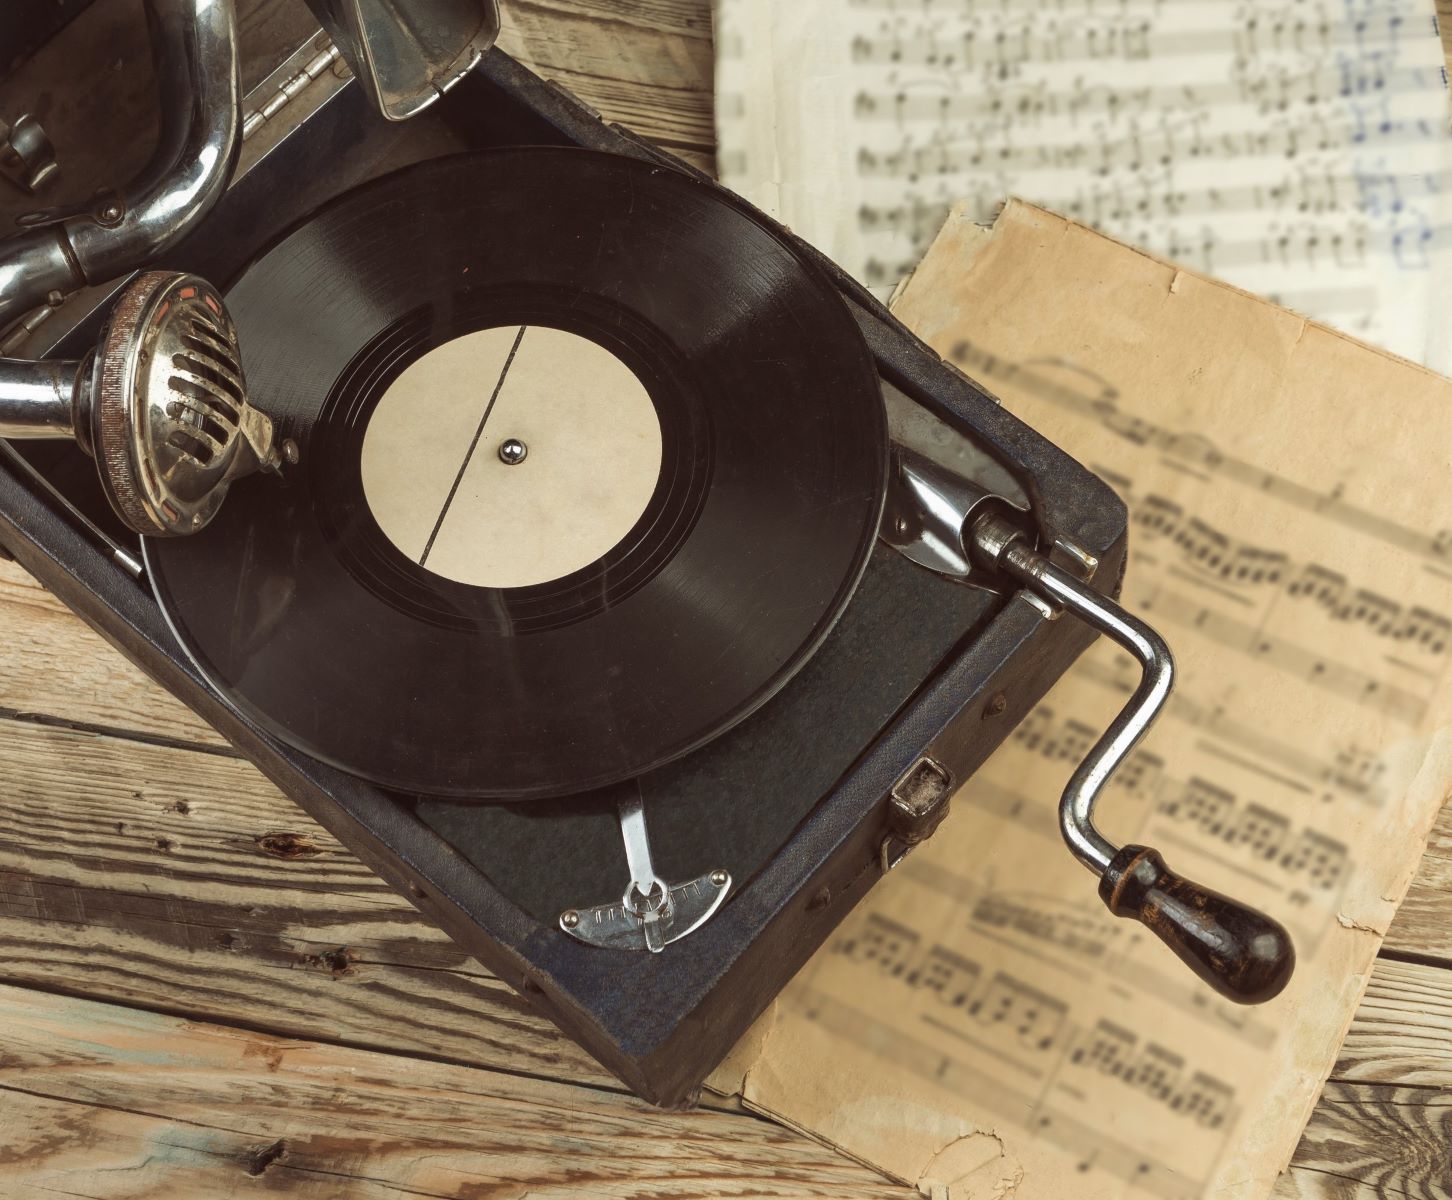
Welcome to the world of vinyl records, a medium beloved by music enthusiasts and audiophiles alike. Vinyl records offer a warm, rich sound that digital formats often struggle to replicate. Whether you are a vinyl collector or just starting to explore the wonders of analog music, you may be wondering how to transfer your vinyl records to your computer.
Transferring music from vinyl records to your computer allows you to preserve and enjoy your favorite albums in a digital format. This way, you can create playlists, listen on portable devices, and even share your music with friends and family.
In this guide, we will walk you through the process of transferring music from vinyl records to your computer. We will cover the necessary equipment, setting up your record player, connecting it to your computer, selecting and configuring audio recording software, playing and recording your vinyl, organizing the recorded files, and even cleaning and enhancing the audio.
It’s important to note that transferring vinyl records to your computer requires some basic technical knowledge and a few pieces of equipment. However, with the right tools and a little bit of patience, you’ll be able to digitize your vinyl collection and enjoy the best of both analog and digital worlds.
So, let’s dive in and explore the steps to transfer your vinyl records to your computer, preserving and enjoying your music collection for years to come.
Required Equipment
Before you begin the process of transferring music from vinyl records to your computer, there are a few essential pieces of equipment you will need to gather. Here’s a list of what you’ll need:
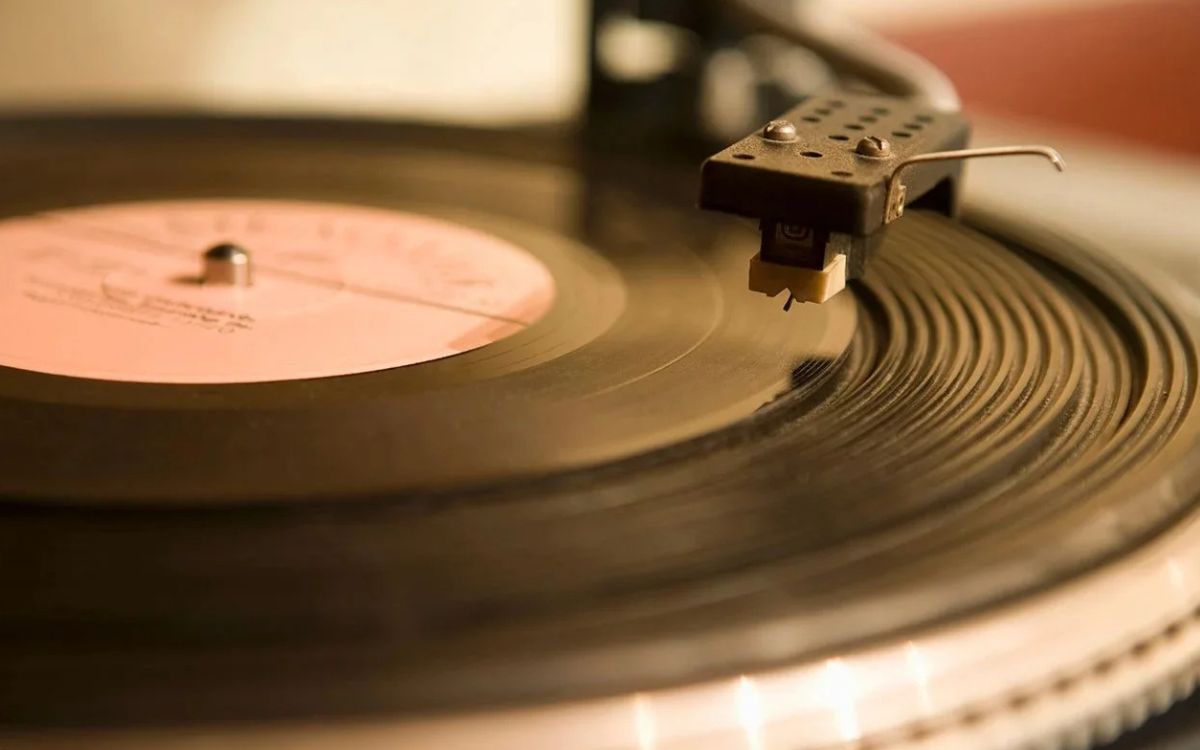
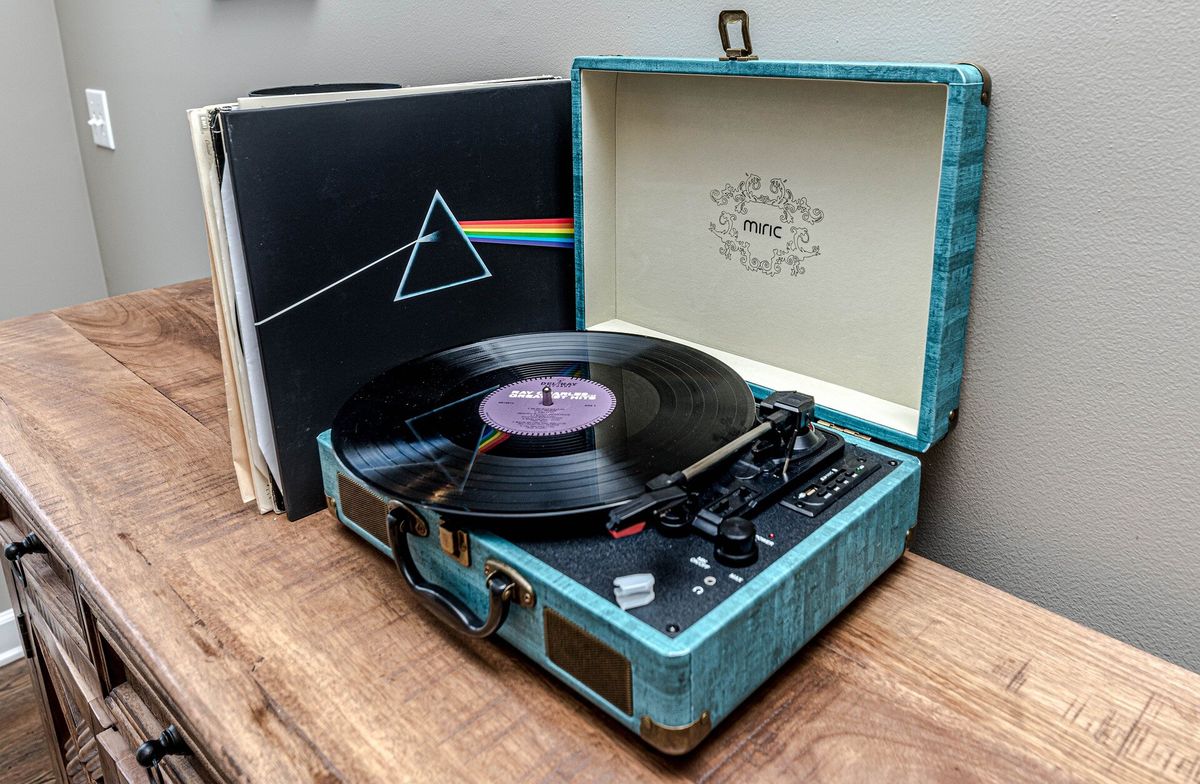
- Turntable or Record Player: You’ll need a functioning turntable or record player to play your vinyl records. Make sure it has a good stylus and is in proper working condition.
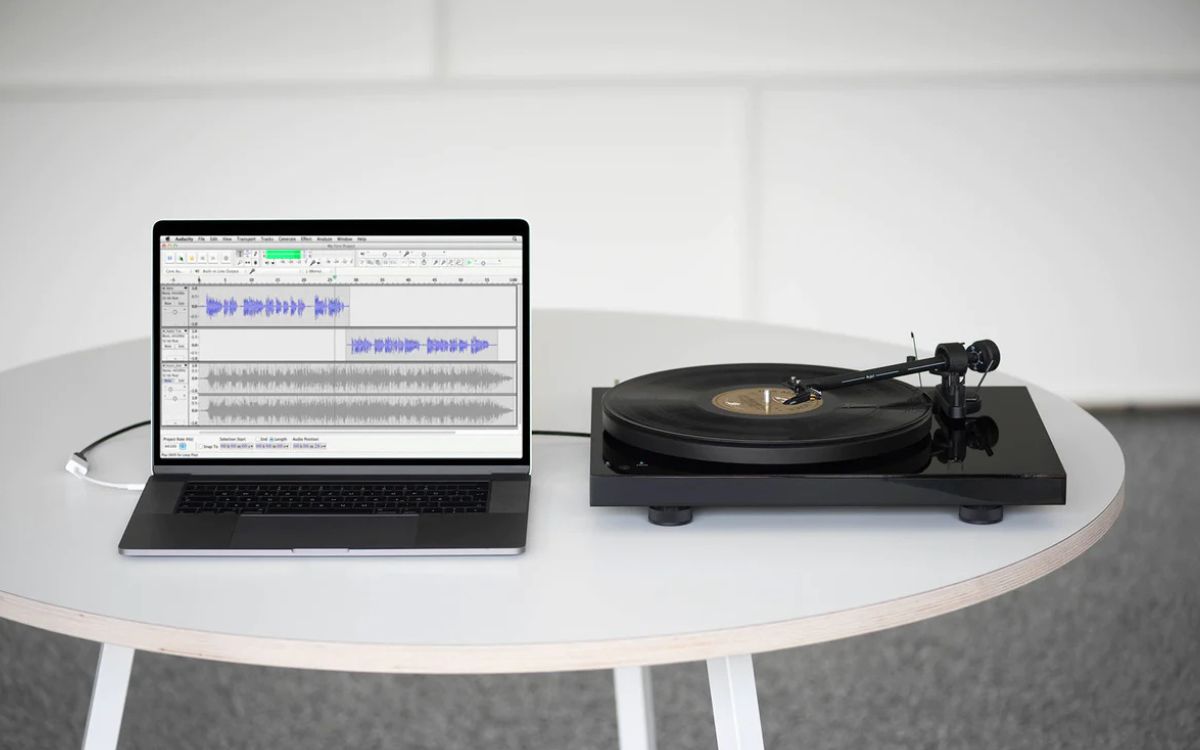
- Computer: You’ll need a computer with enough storage space to save the digitized audio files. It can be a desktop or laptop, as long as it has a USB port for connecting the record player.
- Audio Interface: An audio interface is a device that connects your record player to your computer. It converts the analog signal from the record player into a digital signal that can be recorded on your computer. Make sure the audio interface has a phono input or a built-in preamp if your turntable doesn’t have a built-in preamp.
- USB Cable: You’ll need a USB cable to connect the audio interface to your computer. Make sure it is compatible with both devices.
- Audio Recording Software: You’ll need audio recording software installed on your computer to capture and save the audio from the vinyl records. There are many options available, both free and paid. Some popular choices include Audacity (free), Adobe Audition, and GarageBand (for Mac users).
- Headphones or Speakers: You’ll need a good pair of headphones or speakers to monitor the audio while recording and to listen to your digitized music.
Additionally, it’s worth investing in a few extras to ensure the best possible transfer quality:
- Cleaning Kit: A vinyl record cleaning kit will help you keep your records in good condition and minimize dust and debris that can affect the audio quality.
- Grounding Wire: If you notice a humming sound or interference during playback, a grounding wire can help eliminate the noise by properly grounding the turntable and audio interface.
- Pop Filter: If you plan to do any audio editing or enhance the audio quality, a pop filter can help reduce plosive sounds and improve clarity.
Gathering the necessary equipment will ensure a smooth and successful transfer process. Once you have everything ready, you can move on to setting up your record player and connecting it to your computer.
Setting Up Your Record Player
Before you can begin transferring music from your vinyl records to your computer, you’ll need to properly set up your record player. Here are the steps to follow:
- Choose a Suitable Location: Find a stable and level surface for your record player. It’s important to have a sturdy and flat surface to minimize vibrations and ensure accurate playback.
- Check the Turntable’s Speed: Most vinyl records are played at 33 1/3 RPM (revolutions per minute) or 45 RPM. Make sure your turntable is set to the correct speed for the record you want to transfer.
- Balance the Tonearm: The tonearm of your turntable should be balanced to ensure proper tracking and prevent damage to your records. Refer to your turntable’s manual for instructions on how to balance the tonearm.
- Choose the Right Stylus: Different records require different types of stylus. Make sure you have the appropriate stylus for the record you want to transfer. If you’re unsure, consult the manufacturer’s guidelines or seek advice from a knowledgeable professional.
- Clean Your Vinyl: Before playing a record, it’s essential to clean it to remove any dirt or dust that could affect the audio quality. Use a vinyl record cleaning brush or a record cleaning solution and a microfiber cloth to gently clean the surface of the record.
- Replace Worn-Out Parts: If your turntable’s belt, stylus, or any other parts are worn out, consider replacing them before starting the transfer process. This will ensure optimal sound quality and prevent any potential damage to your records.
- Test the Playback: Before connecting your record player to the computer, test the playback on a few records to ensure everything is working correctly. Listen for any skipping, distortion, or other issues that may need to be addressed.
Setting up your record player correctly is crucial to ensure accurate and high-quality audio transfer. Take the time to properly check and adjust each component to maximize the performance of your turntable.
With your record player set up, you’re now ready to connect it to your computer and get started with transferring your vinyl records to digital files.
Connecting Your Record Player to Your Computer
Once you have your record player set up, the next step is to connect it to your computer. Follow these steps to establish the connection:
- Identify the Output of Your Record Player: Your record player may have different types of outputs, such as RCA, USB, or a 3.5mm headphone jack. Identify the output that best suits your setup.
- Choose the Connection Method: Depending on the output of your record player and the input options on your computer, you’ll need to select the appropriate connection method. Here are a few common methods:
- RCA to 3.5mm: If your record player has RCA outputs and your computer has a 3.5mm audio input, you can use an RCA-to-3.5mm cable to connect the two.
- USB: Some modern turntables come with a USB output, allowing for a direct connection to your computer. In this case, simply use a USB cable to connect the turntable to your computer.
- Audio Interface: If your record player has RCA outputs and your computer doesn’t have a suitable input, you’ll need to use an audio interface. Connect the audio interface to your computer via USB and use RCA cables to connect the record player to the audio interface.
- Configure Input Settings: Once the physical connection is established, you’ll need to configure the input settings on your computer. Go to your computer’s sound settings or audio recording software and select the appropriate input source. It may be listed as the name of your audio interface or as the specific input you are using.
- Test the Connection: Before proceeding with the recording, test the connection by playing a record and monitoring the audio through your computer’s speakers or headphones. Make sure the sound is coming through and adjust the volume levels if necessary.
Remember to consult the manuals of your record player and audio interface for any specific instructions or troubleshooting tips related to their respective connections. Once your record player is successfully connected to your computer, you’re ready to move on to the next steps of selecting and configuring your audio recording software.
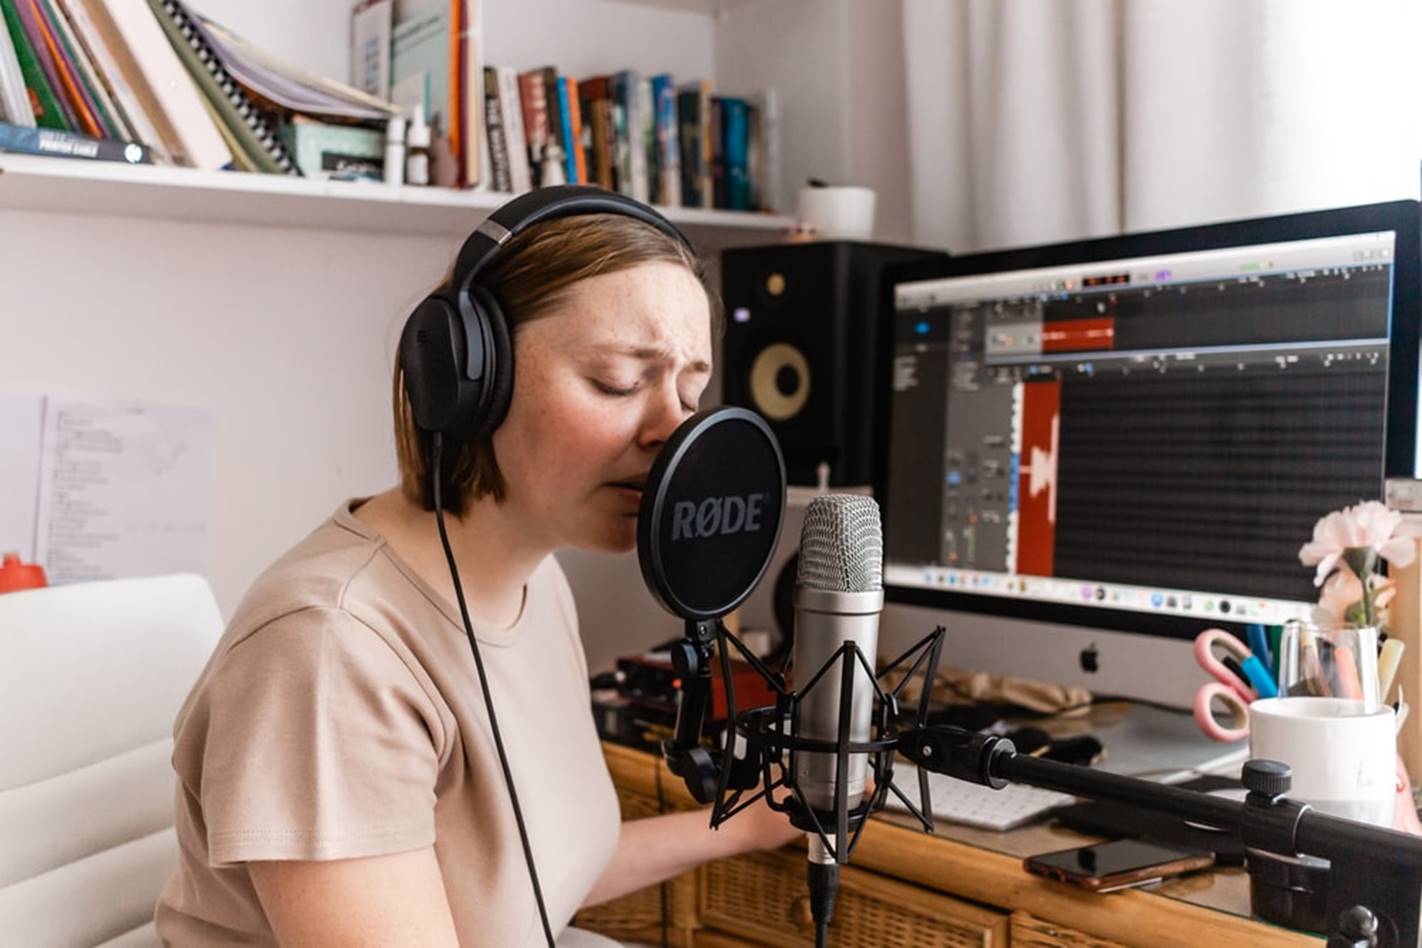
Selecting and Configuring Audio Recording Software
Now that you have your record player connected to your computer, it’s time to select and configure audio recording software to capture the audio from your vinyl records. Here are the steps to follow:
- Choose the Right Software: There are several options available for audio recording software, both free and paid. One popular and user-friendly choice is Audacity, which is available for Windows, macOS, and Linux. Other options include Adobe Audition, GarageBand (for Mac users), and Steinberg Cubase.
- Download and Install the Software: Visit the official website of your chosen software and download the installation file. Follow the on-screen instructions to install the software on your computer.
- Configure the Recording Settings: Once the software is installed, open it and navigate to the settings or preferences menu. Here, you can configure the audio input and output settings. Set the input source to the one you used to connect your record player (e.g., the audio interface or the specific input).
- Set the Recording Format and Quality: Choose the desired recording format and quality for your audio files. The most common format is WAV, which provides lossless audio quality. You can also choose MP3 or other compressed formats if storage space is a concern. Adjust the sample rate and bit depth according to your preference or the recommended settings of your software.
- Check the Level Meters: Make sure the level meters in the software are properly calibrated and are not clipping or distorting the sound. Adjust the input gain on your audio interface, if available, to achieve optimal recording levels without any distortion.
- Configure Monitoring: Enable the monitoring feature in your recording software so that you can hear the audio from your record player in real-time. This will allow you to ensure the recording is capturing the desired sound and make any necessary adjustments during the process.
Once you have configured the recording software according to your preferences and the specific setup of your record player and computer, you are ready to start playing and recording your vinyl records.
Note that the specific steps and options may vary slightly depending on the software you choose. Make sure to consult the software’s documentation or online resources for more detailed instructions if needed. Additionally, experimenting with different settings and techniques can help you achieve the best possible audio quality for your recordings.
Adjusting the Recording Settings
Before you start playing and recording your vinyl records, it’s important to spend some time adjusting the recording settings to ensure optimal sound quality and accurate capture of the audio. Here are some key considerations:
- Recording Levels: Monitor the recording levels within your audio recording software. Aim to have the levels peaking around -6 dB to -3 dB to leave some headroom and avoid clipping or distortion. Adjust the input gain on your audio interface or within the software if necessary.
- Playback Volume: Adjust the volume level of your record player to achieve a balanced and desirable sound. Too low of a volume may result in a weak or noisy recording, while too high of a volume may cause distortion.
- Playback Speed: Ensure that your record player is set to the correct speed (33 1/3 RPM or 45 RPM) for the record you’re playing. This will ensure accurate capture of the audio without any variations in pitch or timing.
- Monitor the Sound: Use the monitoring feature of your audio recording software or connect headphones or speakers to your audio interface to listen to the sound in real-time. This will allow you to detect any issues or anomalies during the recording process and make necessary adjustments.
- Recording Format and Quality: Ensure that you have selected the desired recording format and quality within your audio recording software. Consider using lossless formats like WAV or FLAC to preserve the highest quality audio. Be mindful of the file size since uncompressed formats can consume a significant amount of storage space.
- File Naming and Organization: Establish a clear and consistent file naming convention for your recorded files to make it easier to manage and organize your digitized music collection. Consider including relevant information such as the album title, artist, and track number in the file names.
- Recording Length: Plan for the desired length of each recording. You can choose to record entire albums as individual tracks or separate them based on individual songs. This decision will depend on your personal preference and the level of granularity you desire for your digitized music library.
Take your time to adjust these recording settings to your liking, as they will greatly impact the quality and usability of your digitized audio files. Once you have fine-tuned the settings, you can proceed to play and record your vinyl records.
Remember to periodically monitor the recording levels and sound quality during the recording process and make adjustments as needed. This will ensure that your recorded files accurately capture the beauty and essence of your vinyl records.
Playing and Recording Your Vinyl
With your record player set up and recording settings adjusted, it’s time to start playing and recording your vinyl records. Follow these steps to ensure a successful and accurate recording:
- Select the Record: Choose the vinyl record you want to transfer to your computer and carefully place it on the turntable platter. Ensure that the record is clean and free from any dust or debris that could affect the sound quality.
- Cue the Record: Gently lift the tonearm and place it at the beginning of the desired track. Ensure that the stylus is aligned properly with the record grooves to avoid any tracking issues or sound distortion.
- Start Recording: Begin the recording within your audio recording software. Start the playback of the record on your turntable, ensuring that the stylus is in contact with the record surface. Monitor the recording levels and sound quality in real-time.
- Monitor the Recording: Keep an eye on the recording process, listening for any issues such as distortion, skips, or unwanted noise. If you encounter any problems, pause the recording and make the necessary adjustments before resuming.
- Manage Record Flips and Side Changes: For records that require flipping or changing sides, pause the recording before doing so to ensure a seamless and uninterrupted recording. Make sure to cue the new side properly and adjust the playback volume if necessary.
- Playback and Recording Completion: Once the desired tracks or entire record have been played and recorded, pause or stop the playback on your turntable. Stop the recording in your audio recording software to finalize the recorded file.
During the process, it is important to maintain a quiet environment to minimize any background noise or interference that could affect the audio quality. Avoid touching the turntable or the tonearm while the recording is in progress to prevent any accidental disruptions.
Remember, the quality of the final recorded files will greatly rely on the condition of the vinyl, the performance of your equipment, and the accuracy of your recording settings. Take your time to ensure each step is done carefully, aiming to capture the true essence and fidelity of the vinyl record.
Once you have completed the recording process, you’re ready to save and organize the digitized audio files on your computer.
Saving and Organizing the Recorded Files
After successfully transferring your vinyl records to digital files, it’s important to properly save and organize the recorded audio to ensure easy access and optimal management of your music collection. Here are some steps to help you with saving and organizing the files:
- Choose a Storage Location: Create a dedicated folder on your computer or an external hard drive specifically for your digitized vinyl files. Consider organizing the folder structure based on categories such as artist, album, or genre to make it easier to locate and browse your music.
- Name and Tag the Files: Rename the recorded files using a consistent naming convention that includes artist name, album title, and track number. This will help you identify and sort the files more efficiently. Additionally, consider adding metadata tags to the files, including album artwork, album information, and genre.
- Convert to Preferred File Format: If you recorded your files in a lossless format such as WAV, you may want to consider converting them to a more compressed format like MP3 or AAC to save storage space, especially if you have a large collection. Use a reliable audio converter software to perform this conversion.
- Backup Your Files: It’s important to create regular backups of your recorded files to prevent any data loss. Consider using cloud storage platforms or external hard drives for backup purposes. This will ensure that you have a reliable copy of your digitized vinyl collection in the event of any unexpected issues.
- Create Playlists: Use your preferred media player or music management software to create playlists based on different themes, genres, or moods. Playlists can help you easily create personalized music collections for specific occasions or preferences.
- Add Album Artwork and Metadata: Enhance the visual appeal and organization of your digitized music collection by adding album artwork and filling in metadata details such as artist, album, year, and track information. This can be done manually within your media player or by using specialized software that helps to manage and edit music metadata.
By saving and organizing your recorded files in a systematic and consistent manner, you’ll be able to easily navigate and enjoy your digitized vinyl collection. Take the time to maintain the organization as you continue to digitize more records, ensuring a seamless and enjoyable music browsing and listening experience.
Remember to periodically update your backups to safeguard against any potential data loss. With your recorded files saved and organized, you can now enjoy your vinyl records in a digital format, and even explore further possibilities for cleaning and enhancing the audio if desired.
Cleaning and Enhancing the Audio
Once you have successfully transferred your vinyl records to digital files, you may want to consider cleaning and enhancing the audio to improve the overall quality of your recordings. Here are some techniques and tools you can use for this process:
- Remove Background Noise: Vinyl records often have inherent background noise such as pops, clicks, and hisses. You can use audio editing software to reduce or eliminate these unwanted sounds. Tools like the noise reduction or spectral repair feature in programs like Audacity or Adobe Audition can help clean up the audio.
- Normalize the Volume: Normalize the volume levels of your recordings to ensure consistent playback. This process helps to balance the levels of each track so that they are all at a similar volume. This can be done using the normalize feature in your audio editing software.
- Apply Equalization (EQ): Use EQ to enhance the tonal balance of your recordings. You can adjust the frequency bands to boost or cut certain ranges, helping to improve the clarity and richness of the audio. Experiment with different EQ settings to achieve the desired sound, but be careful not to overdo it, as excessive EQ can introduce unwanted artifacts.
- Apply Dynamic Range Compression: Dynamic range compression helps to even out the peaks and valleys in the audio, creating a more balanced and consistent sound. This technique can be particularly useful if your recording has wide variations in volume or if you prefer a more polished and “radio-ready” sound.
- Enhance Stereo Imaging: If your recordings lack depth or separation, you can use stereo imaging techniques to create a wider and more immersive soundstage. This can involve adjusting the panning, applying stereo widening effects, or using spatial audio plugins to enhance the stereo image.
- Use Audio Restoration Software: Consider using specialized audio restoration software to automatically remove clicks, pops, and other imperfections from your recordings. These tools analyze the audio and apply algorithms to intelligently repair and restore the sound quality.
When applying these techniques, it’s important to strike a balance between enhancing the audio and preserving the original character and authenticity of the vinyl records. Take your time to experiment with different settings and listen to the results to ensure you achieve the desired outcome.
Keep in mind that not all recordings may require extensive cleaning or enhancement. Some vinyl records may have their own unique characteristics and sonic qualities that are best left untouched. Use your judgment and listen critically to determine what improvements, if any, will enhance your listening experience.
Remember to save your cleaned and enhanced audio files as separate versions, so you have the option to compare and revert back to the original recordings if desired.
With your audio cleaned and enhanced, you can now enjoy your digitized vinyl collection with improved sound quality and clarity.
Final Thoughts and Tips
As you embark on the journey of transferring your vinyl records to your computer, here are some final thoughts and tips to keep in mind:
- Preserve the Originals: Even though you have digitized your vinyl records, it’s important to continue safely storing and preserving the original physical copies. Vinyl records have a nostalgic charm and can offer a unique listening experience that digital files may not fully replicate.
- Keep Your Equipment Clean: Regularly clean your record player, stylus, and vinyl records to maintain optimal sound quality and prevent damage. Dust, dirt, and debris can accumulate over time, affecting the playback and recording process.
- Take Breaks: Transferring vinyl records to digital files can be a time-consuming process, so remember to take breaks to rest your ears and prevent fatigue. This will help you maintain focus and make accurate adjustments during the recording and editing stages.
- Experiment and Learn: Don’t be afraid to experiment with different techniques and settings to find the ideal sound for your recordings. Each vinyl record may present unique challenges and opportunities for enhancement, so embrace the learning process and enjoy the journey.
- Pay Attention to Metadata: Adding accurate and detailed metadata to your digitized audio files will greatly enhance your music organization and searching capabilities. Take the time to input essential information such as artist, album, track titles, year of release, and genre.
- Listen and Collaborate: Seek the input and feedback of fellow vinyl enthusiasts or audio professionals. They can provide valuable insights, suggestions, and expertise in achieving the best possible transfer and audio quality.
- Respect Copyright Laws: While transferring vinyl records for personal use is generally acceptable, it’s important to respect copyright laws and restrictions. Avoid distributing or sharing digitized copies of copyrighted material without proper authorization.
Transferring your vinyl records to your computer allows you to enjoy the convenience and versatility of digital music while preserving the charm of physical records. It’s a rewarding process that allows you to rediscover your favorite albums and build a digital music library that suits your preferences.
Remember, there’s no right or wrong way to transfer vinyl records to your computer. Use this guide as a starting point and adapt the steps and techniques to fit your specific setup and preferences. Ultimately, the goal is to capture the essence and beauty of your vinyl collection in a digital format that brings you joy and allows you to share your love of music with others.
So gather your vinyl records, set up your equipment, and embark on this exciting journey of preserving and enjoying your music collection for years to come!
Conclusion
Transferring your vinyl records to your computer allows you to embrace the best of both analog and digital worlds. It enables you to preserve and enjoy the warmth, richness, and nostalgia of vinyl while also benefiting from the convenience and versatility of digital music. Throughout this guide, we have explored the essential equipment needed, the setup process for your record player, connecting it to your computer, selecting and configuring audio recording software, and the steps to play, record, clean, and enhance your vinyl recordings.
Remember, the transfer process requires attention to detail, patience, and a keen ear. Take the time to fine-tune your equipment, adjust recording settings, and clean your vinyl records to ensure the highest quality results. Additionally, organizing and managing your digitized music collection will enhance your overall experience and make it easier to locate and enjoy your favorite tracks.
Embrace the opportunity to experiment with audio editing techniques such as noise reduction, equalization, and dynamic range compression. However, always strive to preserve the authenticity and unique characteristics of each record. The goal is to enhance the listening experience while maintaining the original intention and sound of the vinyl recordings.
As you embark on the journey of transferring your vinyl records to your computer, enjoy the nostalgia that comes with reconnecting with your favorite artists, albums, and songs. Explore the nuances of each vinyl record, the crackles between tracks, and the album artwork that brings life to the music.
Remember to respect copyright laws and use your digitized files for personal enjoyment only. Sharing or distributing copyrighted material without proper authorization is illegal and undermines the hard work and creativity of artists and musicians.
Finally, be open to new discoveries and music recommendations from fellow vinyl enthusiasts or industry professionals. Engage in discussions and share your passion for vinyl records to foster a vibrant and supportive community.
So, dust off your vinyl collection, set up your equipment, and embark on the journey of transferring your vinyl records to your computer. Preserve the nostalgia and joy of vinyl while embracing the convenience and possibilities of the digital age. May your digitized music library bring you endless hours of listening pleasure and keep the spirit of vinyl alive for generations to come.