Home>Devices & Equipment>Earbuds>How Do I Connect My JBL Earbuds To My Laptop

Earbuds
How Do I Connect My JBL Earbuds To My Laptop
Modified: January 22, 2024
Learn how to connect your JBL earbuds to your laptop easily. Follow our step-by-step guide for a seamless connection experience.
(Many of the links in this article redirect to a specific reviewed product. Your purchase of these products through affiliate links helps to generate commission for AudioLover.com, at no extra cost. Learn more)
Table of Contents
Introduction
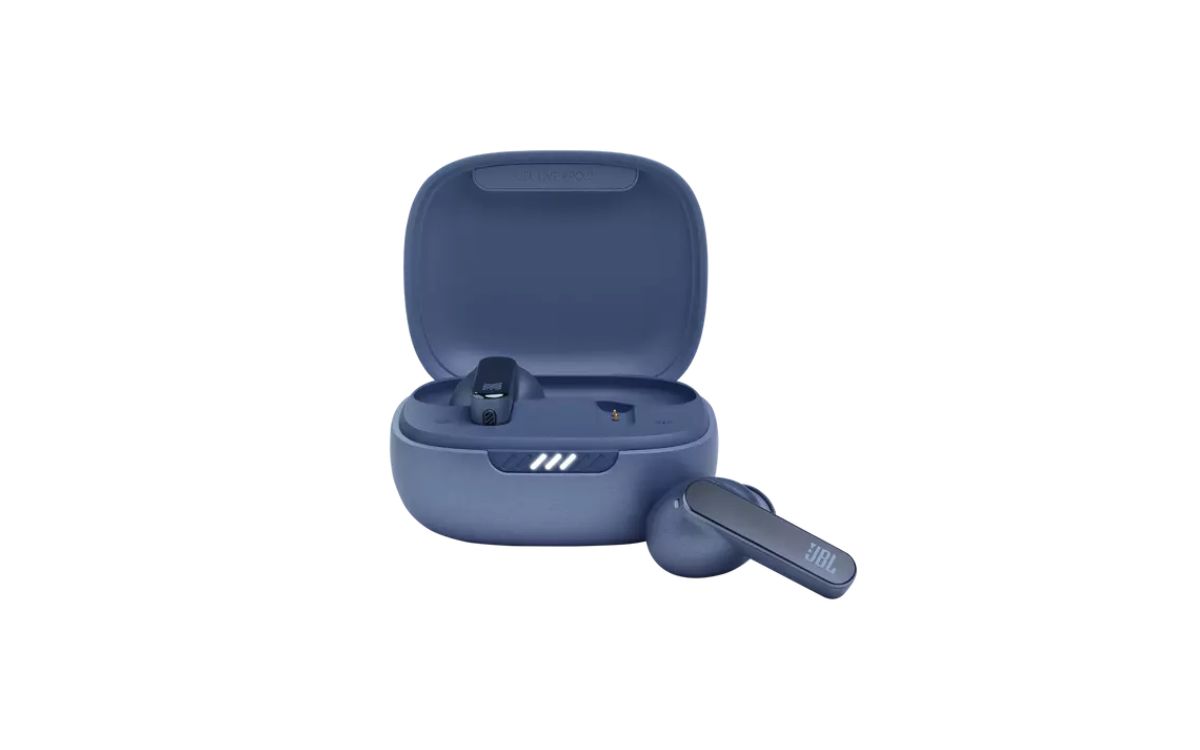
Welcome to the world of JBL earbuds! These small, wireless devices are perfect for those who want to enjoy their favorite music, podcasts, or videos without the hassle of tangled wires. JBL is a well-known brand that is synonymous with high-quality sound and innovative design. Whether you’re a music lover, a fitness enthusiast, or simply someone who wants to enjoy hands-free audio, JBL earbuds are a fantastic choice.
Connecting your JBL earbuds to your laptop opens up a whole new world of possibilities. You can easily stream music, have crystal-clear phone calls, or immerse yourself in the audio of your favorite movies or games. In this article, we will guide you through the process of connecting your JBL earbuds to your laptop so you can start enjoying your audio experience to the fullest.
Each JBL earbud model may have slightly different connectivity options, but the general process remains the same. We will outline the steps you need to follow to establish a seamless connection, as well as provide troubleshooting tips in case you encounter any issues along the way.
So, if you’re eager to unlock the full potential of your JBL earbuds and experience superb audio quality on your laptop, let’s dive into the step-by-step guide on how to connect them!
Step 1: Turn on your JBL earbuds
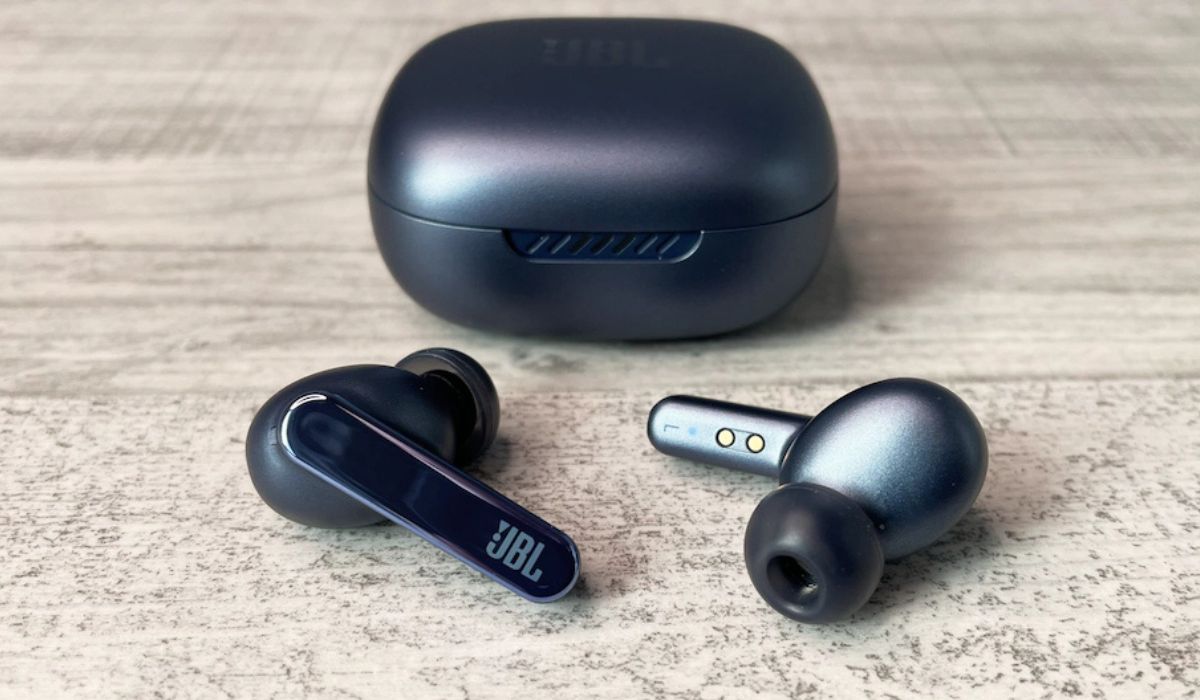
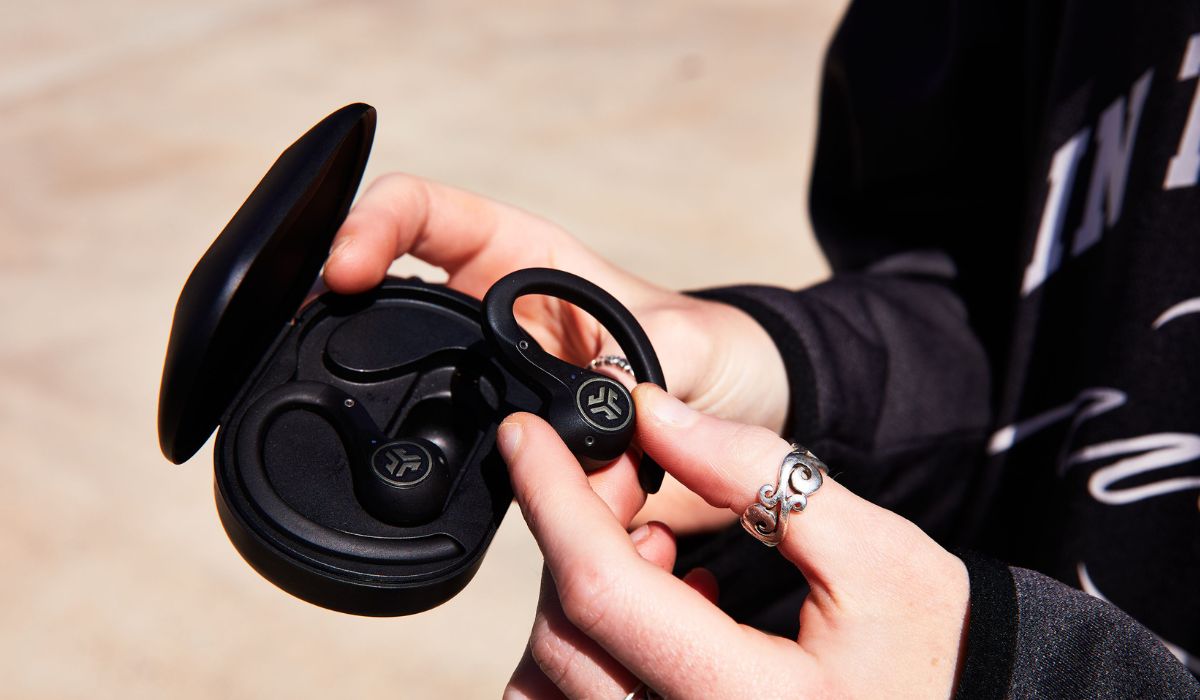
The first step in connecting your JBL earbuds to your laptop is to make sure they are turned on. Most JBL earbuds have a power button located either on the earbud itself or on the charging case. Here’s how you can turn them on:
- Locate the power button: Check your JBL earbuds and their charging case for a power button. It is usually indicated by a small symbol or the word “power.”
- Press and hold the power button: Once you’ve located the power button, press and hold it for a few seconds until you see an LED light indicator or hear a sound cue. This indicates that your JBL earbuds are now powered on and ready to establish a connection.
It’s important to note that the exact method of turning on your JBL earbuds may vary depending on the model you own. Some models may have specific instructions or additional buttons for certain features, such as volume control or activating voice assistants. Be sure to consult the user manual or the manufacturer’s website for detailed information regarding your specific JBL earbud model.
Once your JBL earbuds are powered on, they are now in pairing mode, waiting to connect to a compatible device, such as your laptop. In the next step, we will guide you on how to enable Bluetooth on your laptop to establish a connection.
Step 2: Enable Bluetooth on your laptop
Before you can connect your JBL earbuds to your laptop, you need to make sure that Bluetooth is enabled on your laptop. Bluetooth is a wireless technology that allows devices to communicate and connect with each other without the need for cables. Here’s how you can enable Bluetooth on your laptop:
- Open the settings: Depending on your laptop’s operating system, the method of accessing the settings menu may vary. In Windows, you can click on the “Start” menu and select the “Settings” gear icon. On a Mac, you can click on the Apple menu and select “System Preferences.”
- Find the Bluetooth settings: Inside the settings menu, locate the Bluetooth option. It is usually represented by a Bluetooth icon or can be found under a “Devices” or “Connections” category.
- Enable Bluetooth: Toggle the switch or click on the option to turn Bluetooth on. Once enabled, your laptop will start scanning for nearby Bluetooth devices to connect to.
It’s important to note that the steps to enable Bluetooth may vary slightly depending on your laptop’s operating system and version. If you’re unsure about how to enable Bluetooth on your specific laptop, refer to the user manual or the manufacturer’s website for detailed instructions.
Once Bluetooth is enabled on your laptop, you’re now ready to pair your JBL earbuds with your laptop. In the next step, we will guide you through the pairing process.
Step 3: Pair your JBL earbuds with your laptop
Now that Bluetooth is enabled on your laptop, it’s time to pair your JBL earbuds with your laptop. Pairing is the process of establishing a secure connection between two Bluetooth-enabled devices. Follow these steps to pair your JBL earbuds with your laptop:
- Put your JBL earbuds in pairing mode: Refer to the user manual or the manufacturer’s website to find the specific steps for your JBL earbud model to enter pairing mode. Typically, you need to either press and hold a Bluetooth button on the earbud or hold it close to the laptop until the LED light starts flashing, indicating that the earbuds are ready to pair.
- Go to the Bluetooth settings on your laptop: Open the settings menu again and navigate to the Bluetooth settings.
- Scan for devices: Click on the “Scan” or “Search for devices” button in the Bluetooth settings on your laptop. Your laptop will start scanning for nearby Bluetooth devices, including your JBL earbuds.
- Select your JBL earbuds: Once your JBL earbuds appear in the list of available devices, click on them to select them for pairing.
- Complete the pairing process: Follow any on-screen instructions that may appear on your laptop to complete the pairing process. This may involve entering a passcode or confirming a pairing request.
After completing these steps, your JBL earbuds should now be successfully paired with your laptop. You may see a confirmation message on your laptop, and the LED lights on your JBL earbuds may also change to indicate a successful connection.
It’s worth noting that the pairing process may vary slightly depending on your laptop’s operating system and JBL earbud model. If you encounter any difficulties, refer to the user manual for your JBL earbuds or check the manufacturer’s website for specific instructions.
Now that your JBL earbuds are paired with your laptop, let’s move on to the next step and test the connection to ensure everything is working correctly.
Step 4: Test the connection
After successfully pairing your JBL earbuds with your laptop, it’s important to test the connection to ensure that everything is working as expected. Here’s how you can test the connection:
- Play audio on your laptop: Open your favorite music streaming app, video player, or any other audio source on your laptop. Play a song, video, or any audio content that you would like to listen to through your JBL earbuds.
- Check the audio output device: Look for the audio output device settings on your laptop. It can usually be found in the system tray on Windows or in the menu bar on Mac. Ensure that the selected audio output device is your JBL earbuds. If not, select them from the available options.
- Listen through your JBL earbuds: With the audio playing on your laptop and the JBL earbuds selected as the audio output device, listen carefully to see if the audio is playing through your earbuds. You should hear the sound coming out of your earbuds instead of the laptop speakers.
- Adjust the volume: Use the volume controls on your JBL earbuds or on your laptop to adjust the volume level. Ensure that you can hear the audio clearly and at the desired volume.
If you can hear the audio through your JBL earbuds and control the volume successfully, congratulations! The connection between your JBL earbuds and your laptop is working properly. You can now enjoy your audio content with the freedom and convenience of wireless earbuds.
If you’re experiencing any issues with the connection or if there is no sound coming through your JBL earbuds, try the following troubleshooting tips:
- Make sure your JBL earbuds are charged: Low battery levels can affect the performance of your earbuds. Charge them fully and try the connection again.
- Restart your laptop: Sometimes, a simple restart can resolve connection issues. Restart your laptop and try connecting the JBL earbuds again.
- Reset your JBL earbuds: Refer to the user manual or the manufacturer’s website for instructions on how to reset your JBL earbuds. Performing a reset can help fix any software or connectivity glitches.
- Check for software updates: Ensure that both your laptop’s operating system and your JBL earbuds are updated with the latest software versions. Updating the software can often solve compatibility issues.
- Try connecting to a different device: Test the JBL earbuds with another Bluetooth-enabled device to determine if the issue lies with your laptop or the earbuds themselves. This can help narrow down the problem.
By following these troubleshooting tips, you should be able to resolve most common connection issues and enjoy uninterrupted audio with your JBL earbuds.
With the connection successfully tested, you are now ready to make the most of your JBL earbuds and enjoy a wireless audio experience on your laptop. Congratulations!
Troubleshooting tips
While connecting your JBL earbuds to your laptop is typically a straightforward process, you may encounter some issues along the way. Don’t worry; we’ve got you covered! Here are some troubleshooting tips to help you troubleshoot and resolve common problems:
- Ensure Bluetooth is enabled: Double-check that Bluetooth is enabled on both your JBL earbuds and your laptop. Sometimes, a simple oversight can be the cause of connectivity issues.
- Move closer to your laptop: Bluetooth signals have a limited range. If you’re experiencing connectivity issues, try moving closer to your laptop to ensure a stronger and more stable connection.
- Re-pair your earbuds: If the connection between your JBL earbuds and your laptop is unstable or keeps dropping, try unpairing and re-pairing them. This can help establish a fresh and more reliable connection.
- Remove interference: Electrical devices such as routers, microwaves, or other Bluetooth devices can interfere with the signal. Try moving away from such devices or turning them off to minimize interference.
- Update Bluetooth drivers: Outdated Bluetooth drivers can cause compatibility issues. Visit your laptop manufacturer’s website to check for the latest Bluetooth drivers and update them if necessary.
- Reset network settings: Sometimes, network settings on your laptop can interfere with the Bluetooth connection. Resetting the network settings can help resolve these conflicts. However, be aware that resetting network settings will remove all saved Wi-Fi connections, so you will need to reconnect to your Wi-Fi network.
- Check for firmware updates: Some JBL earbud models can receive firmware updates that address connectivity issues. Check the JBL website or the official app for firmware updates and install them if available.
- Perform a factory reset: If all else fails, you can try performing a factory reset on your JBL earbuds. Keep in mind that this will erase all saved settings, so you will need to set them up again as if they were brand new.
If despite trying these troubleshooting tips, you’re still experiencing issues with connecting your JBL earbuds to your laptop, it may be advisable to contact JBL’s customer support or consult with a technical expert. They can provide further assistance and troubleshooting specific to your earbud model and laptop.
Remember, patience and perseverance are key when troubleshooting connectivity issues. With a little troubleshooting, you should be able to enjoy a seamless and reliable connection between your JBL earbuds and your laptop.
Conclusion
Connecting your JBL earbuds to your laptop opens up a world of possibilities for enjoying high-quality audio wirelessly. By following the simple steps outlined in this guide, you can establish a seamless connection and start enjoying your favorite music, podcasts, videos, and more with the convenience and freedom of JBL earbuds.
Remember to turn on your JBL earbuds and enable Bluetooth on your laptop before proceeding to pair the devices. With a successful pairing, you can test the connection by playing audio on your laptop and ensuring it’s routing through your JBL earbuds. If any issues arise, refer to the troubleshooting tips provided to help resolve common connectivity problems.
Connecting your JBL earbuds to your laptop not only enhances your audio experience but also gives you the flexibility to enjoy your content without the restriction of wires. Whether you’re working, exercising, or simply relaxing, JBL earbuds provide a convenient and immersive audio experience.
Lastly, we hope this guide has been helpful in assisting you with connecting your JBL earbuds to your laptop. Should you encounter any difficulties or require further assistance, don’t hesitate to reach out to JBL’s customer support or consult with technical experts in the field. Now, go ahead and enjoy the freedom of wireless audio with your JBL earbuds and elevate your listening experience!

