Home>Production & Technology>Stereo>How Do I Hook My Computer To My Stereo
Stereo
How Do I Hook My Computer To My Stereo
Modified: January 22, 2024
Learn how to hook your computer to your stereo and enjoy high-quality sound. Follow our step-by-step guide to connect your stereo system to your PC.
(Many of the links in this article redirect to a specific reviewed product. Your purchase of these products through affiliate links helps to generate commission for AudioLover.com, at no extra cost. Learn more)
Table of Contents
Introduction
Are you ready to take your computer audio experience to the next level? Connecting your computer to your stereo system can greatly enhance the sound quality and give you a more immersive listening experience. Whether you want to play music, watch movies, or even play video games, hooking your computer to your stereo can bring your sound to life.
In this guide, we will walk you through the steps of how to hook your computer to your stereo system. It may seem like a daunting task, especially if you’re not familiar with audio cables and settings, but fear not! With the right knowledge and a few simple steps, you’ll be enjoying high-quality sound from your computer in no time.
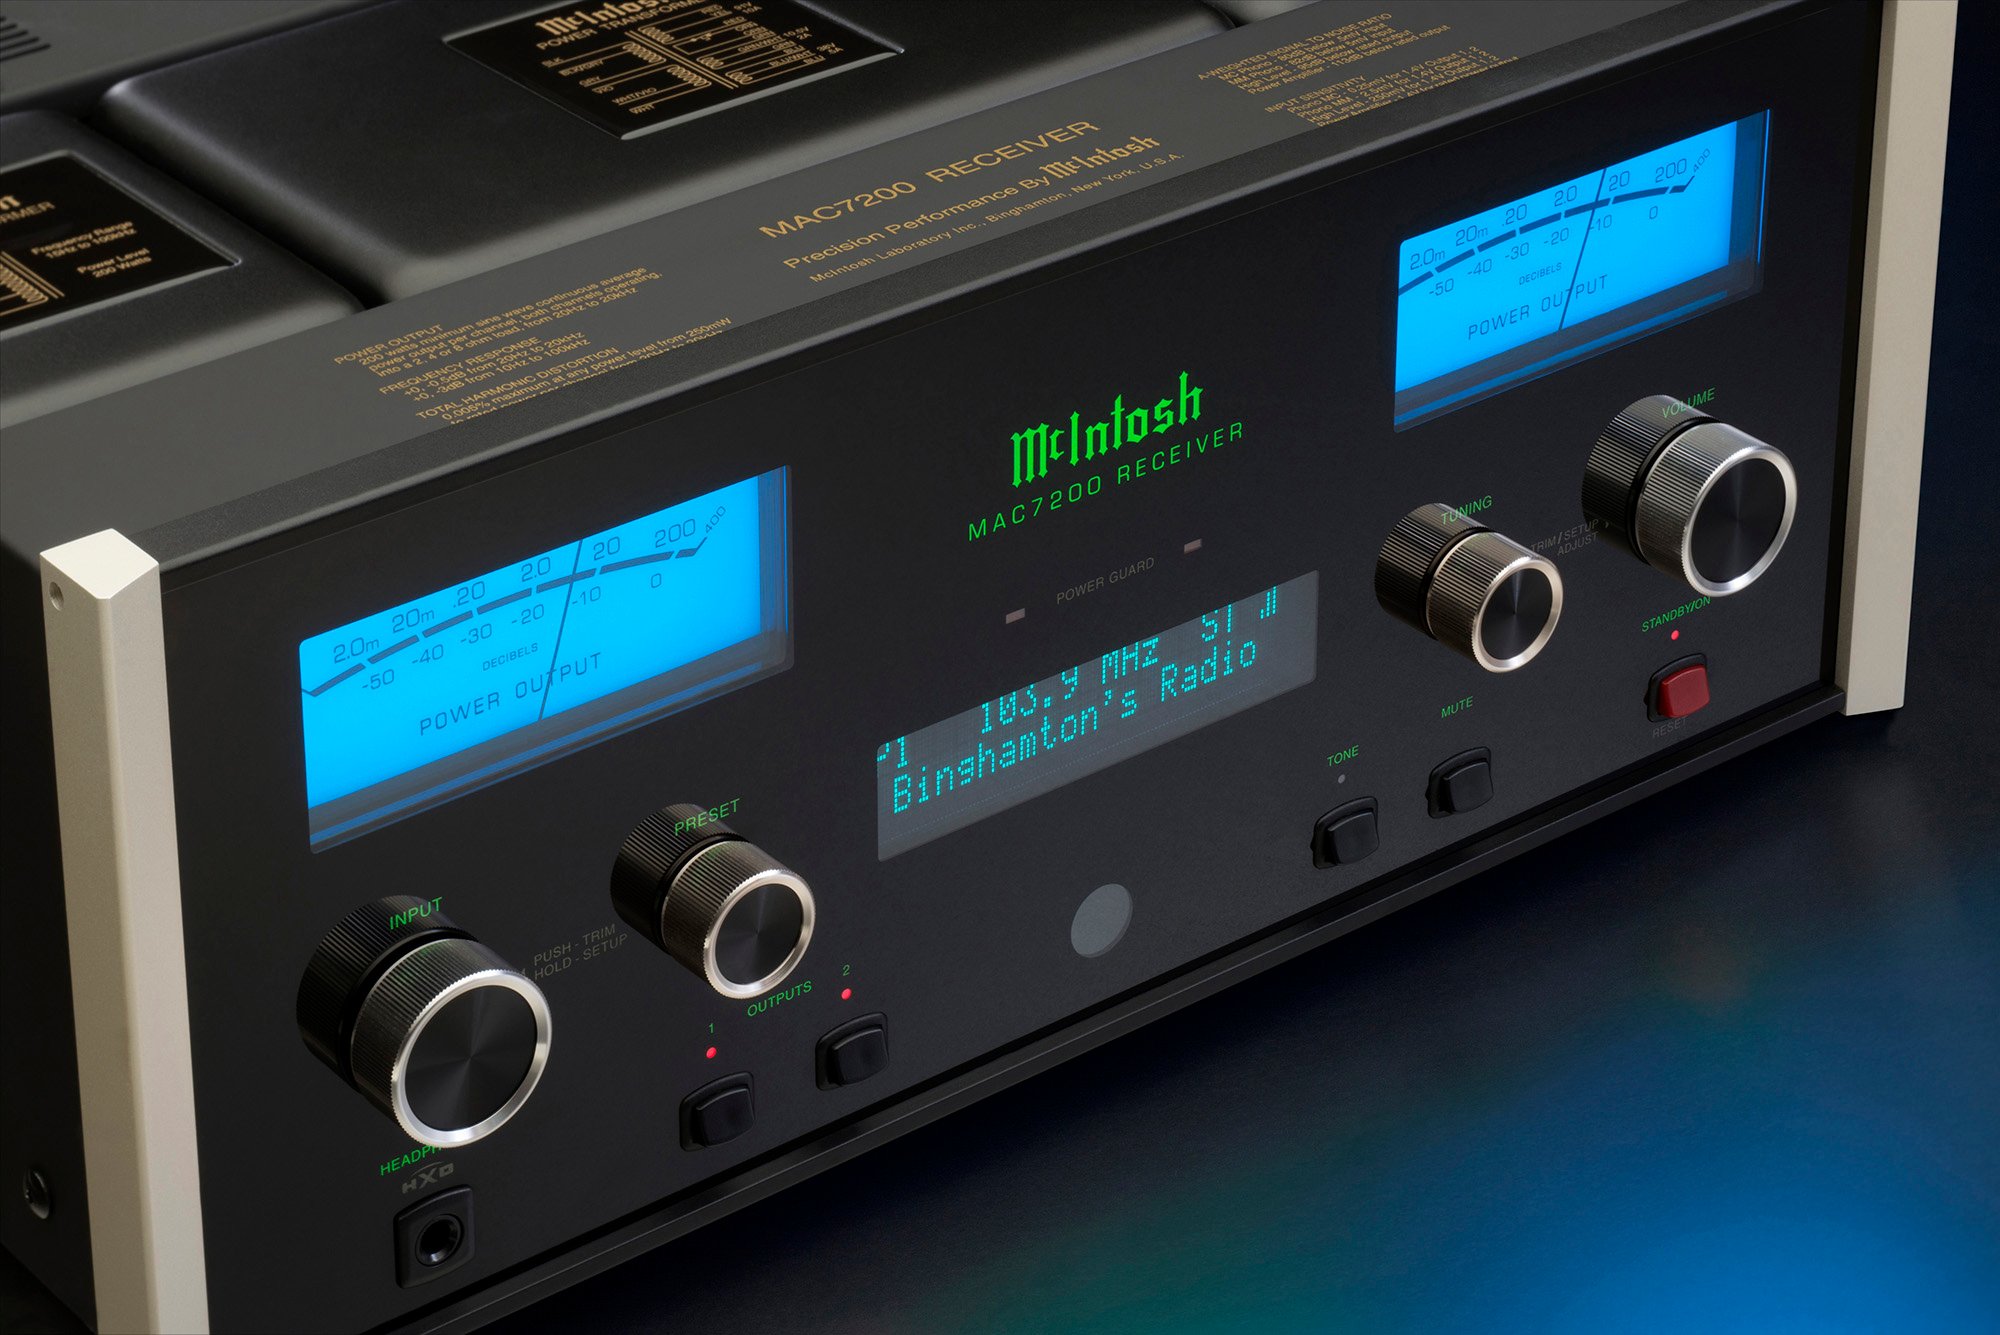
Before we dive into the details, let’s talk about why you might want to connect your computer to your stereo in the first place. While computers do come with built-in speakers, they are often not powerful enough to deliver the full audio experience that a stereo system can provide. By connecting your computer to a stereo, you can take advantage of the larger speakers and better audio output, resulting in richer and more detailed sound.
Additionally, if you have a large music library on your computer, connecting it to your stereo system allows you to play your favorite tracks through your high-quality speakers without having to rely on small computer speakers or headphones. This can be especially beneficial when you’re entertaining guests or hosting a party.
So, without further ado, let’s jump into the steps of how to hook your computer to your stereo system and unlock the full potential of your audio setup.
Step 1: Choosing the Right Cables
The first step in hooking your computer to your stereo system is to select the appropriate cables. The type of cables you’ll need will depend on the available ports on both your computer and your stereo.
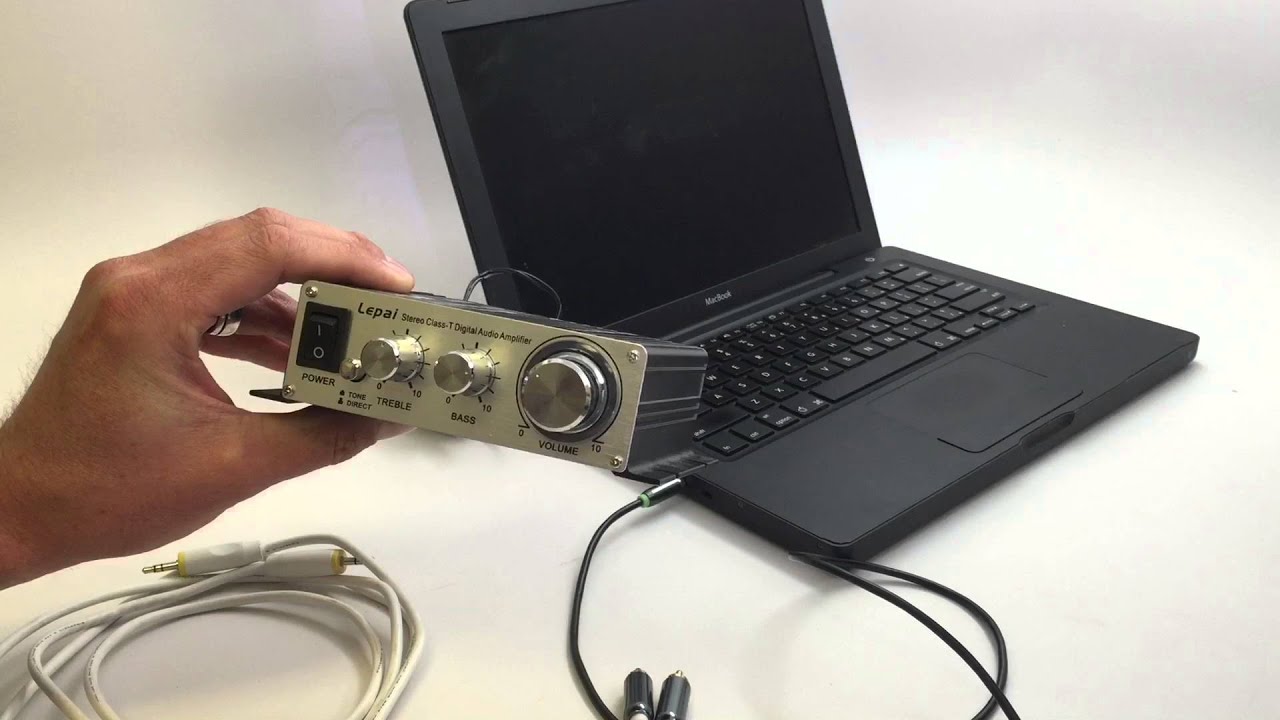
One common option is an RCA cable, which features red and white connectors. These cables are typically used for analog audio connections and are compatible with most stereo systems. If your computer and stereo both have RCA ports, this is a straightforward and reliable choice.
Another option is a 3.5mm audio cable, also known as a headphone jack cable. This type of cable is commonly used for connecting computers, smartphones, and other devices to audio systems. Check if your computer has a 3.5mm audio output port and if your stereo has a corresponding input port.
If your computer and stereo both support digital audio, you may consider using an optical cable (TOSLINK) or an HDMI cable. These cables transmit audio signals digitally, providing a higher quality audio experience. An optical cable is typically used for connecting devices like DVD players, gaming consoles, and soundbars to audio systems. HDMI cables, on the other hand, are commonly used to connect devices like computers and Blu-ray players to TVs and audio receivers.
Once you’ve identified the appropriate cable for your setup, make sure to check the length you need. Measure the distance between your computer and stereo system to ensure that the cable is long enough to connect the two devices. It’s always better to have a slightly longer cable than one that’s too short.
Lastly, it’s important to consider the quality of the cable. While you don’t need to break the bank, investing in a decent quality cable can ensure a reliable and stable audio connection. Look for cables with good shielding and connectors that fit securely in the ports.
Now that you have a good understanding of the types of cables available, let’s move on to the next step: connecting your computer to the stereo system.
Step 2: Connecting the Computer to the Stereo
Now that you have chosen the right cables for your setup, it’s time to connect your computer to the stereo system. Follow these steps to ensure a successful connection:
- Locate the audio output port on your computer. It is usually a 3.5mm headphone jack or an HDMI port for digital audio.
- Insert one end of the chosen cable into the audio output port on your computer. Ensure that it is securely plugged in.
- Next, locate the corresponding audio input port on your stereo system. This could be an RCA input, a 3.5mm auxiliary input, or an optical input.
- Insert the other end of the cable into the audio input port on your stereo. Make sure it is firmly connected.
- If you are using RCA cables, remember to match the red connector to the right channel and the white connector to the left channel for accurate stereo sound.
- If you are using an optical cable, be mindful of aligning the connector with the port and gently push it in until it clicks into place.
- If you are using an HDMI cable, simply connect one end to your computer’s HDMI output port and the other end to an HDMI input port on your stereo system.
Once you have completed these steps, you have successfully physically connected your computer to your stereo system. The next step is to adjust the audio settings to ensure the sound is routed correctly.
Note: If you are using a wireless speaker system or a Bluetooth receiver, the connection process may vary. Refer to the user manual of your specific device for instructions on connecting to your computer.
Step 3: Adjusting Audio Settings
After physically connecting your computer to the stereo system, it’s important to make sure that your audio settings are properly adjusted to route the sound correctly. Follow these steps to ensure optimal audio playback:
- Access the sound settings on your computer. This can typically be done by right-clicking on the volume icon in the system tray and selecting “Sound” or “Playback Devices.”
- In the sound settings, locate the audio output device that is connected to your stereo system. It should be named according to the cable or port you used (e.g., “HDMI,” “Line Out,” “Speakers,” etc.).
- Select the audio output device corresponding to your stereo system, and set it as the default playback device.
- If multiple audio output options are available, choose the one that provides the best audio quality or the one specifically designated for your stereo.
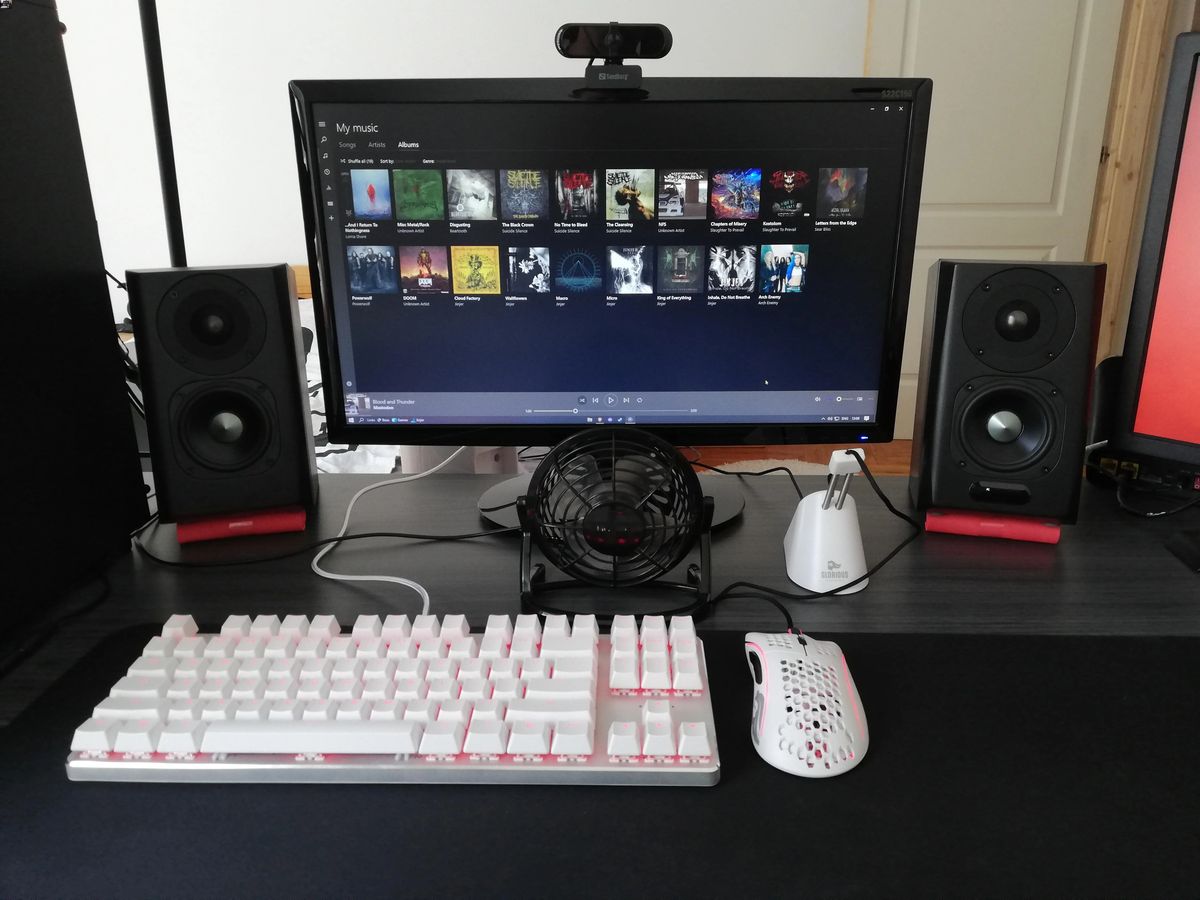
- Test the audio by playing a sound or music file on your computer. Ensure that the sound is coming from the stereo speakers and not from the computer’s built-in speakers or any other audio output device.
If you are using a digital connection like HDMI or optical, you may need to configure additional audio settings on your computer or your stereo system. These settings can include selecting the audio format (e.g., stereo, surround sound) or adjusting the volume levels. Refer to the user manuals of your computer and stereo system for instructions on accessing and adjusting these settings.
Remember to check the volume levels on your computer and stereo system as well. Make sure they are set to an appropriate level and adjust them as needed for your listening preferences.
Once you have adjusted the audio settings to your satisfaction, it’s time to test the connection and enjoy your computer’s audio through your stereo system.
Step 4: Testing the Connection
Now that you have made the necessary physical connections and adjusted the audio settings, it’s time to test the connection between your computer and the stereo system. Follow these steps to ensure everything is working as intended:
- Choose a sound or music file on your computer that you would like to play through the stereo system. It could be a song, a movie, a podcast, or any audio content.
- Open the file and press play. Ensure that the sound is coming from the speakers connected to your stereo system.
- Listen carefully and evaluate the quality of the audio. Check for any distortions, delays, or issues with the sound output.
- If you encounter any problems, verify that the cables are securely plugged in and double-check your audio settings.
- Make any necessary adjustments to the volume levels on your computer and stereo system to achieve the desired sound level.
- Continue playing different types of audio files to further test the connection. Try playing music with varying genres, watch a movie, or even play a video game to fully assess the audio performance.
- If everything sounds great and there are no issues, congratulations! You have successfully hooked your computer to your stereo system.
If you encounter any persistent problems or if the audio quality is not up to your standards, consider troubleshooting by checking the cables, updating the audio drivers on your computer, or consulting the troubleshooting guide of your stereo system.
Remember that the quality of the audio output can also depend on the capabilities of your stereo system and the overall sound setup. Adjusting the equalizer settings on your stereo or using audio enhancement software on your computer can further enhance the sound quality as well.
With the connection successfully tested, you can now sit back, relax, and enjoy the superior audio experience provided by your computer and stereo system.
Conclusion
Connecting your computer to your stereo system opens up a world of possibilities for enhancing your audio experience. With the right cables and proper setup, you can enjoy high-quality sound from your computer through your stereo speakers.
In this guide, we discussed the steps involved in hooking your computer to your stereo system. We covered the importance of choosing the right cables, connecting the computer to the stereo, adjusting audio settings, and testing the connection.
By following these steps, you can ensure a successful and seamless integration between your computer and stereo system. You’ll be able to enjoy your favorite music, movies, and games with immersive sound quality that surpasses what your computer’s built-in speakers can provide.
Remember, when choosing cables, consider the available ports on both your computer and stereo system. Opt for cables that offer reliable connections and ensure optimal audio transmission.
During the connection process, make sure to adjust the audio settings on your computer and set the connected device as the default playback device. This ensures that the sound is routed through your stereo system and not other audio output devices.
After connecting and adjusting the settings, don’t forget to test the connection by playing different types of audio files. Listen for any distortions or issues and make necessary adjustments as needed.
With the connection successfully tested, you can now enjoy a superior audio experience from your computer through your stereo system. Sit back, relax, and immerse yourself in the crystal-clear sound as you stream your favorite music, watch movies, or engage in gaming adventures.
So, what are you waiting for? Take the leap and hook your computer to your stereo system to unlock the full potential of your audio setup.