Home>Devices & Equipment>Earbuds>How To Reset Galaxy Earbuds
Earbuds
How To Reset Galaxy Earbuds
Published: November 13, 2023
Discover how to reset Galaxy Earbuds quickly and effortlessly. Regain control over your Earbuds with our step-by-step guide, ensuring optimal performance and functionality.
(Many of the links in this article redirect to a specific reviewed product. Your purchase of these products through affiliate links helps to generate commission for AudioLover.com, at no extra cost. Learn more)
Table of Contents
Introduction
Welcome to the world of Galaxy Earbuds! These sleek and wireless earbuds from Samsung are designed to provide an immersive audio experience and the freedom to listen to your favorite music or take calls on the go. However, like any electronic device, there may be times when your Galaxy Earbuds encounter issues or need a fresh start. That’s where the process of resetting your Galaxy Earbuds comes in.
Resetting your Galaxy Earbuds can help resolve various issues, such as connectivity problems, audio glitches, or pairing difficulties. It essentially restores the earbuds to their default settings, eliminating any conflicting configurations or software glitches that may be hindering their performance.
Whether you’re a new Galaxy Earbuds user or have been enjoying them for a while, knowing how to reset them can be incredibly useful. In this article, we’ll guide you through the process, step by step, so that you can get your earbuds back on track and fully enjoy their features.
Understanding Galaxy Earbuds
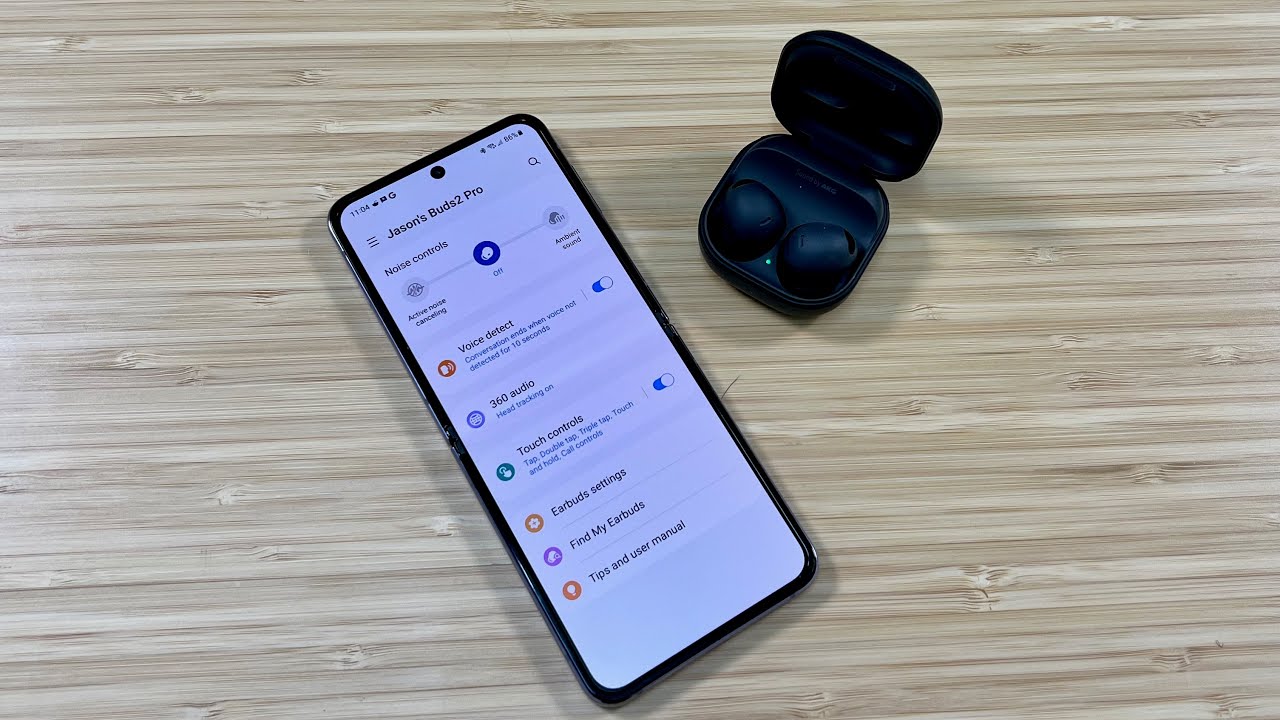
Before we dive into the process of resetting your Galaxy Earbuds, let’s take a moment to understand the basics of these innovative devices. Galaxy Earbuds are wireless earphones developed by Samsung, offering a seamless and convenient audio experience.
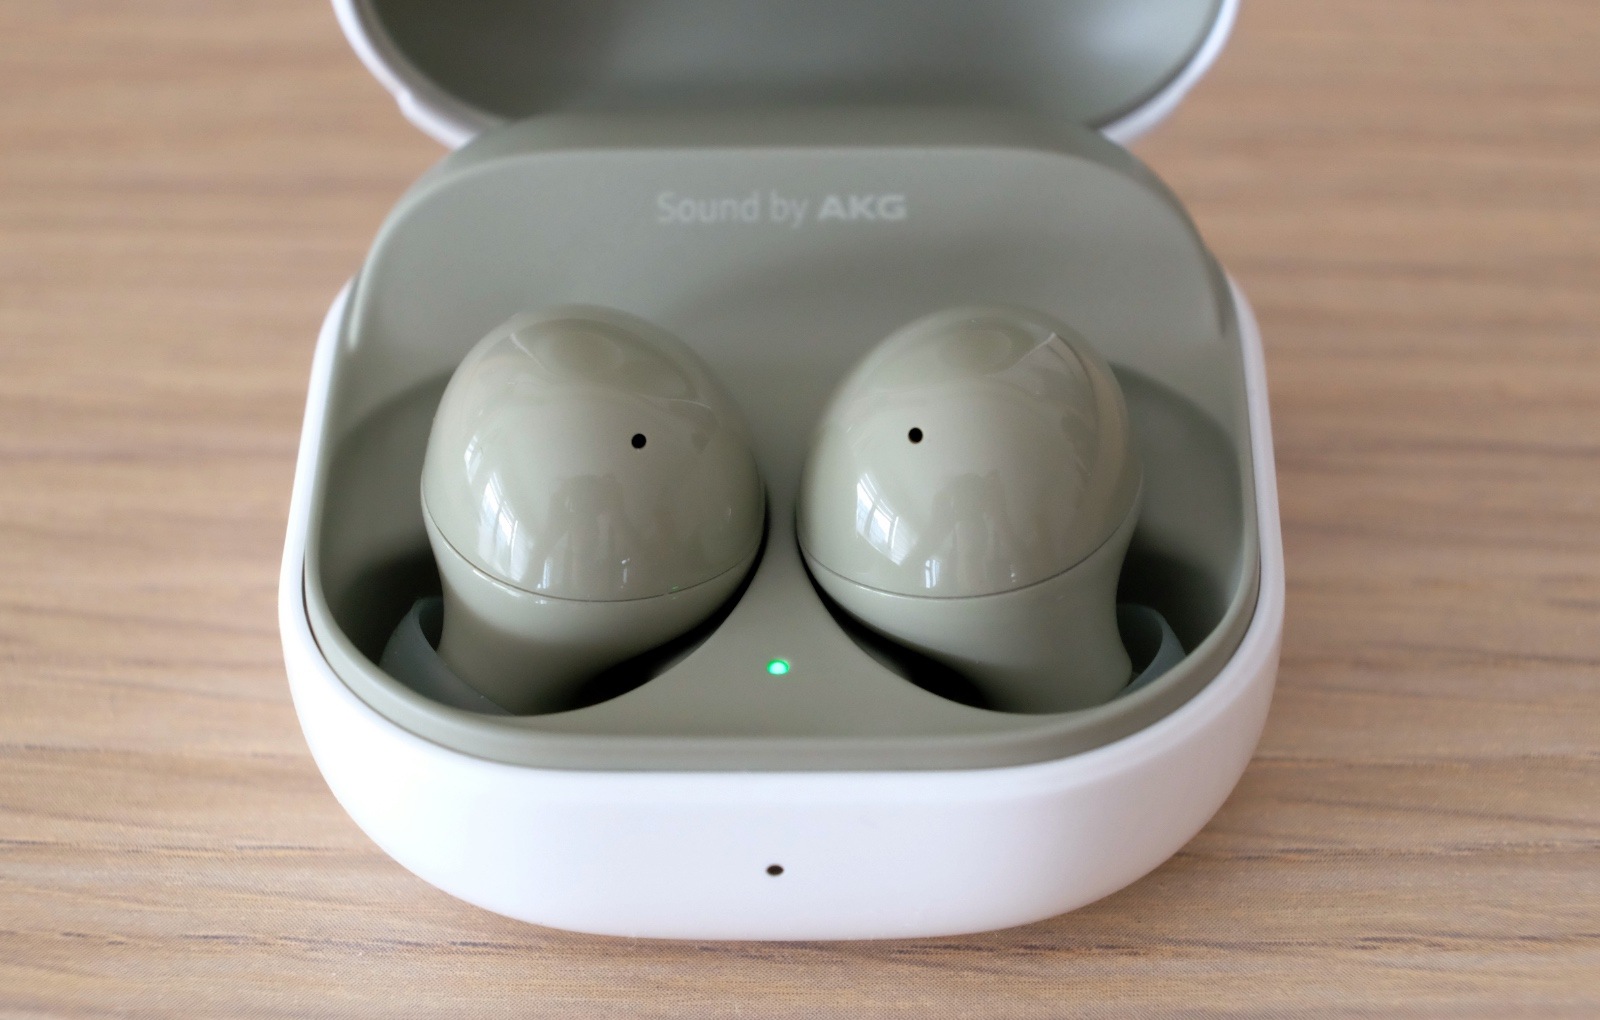
The earbuds feature a compact and ergonomic design, making them comfortable to wear for extended periods. They come with a charging case that not only provides storage but also ensures that your earbuds are always powered up and ready to use.
Galaxy Earbuds are equipped with advanced audio technologies to deliver high-quality sound. They boast impressive features such as excellent noise isolation, allowing you to immerse yourself fully in your favorite music or podcasts.
These earbuds also come with intuitive touch controls, enabling you to easily manage your music playback, answer calls, and activate voice assistants like Google Assistant or Bixby. Additionally, they offer seamless integration with Galaxy smartphones and other Bluetooth-enabled devices, allowing for a hassle-free connection and enhanced functionality.
Another noteworthy feature of Galaxy Earbuds is their long-lasting battery life. Depending on the model, you can expect several hours of continuous playback, and the charging case provides extra juice for multiple recharges on the go.
To get the most out of your Galaxy Earbuds, it’s important to keep them updated with the latest firmware released by Samsung. Regular updates not only introduce new features but also improve the overall performance and stability of the earbuds.
Now that we have a better understanding of Galaxy Earbuds, let’s explore the reasons why you might need to reset them and how to go about it.
Reasons to Reset Galaxy Earbuds
Resetting your Galaxy Earbuds can be a useful troubleshooting step to resolve various issues you may encounter. Here are some common reasons why you might need to reset your earbuds:
- Connectivity problems: If you are experiencing difficulty connecting your Galaxy Earbuds to your device or if they frequently disconnect during use, resetting them can help restore a stable connection.
- Audio issues: If you notice distortions, low volume, or other audio-related problems, a reset can help resolve these issues and restore the audio quality of your earbuds.
- Syncing problems: In some cases, your Galaxy Earbuds may not sync properly with each other, resulting in imbalanced audio or one earbud not working. Resetting can help sync them correctly and ensure both earbuds function as intended.
- Pairing difficulties: If you’re having trouble pairing your earbuds with a new device or if they’re not showing up in the Bluetooth settings, a reset can help clear any previously stored pairings and allow for a fresh pairing process.
- Software glitches: Occasionally, software glitches or conflicting settings can impact the performance of your Galaxy Earbuds. Resetting them can help eliminate these issues and restore the earbuds to their default settings.
While performing a reset can often resolve these issues, it’s important to note that it will also remove any customizations or settings you’ve applied to your earbuds. This means you may need to reconfigure features such as the touch controls or adjust the equalizer settings once the reset is complete.
Now that we’ve explored the reasons why you might need to reset your Galaxy Earbuds, let’s move on to the step-by-step process of resetting them.
Resetting Galaxy Earbuds
Resetting your Galaxy Earbuds is a straightforward process that can help resolve various issues and restore them to their default settings. Follow these steps to reset your Galaxy Earbuds:
- Step 1: Disconnecting Galaxy Earbuds from Devices
- Step 2: Resetting Galaxy Earbuds
- Step 3: Reconnecting Galaxy Earbuds to Devices
The first step is to ensure that your Galaxy Earbuds are disconnected from any devices they may be paired with. This includes smartphones, tablets, or computers. Make sure to turn off Bluetooth on the device or unlink the earbuds through the Bluetooth settings.
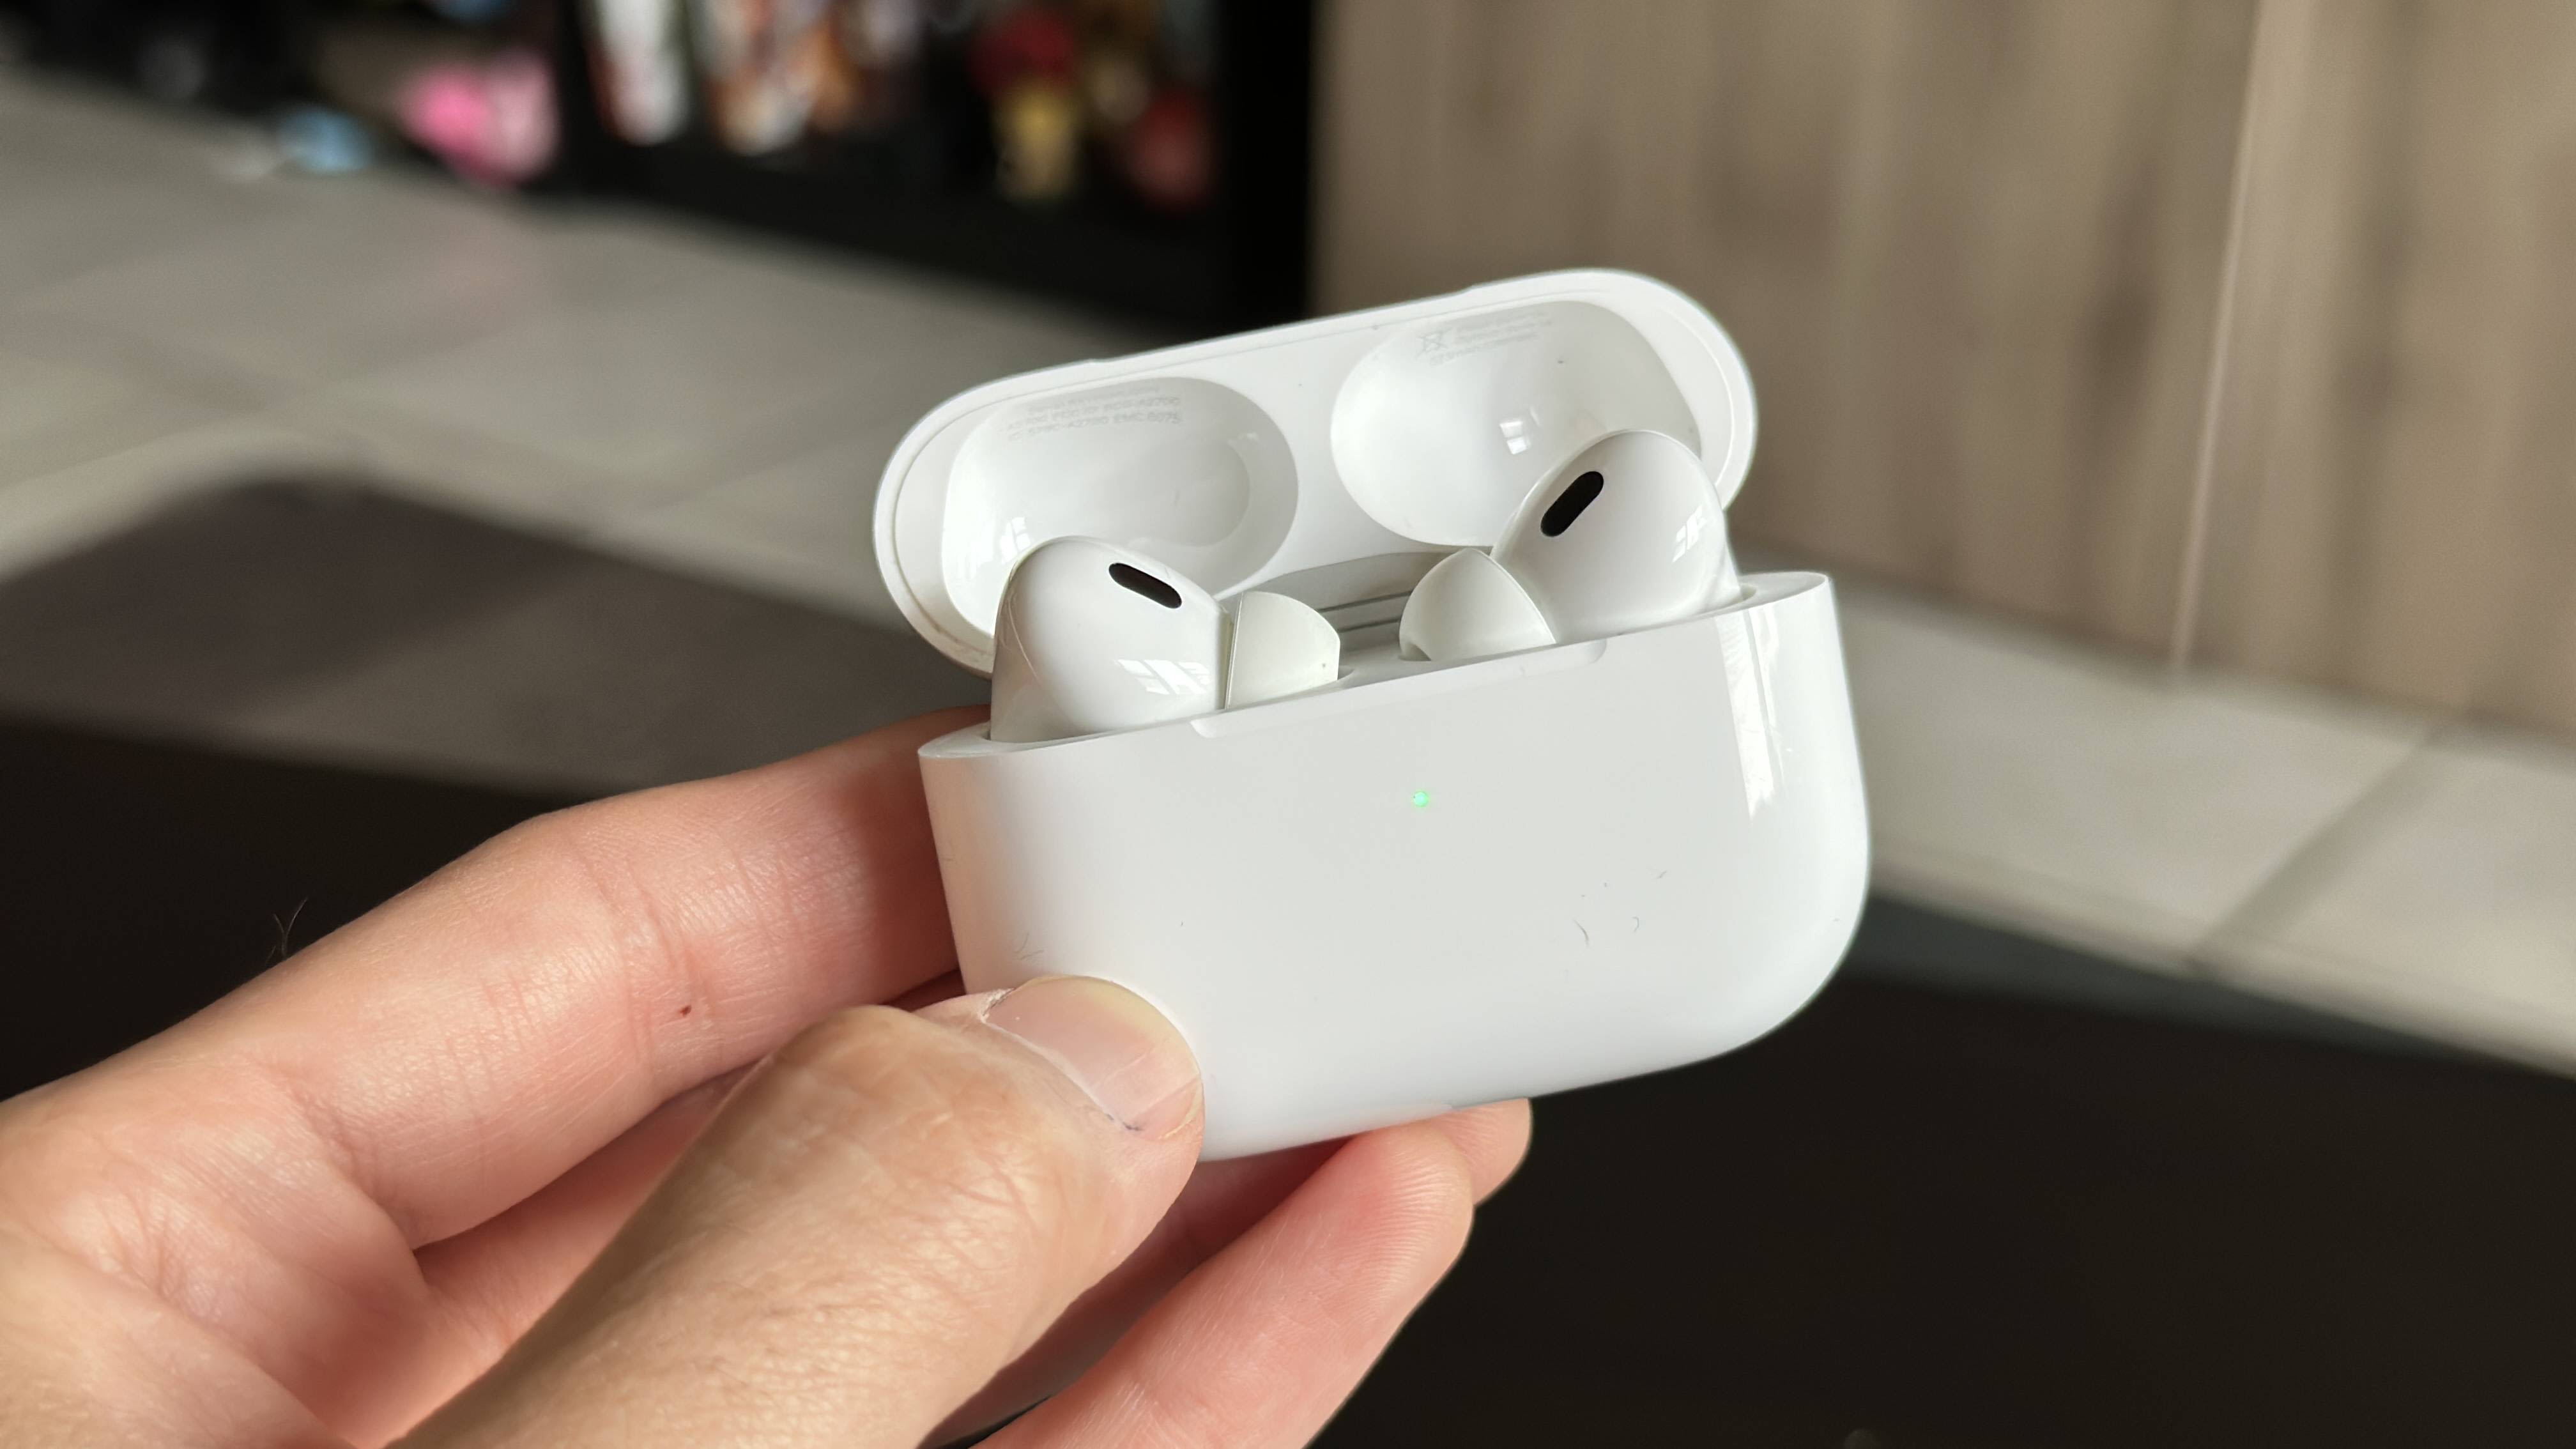
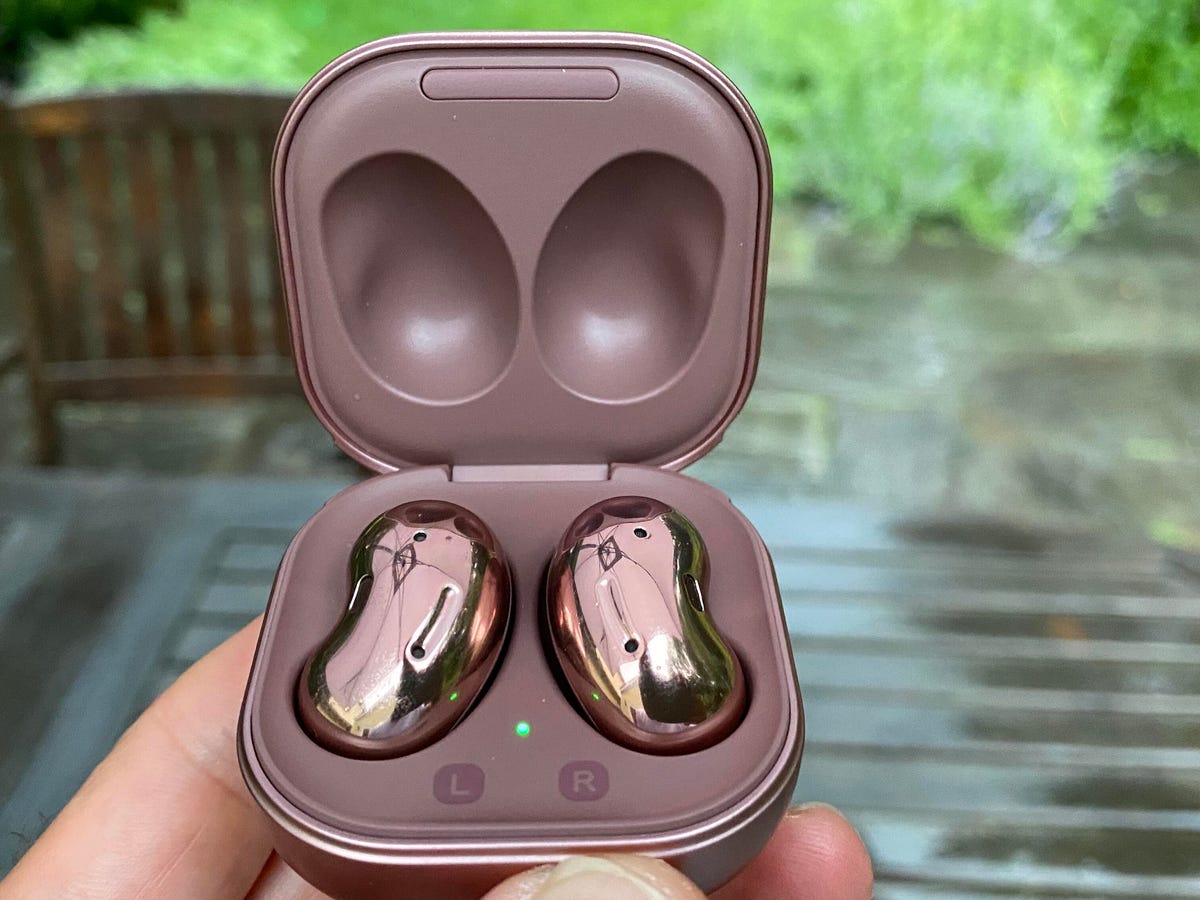
To reset your Galaxy Earbuds, place them inside the charging case and close the lid. Make sure the earbuds are properly seated in the charging case and the charging pins are aligned. Keep the lid closed for at least 7 seconds to initiate the reset process.
After the reset process is complete, open the lid of the charging case and take out the earbuds. They should now be in a factory-reset state. Open the Bluetooth settings on your device and look for the earbuds in the available devices list. Pair and connect them as you would with any other Bluetooth device.
Note: The process of reconnecting may vary slightly depending on your device. Ensure that Bluetooth is enabled, and consult the user manual of your specific Galaxy Earbuds model for detailed instructions if needed.
Once you’ve completed these steps, your Galaxy Earbuds should be reset and ready to use. You may need to reconfigure any settings or customizations you had previously applied to the earbuds, such as adjusting the touch controls or equalizer settings, to suit your preferences.
If you continue to experience issues with your Galaxy Earbuds even after performing a reset, it’s recommended to reach out to Samsung support for further assistance.
Now that you know how to reset your Galaxy Earbuds, let’s explore some troubleshooting tips to help you address common issues.
Step 1: Disconnecting Galaxy Earbuds from Devices
Before you can proceed with resetting your Galaxy Earbuds, it’s important to disconnect them from any devices they may be paired with. This ensures a clean reset and prevents any conflicts during the process. Follow these steps to disconnect your Galaxy Earbuds:
- Open the Bluetooth settings on the device that your Galaxy Earbuds are currently connected to.
- Locate the entry for your Galaxy Earbuds in the list of paired devices. It may be labeled as “Galaxy Buds” or a similar name.
- Once you’ve found the entry, tap on it to access the device settings.
- Look for an option to disconnect or unpair the earbuds. This could be represented by an icon or a button labeled “Disconnect” or “Unpair.” Tap on it to initiate the disconnection process.
- Wait for the device to confirm that the Galaxy Earbuds have been disconnected. You may see a notification or an indication that the earbuds are no longer connected.
- Repeat this process for any other devices that your Galaxy Earbuds may be paired with.
By disconnecting your Galaxy Earbuds from all devices, you ensure that there are no active connections that could interfere with the reset process. Once you have successfully disconnected the earbuds, you are ready to proceed to the next step of resetting your Galaxy Earbuds.
Please note that the process of disconnecting Galaxy Earbuds can vary slightly depending on the device you are using. The steps provided are general guidelines, so refer to the user manual or the support documentation of your specific device if you encounter any difficulties in disconnecting the earbuds.
Now that you have disconnected your Galaxy Earbuds from all devices, let’s move on to the next step of the reset process.
Step 2: Resetting Galaxy Earbuds
Once you have disconnected your Galaxy Earbuds from all devices, it’s time to reset them. Resetting your earbuds will restore them to their default settings, eliminating any software glitches or conflicting configurations that may be affecting their performance. Follow these steps to reset your Galaxy Earbuds:
- Place your Galaxy Earbuds inside the charging case.
- Ensure that the earbuds are properly seated in the charging case and that the charging pins on the earbuds align with the corresponding pins on the case.
- Close the lid of the charging case to initiate the reset process.
- Keep the lid of the charging case closed for at least 7 seconds.
- During this time, the reset process will be carried out. You may notice some LED indicators on the earbuds or the charging case flashing to indicate that the reset is in progress.
- After 7 seconds, open the lid of the charging case.
- Your Galaxy Earbuds should now be in a factory-reset state.
It’s important to note that during the reset process, any customizations or settings you had applied to your Galaxy Earbuds will be erased. This includes personalized sound settings, touch controls, equalizer presets, and any other custom configurations. After the reset, you will need to reconfigure these settings according to your preferences.
If the reset was successful, your Galaxy Earbuds are now ready to be reconnected to your devices and used as usual. However, before we move on to the reconnection process, let’s explore some troubleshooting tips that may help resolve common issues you may encounter with your Galaxy Earbuds.
Keep in mind that the steps provided here are general guidelines, and the actual reset process may vary slightly depending on the model and firmware of your Galaxy Earbuds. Refer to the user manual or support documentation for your specific Galaxy Earbuds model if you need more detailed instructions on how to reset them.
Now that you have reset your Galaxy Earbuds, let’s move on to the final step of the reset process.
Step 3: Reconnecting Galaxy Earbuds to Devices
After resetting your Galaxy Earbuds, you can now reconnect them to your devices. Follow these steps to successfully reconnect your Galaxy Earbuds:
- Open the Bluetooth settings on the device you want to connect your Galaxy Earbuds to.
- Make sure that Bluetooth is enabled on your device.
- Look for the entry for your Galaxy Earbuds in the list of available devices. It may be labeled as “Galaxy Buds” or something similar.
- Select the entry for your Galaxy Earbuds to initiate the pairing process.
- Follow any on-screen prompts or instructions to complete the pairing process.
- Once the pairing process is complete, your Galaxy Earbuds should be successfully reconnected to your device.
- Repeat the above steps for any other devices you wish to connect your Galaxy Earbuds to.
It’s important to note that the pairing process may vary slightly depending on your specific device and operating system. Some devices may require you to enter a passcode or confirm a pairing code to establish the connection. Consult the user manual or support documentation for your device if you encounter any difficulties during the pairing process.
After successfully reconnecting your Galaxy Earbuds to your devices, you can now enjoy your favorite music, podcasts, or take calls with the improved performance of your earbuds. If you encounter any issues or continue to experience any problems, you may want to consider reaching out to Samsung support for further assistance.
Now that you have successfully reconnected your Galaxy Earbuds, let’s move on to some troubleshooting tips that may help you address common issues.
Troubleshooting Tips
While resetting your Galaxy Earbuds can often resolve various issues, there may be situations where further troubleshooting is necessary. Here are some troubleshooting tips to help you address common problems:
- Ensure a secure fit: Make sure that your Galaxy Earbuds are securely and comfortably placed in your ears. A loose or improper fit can affect the audio quality and may result in sound or connectivity issues.
- Charge your earbuds: If your Galaxy Earbuds are not powering on or are experiencing short battery life, it’s possible that they need to be charged. Place them in the charging case and ensure that the case has enough battery charge.
- Update firmware: Check if there are any firmware updates available for your Galaxy Earbuds. Regularly updating the firmware can often address bugs or improve the performance of your earbuds. Use the companion app or check the Samsung website for firmware updates.
- Clean your earbuds: Over time, earwax or debris can accumulate on the speaker mesh or charging contacts of your Galaxy Earbuds, leading to audio or charging issues. Use a soft, dry cloth or a small brush to gently clean the earbuds and charging case regularly.
- Reset Bluetooth connections: If you’re experiencing connectivity issues, try resetting the Bluetooth settings on your device. Disconnect and forget the Galaxy Earbuds from the Bluetooth settings and try pairing them again.
- Try a different device: If you’re having trouble connecting your Galaxy Earbuds to a specific device, try pairing them with a different device to isolate whether the issue is with the earbuds or the device itself.
- Restart your devices: Sometimes, simply restarting your devices can help resolve temporary issues. Try turning off your Galaxy Earbuds and the device you’re connecting them to, and then turn them back on again.
By following these troubleshooting tips, you can often resolve common issues with your Galaxy Earbuds and improve their performance. However, if you continue to experience persistent problems or have additional concerns, it’s recommended to reach out to Samsung support for further assistance.
Now that we have explored troubleshooting tips, let’s conclude our guide to resetting Galaxy Earbuds.
Conclusion
Resetting your Galaxy Earbuds is a valuable troubleshooting step that can help resolve issues and restore their performance. Whether you’re encountering connectivity problems, audio glitches, or pairing difficulties, a reset can often provide a fresh start and eliminate any conflicting configurations or software glitches.
In this guide, we have walked you through the process of resetting your Galaxy Earbuds step by step. We started by understanding the basics of Galaxy Earbuds and discussing the reasons why you might need to reset them. We then delved into the three essential steps required for a successful reset: disconnecting the earbuds from devices, performing the reset, and reconnecting them to devices.
We also provided troubleshooting tips to help address common issues that you may encounter with your Galaxy Earbuds. From ensuring a secure fit to updating firmware and cleaning the earbuds, these tips can assist you in resolving problems and improving the overall performance of your earbuds.
Remember, while the reset process is relatively straightforward, it’s crucial to consult the user manual or support documentation specific to your Galaxy Earbuds model for detailed instructions and additional troubleshooting guidance.
By following these steps and troubleshooting tips, you can ensure that your Galaxy Earbuds deliver the high-quality audio experience they are designed for. And if you continue to experience persistent issues, don’t hesitate to reach out to Samsung support for further assistance.
Now, armed with the knowledge of how to reset and troubleshoot your Galaxy Earbuds, you can enjoy uninterrupted music, immersive sound, and seamless connectivity wherever you go.