Home>Devices & Equipment>Earbuds>How To Connect Google Earbuds

Earbuds
How To Connect Google Earbuds
Published: November 13, 2023
Learn how to easily connect and pair your Google Earbuds to your device with our step-by-step guide. Upgrade your audio experience with these high-quality Earbuds.
(Many of the links in this article redirect to a specific reviewed product. Your purchase of these products through affiliate links helps to generate commission for AudioLover.com, at no extra cost. Learn more)
Table of Contents
Introduction
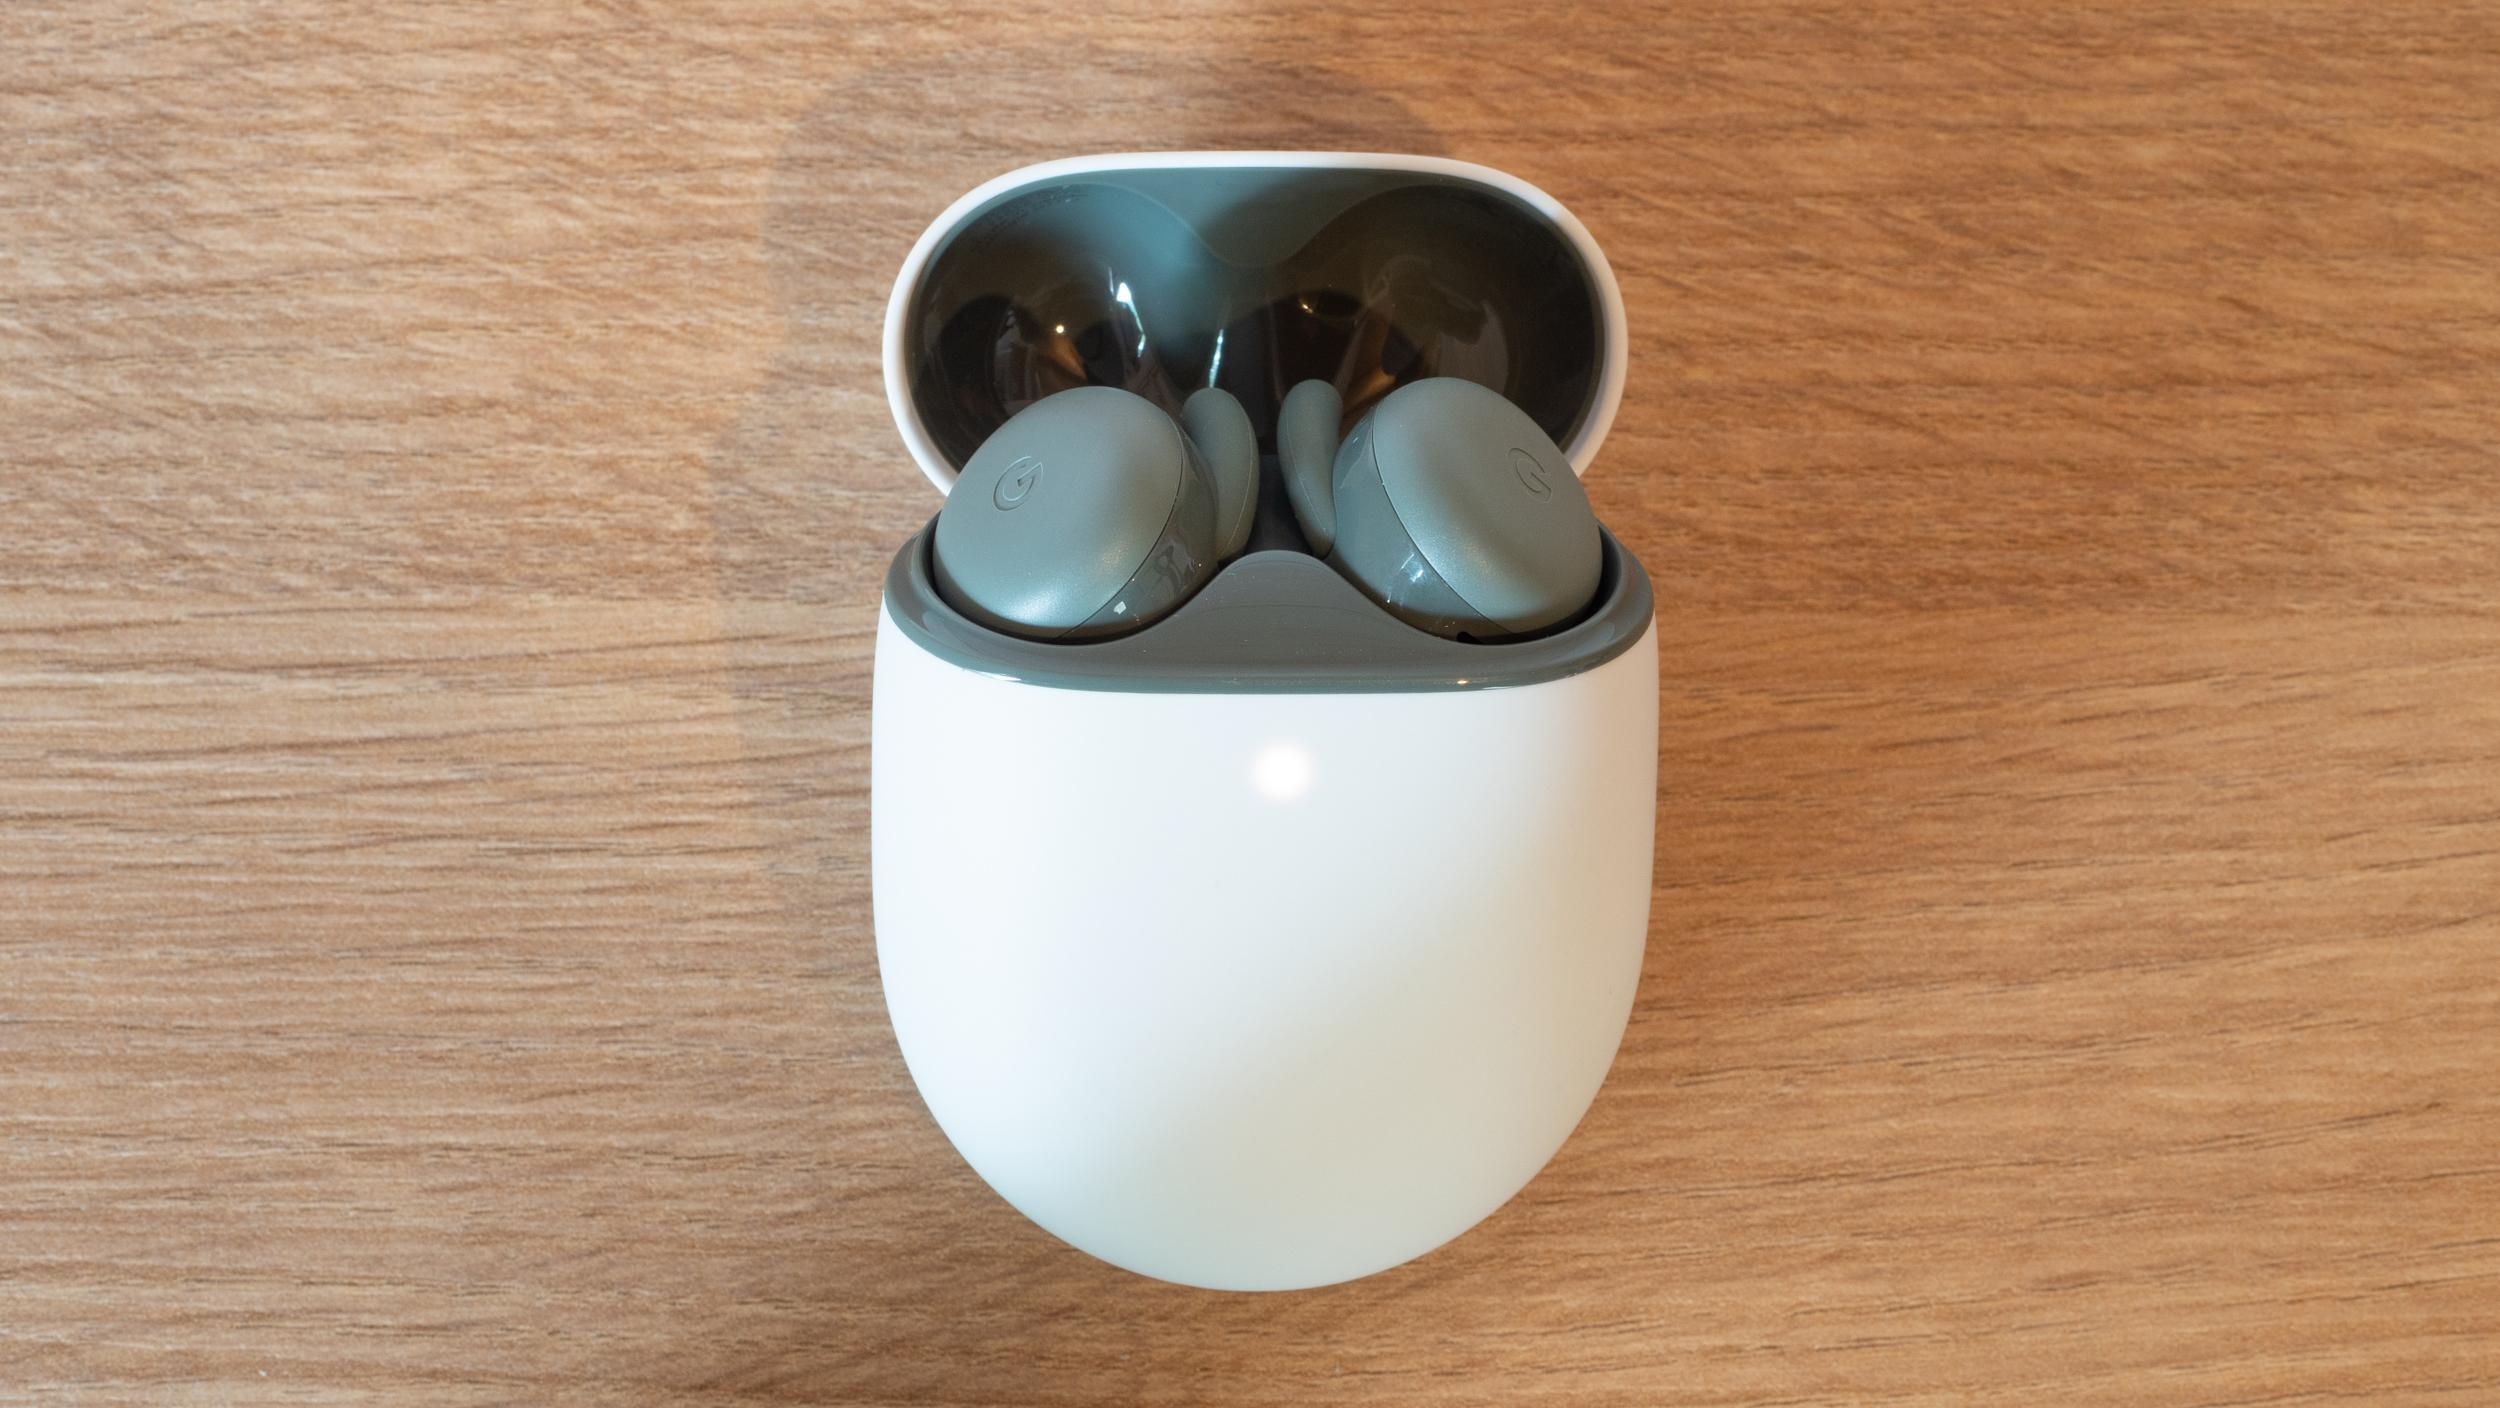
Google earbuds, also known as Google Pixel Buds, are wireless earphones designed to provide a seamless audio experience for Google device users. With their sleek design and advanced features, these earbuds offer convenience and high-quality sound. Whether you’re listening to music, taking calls, or interacting with Google Assistant, these earbuds are a versatile accessory that can enhance your daily activities.
In this guide, we will walk you through the process of connecting Google earbuds to your device. Whether you have a smartphone, tablet, or computer, the steps provided here are applicable across multiple platforms. By the end of this article, you will be able to enjoy your favorite tunes or engage in hands-free conversations using your Google earbuds.
Before we dive into the specific steps, it’s important to note that Google earbuds are designed to work best with Google devices such as Pixel phones and Chromebooks. However, they can also be used with other Bluetooth-enabled devices, expanding their compatibility.
Now, let’s get started and learn how to connect your Google earbuds to your device for an immersive audio experience.
Step 1: Check Compatibility
Before you begin the process of connecting your Google earbuds, it’s essential to ensure that your device is compatible. Google earbuds are designed to work seamlessly with Google devices such as Pixel phones, Chromebooks, and other Android devices. However, they can also be used with iOS devices and other Bluetooth-enabled devices.
To check if your device is compatible, make sure it has Bluetooth functionality and is running a compatible version of the operating system. For Google earbuds, Android devices should be running Android 6.0 or higher, while iOS devices should be running iOS 10.0 or higher.
If you’re unsure about your device’s compatibility or need assistance, you can refer to the user manual or visit the official Google support website for more information.
Once you have confirmed that your device is compatible, you can proceed to the next step of the connection process.
Step 2: Charge the Earbuds
Before connecting your Google earbuds to your device, it’s essential to ensure that they are adequately charged. Follow these simple steps to charge your earbuds:
- Remove the earbuds from the charging case, if they are already inside.
- Connect the charging case to a power source using the included USB-C cable or any compatible charging cable.
- You will see an LED indicator on the front of the charging case. It indicates the charging status of the earbuds.
- Wait until the LED indicator shows a solid light, indicating that the earbuds are fully charged. This may take a couple of hours, depending on the initial battery level.
- Once the earbuds are fully charged, you are ready to proceed with the connection process.
It’s important to note that fully charged earbuds will provide you with an uninterrupted audio experience. Additionally, charging the earbuds ensures that they are powered up and ready to connect to your device.
Once your Google earbuds are fully charged, you can move on to the next step of enabling Bluetooth on your device.
Step 3: Enable Bluetooth
Before you can connect your Google earbuds to your device, you need to make sure that Bluetooth is enabled on your device. Bluetooth is the wireless technology that allows devices to communicate and connect with each other.
Here’s how to enable Bluetooth on different devices:
- Android devices:
- Open the Settings app on your Android device.
- Select “Bluetooth” from the list of options.
- Toggle the Bluetooth switch to the “On” position.
- iOS devices:
- Open the Settings app on your iOS device.
- Scroll down and tap on “Bluetooth”.
- Toggle the Bluetooth switch to the “On” position.
- Windows computers:
- Click on the Start menu and open the Settings app.
- Select “Devices” from the options.
- In the Devices settings, click on “Bluetooth & other devices”.
- Toggle the Bluetooth switch to the “On” position.
- Mac computers:
- Click on the Apple menu and select “System Preferences”.
- Click on “Bluetooth” in the System Preferences window.
- Toggle the Bluetooth switch to the “On” position.
Once Bluetooth is enabled on your device, you can proceed to the next step of putting your Google earbuds in pairing mode.
Step 4: Put the Earbuds in Pairing Mode
In order to connect your Google earbuds to your device, you need to put them in pairing mode. Pairing mode allows your earbuds to be discoverable by your device so that they can establish a Bluetooth connection.
Here’s how to put your Google earbuds in pairing mode:
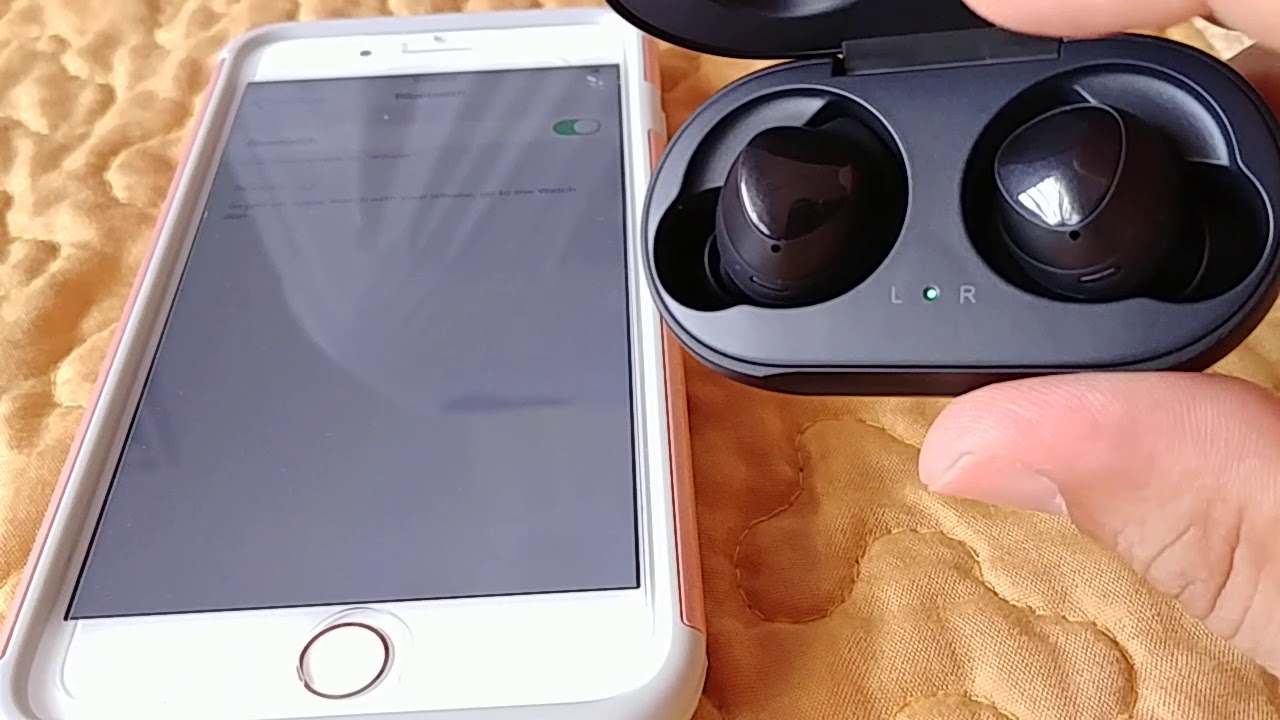
- Open the charging case and remove the earbuds.
- Make sure the earbuds are powered on. You can do this by pressing and holding the button on the earbuds until you see a flashing LED light or hear a voice prompt indicating that the earbuds are on.
- Next, look for the pairing button or touchpad on the earbuds. This button or touchpad is usually located on the side of one or both earbuds.
- Press and hold the pairing button or touchpad for a few seconds. The LED lights on the earbuds will start flashing or the voice prompt will indicate that the earbuds are in pairing mode.
It’s important to note that the process of putting the earbuds in pairing mode may vary slightly depending on the model of your Google earbuds. Refer to the user manual or the official Google support website for specific instructions for your earbuds.
Once your Google earbuds are in pairing mode, you’re ready to move on to the next step of connecting them to your device.
Step 5: Connect the Earbuds to Your Device
Now that your Google earbuds are in pairing mode, it’s time to connect them to your device. The process of connecting the earbuds may vary slightly depending on your device’s operating system. Follow the instructions below based on your device:
- Android devices:
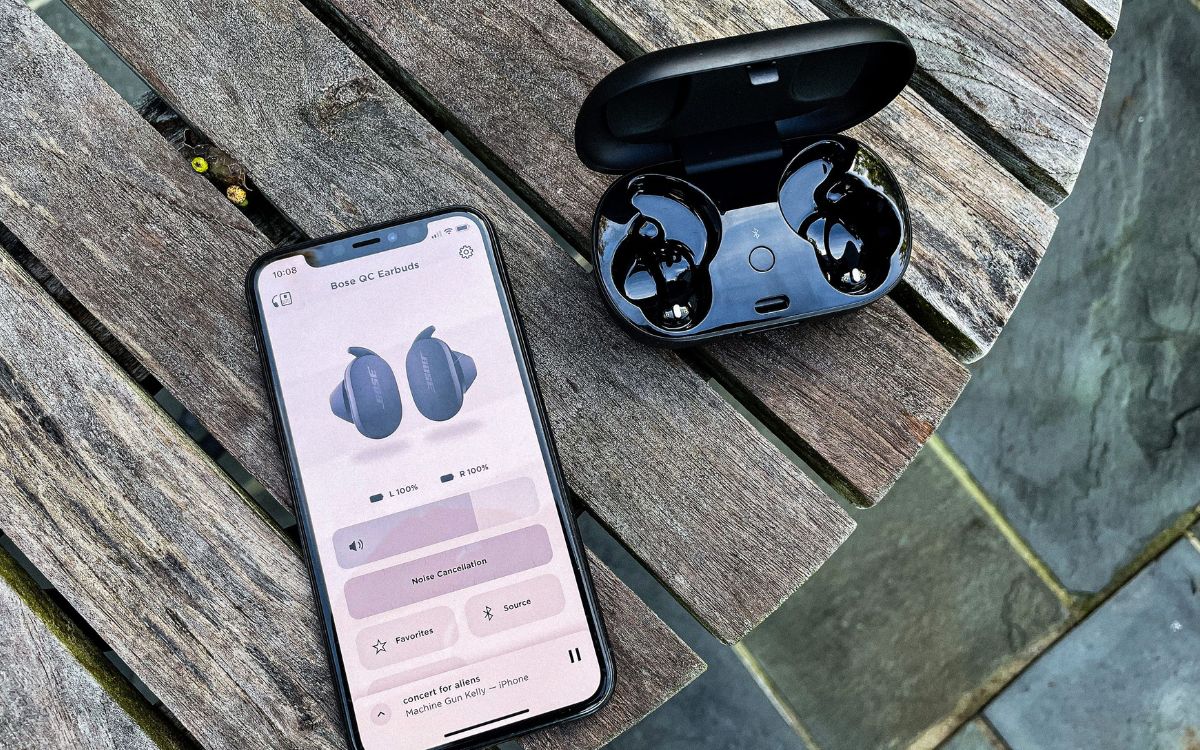
- Open the Settings app on your Android device and select “Bluetooth”.
- Under the list of available devices, you should see your Google earbuds listed. Tap on the name of your earbuds to connect.
- Once connected, you will see a notification confirming the successful connection.
- iOS devices:
- Open the Settings app on your iOS device and select “Bluetooth”.
- Under the list of available devices, you should see your Google earbuds listed. Tap on the name of your earbuds to connect.
- Once connected, you will see a notification confirming the successful connection.
- Windows computers:
- Click on the Bluetooth icon in the taskbar or system tray.
- In the list of available devices, you should see your Google earbuds listed. Click on the name of your earbuds to connect.
- Once connected, you will see a notification confirming the successful connection.
- Mac computers:
- Click on the Bluetooth icon in the menu bar.
- In the list of available devices, you should see your Google earbuds listed. Click on the name of your earbuds to connect.
- Once connected, you will see a notification confirming the successful connection.
After following these steps, your Google earbuds should be successfully connected to your device. You can now enjoy your favorite music, take calls, or interact with Google Assistant using your earbuds.
Step 6: Test the Connection
Once you have successfully connected your Google earbuds to your device, it’s important to test the connection to ensure everything is working properly. By testing the connection, you can verify that the audio is clear, the controls are responsive, and all features are functioning as expected.
Here are a few steps you can take to test the connection:
- Play some music or a podcast on your device and listen through your Google earbuds. Pay close attention to the sound quality, making sure it is clear and without any distortion.
- Try adjusting the volume using the controls on your earbuds. They should respond promptly, raising or lowering the volume accordingly.
- If your earbuds have touch controls, test their functionality. For example, double-tap on the right earbud to skip to the next track or tap and hold to activate Google Assistant.
- Make a test call to ensure the microphone on the earbuds is working properly. Ask the person on the other end of the call if your voice sounds clear and if they can hear you without any issues.
If you encounter any difficulties or issues during the testing process, refer to the user manual or the official Google support website for troubleshooting steps specific to your earbuds model.
Once you have confirmed that the connection is stable and all features are working as expected, you can confidently enjoy your Google earbuds for all your audio needs.
Conclusion
Congratulations! You have successfully connected your Google earbuds to your device. Now, you can experience the convenience and high-quality sound that these wireless earphones offer. Whether you’re listening to music, taking calls, or interacting with Google Assistant, your Google earbuds will enhance your audio experience.
In this guide, we covered the step-by-step process of connecting your Google earbuds to your device. We started by checking compatibility and ensuring that your device meets the requirements. We then moved on to charging the earbuds, enabling Bluetooth on your device, putting the earbuds in pairing mode, and finally connecting them to your device.
Remember to test the connection to ensure everything is working as expected. This includes playing music, adjusting volume, testing touch controls, and making a call to verify the microphone functionality.
If you encounter any issues during the connection process or experience difficulties with your Google earbuds, it’s always a good idea to consult the user manual or visit the official Google support website for troubleshooting information.
Now that you have successfully connected and tested your Google earbuds, you can enjoy a seamless and immersive audio experience. Whether you’re on the go, working out, or simply relaxing at home, your Google earbuds will provide you with high-quality sound and convenient wireless connectivity.
So, put on your favorite tunes, make hands-free calls, and enjoy all that your Google earbuds have to offer!

