Home>Devices & Equipment>Earbuds>How To Reset JLab Go Air Earbuds
Earbuds
How To Reset JLab Go Air Earbuds
Published: November 15, 2023
Learn how to reset your JLab Go Air earbuds easily with our step-by-step guide. Troubleshoot common issues and get back to enjoying your favorite music.
(Many of the links in this article redirect to a specific reviewed product. Your purchase of these products through affiliate links helps to generate commission for AudioLover.com, at no extra cost. Learn more)
Table of Contents
Introduction
Welcome to this guide on how to reset JLab Go Air Earbuds. If you’re having issues with your Go Air earbuds, such as connectivity problems or a malfunctioning control button, performing a reset may solve the problem. Resetting the earbuds can help restore them to their factory settings and resolve any glitches or software issues that may be affecting their performance.
The JLab Go Air Earbuds are known for their impressive sound quality, sleek design, and user-friendly features. However, like any electronic device, they can encounter issues from time to time. Instead of panicking and assuming the worst, a simple reset can often do the trick. So, whether you’re a long-time user of the Go Air earbuds or you’re new to them, learning how to reset them can prove to be a valuable skill.
In this guide, we’ll take you through a step-by-step process to reset your JLab Go Air Earbuds. It’s important to note that the reset procedure may vary slightly depending on the specific model you have. However, the general steps outlined here should work for most models.
Before we dive into the reset process, it’s essential to ensure that you have a fully charged carrying case for your Go Air earbuds. This will ensure that you have enough power to perform the reset and re-pair the earbuds afterward. Once you have the necessary preparations in place, let’s begin the reset process to troubleshoot any issues you may be experiencing.
Step 1: Prepare the Go Air earbuds
Before proceeding with the reset process, it’s important to prepare your JLab Go Air earbuds. Follow these steps to ensure they are ready:
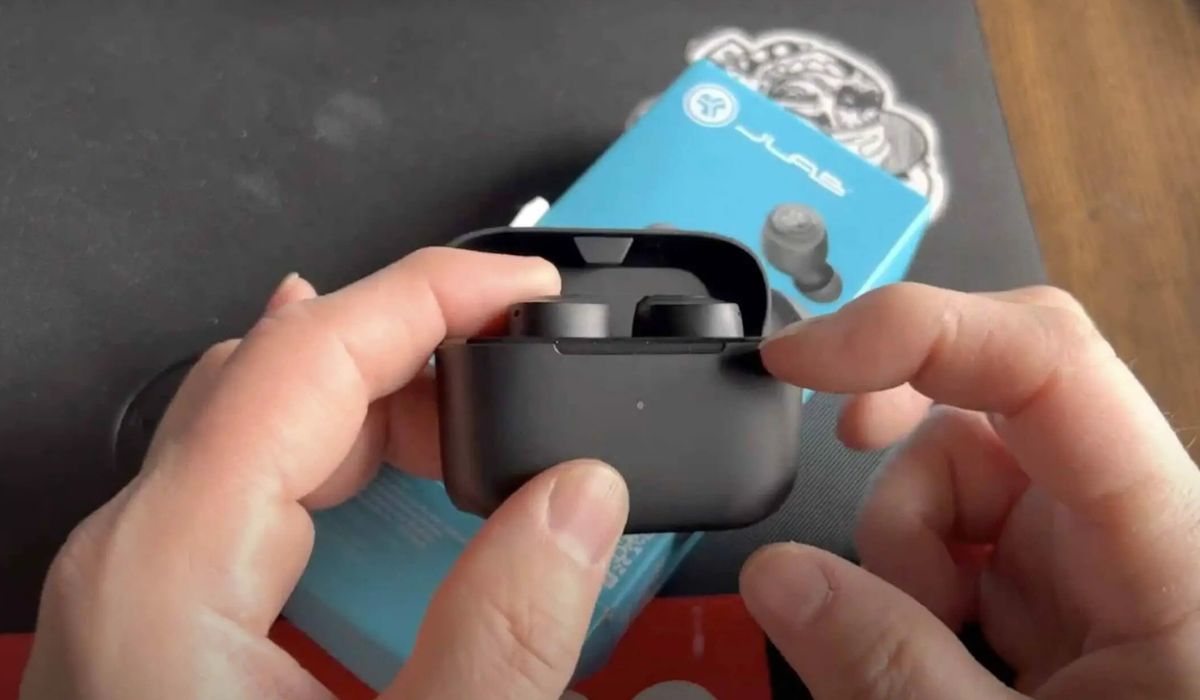
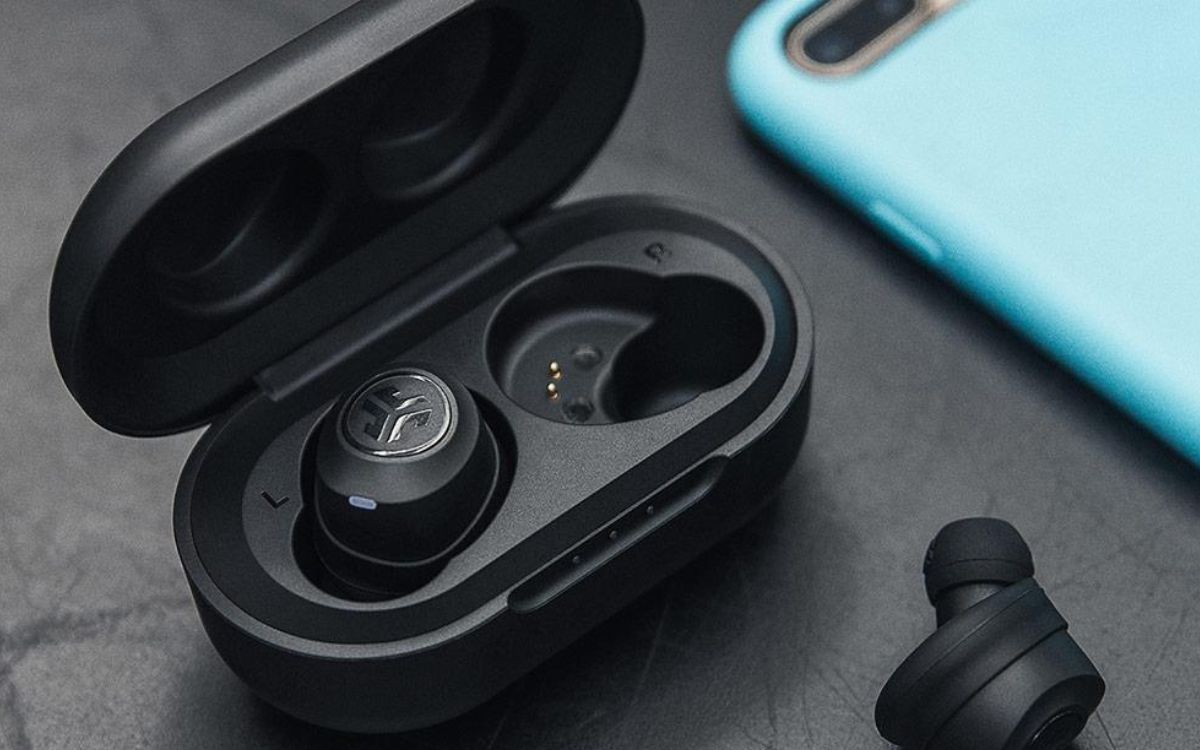
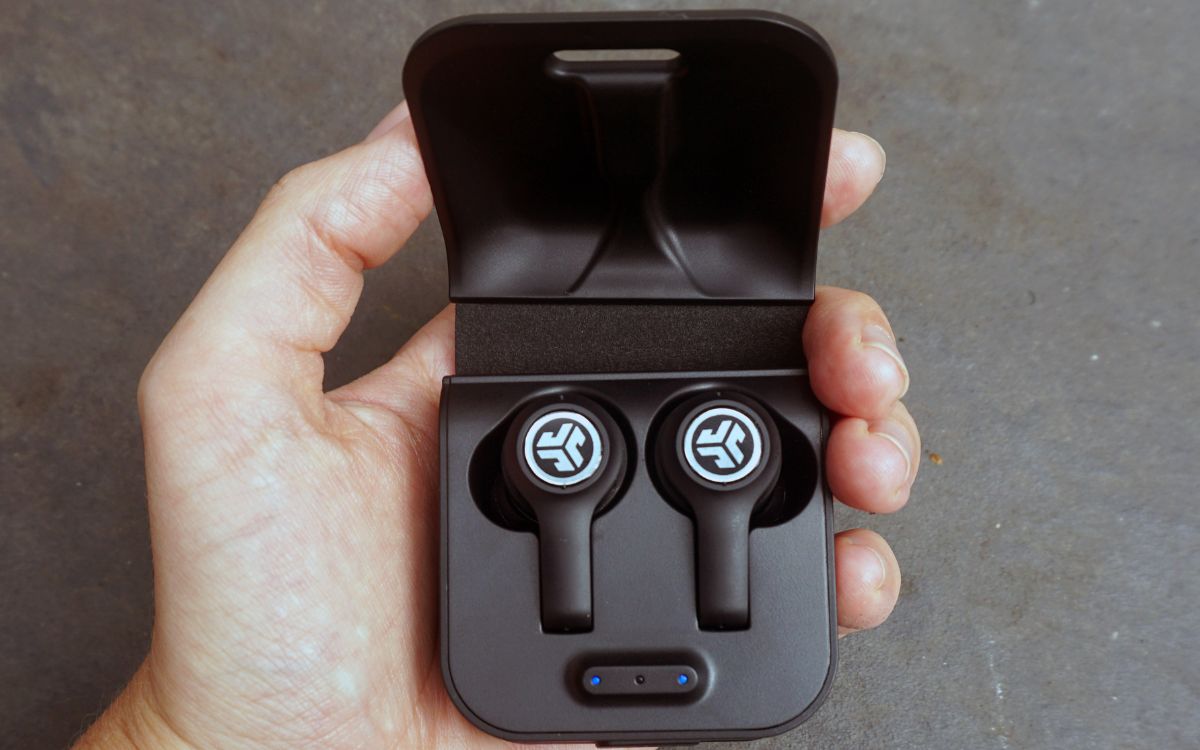
- Place the Go Air earbuds in the charging case: Open the charging case and carefully place the left and right earbuds into their respective charging slots. Make sure the charging pins on the earbuds align with the charging contacts in the case.
- Ensure the charging case is fully charged: It’s crucial to have enough power in the charging case to perform the reset and subsequent re-pairing process. Connect the charging case to a power source and let it charge until the LED indicators on the front indicate a full charge.
- Confirm earbuds are seated properly: Double-check that the earbuds are securely seated in the charging case. This will ensure a proper connection during the reset process. If the earbuds are not placed correctly, they may not reset properly or fail to pair again afterwards.
By following these steps, you can ensure that your Go Air earbuds are prepared and ready for the reset process. Taking these precautions will help to avoid any potential issues that may arise during the reset and re-pairing steps.
Step 2: Reset the left earbud
To reset the left earbud of your JLab Go Air earbuds, follow these simple instructions:
- Remove the left earbud from the charging case: Take out the left earbud from the charging case and ensure it is separated from the right earbud.
- Power off the left earbud: Press and hold the control button on the left earbud until you see the LED indicator flash and hear the power-down tone. This indicates that the left earbud has been powered off.
- Reset the left earbud: Press and hold the control button on the left earbud for at least 10 seconds. You should see the LED indicator on the earbud flash rapidly, indicating that the reset process has started.
Once the reset process is complete, the LED indicator on the left earbud will stop flashing rapidly and return to its normal state. This signifies that the left earbud has been successfully reset to its factory settings.
It’s important to note that while resetting the left earbud, the right earbud should remain in the charging case to avoid any interferences during the process. Keeping the right earbud in the charging case ensures a smooth reset process for the left earbud.
Now that you have successfully reset the left earbud, it’s time to move on to the next step of resetting the right earbud. Resetting both earbuds will help resolve any issues you may be experiencing with their functionality and connectivity.
Step 3: Reset the right earbud
After resetting the left earbud, it’s time to proceed with resetting the right earbud of your JLab Go Air earbuds. Follow these steps to successfully reset the right earbud:
- Place the left earbud back in the charging case: Before resetting the right earbud, make sure to place the left earbud back in the charging case. This will help maintain the connection between the earbuds during the reset process.
- Remove the right earbud from the charging case: Take out the right earbud from the charging case and ensure it is separate from the left earbud.
- Power off the right earbud: Press and hold the control button on the right earbud until the LED indicator flashes and you hear the power-down tone. This indicates that the right earbud has been powered off.
- Reset the right earbud: Press and hold the control button on the right earbud for at least 10 seconds. You should see the LED indicator on the earbud flashing rapidly, indicating that the reset process has started.
Similar to the left earbud reset process, once the reset is complete, the LED indicator on the right earbud will stop flashing rapidly and return to its normal state. This signifies that the right earbud has been successfully reset to its factory settings.
Once both earbuds have been reset, it’s time to pair them again to your device to ensure proper functionality and connectivity.
By following these simple steps, you can easily reset the right earbud of your JLab Go Air earbuds and troubleshoot any issues you may be experiencing. Remember to keep the left earbud in the charging case during this process to maintain a seamless connection.
Step 4: Pair the earbuds again
Once you have reset both the left and right earbuds of your JLab Go Air earbuds, it’s time to pair them again with your device. Follow these steps to successfully pair your earbuds:
- Open the Bluetooth settings on your device: Go to the Bluetooth settings on your smartphone, tablet, or other Bluetooth-enabled device. Make sure that Bluetooth is turned on.
- Remove both earbuds from the charging case: Take out both the left and right earbuds from the charging case. They should automatically enter pairing mode.
- Select the Go Air earbuds in the device’s Bluetooth settings: Look for “Go Air” or a similar name in the list of available devices and select it to pair.
- Wait for the earbuds to connect: After selecting the Go Air earbuds, wait for your device to establish a connection. Once connected, you should hear a confirmation tone or see a notification on your device.
- Ensure a stable connection: Once paired, make sure that the earbuds are securely seated in your ears and that there is a stable Bluetooth connection between the earbuds and your device. Adjust the fit or reposition the earbuds if necessary.
After completing these steps, you should have successfully paired your JLab Go Air earbuds with your device. Enjoy the crisp sound and convenience that the Go Air earbuds offer.
If you are still experiencing issues with the connectivity or functionality of your earbuds, you may need to repeat the reset and pairing process or consult the JLab customer support for further assistance.
By following these steps, you can easily reset, pair, and reconnect your JLab Go Air earbuds, ensuring optimal performance and seamless connectivity.
Conclusion
Congratulations! You have successfully learned how to reset your JLab Go Air Earbuds. Resetting these earbuds can help resolve various issues, including connectivity problems and software glitches. By following the step-by-step guide provided in this article, you can easily troubleshoot and reset your earbuds to restore them to their factory settings.
Remember, before performing a reset, it’s important to ensure that your Go Air earbuds are properly prepared and that the charging case is fully charged. This will help facilitate a smooth reset process and ensure that you have enough power to re-pair the earbuds with your device.
Throughout the reset process, make sure to follow each step carefully and be patient. Do not rush the procedure, as each earbud requires specific actions to reset properly. Additionally, keep in mind that the exact steps may vary slightly depending on the specific model of your Go Air earbuds.
After resetting the left and right earbuds, remember to pair them again with your device. This will establish a new connection and ensure proper functionality. Once paired, enjoy the exceptional sound quality and convenience that the JLab Go Air Earbuds provide.
If you continue to experience issues with your Go Air earbuds even after resetting them, it may be necessary to contact JLab customer support for further assistance. They will be able to provide you with additional troubleshooting steps or guide you through any necessary repairs.
Now that you have the knowledge to reset your JLab Go Air Earbuds, you can enjoy a seamless and uninterrupted audio experience. Troubleshoot any issues and get back to immersing yourself in your favorite music, podcasts, and more.