Home>Devices & Equipment>Earbuds>How To Wear Apple Earbuds
Earbuds
How To Wear Apple Earbuds
Modified: January 22, 2024
Learn the best ways to wear Apple Earbuds and enjoy ultimate comfort and audio quality. Discover tips and tricks for a secure fit and enhanced listening experience.
(Many of the links in this article redirect to a specific reviewed product. Your purchase of these products through affiliate links helps to generate commission for AudioLover.com, at no extra cost. Learn more)
Table of Contents
Introduction
Apple Earbuds are well-known and widely used earphones that come with various Apple devices such as iPhones, iPods, and iPads. They are renowned for their sleek design, high-quality sound, and convenient portability. Whether you want to listen to music, watch videos, or make hands-free phone calls, Apple Earbuds provide a reliable and immersive audio experience.
However, wearing earbuds properly is essential to optimize their performance and ensure maximum comfort. Many people struggle with finding the correct way to wear Apple Earbuds, which can affect sound quality and lead to discomfort during prolonged use.
In this article, we will guide you through a step-by-step process on how to wear Apple Earbuds properly. From adjusting the earbuds to troubleshooting common issues, we’ll cover everything you need to know to enjoy your audio experience to the fullest.
Note: The instructions provided here are specifically for Apple Earbuds, which have a unique design. While some general tips may apply to other types of earphones as well, it’s always best to consult the instructions or user manual that came with your specific earphones.
Step 1: Adjusting the Earbuds
Before inserting the Apple Earbuds into your ears, it’s important to adjust them properly to ensure a secure and comfortable fit. Follow these steps to adjust the earbuds:
- Inspect the Earbuds: Before adjusting, check the condition of the earbuds. Ensure that the cables are not damaged and that the rubber tips are clean and free from any debris. This will help maintain the longevity and hygiene of your earbuds.
- Check the Left and Right Markings: Apple Earbuds are designed to fit specifically in each ear. Look for the “L” and “R” markings on the earbuds’ housing. The “L” indicates the left earbud, while the “R” indicates the right earbud. Make sure you’re holding the correct earbud in each hand.
- Adjust the Cable Length: The cable of the Apple Earbuds can be adjusted to achieve a comfortable fit. Hold the cable close to the Y-splitter, which is the point where the cable separates into two branches. Gently slide the Y-splitter up or down to adjust the cable length according to your preference. A shorter cable length can help prevent tangling and provide a snug fit.
- Position the Microphone: If your Apple Earbuds have a built-in microphone, make sure it is positioned correctly. The microphone is typically found on the cable of the right earbud. Adjust it so that it is close to your mouth for clear sound transmission during phone calls or voice recordings.
- Secure the Cable Clip (Optional): Some Apple Earbuds come with a cable clip for additional cable management. If you have a cable clip, slide it onto the cable near the Y-splitter. The cable clip can be attached to your clothing or collar to prevent the cable from moving around and causing discomfort.
By adjusting the Apple Earbuds as instructed above, you can customize the fit and positioning of the earbuds to match your preferences. This will help ensure a secure and comfortable listening experience.
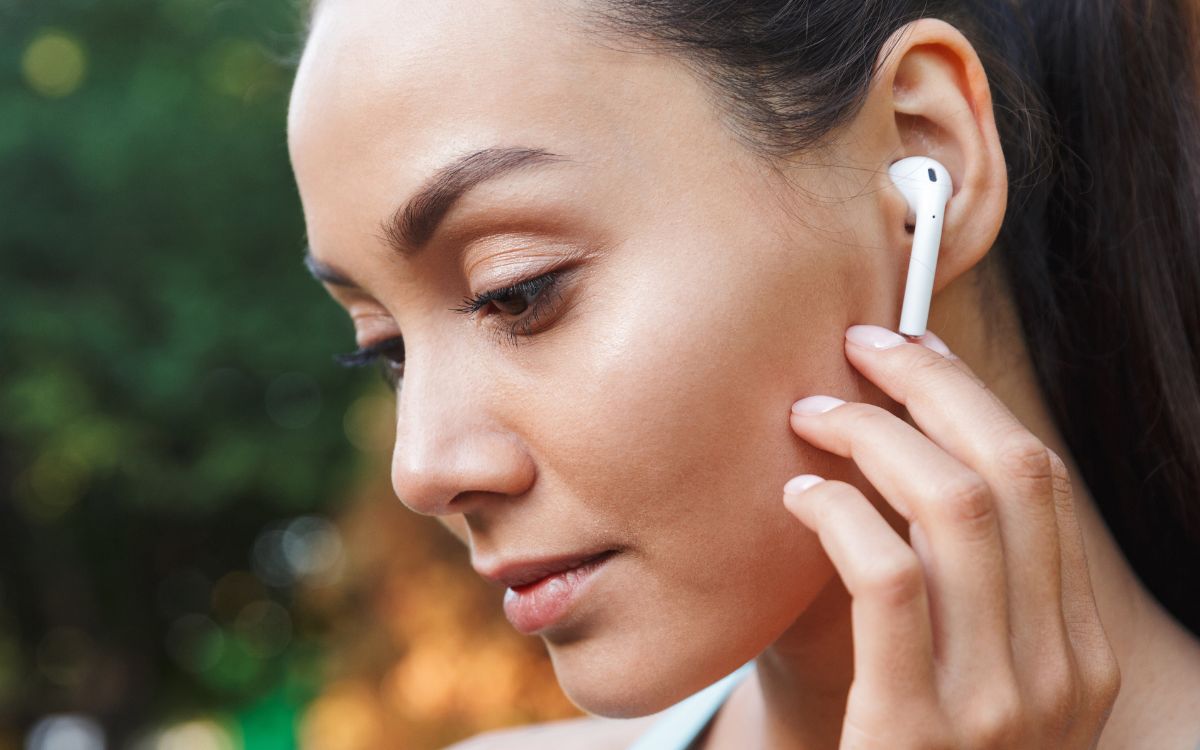
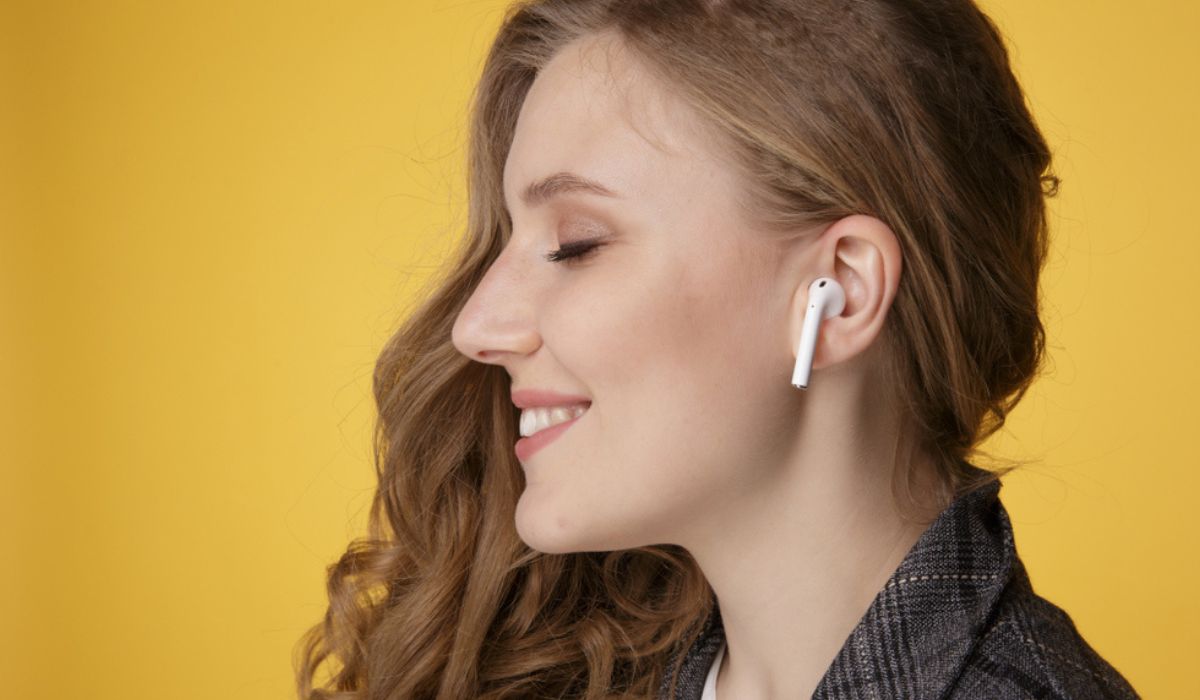
Step 2: Inserting the Earbuds
Now that you have adjusted the Apple Earbuds to your liking, it’s time to insert them into your ears. Follow these steps for proper insertion:
- Clean Your Ears: It’s important to have clean ears before inserting the earbuds. Use a soft cloth or cotton swab to gently clean the outer part of your ears, removing any wax or debris that may be present. This will help improve sound quality and prevent discomfort.
- Hold the Earbuds Correctly: Take the earbud with the “L” marking and hold it in your left hand. Similarly, hold the earbud with the “R” marking in your right hand.
- Hold the Earbuds Properly: Grasp each earbud gently between your thumb and index finger. The rounded part of the earbud should face forward, while the stem should be pointing downwards.
- Find the Right Angle: Tilt your head slightly forward and use your free hand to gently pull your earlobe downward. This will help straighten your ear canal, making it easier to insert the earbuds. Experiment with different angles to find the most comfortable position.
- Insert the Earbuds: Carefully insert the rounded part of the earbud into your ear canal. Avoid pushing them in too forcefully to prevent discomfort or potential damage to your ears. The earbuds should fit snugly in your ears, creating a seal to enhance sound quality and reduce external noise.
- Repeat for the Second Earbud: Follow the same steps for the second earbud, ensuring that it is inserted correctly into the corresponding ear. Both earbuds should be positioned securely in your ears.
It may take a few tries to find the right angle and insertion technique that works best for you. Once you have successfully inserted the Apple Earbuds, you’re ready to enjoy your audio experience with enhanced sound quality and comfort.
Step 3: Securing the Earbuds
To ensure that the Apple Earbuds stay in place and provide a comfortable listening experience, it’s important to properly secure them. Follow these steps to secure the earbuds:
- Check the Fit: After inserting the earbuds, gently tug on the cable near the Y-splitter to make sure they are snugly fit in your ears. The earbuds should not feel loose or easily fall out. If they do, try reinserting them or adjusting the angle.
- Wrap the Cable Behind Your Ear (Optional): Some users find it helpful to wrap the cable behind the ear to provide additional stability. To do this, lift the cable up and over the back of your ear, letting it rest on the outer curve. This method can help prevent the earbuds from getting tugged or accidentally pulled out.
- Use the Cable Clip (Optional): If your Apple Earbuds have a cable clip, use it to secure the cable to your clothing or collar. This will minimize cable movement and reduce the chances of the earbuds getting dislodged during physical activities or movement.
- Avoid Excessive Movement: During activities such as running or exercising, try to minimize excessive head movements that could dislodge the earbuds. If necessary, adjust the fit or consider using additional accessories like earhooks or wingtips to provide extra stability.
- Listen at a Moderate Volume: Listening to music or other audio content at excessively high volume levels can cause the earbuds to shift or even fall out. Keep the volume at a moderate level to ensure a secure fit and protect your hearing.
- Periodically Check and Adjust: Throughout your usage, periodically check the fit of the earbuds to ensure they remain secure. If you feel any discomfort or the fit becomes loose, take a moment to readjust the earbuds or try a different size of rubber tips if available.
By following these steps to secure the Apple Earbuds, you can enjoy your audio experience without interruptions or the need to frequently readjust the earbuds.
Step 4: Ensuring Proper Fit
To optimize your listening experience and ensure maximum comfort, it’s important to ensure a proper fit for your Apple Earbuds. Follow these steps to achieve a proper fit:
- Listen for Balance: Start by playing music or audio that you’re familiar with. Pay attention to the balance between the left and right earbuds. Adjust the position of the earbuds if you notice any imbalance in sound. They should deliver equal sound levels and clarity in both ears.
- Test for Noise Isolation: Apple Earbuds are designed to provide noise isolation by creating a seal in your ear canal. To test the effectiveness of noise isolation, play audio with ambient noise in the background. If the external noise is significantly reduced, it indicates that the earbuds are creating a proper seal. If you experience minimal noise reduction, try readjusting the earbuds or using different-sized rubber tips for a better fit.
- Comfort and Pressure: Pay attention to the comfort level and any pressure sensations while wearing the earbuds. They should fit securely without causing any discomfort or pain. If you experience discomfort, experiment with different sizes of rubber tips until you find the most comfortable fit. Remember, a proper fit should not cause any pain or excessive pressure in your ears.
- Check for Sound Leakage: While wearing the Apple Earbuds, make sure there is no significant sound leakage. If people nearby can hear your audio content, it indicates poor sound isolation and a potential fit issue. Try adjusting the earbuds or using different-sized rubber tips to achieve a tighter seal and reduce sound leakage.
- Fit Adjustment Tips: If you’re having difficulty achieving a proper fit, here are some additional tips:
- Try different sizes of rubber tips to find the best fit for your ear size and shape.
- Experiment with different insertion depths. Some people prefer a shallow insertion, while others find a deeper insertion more comfortable.
- Rotate the earbuds slightly to find the most comfortable and secure position.
- Consider using third-party accessories such as ear hooks or foam tips for a more customized fit and improved stability.
By ensuring a proper fit for your Apple Earbuds, you can enjoy enhanced sound quality, noise isolation, and comfort, resulting in a more immersive and enjoyable audio experience.
Step 5: Troubleshooting Tips
Even with proper adjustment and care, you may encounter some common issues while using Apple Earbuds. Here are some troubleshooting tips to resolve these problems:
- Low Sound Quality: If you experience low sound quality, first ensure that the volume on your device is set to an appropriate level. Additionally, check if there is any debris or wax buildup on the earbuds or rubber tips. Clean them gently using a soft cloth or cotton swab to improve sound clarity.
- Intermittent Sound: If you notice sound cutting in and out or experiencing intermittent audio, check the connection between the earbuds and the audio device. Ensure that the audio jack is inserted properly and securely. You can also try unplugging and re-plugging the earbuds to re-establish the connection.
- Earbuds Falling Out: If the earbuds keep falling out despite your efforts, try using a smaller size of rubber tips to create a tighter seal. Additionally, consider using ear hooks or wingtips to provide extra stability and prevent them from slipping out during physical activities.
- One Side Not Working: If one side of the earbuds is not producing sound, check if the audio balance on your device is properly adjusted. You can also try swapping the left and right earbuds to determine if the issue lies with the earbuds or the device. If the problem persists, the earbud may be damaged and require replacement.
- Cable Tangling: To prevent cable tangling, use the cable management techniques provided with the earbuds, such as the cable clip. You can also try loosely coiling the cable and storing it in a dedicated case or pouch when not in use. Avoid tight knots and placing heavy objects on the cable.
If you encounter persistent issues or if your Apple Earbuds are still under warranty, consider reaching out to Apple Support for further assistance. They can provide additional troubleshooting steps or guide you through the warranty process, if applicable.
By following these troubleshooting tips, you can overcome common issues and enjoy a seamless and satisfying audio experience with your Apple Earbuds.
Conclusion
Wearing Apple Earbuds properly can greatly enhance your audio experience, providing crystal-clear sound and optimal comfort. By adjusting the earbuds, inserting them correctly, securing them, ensuring a proper fit, and troubleshooting common issues, you can make the most out of your Apple Earbuds.
Remember to inspect the earbuds before use, adjust the cable length, and position the microphone if applicable. Clean your ears and hold the earbuds properly before inserting them at the right angle. Take the time to secure the earbuds, wrap the cable behind your ears if desired, and use the cable clip for added stability.
Ensuring a proper fit is crucial for an immersive audio experience. Listen for balance, test for noise isolation, and check for sound leakage. Adjust the fit, experiment with different-sized rubber tips, and use additional accessories if necessary.
If you encounter any issues, the troubleshooting tips provided can help you resolve common problems such as low sound quality, intermittent audio, earbuds falling out, or one side not working. Remember to properly care for your earbuds to avoid cable tangling and maintain their longevity.
By following these steps and tips, you can enjoy the full potential of your Apple Earbuds. Whether you’re listening to music, watching videos, or making phone calls, your audio experience will be optimized, comfortable, and free from common issues.
So, go ahead and enjoy your favorite audio content with confidence, knowing that you have mastered the art of wearing Apple Earbuds!