Home>Events & Info>Podcast>How To Upload A Podcast To Apple
Podcast
How To Upload A Podcast To Apple
Modified: January 22, 2024
Learn how to upload your podcast to Apple with our step-by-step guide. Reach a wider audience and increase your podcast's visibility today!
(Many of the links in this article redirect to a specific reviewed product. Your purchase of these products through affiliate links helps to generate commission for AudioLover.com, at no extra cost. Learn more)
Table of Contents
Introduction
Welcome to the exciting world of podcasting, where you have the opportunity to share your thoughts, expertise, and stories with a global audience. Podcasts have become increasingly popular in recent years, allowing individuals and businesses to connect with listeners on a deeper level while delivering valuable content.
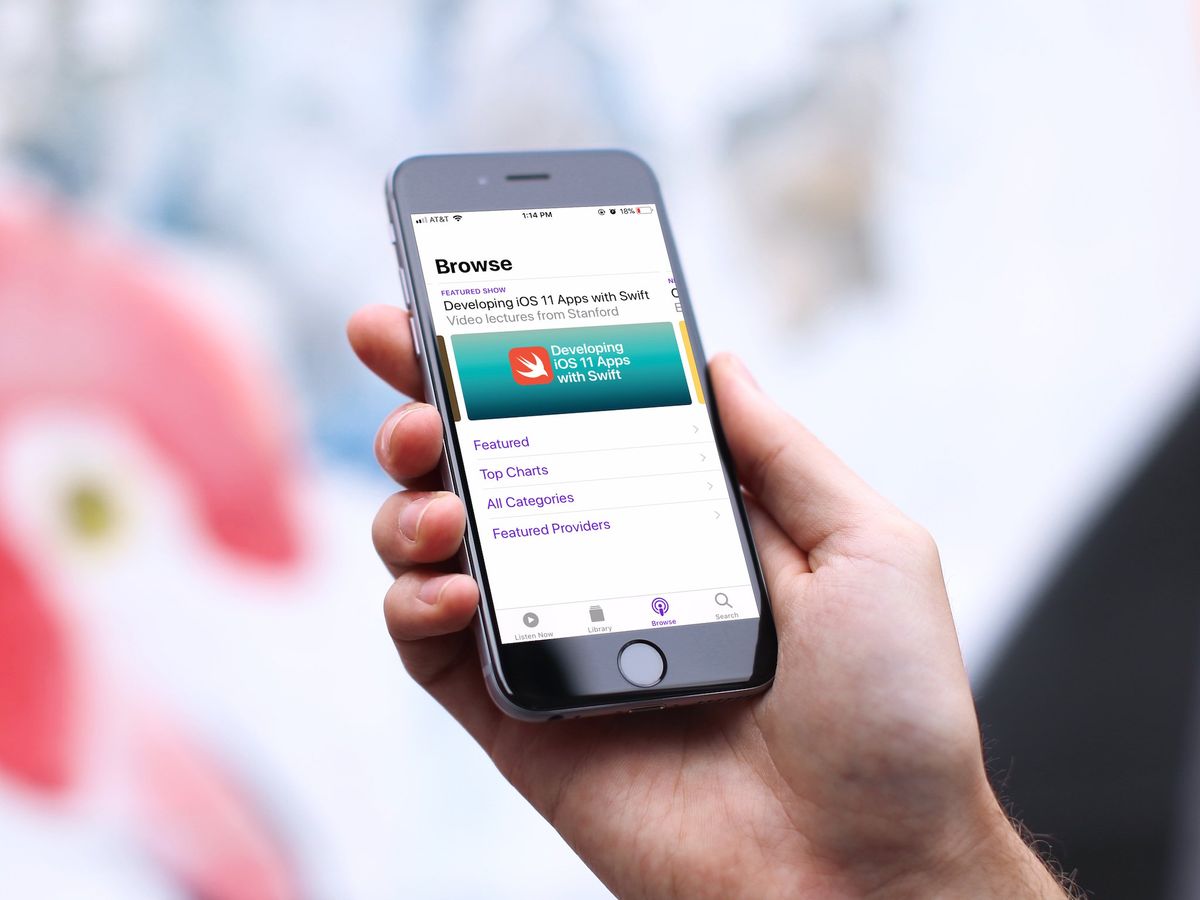
One of the key platforms for hosting and distributing podcasts is Apple Podcasts, formerly known as iTunes. With its extensive reach and dedicated audience, getting your podcast on Apple Podcasts can significantly boost its visibility and reach. However, the process of uploading your podcast to Apple Podcasts may seem daunting if you’re new to the podcasting world.
In this article, we will guide you through the process of uploading your podcast to Apple Podcasts. From creating your podcast to submitting it for review, we’ll cover all the necessary steps to ensure your podcast is available on this popular platform. So, let’s dive in and get your podcast ready to be heard by millions of potential listeners!
Step 1: Create and Prepare Your Podcast
The first step in getting your podcast on Apple Podcasts is to create and prepare your podcast content. This involves planning your episodes, recording high-quality audio, and organizing your content.
1. Define Your Podcast’s Topic: Before you start recording, it’s important to have a clear idea of the topic and theme of your podcast. Determine what niche or subjects you want to focus on and ensure it aligns with your target audience’s interests.
2. Plan Your Episodes: Create a content plan or outline for your podcast episodes. This will help you stay organized and ensure you have a consistent flow of topics to discuss. Consider including episode titles, key points to cover, and any guest interviews or segments you want to include.
3. Invest in Quality Equipment: To produce professional and high-quality audio for your podcast, it’s important to invest in a quality microphone, headphones, and recording software. This will ensure clear sound and enhance the listening experience for your audience.
4. Choose a Recording Environment: Find a quiet and controlled environment to record your episodes. Minimize background noise as much as possible to maintain the audio quality. You can consider using a soundproof room or using noise-canceling equipment to achieve the best results.
5. Record and Edit Your Episodes: Once you have your equipment and recording environment set up, start recording your podcast episodes. It’s recommended to record multiple episodes in advance to maintain a consistent release schedule. After recording, edit your episodes using audio editing software to remove any background noise, improve audio quality, and make any necessary adjustments.
6. Create Intro and Outro Music: An engaging and catchy theme music or jingle at the start and end of your episodes can help set the tone and make your podcast memorable. Consider creating or obtaining licensed music that aligns with your podcast’s theme.
7. Write Show Notes: Show notes are a brief summary or highlights of each episode. They provide additional context to your episodes and can help with search engine optimization (SEO). Write informative and engaging show notes for each episode to accompany your audio files.
Step 2: Prepare Your Audio Files
Once you have created and edited your podcast episodes, it’s time to prepare the audio files for uploading to Apple Podcasts. Properly formatting and optimizing your audio files is essential for a smooth uploading process and ensuring a high-quality listening experience for your audience.
1. Choose the Right File Format: Apple Podcasts accepts MP3 and AAC file formats. It’s recommended to use MP3 format as it is widely supported and offers good audio quality while keeping file sizes manageable.
2. Set the Correct Bitrate: For optimal audio quality and file size, it’s advisable to use a bitrate of 96kbps to 128kbps. Higher bitrates may improve audio quality but can result in larger file sizes, which may affect download speeds.
3. Naming Convention: Rename your audio files using a consistent naming convention. It’s best to include the episode number and episode title in the file name for easier organization and navigation.
4. Check Your Audio Levels: Ensure that the audio levels in your episodes are consistent and balanced. Use audio editing software to adjust levels if needed, avoiding extreme volume fluctuations that can be unpleasant for listeners.
5. Add ID3 Tags: ID3 tags contain metadata about your podcast episodes, such as episode title, artist name, album, and genre. It’s important to fill in these tags accurately as they provide crucial information to listeners and improve your podcast’s discoverability.
6. Include Cover Art: A visually appealing podcast cover art not only catches the attention of potential listeners but also helps to establish your podcast’s identity. Create a square image with a minimum size of 1400 x 1400 pixels and a maximum size of 3000 x 3000 pixels, in JPEG or PNG format, and add it to the metadata of your audio files.
7. Compress and Optimize File Size: To ensure faster downloads and minimize bandwidth usage, compress your audio files without sacrificing audio quality. Use audio editing software or online tools to optimize file size while maintaining acceptable audio integrity.
By following these steps to prepare your audio files, you’ll be ready to move on to the next stage of uploading your podcast to Apple Podcasts. Properly formatted and optimized audio files will not only help with the uploading process but also contribute to a positive listening experience for your audience.
Step 3: Sign Up for Apple Podcasts Connect
Before you can submit your podcast to Apple Podcasts, you need to sign up for Apple Podcasts Connect. This is the platform where you’ll manage your podcast, track its performance, and interact with Apple’s podcasting team.
1. Create an Apple ID: If you don’t already have an Apple ID, you’ll need to create one. Visit the Apple ID creation page and follow the instructions to set up your Apple ID.
2. Visit Apple Podcasts Connect: Once you have your Apple ID, go to the Apple Podcasts Connect website. This is where you’ll manage your podcast and submit it for review.
3. Sign In with your Apple ID: Use your Apple ID credentials to sign in to Apple Podcasts Connect. Ensure you are signed in with the Apple ID associated with your podcasting endeavors.
4. Agree to the Terms and Conditions: Read through the terms and conditions provided by Apple Podcasts Connect and agree to them. It’s important to familiarize yourself with Apple’s guidelines to ensure compliance and a smooth podcast submission process.
5. Set Up Your Podcast Details: On the dashboard of Apple Podcasts Connect, click on the “Create New Show” button to start setting up your podcast details. You’ll need to provide information such as your podcast title, description, categories, and artwork. It’s crucial to craft a compelling and concise description that accurately represents your podcast.
6. Verify Your Podcast: After filling in the necessary details, you’ll need to verify your podcast. Apple provides different verification methods, such as adding a unique code snippet to your website or verifying your email address associated with the podcast. Follow the instructions provided by Apple to complete the verification process.
7. Add Podcast Metadata: Once your podcast is verified, you can add additional metadata such as author information, episode numbers, and show notes. These details will help Apple Podcasts index and display your podcast correctly.
By completing the sign-up process on Apple Podcasts Connect, you’ll have the foundation in place to submit and manage your podcast on Apple Podcasts. Take your time, provide accurate information, and ensure you comply with Apple’s guidelines to maximize your chances of approval and a successful podcast launch on this popular platform.
Step 4: Submit Your Podcast to Apple Podcasts
After signing up and setting up your podcast details on Apple Podcasts Connect, the next step is to submit your podcast for review and inclusion in the Apple Podcasts directory. The review process ensures that your podcast meets Apple’s guidelines and quality standards before it becomes available to the masses.
1. Prepare Your Podcast Feed: Your podcast feed is a file that contains information about your episodes, including titles, descriptions, durations, and release dates. You can create a podcast feed using podcast hosting platforms such as Libsyn, Buzzsprout, or Anchor. Ensure your podcast feed is updated with your latest episodes.
2. Add Your Podcast Feed to Apple Podcasts Connect: On the Apple Podcasts Connect dashboard, locate the “RSS Feed” section and enter the URL of your podcast feed. Apple Podcasts Connect will validate your feed and display a preview of your episodes. Check that all the information is accurate and aligns with your podcast content.
3. Review and Submit: Once your podcast feed is added and validated, review the information displayed, including your podcast artwork, description, and episode details. Double-check for any errors or inconsistencies. When you are satisfied, click on the “Submit” button to officially submit your podcast for review.
4. Wait for Review: After submitting your podcast, it will go through a review process by Apple’s team. The review duration can vary, but it typically takes a few days to a couple of weeks. During this time, be patient and avoid making any changes to your podcast feed or details.
5. Receive Approval or Feedback: Once the review process is complete, you will receive an email from Apple Podcasts Connect notifying you of the outcome. If your podcast is approved, congratulations! It will be listed in the Apple Podcasts directory, and you can start promoting and sharing it with your audience. In case there are any issues or feedback from Apple, make the necessary adjustments and resubmit for review.
6. Integrate Tracking and Analytics: As your podcast goes live on Apple Podcasts, it’s valuable to utilize podcast analytics services to track your show’s performance. This will provide insights into listener behavior, episode popularity, and other metrics that can help inform future content decisions and optimize your podcast’s reach and engagement.
By following these steps and submitting your podcast to Apple Podcasts, you’ll be making your podcast accessible to millions of potential listeners worldwide. Don’t forget to promote your podcast through various channels to increase its visibility and attract a loyal audience.
Step 5: Verify and Publish Your Podcast
After your podcast has been approved by Apple Podcasts and included in their directory, the next step is to verify and publish your podcast. Verification ensures that you have control over the podcast and allows you to make updates or changes as needed.
1. Verify Your Ownership: To verify your podcast, Apple Podcasts Connect provides several verification options. The most common method is to add a verification code snippet to your website’s homepage. This verifies that you have ownership and control over the website associated with your podcast. Alternatively, you can verify through your podcast hosting platform or by using an email address associated with your domain.
2. Check Your Episodes: Once your podcast is verified, double-check that all your episodes are displaying correctly in the Apple Podcasts directory. Verify that the episode titles, descriptions, and other metadata are accurate and aligned with your intended content.
3. Review Your Podcast Listing: Take a close look at your podcast listing in the Apple Podcasts directory. Confirm that your podcast artwork, description, categories, and other details are presenting your podcast accurately and attractively. It’s important to make a positive first impression to attract and engage potential listeners.
4. Promote Your Podcast: Now that your podcast is live and available on Apple Podcasts, it’s time to promote it! Share your podcast on your website, social media platforms, and any relevant communities or forums. Encourage your friends, family, and loyal listeners to subscribe, review, and share your podcast to help spread the word.
5. Maintain and Update: As your podcast evolves, make sure to keep your content fresh and up to date. Regularly release new episodes according to your predetermined schedule, engage with your audience through comments and feedback, and stay active in promoting and growing your podcast’s reach.
6. Track and Analyze Performance: Take advantage of analytics tools provided by podcast hosting platforms or third-party services to track and analyze your podcast’s performance. Monitor download numbers, subscriber growth, and listener engagement metrics to gain insights into audience preferences and make data-driven decisions to improve your podcast’s impact.
By completing the verification process and publishing your podcast on Apple Podcasts, you have made your content accessible to a wide audience. Be proactive in promoting and maintaining your podcast to maximize its reach and impact. Remember, podcasting is a continuous journey, so stay committed and keep producing valuable content for your listeners.
Conclusion
Congratulations on successfully navigating the process of uploading your podcast to Apple Podcasts! By following the steps outlined in this article, you have unlocked the potential to reach a vast audience and share your valuable content with the world.
Remember, podcasting is not just about creating and uploading episodes; it’s an ongoing commitment to producing high-quality content, engaging with your audience, and continuously improving your podcast. Keep the following tips in mind to help you thrive in the podcasting world:
1. Consistency is Key: Stick to a regular release schedule to keep your audience engaged and coming back for more. Consistency builds trust and establishes a strong connection with your listeners.
2. Listen and Respond: Pay attention to your listeners’ feedback, comments, and suggestions. Engage with them and make them a part of your podcasting journey by incorporating their ideas and addressing their questions.
3. Promote Your Podcast: Utilize different marketing channels to spread the word about your podcast. Leverage social media, your website, guest appearances on other podcasts, and collaborations with influencers to expand your reach and attract new listeners.
4. Stay Curious and Evolve: Keep learning and exploring new topics, approaches, and storytelling techniques. Stay open to feedback and continuously strive to improve the quality and value of your podcast.
5. Network and Collaborate: Connect with fellow podcasters, industry experts, and like-minded individuals in the podcasting community. Collaboration opportunities can help you grow your audience and bring fresh perspectives to your podcast.
Remember, building a successful podcast takes time, effort, and dedication. Don’t get discouraged if you don’t see immediate results. Stay committed to your vision, keep honing your skills, and consistently deliver content that resonates with your target audience.
Now that you have the knowledge and guidance to upload your podcast to Apple Podcasts, embrace the opportunity to share your voice, stories, and expertise. Enjoy the journey of podcasting, connect with your listeners, and make a lasting impact in the podcasting landscape!