Home>Devices & Equipment>Earbuds>How To Connect Jaybird Earbuds
Earbuds
How To Connect Jaybird Earbuds
Published: December 20, 2023
Learn how to connect Jaybird earbuds to your device effortlessly and enjoy high-quality sound on the go. Discover the steps and troubleshooting tips for a seamless earbud connection experience.
(Many of the links in this article redirect to a specific reviewed product. Your purchase of these products through affiliate links helps to generate commission for AudioLover.com, at no extra cost. Learn more)
Table of Contents
Introduction
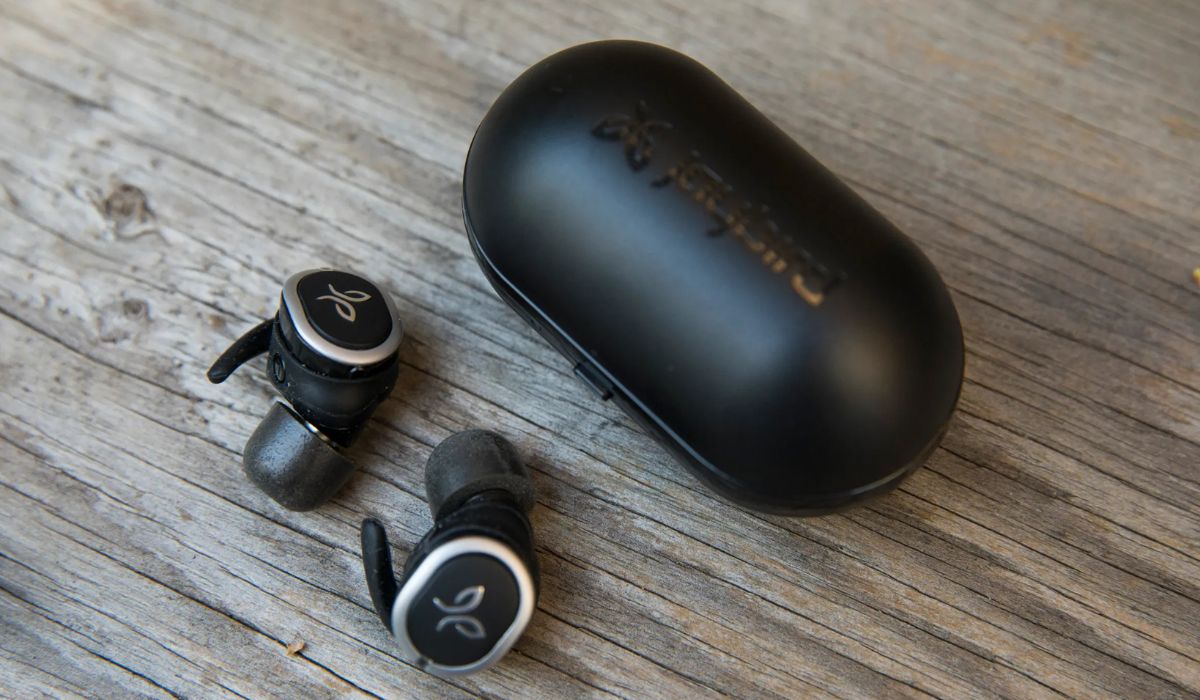
Welcome to the world of Jaybird Earbuds! Designed for active individuals and audiophiles alike, Jaybird Earbuds offer a remarkable audio experience in a compact and wireless package. Whether you’re hitting the gym, going for a run, or simply enjoying your favorite tunes on the go, these earbuds provide unparalleled sound quality and freedom of movement.
In this article, we will take you through the step-by-step process of connecting your Jaybird Earbuds to your device. From unpacking and charging to pairing and troubleshooting, we’ll cover everything you need to know to ensure a seamless and enjoyable listening experience.
So, if you’ve just unboxed your brand-new Jaybird Earbuds and are eager to get started, or if you’re experiencing difficulties connecting them to your device, you’ve come to the right place. Sit back, relax, and let us guide you through the process of connecting your Jaybird Earbuds.
Before we dive into the nitty-gritty, it’s essential to note that Jaybird Earbuds come in a variety of models, each with its unique features and specifications. However, the general process of connecting them remains relatively consistent across the product range.
So, whether you have the Jaybird Vista, Jaybird X4, or any other Jaybird model, the following steps will guide you through the connection process. Let’s get started!
Step 1: Unpacking and Charging
The first step in setting up your Jaybird Earbuds is to unpack them from the box and ensure they are fully charged. Here’s how to do it:
- Open the packaging: Carefully open the box and remove the earbuds and any accompanying accessories, such as charging cables or additional ear tips.
- Inspect the contents: Take a moment to inspect the earbuds for any visible damage or defects. If you notice any issues, contact the retailer or Jaybird customer support for assistance.
- Find the charging case: Locate the charging case, which is typically included with most Jaybird Earbuds. The case serves as a convenient storage and charging solution for your earbuds.
- Charge the case: Connect the charging cable to the case and plug it into a power source. The LED indicators on the case will indicate the charging status. Allow the case to charge fully before proceeding to the next step.
- Charge the earbuds: Once the case is fully charged, place the earbuds into their respective slots in the case. Ensure that they are securely seated and properly aligned with the charging pins. Close the case and allow the earbuds to charge for the recommended time, usually stated in the user manual.
Charging times can vary depending on the model and battery capacity, so it’s essential to refer to the user manual for specific guidelines. It’s worth noting that Jaybird Earbuds typically offer a decent battery life, allowing you to enjoy hours of uninterrupted music playback.
While the earbuds are charging, take this time to familiarize yourself with the controls and features of your specific model. This will come in handy when we move on to the pairing process in the next step.
Once the earbuds are fully charged, you’re ready to move on to the next step, where we’ll cover how to pair your Jaybird Earbuds with your device.
Step 2: Pairing with Your Device
Now that your Jaybird Earbuds are fully charged, it’s time to pair them with your device. Here’s how to do it:
- Enable Bluetooth: Make sure the Bluetooth function on your device is turned on. You can usually find this option in the settings menu of your smartphone, tablet, or computer.
- Open the charging case: Open the charging case and remove the earbuds. They should automatically enter pairing mode, indicated by flashing LED lights or an audible prompt.
- Select your Jaybird Earbuds: On your device, navigate to the Bluetooth settings menu and search for available devices. Look for the name of your Jaybird Earbuds model (e.g., “Jaybird Vista” or “Jaybird X4”) in the list of discoverable devices.
- Pair the devices: Once you’ve found your Jaybird Earbuds in the Bluetooth settings, select them to initiate the pairing process. Your device may display a pairing code or ask for confirmation, which you can accept. The LED lights on the earbuds and the device should indicate a successful pairing.
It’s important to note that the pairing process may slightly vary depending on your device’s operating system and your Jaybird Earbuds model. If you encounter any difficulties, refer to the user manual specific to your model for detailed instructions.
In addition, some Jaybird Earbuds models offer companion mobile apps that provide additional features and customization options. Consider downloading and installing the app to unlock the full potential of your earbuds.
Once the pairing process is complete, your Jaybird Earbuds should be connected to your device, allowing you to enjoy high-quality wireless audio. In the next step, we’ll explore how to connect your Jaybird Earbuds to your device via Bluetooth.
Step 3: Connecting to Bluetooth
Now that your Jaybird Earbuds are paired with your device, it’s time to establish a Bluetooth connection. Follow these steps to connect your earbuds:
- Ensure Bluetooth is turned on: On your device, verify that the Bluetooth feature is enabled. You can usually find this option in the settings menu. If it’s already turned on, proceed to the next step.
- Retrieve your Jaybird Earbuds: Take the earbuds out of the charging case and ensure they are powered on. In most cases, the earbuds will automatically power on once removed from the case.
- Select your earbuds in the Bluetooth menu: On your device, navigate to the Bluetooth settings and look for your Jaybird Earbuds in the list of paired devices. Tap on the name of your earbuds to establish the connection.
- Confirm the connection: Your device may prompt you to confirm the connection with your Jaybird Earbuds. Follow the on-screen instructions to finalize the connection process. Once connected, the LED indicators on the earbuds may turn solid or display a specific color to indicate an active Bluetooth connection.
It’s important to note that some devices may automatically connect to your Jaybird Earbuds as soon as they are powered on and in proximity. However, if your device does not connect automatically, you can manually connect them through the Bluetooth settings.
Additionally, it’s worth exploring the Bluetooth settings of your device for advanced options and features that can enhance your audio experience. Some devices allow you to adjust the audio sync, enable high-quality audio codecs, or customize the equalizer settings for your Jaybird Earbuds.
Once the Bluetooth connection is established, you can start enjoying your favorite music, podcasts, or other audio content wirelessly through your Jaybird Earbuds. In the next step, we’ll discuss how to ensure a comfortable and secure fit for your earbuds.
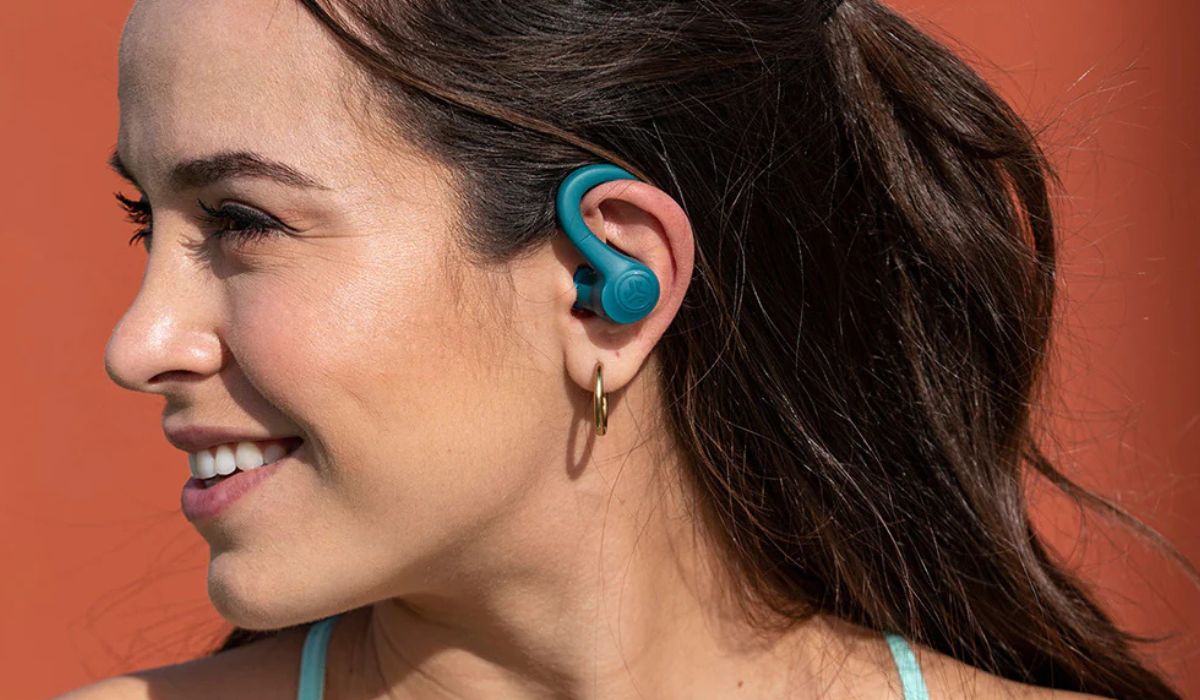
Step 4: Adjusting Fit and Comfort
Ensuring a comfortable and secure fit is crucial for an optimal listening experience with your Jaybird Earbuds. Follow these steps to adjust the fit and find the right level of comfort:
- Select the appropriate ear tips: Jaybird Earbuds typically come with multiple sizes of ear tips to accommodate different ear shapes and sizes. Start by selecting the ear tips that best fit your ears. It’s important to choose ones that create a seal, effectively blocking out external noise.
- Attach the ear tips: Carefully attach the selected ear tips to the earbuds. Ensure that they are securely attached and aligned properly with the earbud nozzles.
- Insert the earbuds: Gently insert the earbuds into your ears, making sure they are positioned correctly and snugly. Twist the earbuds slightly to create a secure fit and optimize their positioning in your ears.
- Adjust the earbuds: If necessary, adjust the angle and position of the earbuds to find the most comfortable and secure fit. Everyone’s ears are different, so it may take a few adjustments to find the right position.
If you’re experiencing discomfort or the earbuds are falling out, try selecting a different size of ear tips or experimenting with different adjustments. It’s important to find a fit that provides both comfort and stability during your activities.
Remember that a proper fit not only enhances sound quality but also helps to improve noise isolation, preventing outside distractions from interfering with your listening experience. It’s worth spending some time finding the right fit to optimize your enjoyment.
Once you have adjusted the fit and found a comfortable position, you’re ready to enjoy your Jaybird Earbuds to the fullest. In the next step, we’ll discuss how to troubleshoot common issues that may arise during the setup process.
Step 5: Troubleshooting Common Issues
While setting up and using your Jaybird Earbuds, you might encounter some common issues. Don’t worry; they can often be easily resolved. Here are a few troubleshooting tips:
- No sound or audio playback issues:
- Ensure that the earbuds are properly connected to your device via Bluetooth.
- Check if the volume on your device is turned up and not muted.
- Verify that the earbuds are snugly inserted into your ears for optimal sound quality.
- Try adjusting the position of the earbuds in your ears or swapping out the ear tips for a better fit.
- If the issue persists, try disconnecting and reconnecting the earbuds or restarting your device.
- Poor battery life or charging issues:
- Ensure that the charging case and earbuds are properly connected and aligned for charging.
- Clean the charging contacts on both the earbuds and the case to remove any dirt or debris that may interfere with charging.
- Make sure the charging cable is securely plugged into the charging case and power source.
- If you’re experiencing significantly reduced battery life, try fully draining and recharging the earbuds to recalibrate the battery.
- Connectivity issues:
- Check if there are any obstacles or interference between your device and the earbuds, such as walls or other electronic devices.
- Ensure that your device’s Bluetooth is turned on and in range of the earbuds. The recommended range is usually around 30 feet (9 meters).
- Try resetting the Bluetooth connection by disconnecting and re-pairing the earbuds with your device.
- If you’re experiencing frequent dropouts or connection issues, consider updating the firmware of your Jaybird Earbuds through the companion mobile app, if available.
If you have followed the troubleshooting tips above and the issues persist, it’s recommended to consult the Jaybird support website or contact their customer support for further assistance. They will be able to provide more specific troubleshooting steps or arrange for a possible replacement if needed.
Now that you are familiar with troubleshooting common issues, you can enjoy your Jaybird Earbuds hassle-free. Let’s wrap up this guide in the next section.
Conclusion
Congratulations! You have successfully connected your Jaybird Earbuds to your device and are ready to dive into a world of wireless audio. Through the steps outlined in this guide, you have unpacked and charged your earbuds, paired them with your device, established a Bluetooth connection, adjusted the fit and comfort, and troubleshooted common issues that may arise.
With your Jaybird Earbuds, you can now enjoy an immersive and high-quality sound experience while being free from tangled wires. Whether you’re working out, commuting, or simply relaxing, these earbuds are designed to enhance your audio enjoyment and provide the freedom to move without restrictions.
Remember to experiment with different ear tip sizes and adjust the fit to find the most comfortable and secure position for your ears. This will not only ensure optimal sound quality but also provide a stable fit during your activities. If you encounter any issues along the way, refer back to this guide or consult the Jaybird support resources for assistance.
So go ahead, put on your Jaybird Earbuds, and immerse yourself in your favorite music, podcasts, or audiobooks. Let the rhythm guide your every move and the crisp sound transport you to another world. Enjoy the freedom, the clarity, and the experience that Jaybird Earbuds bring to your audio journey.
Thank you for reading this guide and happy listening!