Home>Devices & Equipment>Microphone>How To Increase Microphone Volume On IPhone
Microphone
How To Increase Microphone Volume On IPhone
Published: February 16, 2024
Learn how to boost the microphone volume on your iPhone with these simple steps. Enhance your audio recording and communication quality effortlessly.
(Many of the links in this article redirect to a specific reviewed product. Your purchase of these products through affiliate links helps to generate commission for AudioLover.com, at no extra cost. Learn more)
Table of Contents
Introduction
Introduction
So, you've got an important call or want to record a crystal-clear voice memo on your iPhone, but you're frustrated by the low microphone volume. Don't worry; you're not alone. Many iPhone users encounter this issue and wonder how to increase the microphone volume on their devices. The good news is that there are several simple and effective methods to boost the microphone volume on your iPhone.
Whether you're experiencing low microphone volume during calls, while using voice memos, or when recording videos, this article will guide you through the steps to troubleshoot and resolve the issue. By following these techniques, you can ensure that your iPhone's microphone captures clear and audible sound in various scenarios.
Let's dive into the practical solutions that can help you enhance the microphone volume on your iPhone. Whether you're a professional seeking pristine audio quality for your recordings or a casual user looking to improve call clarity, these methods can make a noticeable difference in your iPhone's microphone performance.
Check the Microphone
Before delving into advanced troubleshooting steps, it’s essential to perform a basic check of your iPhone’s microphone. Start by ensuring that the microphone isn’t obstructed by any debris, such as dust, lint, or dirt. Inspect the microphone openings carefully, as blockages can significantly diminish the microphone’s performance. Additionally, check for any physical damage to the microphone, such as dents or scratches, which can impede its functionality.
If you’re using a protective case for your iPhone, make sure it’s not covering or pressing against the microphone. Some cases may inadvertently block the microphone, leading to reduced sound quality during calls or recordings. Removing the case and testing the microphone without it can help determine if the case is the culprit behind the low volume issue.
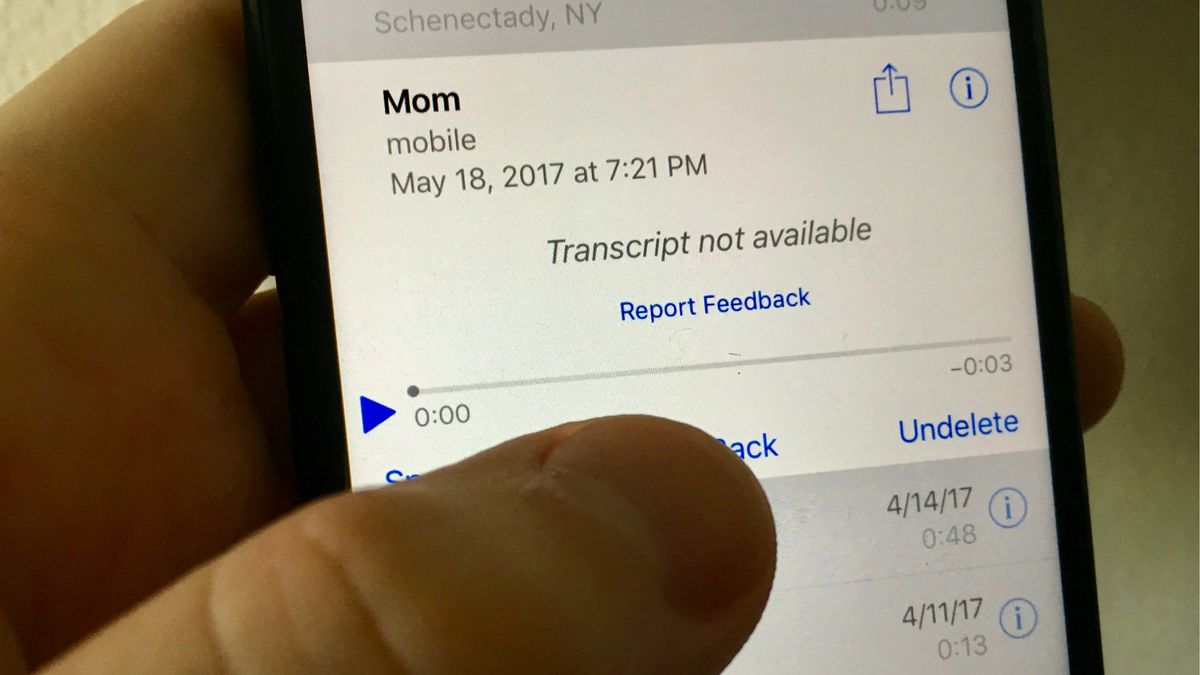
Next, consider testing the microphone in different scenarios. Make a test call to a friend or family member and ask for feedback on the call quality. If the recipient reports difficulty in hearing you or notices muffled sound, it’s a strong indication that the microphone volume may be low. Similarly, use the Voice Memos app to record a short audio clip and assess the clarity and volume of the recording. These simple tests can provide valuable insights into the current state of your iPhone’s microphone.
It’s important to note that software issues can also impact the microphone’s performance. If you’ve recently installed a new app or updated your iPhone’s operating system, it’s possible that a software glitch is affecting the microphone. In the next sections, we’ll explore how to address software-related issues and optimize the microphone settings to achieve optimal volume and clarity.
Clean the Microphone
One of the most common reasons for low microphone volume on an iPhone is the accumulation of dirt, dust, or debris around the microphone openings. Over time, these particles can obstruct the microphone and hinder its ability to capture sound effectively. Fortunately, cleaning the microphone is a simple yet impactful solution that can significantly improve its performance.
Before cleaning the microphone, power off your iPhone to prevent any accidental interactions with the device’s screen or buttons. Once the device is powered off, you can proceed with the following steps to clean the microphone:
- Use Compressed Air: If you have access to compressed air in a can, gently direct short bursts of air into the microphone openings to dislodge any loose particles. Be cautious not to use excessive air pressure, as it may damage the microphone.
- Soft Brush or Toothpick: Carefully use a soft-bristled brush or a wooden toothpick to remove stubborn debris from the microphone area. Exercise patience and avoid applying excessive force to prevent causing damage to the microphone components.
- Microfiber Cloth: Dampen a microfiber cloth with a small amount of isopropyl alcohol and gently wipe the microphone openings to remove any remaining residue. Ensure that the cloth is not excessively wet, and avoid getting moisture into the device’s other openings.
After cleaning the microphone, allow the device to air dry for a few minutes before powering it back on. Once the iPhone is powered on, test the microphone by making a call or recording an audio clip to evaluate if the cleaning process has improved the microphone volume and clarity.
Regular maintenance and cleaning of the microphone can prevent future issues related to low volume and distorted sound. By incorporating these simple cleaning practices into your iPhone maintenance routine, you can ensure that the microphone consistently delivers clear and audible sound in various usage scenarios.
Adjust Microphone Settings
In addition to physical inspection and cleaning, optimizing the microphone settings on your iPhone can play a pivotal role in enhancing the volume and clarity of audio recordings and calls. By adjusting the microphone settings, you can fine-tune its sensitivity and performance to better suit your specific needs. Here are the steps to adjust the microphone settings on your iPhone:
- Check App-Specific Settings: When using apps that rely on the microphone, such as voice recording or video calling apps, explore the app’s settings to ensure that the microphone access is enabled and configured correctly. Some apps offer adjustable microphone settings that allow you to enhance the input volume or adjust the microphone gain.
- Control Center Settings: Access the Control Center on your iPhone by swiping down from the top-right corner of the screen (or up from the bottom, depending on your iPhone model). Tap the microphone icon to toggle the microphone on or off. If the microphone icon is crossed out, it means the microphone is muted. Ensure that the microphone is enabled when you intend to use it for calls, recordings, or other audio-related activities.
- Accessibility Settings: Navigate to the Settings app on your iPhone and select “Accessibility.” Under the “Hearing” section, you can find options to adjust the audio volume balance and enable features like “Phone Noise Cancellation” to enhance call audio quality. Experiment with these settings to determine if they have a positive impact on the microphone volume during calls.
- Reset Audio Settings: If you suspect that the microphone settings may be causing the low volume issue, you can reset the audio settings on your iPhone. To do this, go to Settings > General > Reset, and select “Reset All Settings.” Keep in mind that this will reset all settings on your iPhone, not just the microphone settings, so it’s advisable to back up your device before proceeding with this step.
After adjusting the microphone settings, test the microphone’s performance by making a call, recording an audio clip, or using voice commands to interact with your iPhone’s virtual assistant. Assess whether the changes in settings have positively impacted the microphone volume and clarity, and make further adjustments as needed to achieve the desired audio quality.
By customizing the microphone settings to align with your preferences and usage patterns, you can optimize the audio input on your iPhone and ensure that the microphone delivers consistent and clear sound in various scenarios.
Use a Third-Party App
If you’ve exhausted built-in solutions and settings adjustments without achieving the desired microphone volume on your iPhone, exploring third-party apps designed to enhance audio input can offer an alternative approach. These apps are specifically developed to optimize microphone performance, provide advanced audio control, and offer additional features that can address low volume issues. Here are some considerations when using third-party apps to improve microphone volume:
- Equalizer and Sound Booster Apps: Look for apps that offer equalizer functionality and sound amplification features. These apps allow you to adjust the audio frequencies and boost the overall volume output, which can indirectly enhance the microphone input volume during recordings and calls.
- Microphone Testing Apps: There are specialized apps available for testing and calibrating the microphone on your iPhone. These apps provide diagnostic tools to assess the microphone’s performance, identify potential issues, and make real-time adjustments to optimize audio input quality.
- Audio Recording and Editing Apps: Consider using professional-grade audio recording and editing apps that provide comprehensive control over microphone settings, input levels, and audio processing. These apps often offer advanced features to fine-tune the microphone’s behavior and improve recording clarity.
When exploring third-party apps, it’s important to prioritize reputable and well-reviewed applications available on the App Store to ensure compatibility, reliability, and data security. Before installing an app, review user ratings, read app reviews, and verify that the app is compatible with your iPhone model and operating system version.
After installing a third-party app, familiarize yourself with its features and settings related to microphone optimization. Experiment with the app’s audio enhancement tools, equalizer presets, and microphone calibration options to tailor the microphone’s performance to your preferences. Additionally, consider consulting user guides or tutorials provided by the app developers to maximize the benefits of the app’s audio enhancement capabilities.
It’s important to exercise caution when granting microphone access to third-party apps and review the app’s privacy policy to understand how it handles audio data. Prioritize apps that prioritize user privacy and data protection to safeguard your personal information and ensure a secure audio enhancement experience.
By leveraging third-party apps designed to elevate microphone performance, you can explore advanced audio control options, fine-tune microphone settings, and potentially overcome low volume issues, enhancing the overall audio experience on your iPhone.
Conclusion
Addressing low microphone volume on your iPhone is essential for ensuring clear and audible audio during calls, recordings, and various audio-related activities. By implementing the techniques outlined in this guide, you can troubleshoot and improve the microphone volume on your device, enhancing the overall audio experience.
Begin by conducting a thorough check of the microphone, ensuring that it is free from physical obstructions, damage, or interference from protective cases. Cleaning the microphone using gentle methods such as compressed air, soft brushes, or microfiber cloths can remove debris and restore optimal microphone performance.
Adjusting the microphone settings within apps, the Control Center, and the Accessibility settings can provide opportunities to fine-tune the microphone’s sensitivity and audio input levels. Experiment with these settings to customize the microphone’s behavior based on your specific requirements and usage patterns.
If built-in solutions do not yield the desired results, exploring third-party apps designed to enhance microphone performance can offer advanced audio control, sound amplification, and diagnostic tools to address low volume issues. Prioritize reputable apps with positive user feedback and verify their compatibility with your iPhone model and operating system version.
Ultimately, maintaining a clean and optimized microphone, along with leveraging the available software and third-party solutions, can significantly elevate the microphone volume and audio clarity on your iPhone. Regularly inspecting and cleaning the microphone, along with staying informed about the latest app developments and software updates, can contribute to a consistently improved audio experience on your device.
By implementing these strategies and remaining proactive in addressing microphone-related challenges, you can ensure that your iPhone’s microphone consistently delivers clear, crisp, and impactful audio, enhancing your communication, creativity, and overall user experience.