Home>Devices & Equipment>Microphone>How To Turn My Microphone On

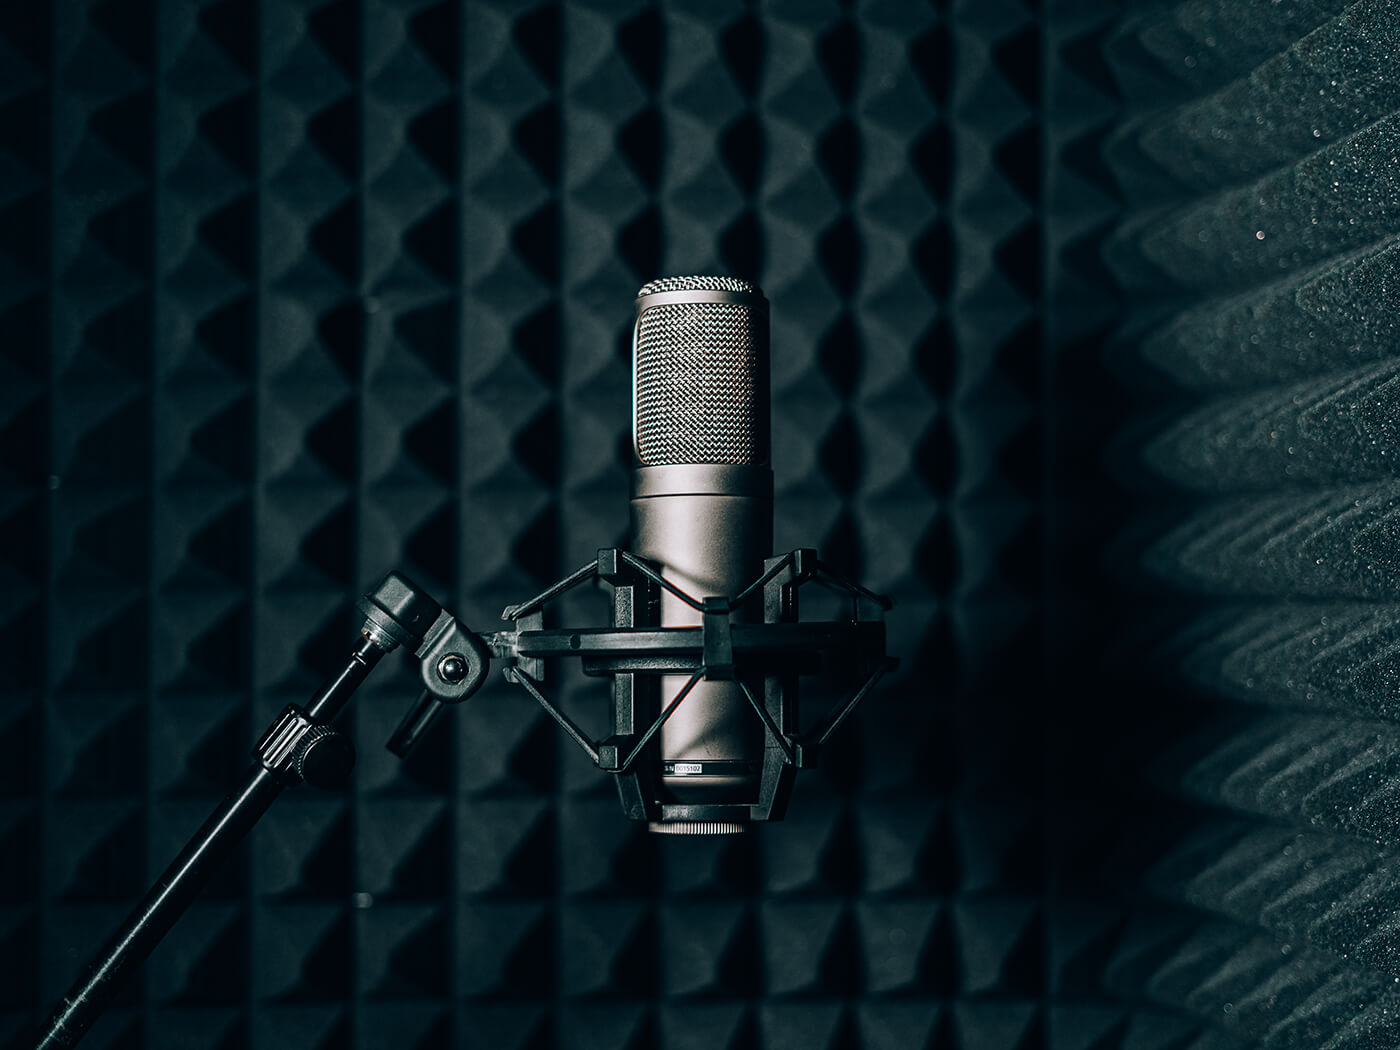
Microphone
How To Turn My Microphone On
Published: February 17, 2024
Learn how to turn on your microphone easily with our step-by-step guide. Get your microphone working in no time and start recording or communicating with others.
(Many of the links in this article redirect to a specific reviewed product. Your purchase of these products through affiliate links helps to generate commission for AudioLover.com, at no extra cost. Learn more)
Table of Contents
Introduction
Welcome to the fascinating world of microphones! Whether you're a podcaster, a musician, a gamer, or simply someone who wants to communicate clearly through voice or video calls, understanding how to turn on and optimize your microphone is essential. A microphone, in its simplest form, is a device that converts sound waves into electrical signals, allowing for the capture and transmission of audio.
In this comprehensive guide, we will delve into the various aspects of activating and fine-tuning your microphone. From checking hardware connections to adjusting settings on both Windows and Mac operating systems, we've got you covered. Additionally, we'll explore troubleshooting common issues that may arise, ensuring that you can address any technical hiccups with confidence.
Whether you're using a built-in microphone on your device or a dedicated external microphone, the principles and techniques discussed here will empower you to make the most of your audio input capabilities. So, let's embark on this enlightening journey to unleash the full potential of your microphone!
Checking Hardware Connections
Before delving into software settings, it’s crucial to ensure that your microphone is properly connected to your device. For external microphones, this involves plugging the microphone into the appropriate port. Most commonly, this will be the 3.5mm audio jack or a USB port, depending on the type of microphone you’re using.
For USB microphones, simply insert the USB connector into an available USB port on your computer. If you’re using an analog microphone with a 3.5mm audio jack, locate the microphone input on your computer or audio interface. This input is typically color-coded pink and may feature a microphone icon.
Once the physical connection is established, it’s important to check that the microphone is securely plugged in. Ensure that there are no obstructions or damage to the connector or cable that could hinder the connection. If you’re using a detachable microphone on a headset, make sure the connection to the headset is secure as well.
For built-in microphones on laptops and mobile devices, there’s no external connection to worry about. However, it’s still beneficial to inspect the microphone’s physical condition and cleanliness. Dust or debris can affect audio quality, so gently cleaning the microphone openings with a soft, dry brush can be beneficial.
Once you’ve verified the hardware connections, you’re ready to move on to configuring the microphone settings on your specific operating system. By ensuring that the hardware is properly connected, you lay the foundation for optimal audio input, setting the stage for clear and reliable sound capture.
Adjusting Microphone Settings on Windows
Windows provides a range of options for adjusting microphone settings, allowing you to optimize audio input based on your specific requirements. To access these settings, right-click on the speaker icon in the system tray and select “Open Sound settings.” From there, navigate to the “Sound control panel” to access advanced microphone settings.
Once in the Sound control panel, select the “Recording” tab to view available microphones. If you’re using an external microphone, it should be listed here. You can right-click on the microphone and select “Properties” to access its settings. Within the Properties window, you’ll find several tabs that allow you to fine-tune the microphone’s performance.
Under the “Levels” tab, you can adjust the microphone’s input volume. This setting determines how loud the microphone’s input is. It’s essential to find the right balance here; too low, and your voice may be faint, while too high can result in distortion or clipping. Adjust the slider to set an appropriate input level, and consider speaking at your typical volume to gauge the meter’s response.
The “Enhancements” tab offers additional features to enhance microphone audio, such as noise suppression, echo cancellation, and more. These can be valuable tools for refining the quality of your audio input, particularly in environments with background noise or reverberation.
Windows also provides a “Microphone setup” wizard to help you configure your microphone for optimal performance. This wizard guides you through a series of steps to test and adjust your microphone, ensuring that it’s set up to capture your voice accurately.
It’s important to note that the specific options available may vary depending on your version of Windows and your sound hardware. Newer versions of Windows may offer additional features and a more streamlined interface for adjusting microphone settings.
By customizing these settings to suit your preferences and environment, you can maximize the clarity and fidelity of your microphone’s audio input, resulting in a more professional and engaging sound for your audience or communication partners.
Adjusting Microphone Settings on Mac
Mac computers offer intuitive controls for adjusting microphone settings, allowing users to optimize audio input based on their specific needs. To access microphone settings, click on the Apple menu, select “System Preferences,” and then choose “Sound.”
Within the Sound preferences, navigate to the “Input” tab to view available input devices, including built-in and external microphones. Select the microphone you wish to configure, and you’ll find several options for customization.
The input volume slider allows you to adjust the microphone’s input level. It’s important to find the right balance here to ensure that your voice is captured clearly without distortion. Speaking at your typical volume while adjusting the slider can help you gauge the appropriate input level.
Mac also provides an option for ambient noise reduction, which can help minimize background noise and focus on capturing your voice more effectively. This feature can be particularly useful in environments where ambient sounds may interfere with the clarity of your audio input.
For advanced users, Mac offers additional settings within the “Audio MIDI Setup” utility, accessible through the “Utilities” folder in the Applications folder. This tool provides more detailed controls for configuring audio input and output devices, including microphones. It allows for precise adjustments to input levels, channel configurations, and sample rates, offering a high degree of customization for audio professionals and enthusiasts.
It’s important to note that the specific options and interfaces for adjusting microphone settings may vary depending on the version of macOS you’re using. Newer versions of macOS may introduce additional features and refinements to the user interface, enhancing the overall experience of configuring microphone settings.
By leveraging these built-in controls and utilities, Mac users can tailor their microphone settings to suit their specific preferences and requirements, ensuring optimal audio input for a wide range of applications, from voice recording and video calls to podcasting and music production.
Troubleshooting Common Issues
While microphones are invaluable tools for capturing audio, they can occasionally encounter issues that affect their performance. By understanding and addressing common problems, you can ensure that your microphone operates reliably and consistently. Here are some troubleshooting steps to resolve common microphone issues:
- Check Physical Connections: Ensure that external microphones are securely connected to the correct ports on your device. For USB microphones, try using a different USB port to rule out potential port-related issues.
- Verify Input Selection: In your system settings, confirm that the correct microphone is selected as the default input device. Sometimes, multiple microphones may be connected, and the system might default to the wrong one.
- Adjust Input Levels: If your microphone input is too low or too high, adjust the input levels in your system settings to achieve an appropriate volume without distortion.
- Test in Different Apps: If the microphone isn’t working in a specific application, try using it with a different app to determine if the issue is software-related. Some apps may have their own microphone settings that need to be configured separately.
- Update Drivers: Ensure that your device’s audio drivers are up to date. Outdated or corrupted drivers can lead to microphone issues. Visit the manufacturer’s website or use built-in system tools to check for driver updates.
- Disable Exclusive Mode: In Windows, disabling exclusive mode for the microphone can prevent conflicts with other applications that may be accessing the microphone simultaneously, leading to unexpected behavior.
- Test on Another Device: If possible, test the microphone on a different device to determine if the issue is specific to your primary device. This can help isolate hardware-related problems.
If you’ve attempted these troubleshooting steps and the issues persist, it may be beneficial to seek assistance from technical support or professional services. Additionally, if your microphone is under warranty, contacting the manufacturer for further guidance or a potential replacement can be advantageous.
By addressing common microphone issues proactively and methodically, you can maintain a seamless audio experience and continue leveraging the power of microphones for various creative and communicative endeavors.
Conclusion
As we conclude our exploration of microphone activation and optimization, it’s evident that understanding the intricacies of microphone settings and troubleshooting common issues is essential for anyone relying on audio input for communication, content creation, or entertainment purposes.
By ensuring that your microphone is properly connected and configured, you set the stage for clear and reliable audio capture, allowing your voice to be heard with precision and fidelity. Whether you’re using a built-in microphone on your device or a dedicated external microphone, the ability to adjust settings and troubleshoot issues empowers you to overcome technical challenges and deliver exceptional audio experiences.
From adjusting input levels and exploring enhancement options to navigating system-specific settings on Windows and Mac operating systems, the knowledge gained from this guide equips you with the tools to optimize your microphone’s performance according to your unique needs.
Furthermore, by familiarizing yourself with common troubleshooting steps, you can swiftly address potential issues that may arise, ensuring that your microphone operates consistently and reliably across various applications and environments.
As technology continues to advance, the role of microphones in facilitating effective communication, creative expression, and digital interaction becomes increasingly prominent. With the insights and techniques shared in this guide, you’re well-prepared to harness the full potential of your microphone, contributing your voice to the digital landscape with confidence and clarity.
So, whether you’re engaging in virtual meetings, recording podcasts, streaming content, or pursuing artistic endeavors, may your microphone serve as a faithful conduit for your thoughts, expressions, and passions, amplifying your presence and resonating with audiences around the world.