Home>Devices & Equipment>Microphone>How To Connect Microphone To Camera
Microphone
How To Connect Microphone To Camera
Published: February 17, 2024
Learn how to connect a microphone to your camera for better audio quality. Follow our step-by-step guide to improve your video recordings.
(Many of the links in this article redirect to a specific reviewed product. Your purchase of these products through affiliate links helps to generate commission for AudioLover.com, at no extra cost. Learn more)
Table of Contents
Introduction
Welcome to the exciting world of audio-visual content creation! Whether you’re a vlogger, filmmaker, or content creator, the quality of your audio is just as important as the visuals. A high-quality microphone can make a world of difference in capturing clear and crisp sound for your videos. In this comprehensive guide, we’ll delve into the process of connecting a microphone to your camera, ensuring that you achieve professional-grade audio recordings to complement your visual storytelling.
Understanding the nuances of microphone connectivity is crucial for anyone looking to elevate the production value of their videos. By integrating the right microphone with your camera setup, you can capture crystal-clear audio, minimize background noise, and enhance the overall viewing experience for your audience.
Whether you’re a seasoned videographer or just starting out, this guide will equip you with the knowledge and skills to seamlessly connect a microphone to your camera, ensuring that your audio-visual projects are of the highest quality. Let’s embark on this audio adventure and explore the world of microphone connectivity for cameras!
Understanding the Different Types of Microphones
Before delving into the process of connecting a microphone to your camera, it’s essential to grasp the various types of microphones available in the market. Each type is designed to capture sound differently, and understanding their unique characteristics will help you make an informed decision when selecting the right microphone for your camera setup.
1. Dynamic Microphones: These are rugged and versatile microphones ideal for recording loud sound sources, making them suitable for live performances, interviews, and outdoor shooting. They are less sensitive to high frequencies and are capable of handling high sound pressure levels, making them a popular choice for capturing vocals and instruments in dynamic environments.
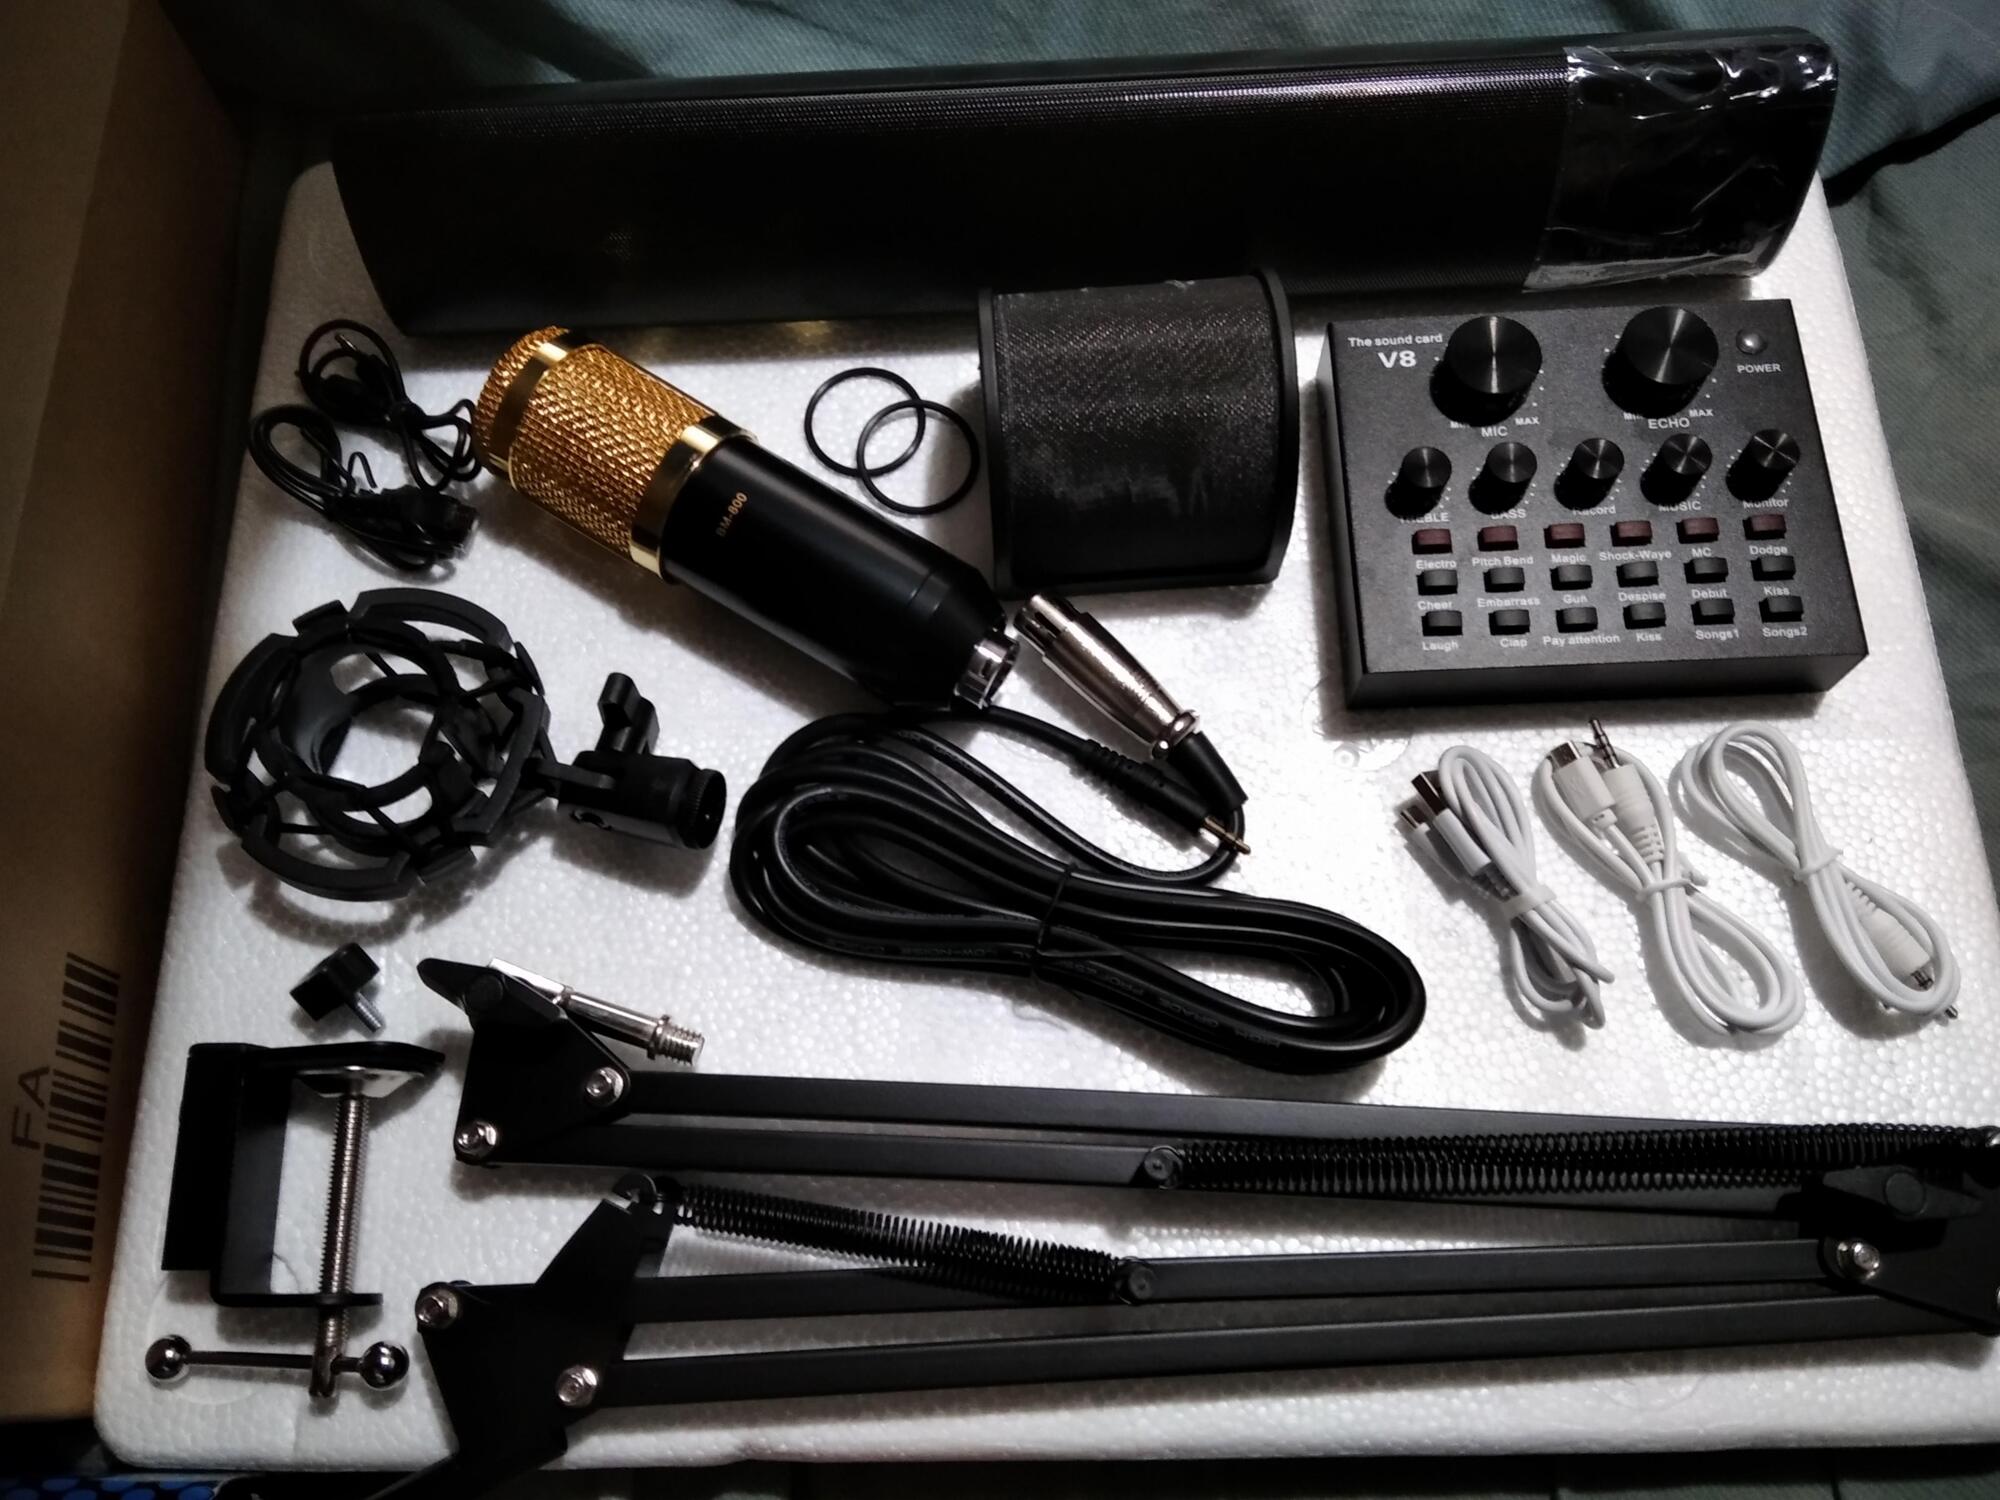
2. Condenser Microphones: Known for their sensitivity and wide frequency response, condenser microphones are favored for studio recording, podcasts, and indoor video shoots. They are excellent at capturing subtle nuances in sound, making them ideal for capturing vocals and acoustic instruments with exceptional clarity and detail.
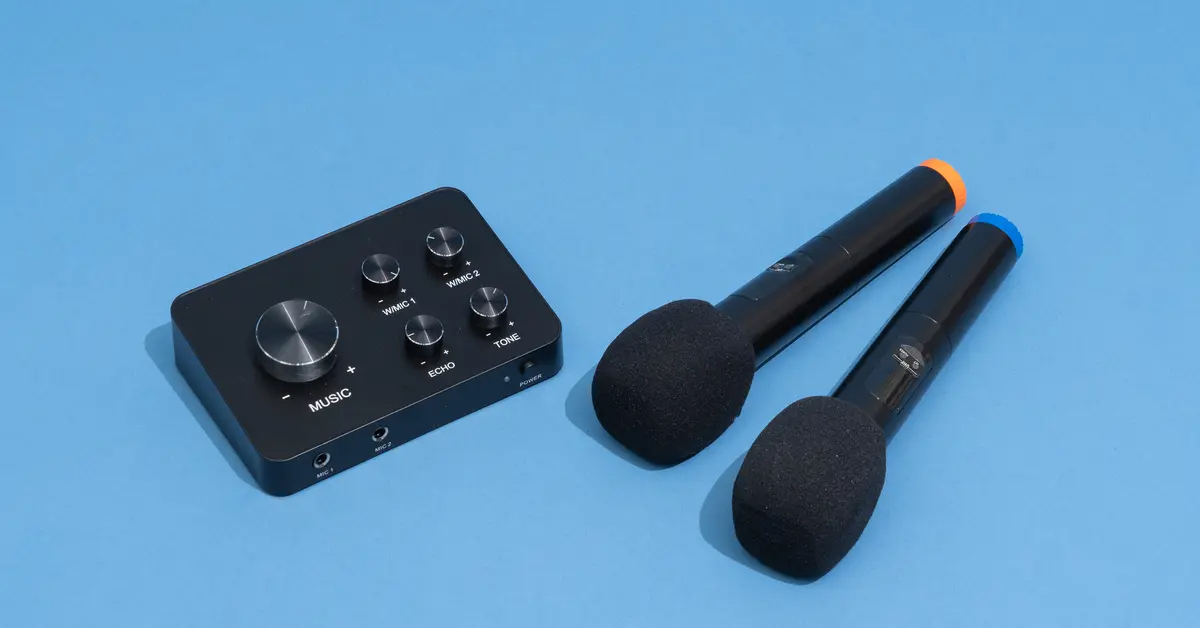
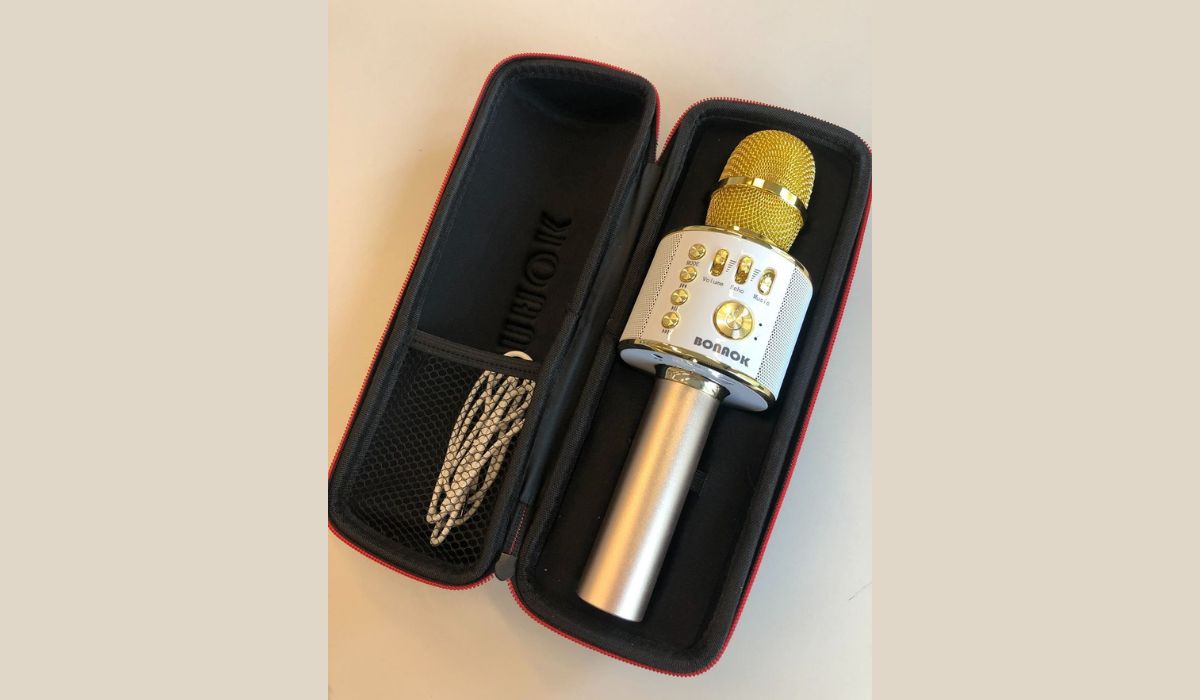
3. Lavalier Microphones: Also known as lapel microphones, lavalier mics are small, discreet, and designed to be clipped onto clothing, making them perfect for interviews, presentations, and vlogging. They offer hands-free operation and are well-suited for capturing clear dialogue in various shooting scenarios.
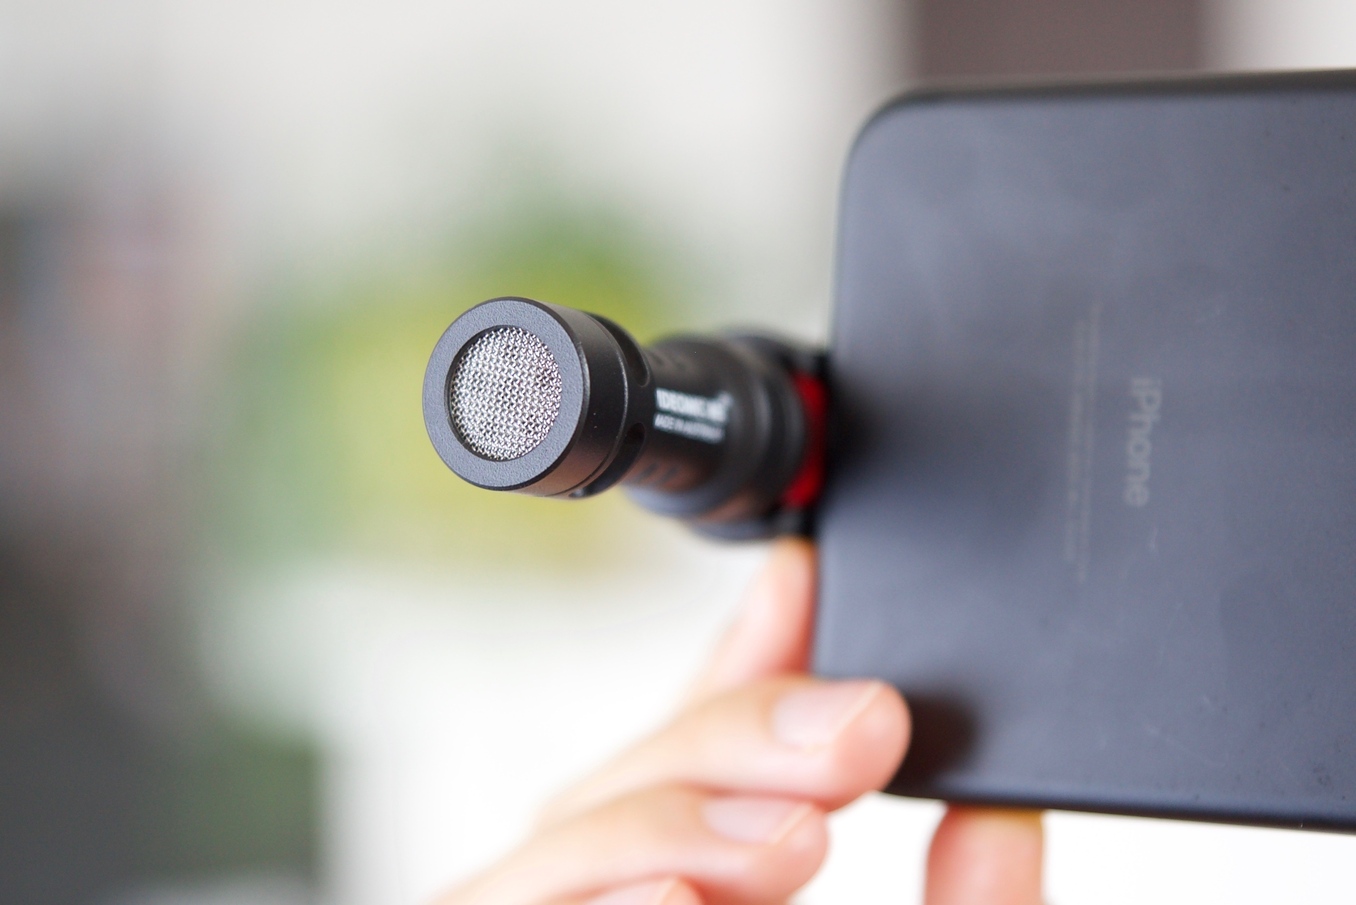
4. Shotgun Microphones: These highly directional microphones are popular in film and video production for capturing sound from a distance. Their narrow pickup pattern enables them to isolate the desired sound source while minimizing background noise, making them ideal for outdoor shoots, documentaries, and interviews.
By familiarizing yourself with the unique characteristics and applications of these microphone types, you can make an informed decision when choosing the right microphone to pair with your camera for specific recording scenarios. This understanding will pave the way for achieving optimal audio quality in your video productions.
Choosing the Right Microphone for Your Camera
When it comes to selecting a microphone for your camera, several factors come into play to ensure that you capture high-quality audio that complements your visual content. The right microphone can significantly enhance the overall production value of your videos, so it’s essential to consider the following aspects before making a choice:
1. Recording Environment: Assess the typical shooting environments you work in. If you primarily shoot outdoors or in noisy locations, a shotgun microphone with excellent off-axis rejection may be the ideal choice. For indoor studio settings, a condenser microphone can capture the subtle nuances of sound with precision.
2. Intended Use: Consider the primary purpose of your recordings. Are you capturing interviews, music performances, or vlogs? Lavalier microphones are perfect for hands-free operation and capturing clear dialogue, while dynamic microphones excel in recording live performances and energetic vocal deliveries.
3. Compatibility: Ensure that the microphone you choose is compatible with your camera’s input. Some cameras feature XLR inputs, while others have 3.5mm microphone jacks. Additionally, consider the power requirements of the microphone, especially if you opt for a condenser mic that may need phantom power.
4. Budget and Quality: While it’s tempting to opt for budget-friendly options, investing in a high-quality microphone can yield superior audio results. Consider the long-term benefits of a durable, reliable microphone that delivers exceptional sound quality, even in challenging recording conditions.
5. Portability and Convenience: If you’re constantly on the move and require a versatile microphone, consider the portability and ease of setup. Lavalier and compact shotgun microphones offer convenience and mobility, while studio condenser microphones may be more suitable for controlled indoor environments.
By carefully evaluating these factors, you can narrow down your options and select a microphone that perfectly aligns with your specific recording needs and shooting style. The right microphone will not only capture clear and pristine audio but also seamlessly integrate with your camera setup, enhancing the overall production quality of your videos.
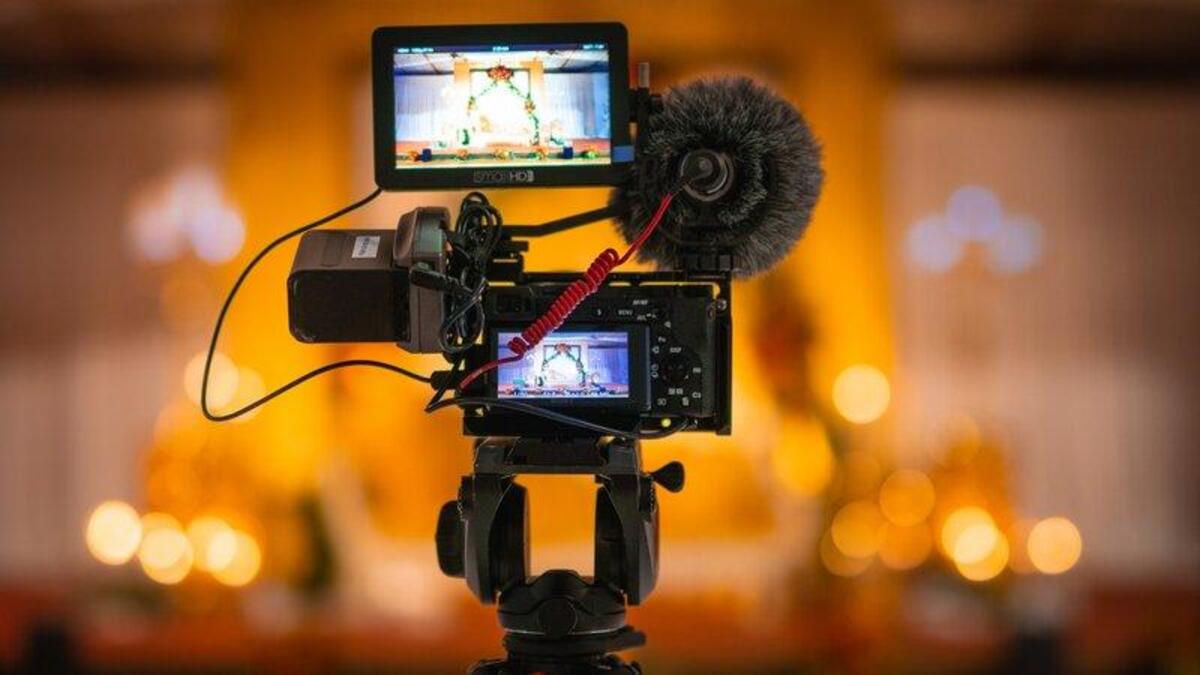
Connecting a Microphone to Your Camera
Once you’ve selected the ideal microphone for your recording needs, the next step is to connect it to your camera. The process may vary depending on the type of microphone and camera you’re using, but the following general steps will guide you through the connection process:
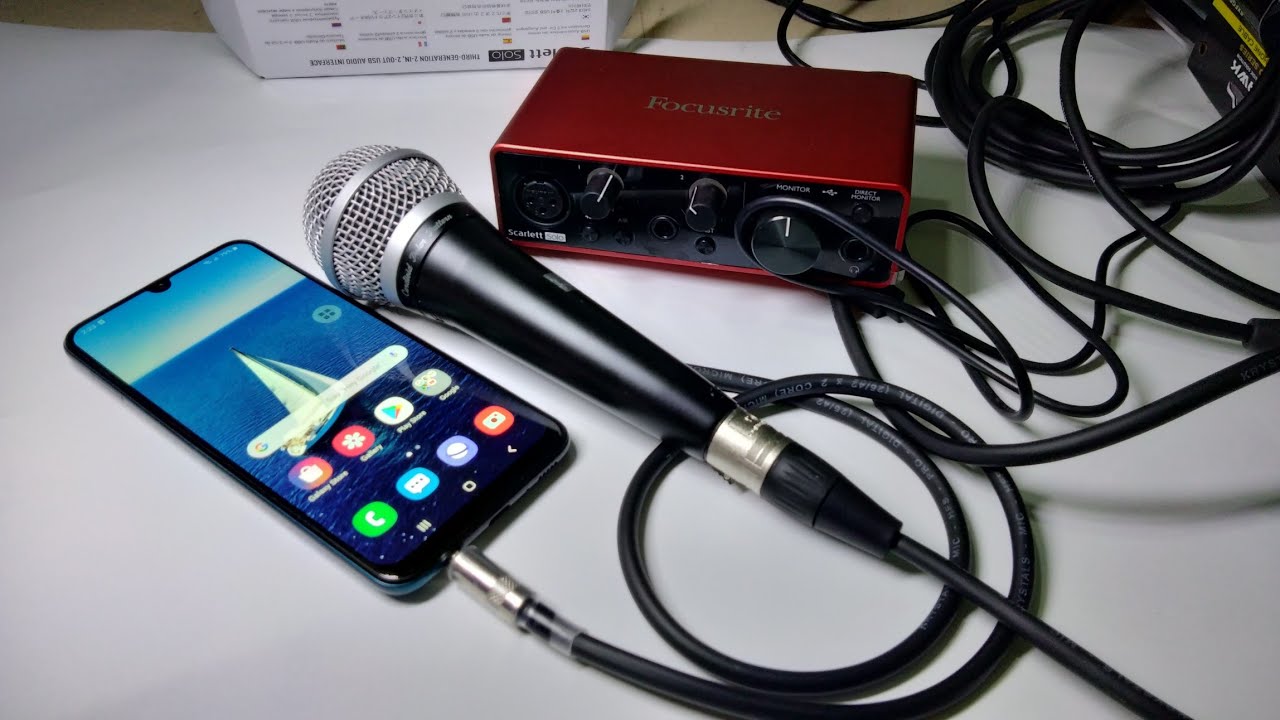
- Identify the Input: Locate the microphone input on your camera. It could be a 3.5mm microphone jack, XLR input, or a dedicated port for specific microphone types. Refer to your camera’s manual to pinpoint the exact location of the input.
- Choose the Right Cable: Select the appropriate cable to connect your microphone to the camera. For microphones with XLR outputs, you’ll need an XLR cable. If your microphone has a 3.5mm output, ensure you have a compatible 3.5mm cable. Some microphones may require adapters for connectivity.
- Adjust Settings: Depending on your camera model, you may need to adjust the input settings to accommodate the microphone. This includes setting the input level, enabling phantom power for condenser microphones if necessary, and configuring any additional audio settings specific to your camera.
- Secure the Connection: With the appropriate cable in hand, connect the microphone to the camera’s input. Ensure a secure connection to prevent audio interruptions or loose connections during recording. For XLR connections, firmly lock the connectors in place to avoid accidental disconnection.
- Test the Connection: Before proceeding with your recording, perform a quick test to ensure that the microphone is successfully connected and that the camera is receiving audio input from the microphone. Monitor the audio levels on your camera to confirm that the microphone is functioning as expected.
It’s important to note that some cameras may require additional accessories or adapters to accommodate certain microphone types or to provide phantom power for condenser microphones. Always refer to your camera’s manual and the microphone manufacturer’s guidelines for specific connection requirements.
By following these steps and ensuring a secure and compatible connection, you can seamlessly integrate your chosen microphone with your camera, setting the stage for professional-grade audio capture that complements your visual storytelling.
Testing Your Microphone and Camera Setup
Before embarking on your actual recording, it’s crucial to conduct thorough testing of your microphone and camera setup to ensure that everything is functioning as intended. A comprehensive testing process can help identify any potential issues and allow for adjustments to be made before the actual recording takes place. Here’s a step-by-step guide to testing your microphone and camera setup:
- Audio Check: Begin by conducting an audio check to verify that the microphone is capturing sound accurately. Speak into the microphone at varying volumes and distances to gauge its sensitivity and performance. Monitor the audio levels on your camera to ensure that the microphone is registering sound without distortion or excessive noise.
- Background Noise Assessment: Assess the level of background noise picked up by the microphone. This is particularly important for outdoor or noisy environments. Listen for any unwanted noise or interference and make adjustments as necessary, such as repositioning the microphone or adjusting input settings on the camera.
- Monitoring and Playback: Utilize headphones or an external monitor to listen to the audio output in real time. This allows you to assess the quality of the sound being captured and make any immediate adjustments to the microphone placement or input levels. Additionally, review the recorded audio to ensure clarity and consistency.
- Movement and Handling Tests: If you’re using a lavalier or handheld microphone, test for any handling noise or movement-related disturbances. Ensure that the microphone is securely attached and that any movement or handling does not result in disruptive noise that could impact the recording quality.
- Compatibility and Integration: Verify that the microphone and camera are seamlessly integrated, with no compatibility issues or signal disruptions. Check for any error messages or technical issues that may arise from the connection between the microphone and camera, and troubleshoot as needed.
By meticulously testing your microphone and camera setup, you can address any potential challenges and optimize the audio quality before commencing your actual recording. This proactive approach ensures that your final audio-visual production meets the highest standards and delivers an immersive and engaging experience for your audience.
Conclusion
Mastering the art of connecting a microphone to your camera is a pivotal step in elevating the audio quality of your video productions. By understanding the diverse range of microphone types and selecting the most suitable option for your recording needs, you lay the foundation for capturing pristine and immersive sound that enhances your visual storytelling.
Choosing the right microphone involves a thoughtful consideration of factors such as the recording environment, intended use, compatibility, budget, and portability. By carefully evaluating these aspects, you can make an informed decision that aligns with your specific audio recording requirements, ensuring that your chosen microphone seamlessly integrates with your camera setup.
When it comes to connecting your microphone to your camera, attention to detail is key. By following the prescribed steps, including identifying the input, choosing the right cable, adjusting settings, securing the connection, and conducting thorough testing, you can achieve a seamless and reliable integration that sets the stage for professional-grade audio capture.
Thorough testing of your microphone and camera setup is essential for identifying and addressing any potential issues before commencing your actual recording. By conducting audio checks, assessing background noise, monitoring playback, and ensuring compatibility and integration, you can fine-tune your setup to deliver exceptional audio quality.
Ultimately, the successful connection of a microphone to your camera empowers you to capture clear, crisp, and immersive sound that complements your visual content, elevating the overall production value of your videos. With a keen understanding of microphone connectivity and a meticulous approach to setup and testing, you’re well-equipped to embark on your audio-visual storytelling journey with confidence and creativity.