Home>Devices & Equipment>Music Box>How To Fix A Music Box In A Stuffed Animal
Music Box
How To Fix A Music Box In A Stuffed Animal
Published: January 12, 2024
Learn how to fix a music box inside a stuffed animal with these step-by-step instructions. Easily repair your beloved toy and enjoy beautiful melodies once again.
(Many of the links in this article redirect to a specific reviewed product. Your purchase of these products through affiliate links helps to generate commission for AudioLover.com, at no extra cost. Learn more)
Table of Contents
Introduction
Music boxes have a timeless charm that can bring joy and nostalgia to people of all ages. If you have a beloved stuffed animal with a music box, it can be heartbreaking when it stops playing your favorite tune. However, there’s no need to fret, as repairing a music box in a stuffed animal is a task that can be accomplished with a bit of patience and the right tools. In this article, we will guide you through the process of fixing a music box in a stuffed animal, so you can restore the enchanting melody and bring back the magic.
Before we start, it’s important to note that the complexity of the repair will depend on the type and condition of the music box, as well as the nature of the issue. Some problems may be as simple as a loose screw or a worn-out spring, while others may require replacing the entire music box mechanism. By following the steps outlined in this guide, you will be able to assess the issue, determine the necessary repairs, and bring your music box back to life.
Now, let’s gather the tools and materials you’ll need to get started on fixing the music box in your stuffed animal.
Tools and Materials Needed
Before you begin repairing the music box in your stuffed animal, it’s important to gather all the necessary tools and materials. Having everything prepared beforehand will save you time and ensure a smoother repair process. Here are the tools and materials you will need:
- Screwdriver Set: A set of screwdrivers with different sizes to help you remove screws and access the music box mechanism.
- Tweezers: Small, precision tweezers will come in handy for handling small components and making delicate adjustments.
- Needle-nose Pliers: These pliers with long, narrow jaws are useful for holding and bending small metal parts.
- Cotton Swabs: These will be used to clean and remove any dust or debris from the music box mechanism.
- Cleaning Solution: A mild cleaning solution or rubbing alcohol will help to remove stubborn dirt or grime.
- Lubricant: A silicone-based lubricant or watch oil will be needed to lubricate the moving parts of the music box mechanism.
- Replacement Parts: If you have determined that certain components of the music box need to be replaced, make sure to have the appropriate replacement parts on hand.
- A Sturdy Work Surface: Find a clean and flat surface where you can safely work on the stuffed animal and music box.
Having these tools and materials ready will ensure that you have everything you need to tackle the repair process. Now that you’re equipped, let’s move on to the next step: assessing the issue with the music box.
Step 1: Assess the Issue
Before you start taking apart the stuffed animal and music box, it’s essential to assess the issue and determine the extent of the repair required. By carefully examining the music box and observing its behavior, you can identify the root cause of the problem. Here’s how to assess the issue:
- Test the Music Box: Press the button or wind the key of the music box to see if it plays any sound. If there is no sound at all, it could indicate a problem with the internal mechanism or a disconnection between the music box and the stuffed animal.
- Listen for Odd Sounds: If the music box is producing unusual or distorted sounds, it may imply broken or misaligned parts. Pay attention to any grinding, scraping, or skipping sounds, as they can give you clues about the issue.
- Inspect the Exteri
-
a. Check for Loose Screws: Look for any loose screws or visible damage on the exterior of the stuffed animal that may affect the music box’s functionality.
b. Examine the Key or Button: Evaluate the key or button that activates the music box. Ensure that it is functioning properly and not stuck in a pressed position.
By conducting a thorough assessment, you will have a better understanding of what needs to be addressed in the repair process. Once you have identified the issue, continue to the next step: removing the music box mechanism from the stuffed animal.
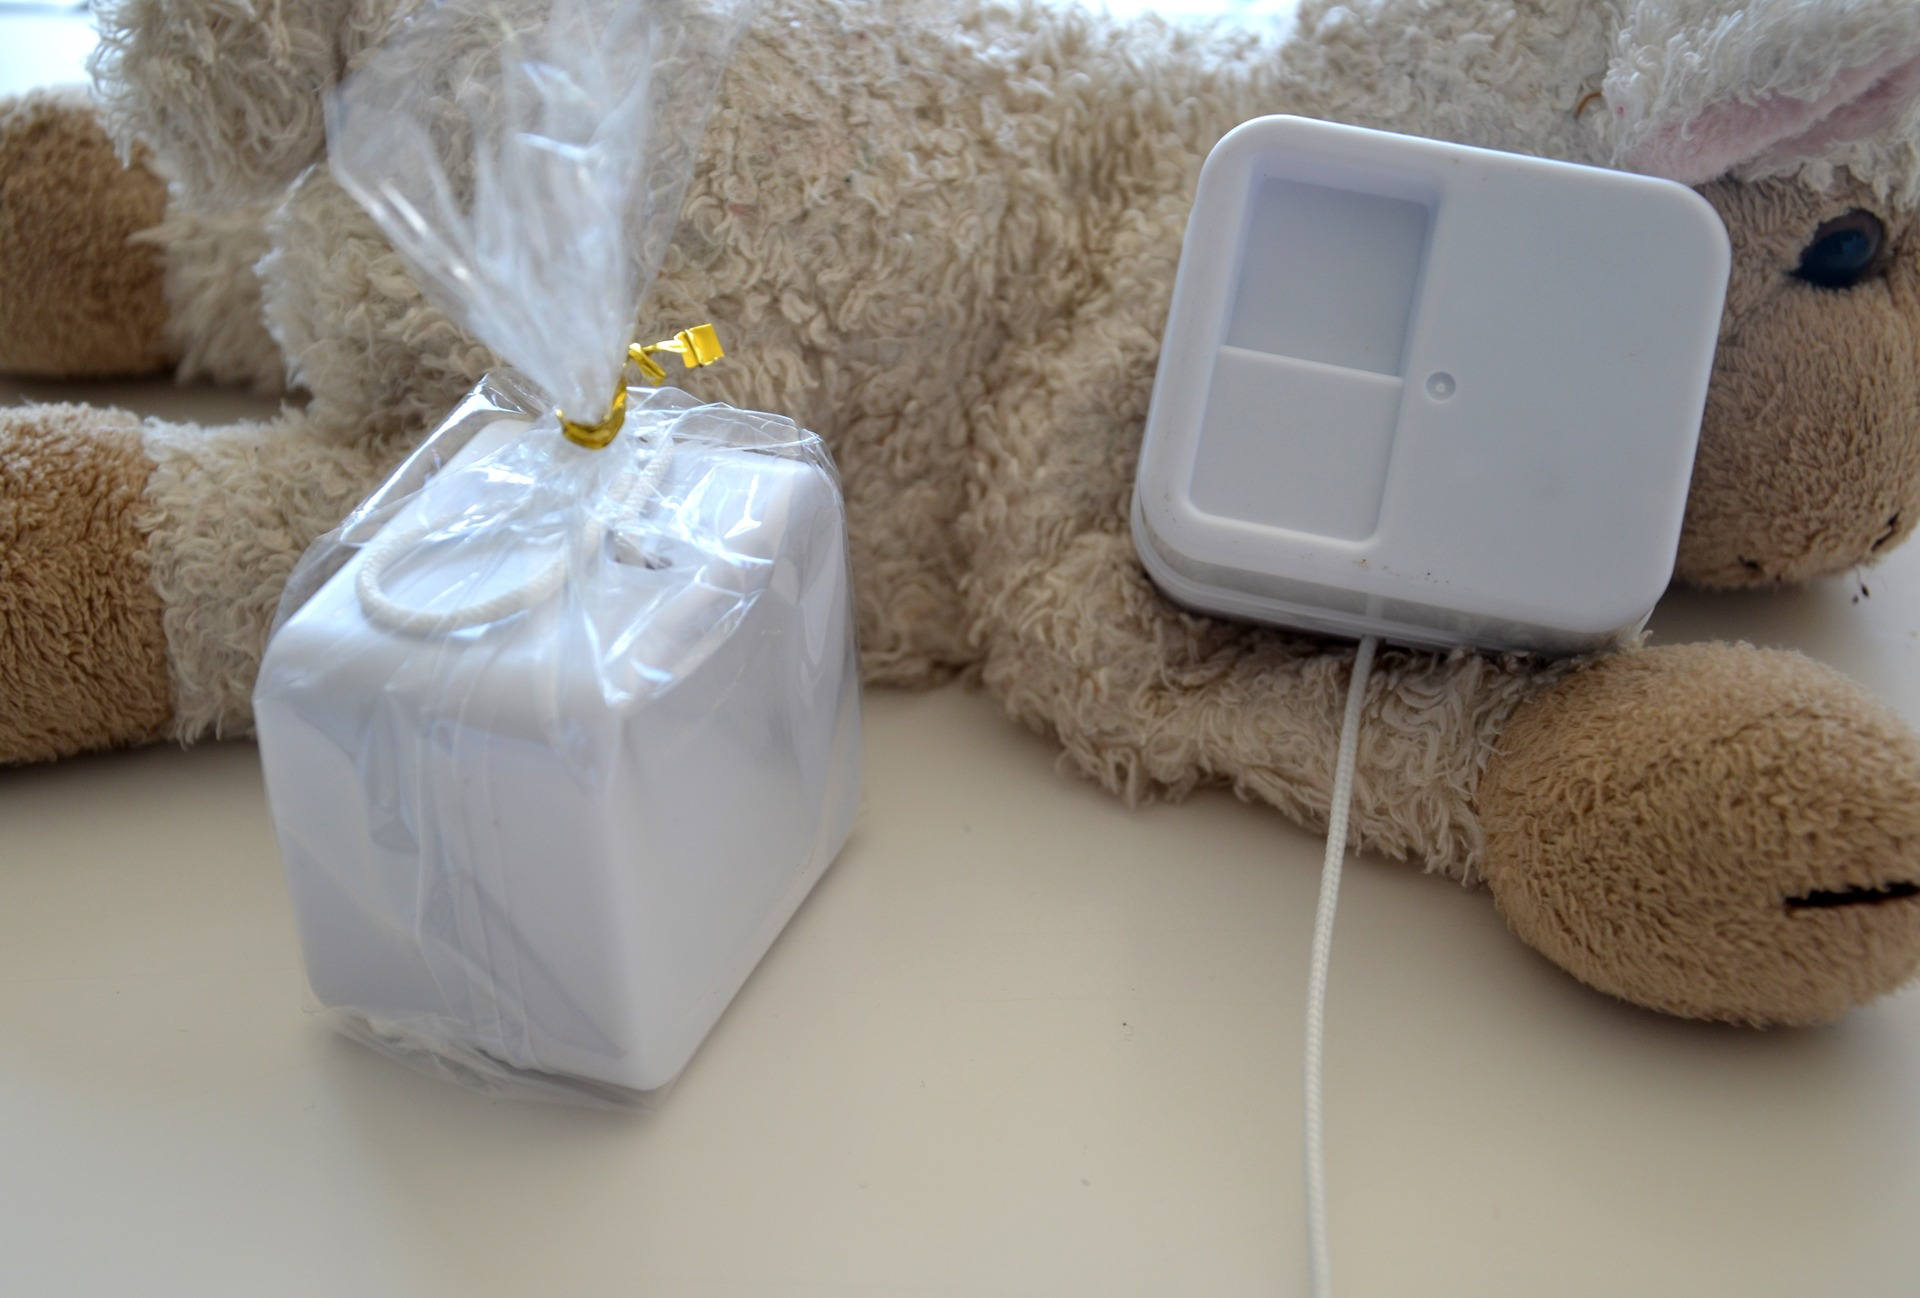
Step 2: Remove the Music Box Mechanism
Now that you have assessed the issue with the music box, it’s time to remove the mechanism from the stuffed animal. By doing this, you’ll have better access to the music box and be able to examine and repair it more effectively. Follow these steps to remove the music box mechanism:
- Locate the Access Point: Look for the opening or compartment in the stuffed animal where the music box is housed. This can typically be found on the back or bottom of the toy.
- Unscrew the Cover: Use the appropriate screwdriver from your set to remove any screws that are securing the cover of the music box. Place the screws in a safe location so they don’t get lost during the repair process.
- Disconnect any Wires: Carefully inspect the interior of the music box and look for any wires connecting the mechanism to the stuffed animal. If there are any wires, gently disconnect them by either unscrewing them or unplugging them from their connectors.
- Remove the Music Box: Once the cover is off and any wires are disconnected, you can now remove the entire music box mechanism from the stuffed animal. Take care not to force or damage any delicate parts while doing this.
Keep in mind that some stuffed animals may have a specific attachment method for the music box mechanism, such as clips or screws that secure it in place. If this is the case, make sure to release or remove these attachments before trying to take out the music box.
By following these steps, you should be able to safely remove the music box mechanism from the stuffed animal. Now that you have it separated, you can move on to the next step: inspecting and cleaning the music box.
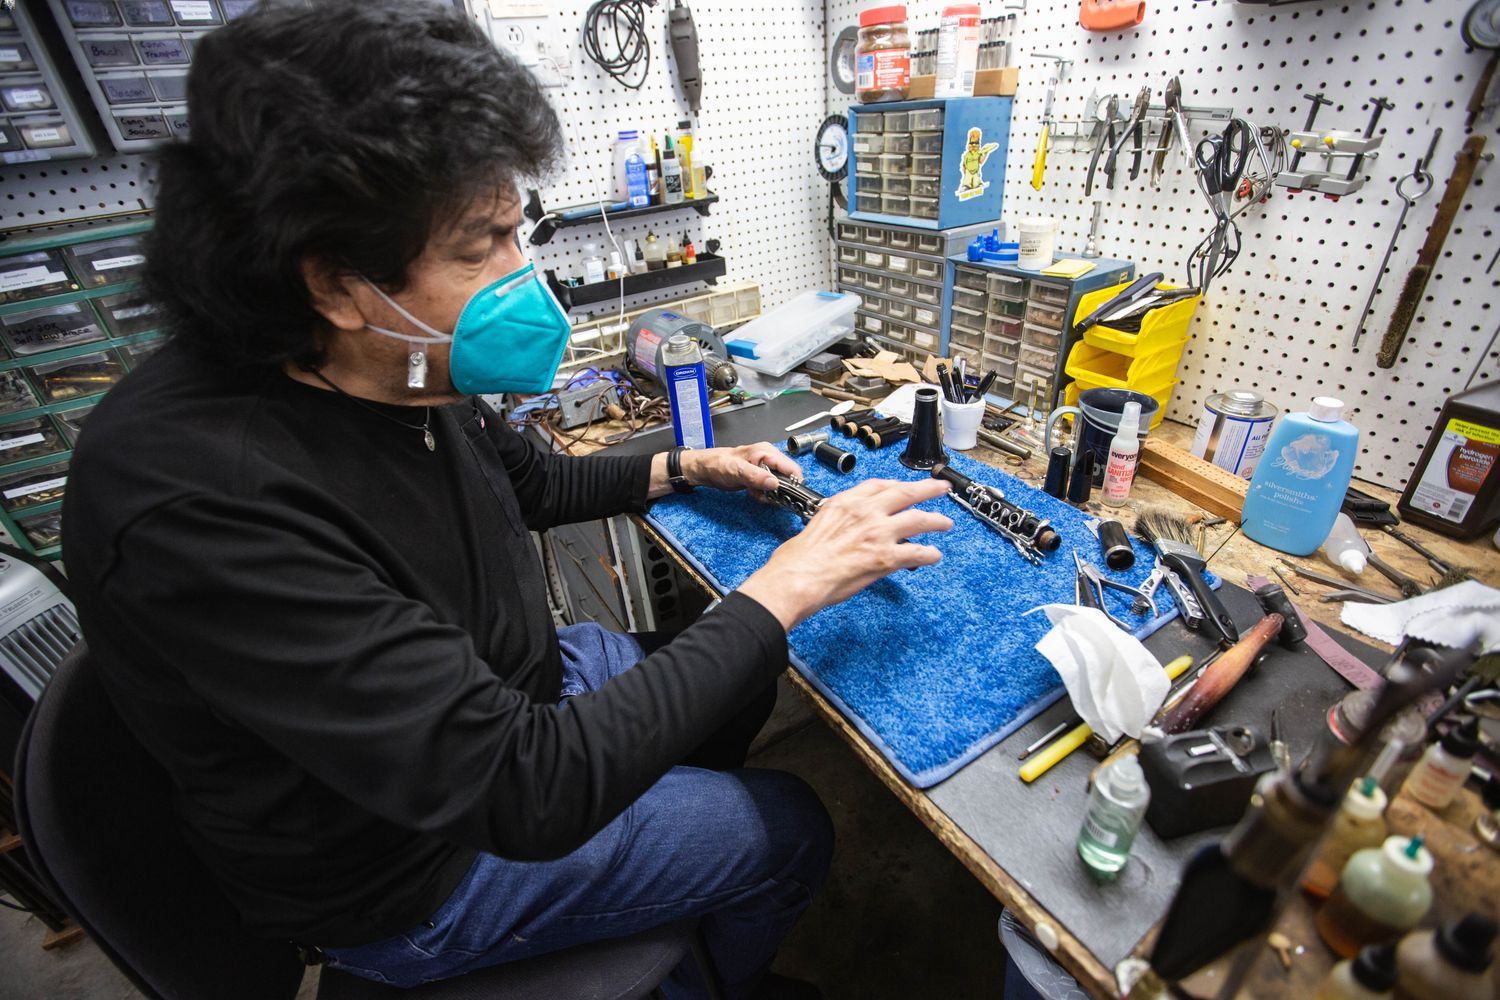
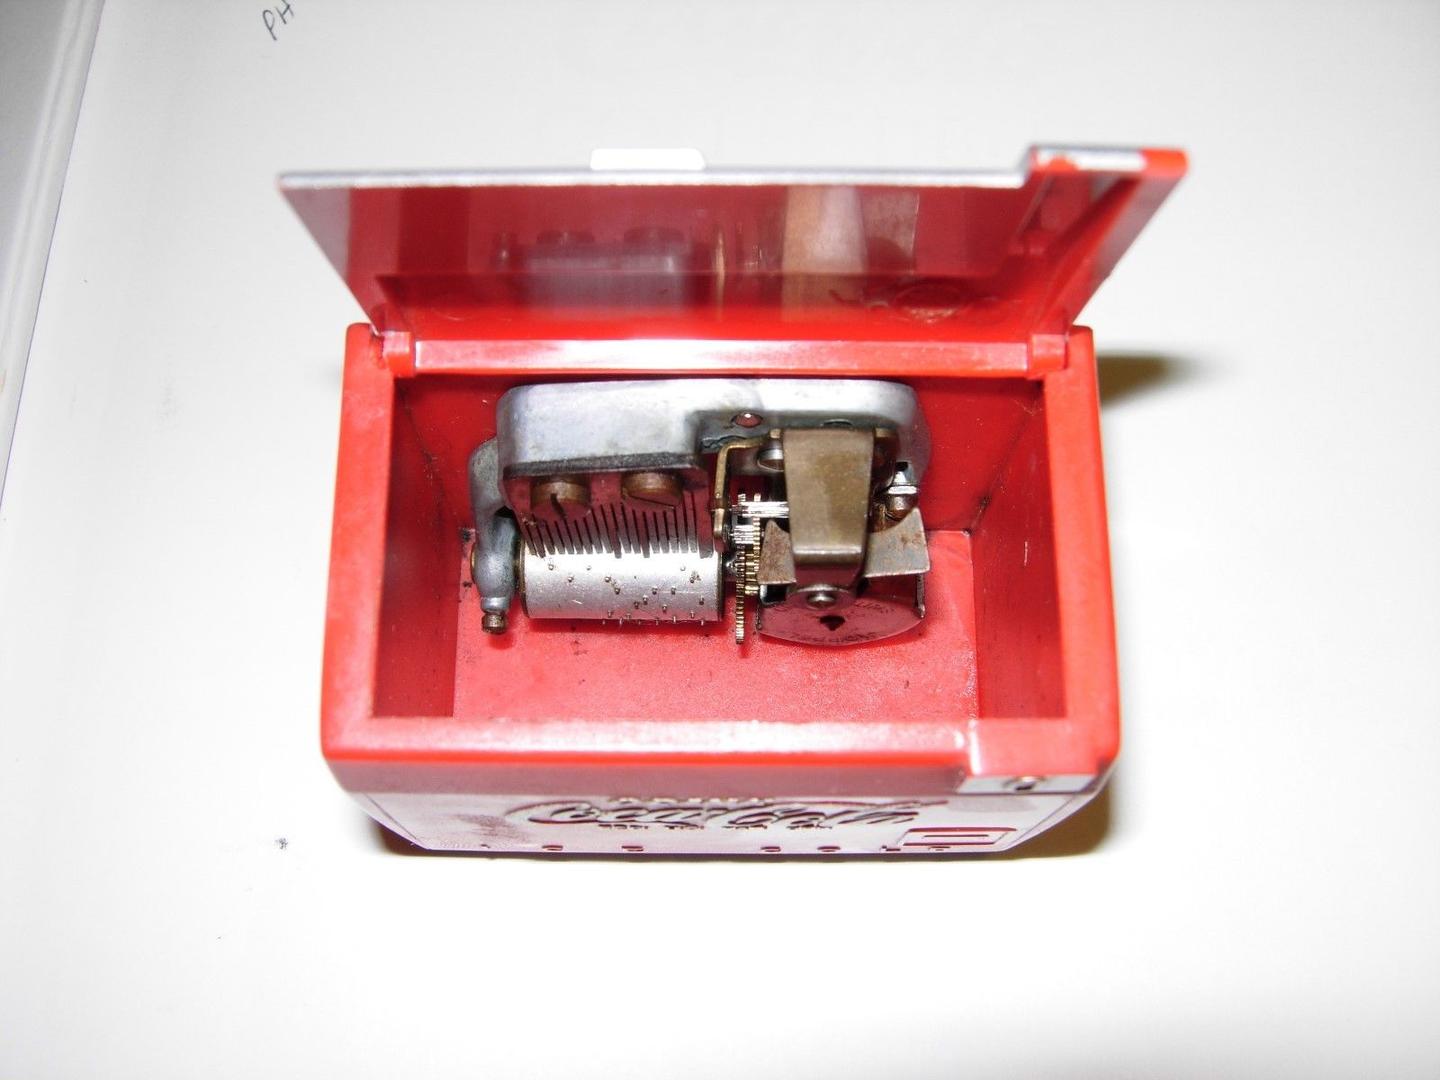
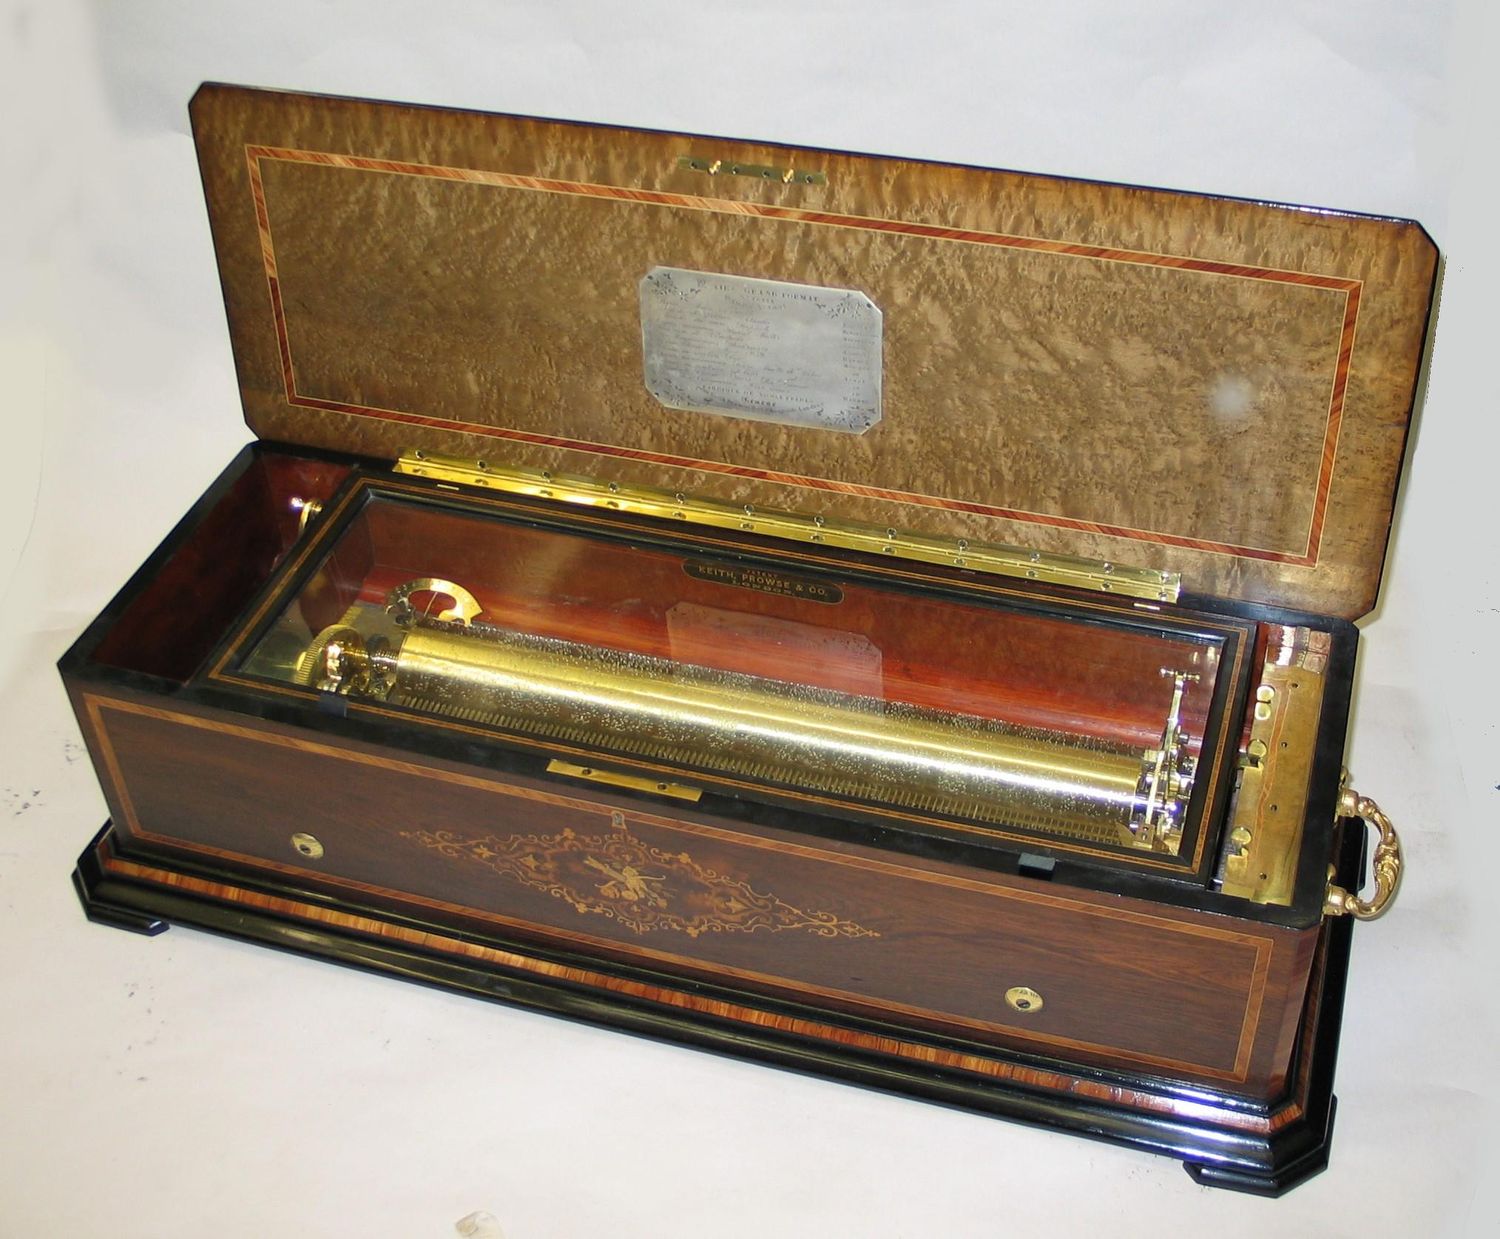
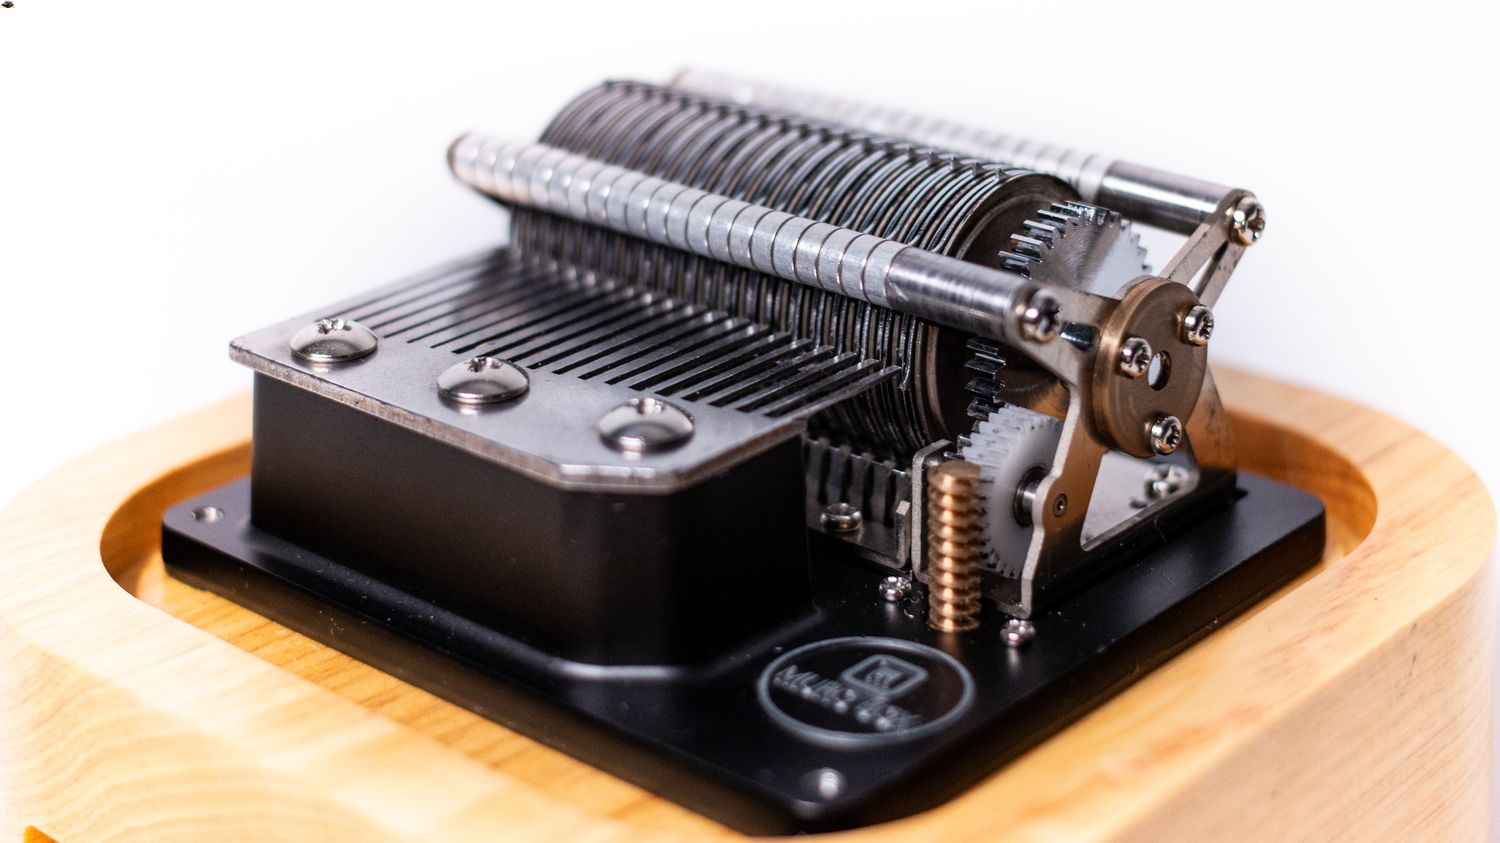
Step 3: Inspect and Clean the Music Box
With the music box mechanism removed from the stuffed animal, it’s time to inspect and clean it. This step is essential to identify any visible issues or damages and to remove dirt or debris that may be affecting its functionality. Here’s how to inspect and clean the music box:
- Examine the Components: Take a close look at the various parts of the music box, such as the gears, springs, and pins. Look for any signs of damage, wear, or misalignment. Note any areas that require repair or replacement.
- Clean the Interior: Use a cotton swab or a small brush to gently clean the interior of the music box. Remove any dust, dirt, or debris that may have accumulated over time. Be careful not to apply too much pressure or use any liquids that could damage the mechanism.
- Check the Musical Comb: If your music box has a musical comb, inspect the comb’s teeth for any signs of damage or misalignment. Ensure that each tooth is in its proper place and free from obstructions.
- Inspect the Spring: If your music box operates with a spring mechanism, visually inspect the spring for any signs of wear or damage. Ensure that it is properly wound and functioning smoothly.
During the inspection process, it’s important to handle the music box mechanism with care. Avoid applying excessive force or trying to forcefully adjust any components as this can cause further damage.
Once the inspection is complete, you’ll have a clearer understanding of the condition of the music box and the repairs that need to be made. Now that the mechanism is clean, it’s time to proceed to the next step: fixing a jammed or stuck music box if necessary.
Step 4: Fixing a Jammed or Stuck Music Box
It’s not uncommon for a music box to become jammed or stuck over time, especially if it hasn’t been regularly maintained. If you’ve identified that your music box is experiencing this issue, don’t worry. Follow these steps to fix a jammed or stuck music box:
- Identify the Cause: Carefully observe the movement of the music box mechanism and try to determine the cause of the jam or obstruction. It could be a foreign object, a misaligned component, or a build-up of debris.
- Remove the Obstruction: If you can see a visible obstruction, use tweezers or a small tool to gently remove it. Be cautious not to damage any delicate parts during this process.
- Attempt to Reset: Sometimes, the music box can temporarily get out of sync. Try winding or triggering the mechanism manually to reset it. If it starts playing normally, congratulations! The problem is resolved.
- Apply Lubrication: If the music box is still stuck or has difficulty moving smoothly, use a small amount of silicone-based lubricant or watch oil on the gears, pins, and other moving parts. This can help loosen any tight spots and improve the overall movement.
- Test and Adjust: After applying lubrication, test the music box to see if it plays without any issues. If necessary, make small adjustments to the components to ensure their proper alignment and movement.
Take your time during this step and handle the music box mechanism with care. Remember, patience is key when fixing a jammed or stuck music box.
If you’ve successfully resolved the issue and the music box is now playing smoothly, congratulations! However, if the problem persists, it may be necessary to replace the entire music box mechanism. Don’t worry; we’ll cover that in the next step.
Step 5: Replacing a Broken Music Box
If you’ve determined that the music box in your stuffed animal is beyond repair or if you simply want to upgrade to a new one, it’s time to replace the broken music box. Here’s how you can do it:
- Find a Suitable Replacement: Look for a replacement music box that matches the size and style of the one you’re replacing. You can find music boxes online or at specialty craft stores.
- Remove the Old Music Box: Follow the steps outlined in Step 2 to remove the old music box mechanism from the stuffed animal.
- Prepare the Stuffed Animal: Assess the interior of the stuffed animal and make any necessary modifications or adjustments to accommodate the new music box. This may include enlarging the opening or securing the new music box in place.
- Install the New Music Box: Carefully place the new music box mechanism into the designated area in the stuffed animal. Ensure that it is properly aligned and securely in place.
- Reattach Any Wires or Connectors: If the new music box requires any wiring connections, carefully attach them according to the manufacturer’s instructions. Take care not to damage any delicate wires during this process.
- Test the New Music Box: Before fully reassembling the stuffed animal, test the new music box to make sure it plays the desired tune. Wind or activate the mechanism to confirm that it functions as expected.
Replacing a broken music box allows you to enjoy the enchanting melodies of your stuffed animal once again. Ensure that the new music box you choose is compatible with your stuffed animal’s design and size for a seamless fit.
Once the new music box is installed and tested, you’re ready to move on to the final step: reassembling the stuffed animal.
Step 6: Reassembling the Stuffed Animal
Now that you have fixed or replaced the music box, it’s time to put everything back together and bring your beloved stuffed animal back to life. Follow these steps to reassemble the stuffed animal:
- Clean the Exterior: Take a moment to clean the exterior of the stuffed animal, wiping away any dust or debris that may have accumulated during the repair process. This will ensure that your stuffed animal looks fresh and clean.
- Reinsert the Music Box: Carefully place the music box mechanism, whether it’s the repaired one or the new replacement, back into the designated area in the stuffed animal. Ensure that it fits securely and aligns properly with any attachment points.
- Reattach the Wires: If you had to disconnect any wires during the repair process, now is the time to reattach them. Make sure they are connected securely and follow any color-coded or marked connections to ensure proper operation.
- Secure the Cover: If the music box has a separate cover, screw it back into place using the appropriate screwdriver. Ensure that the screws are tightened to secure the cover but be mindful not to overtighten and damage the material.
With the music box properly reassembled and secured, your stuffed animal is ready to play its enchanting melody once again. Test the music box by pressing the button or winding the key to confirm that it plays without any issues.
Remember, take your time during the reassembly process to ensure that all the components are properly aligned and connected. If you encounter any difficulties or the music box still doesn’t function correctly, it may be helpful to refer back to the previous steps or consult a professional for assistance.
Congratulations! You have successfully repaired or replaced the music box in your stuffed animal. Now, sit back, relax, and enjoy the delightful melodies that bring joy and charm to your life.
Conclusion
Repairing a music box in a stuffed animal can be a rewarding and satisfying task that allows you to preserve the nostalgia and joy associated with these cherished toys. By following the steps outlined in this guide, you can assess the issue, remove the music box mechanism, inspect and clean it, fix jams or obstructions, replace a broken music box if needed, and reassemble the stuffed animal with the repaired or new music box.
Remember, the complexity of the repair will vary depending on the type and condition of the music box, as well as the nature of the issue. Some repairs may be simple and require minimal effort, while others may be more involved and require replacement parts or professional assistance.
As you embark on the repair journey, make sure to gather the necessary tools and materials, exercise caution and patience, and pay attention to detail. By doing so, you can restore the enchanting melody of your music box and bring back the magic to your beloved stuffed animal.
Whether you’re fixing a childhood heirloom or a sentimental gift, the satisfaction of successfully repairing a music box is worth the effort. So gather your tools, take it step by step, and let the sweet sounds of your music box bring a smile to your face once again.