Home>Devices & Equipment>Music Box>How To Fix Wind Up Music Box
Music Box
How To Fix Wind Up Music Box
Modified: January 22, 2024
Learn how to fix your wind up music box with our step-by-step guide. Discover expert tips on repairing and maintaining your favorite music box.
(Many of the links in this article redirect to a specific reviewed product. Your purchase of these products through affiliate links helps to generate commission for AudioLover.com, at no extra cost. Learn more)
Table of Contents
Introduction
Music boxes have been enchanting people for centuries with their delicate melodies and intricate designs. These delightful mechanical devices create beautiful sounds by using a winding mechanism, which powers a series of gears and pins that produce the music. However, like any mechanical object, wind up music boxes can sometimes encounter issues that affect their performance.
Whether you have inherited a cherished music box or stumbled upon one at an antique store, learning how to fix wind up music boxes can allow you to bring these nostalgic treasures back to life. It may seem daunting at first, but with a little patience and some basic knowledge, you can restore a malfunctioning music box to its former glory.
In this article, we will guide you through the process of understanding wind up music boxes, identifying common issues, and providing step-by-step instructions to fix them. We will also share tips and precautions to ensure a successful repair without causing any further damage.
So, if you’re ready to embark on a journey to revive the magic of a wind up music box, let’s delve into the intricacies of these captivating mechanisms and learn how to fix them!
Understanding Wind Up Music Boxes
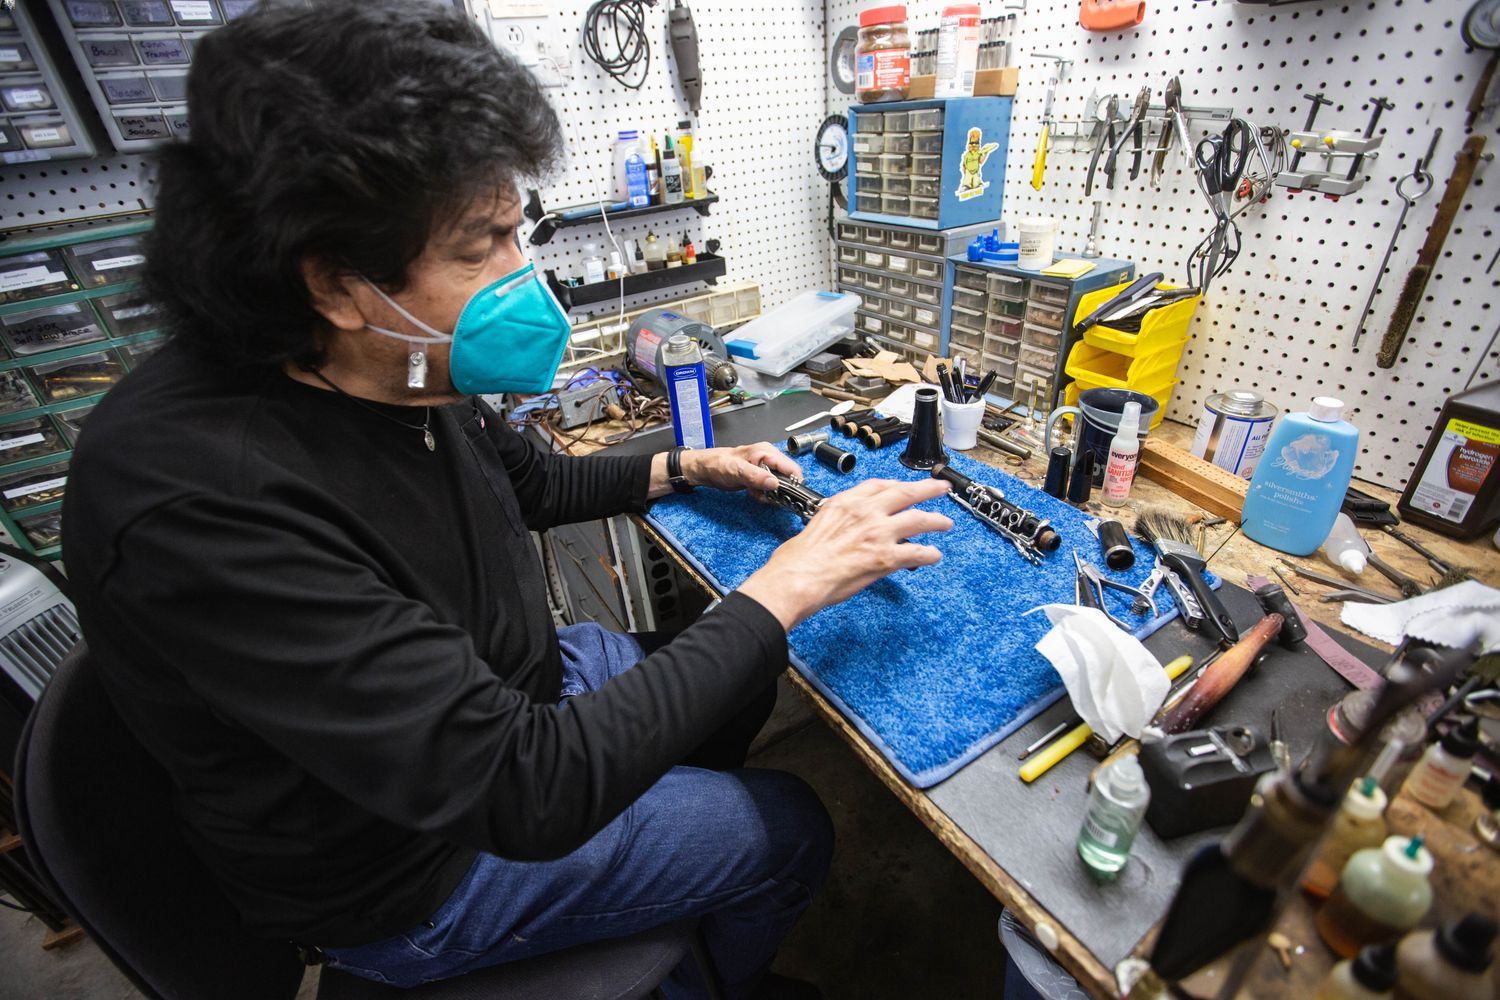
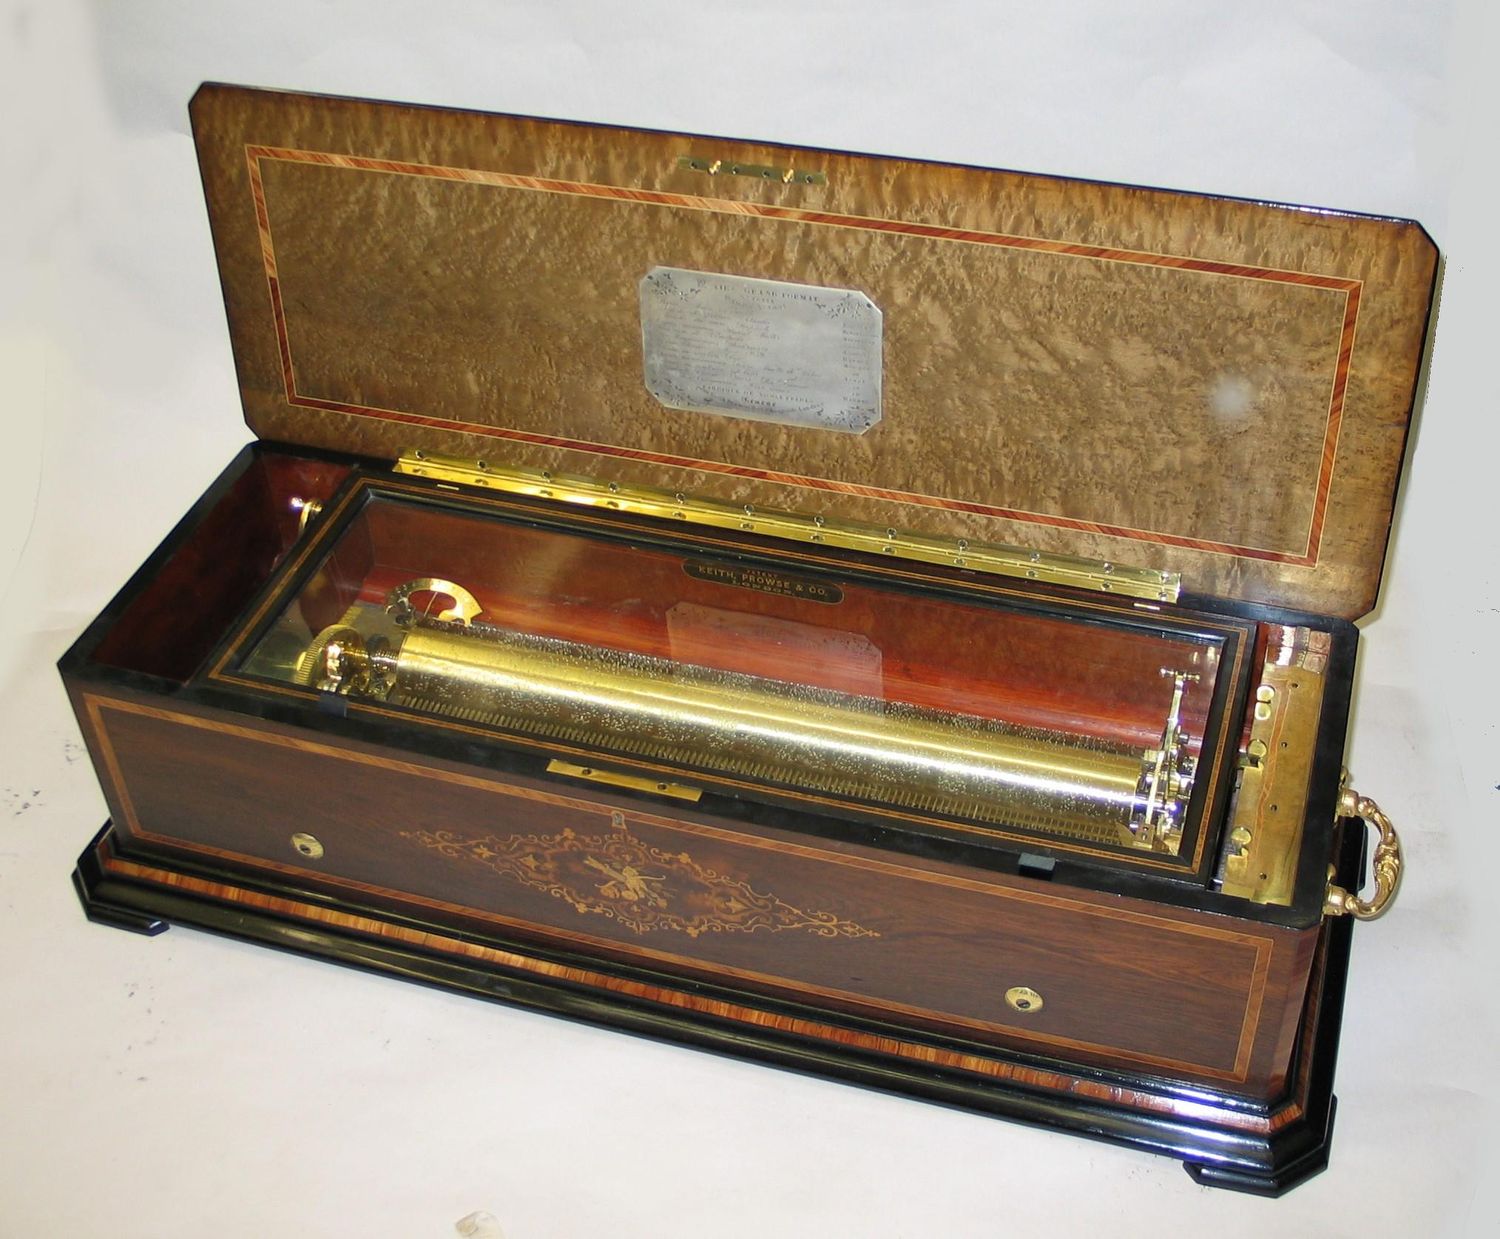
Before attempting to fix a wind-up music box, it’s important to have a basic understanding of how these mechanical marvels work. A wind-up music box consists of several key components:
- Winding Mechanism: This is the main power source for the music box. It consists of a metal key or knob that needs to be turned to wind up the internal spring.
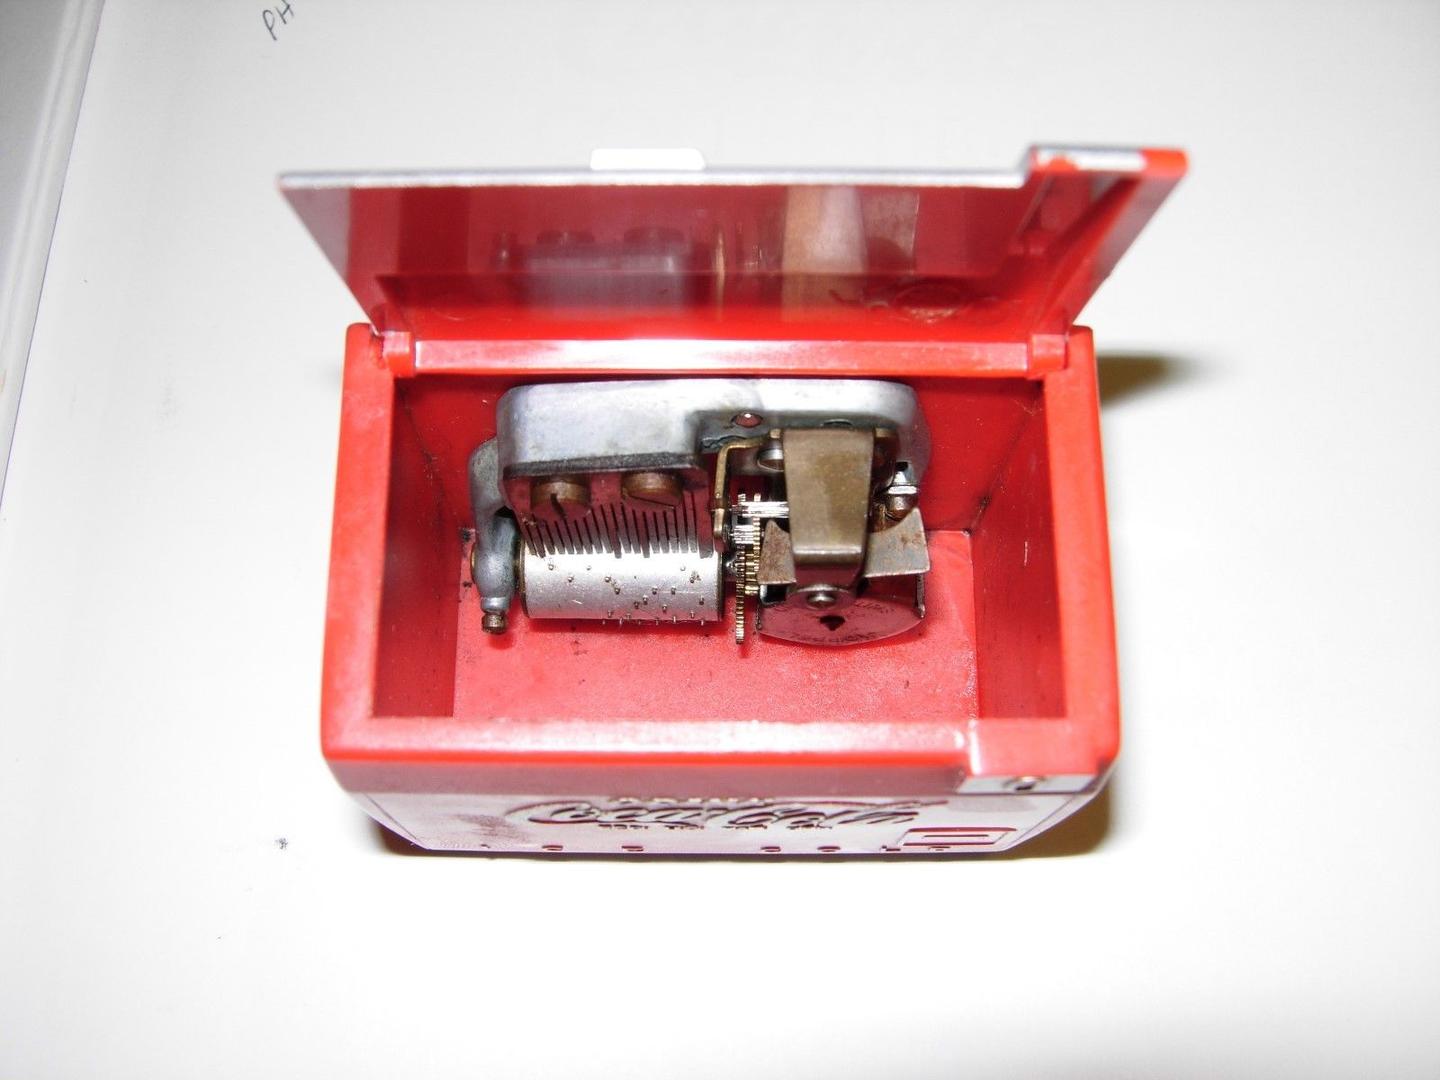
- Spring Barrel: The spring barrel is a cylindrical container that houses the main spring. When the winding mechanism is turned, the spring is tightly wound, storing potential energy for the music to play.
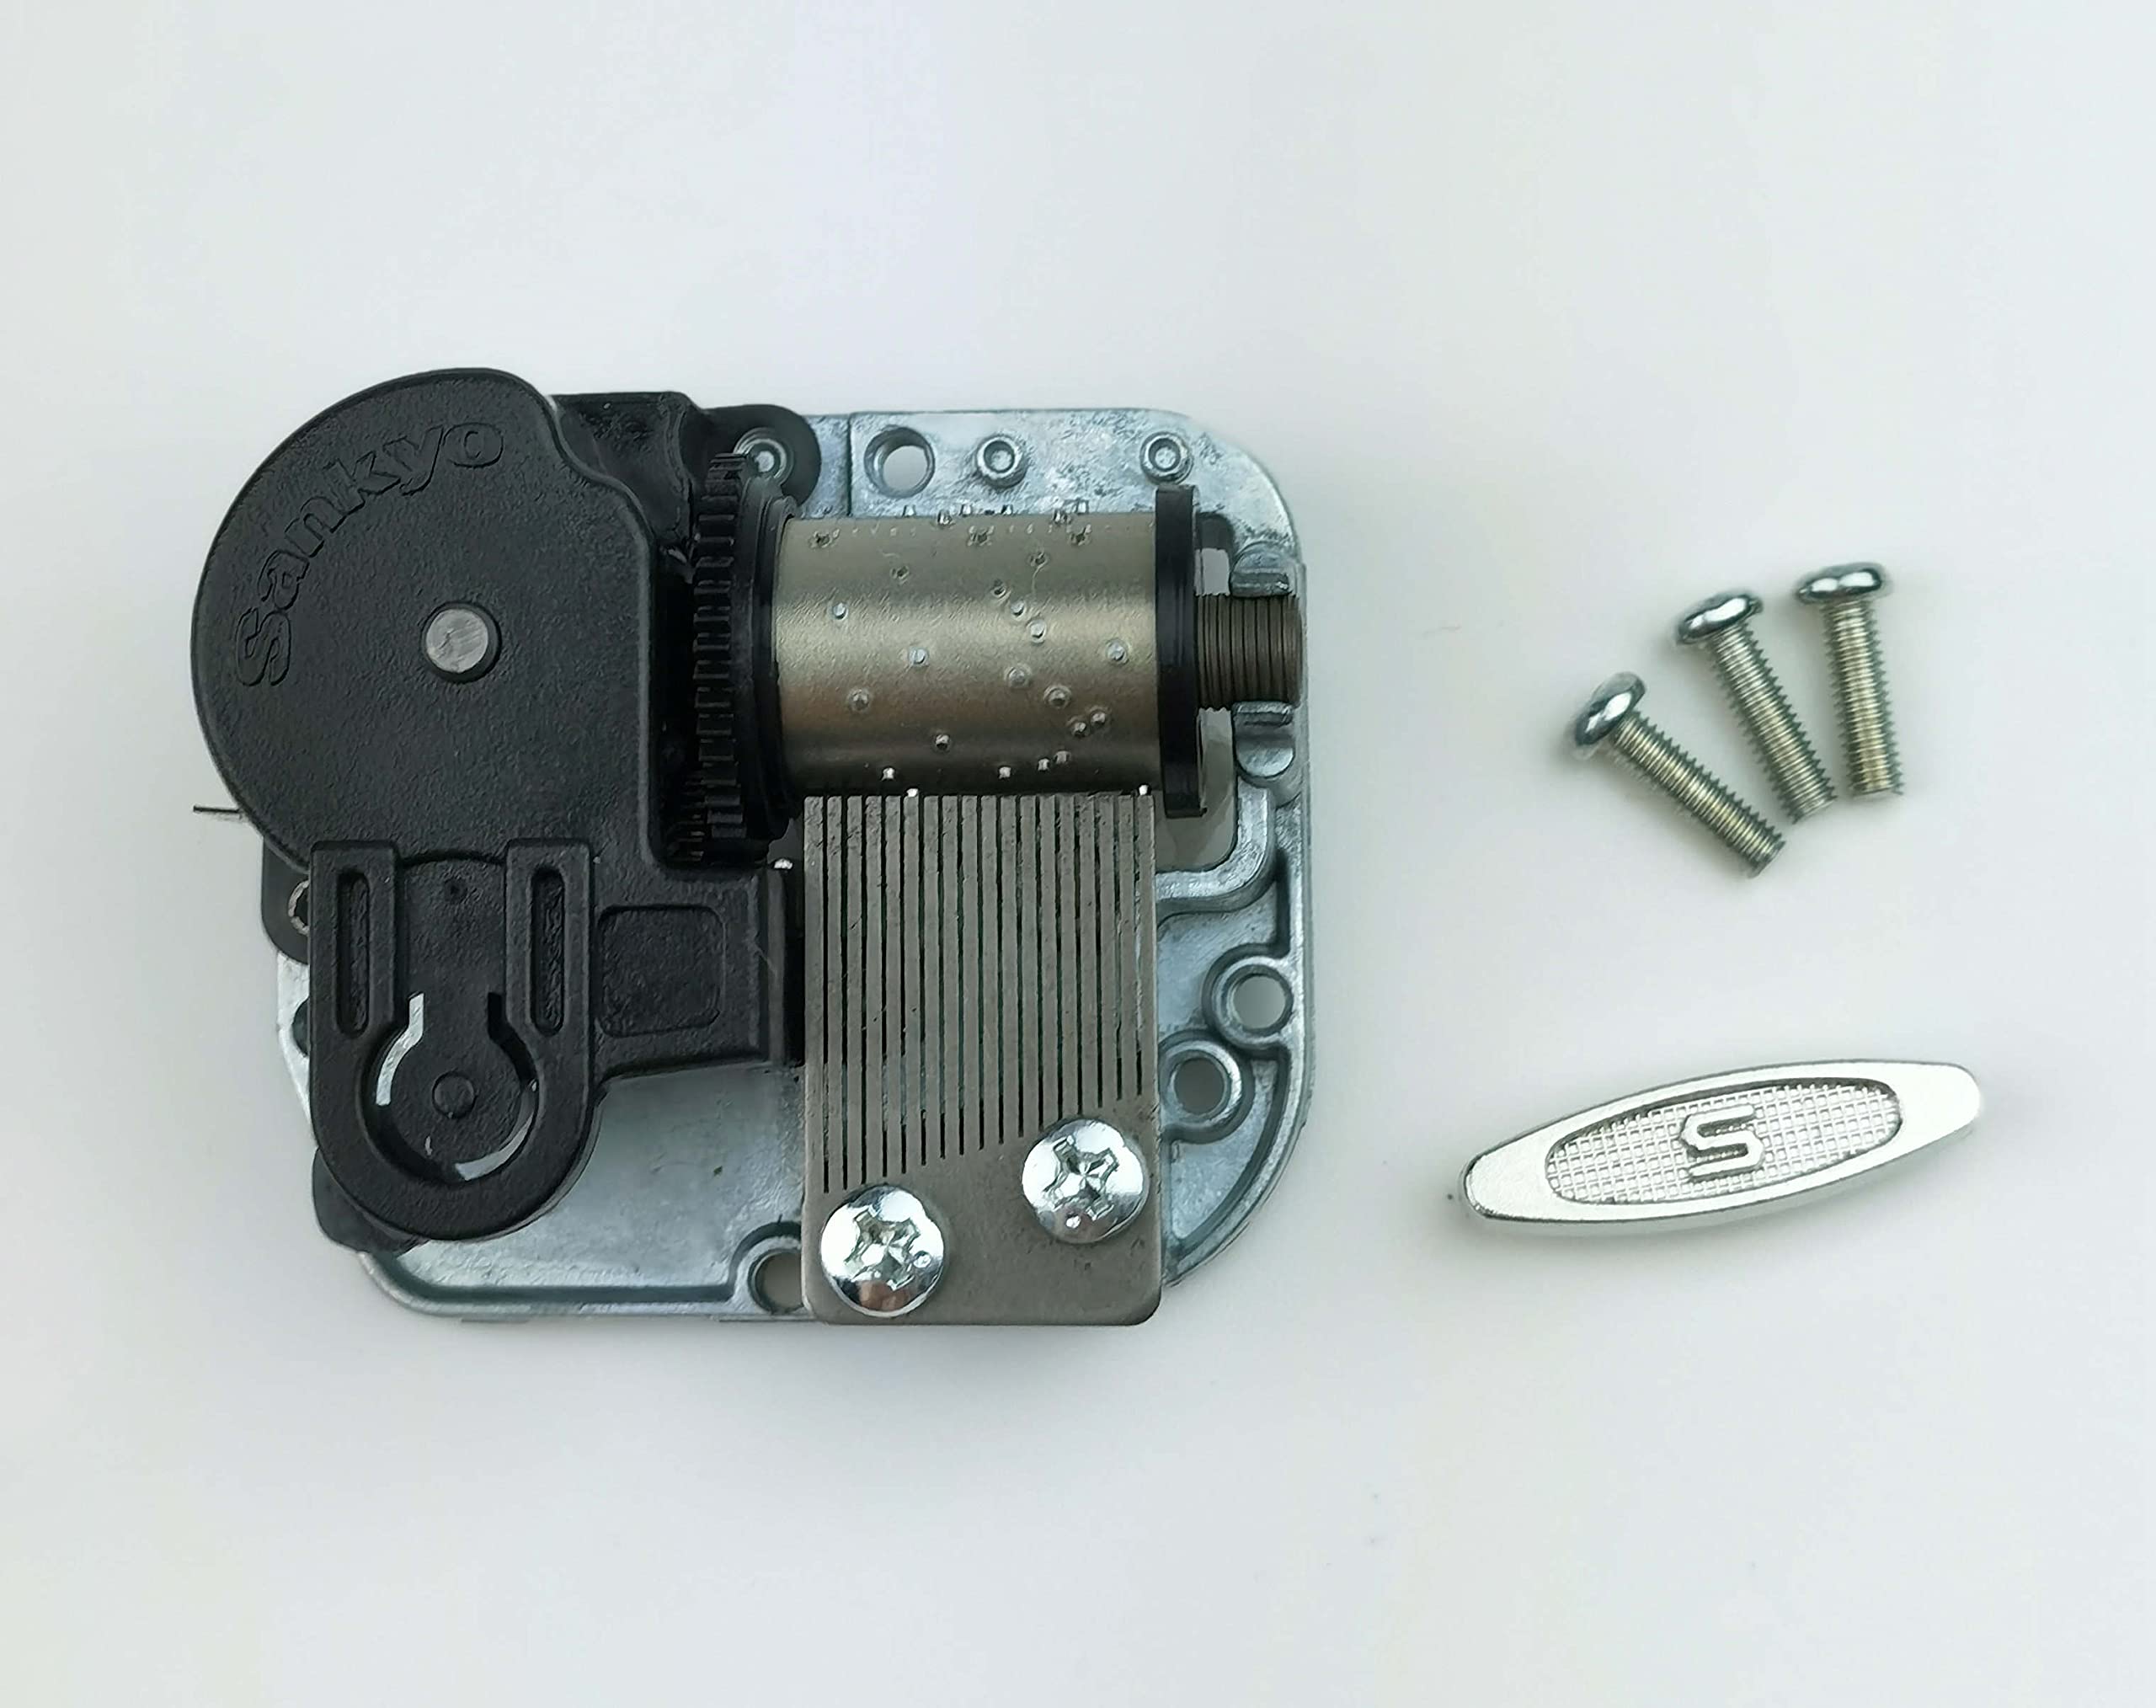
- Gears and Cylinders: The winding mechanism transfers the energy from the spring barrel to a series of gears and cylinders. These components work together to control the movement of the pins and produce the desired musical notes.
- Pinned Cylinder or Disc: The pinned cylinder or disc is responsible for determining the combination of notes and melodies the music box will play. As the cylinder rotates, the pins on its surface activate the corresponding hammers or tines, creating the melodic sequence.
- Comb and Tone Bar: The comb is made up of a series of metal tines or teeth, each producing a specific musical note when struck by a hammer. The tone bar, located above the comb, helps resonate the sound and amplify the music.
By understanding the various components and their interactions, you can gain insight into how a wind-up music box works. This knowledge will prove valuable when it comes to diagnosing and fixing common issues that may arise.
Additionally, it’s important to note that not all wind-up music boxes are the same. They can vary in size, design, and complexity, which may affect the repair process. Some music boxes may have removable panels or access points, while others may require disassembly to gain access to the inner workings.
Now that we have a basic understanding of wind-up music boxes, let’s move on to identifying common issues that can impact their functionality.
Identifying Common Issues
When it comes to wind-up music boxes, there are several common issues that can arise. By being able to identify these problems, you can effectively troubleshoot and determine the best course of action for repair. Here are some of the most common issues:
- No Sound: One of the most frustrating problems is when a music box fails to produce any sound. This could be due to a loose or disconnected component, a broken spring, or a jammed gear or cylinder.
- Weak or Distorted Sound: If your music box is playing but the sound is weak or distorted, it could be a sign of a dirty or damaged comb or tone bar. Dust or debris may have accumulated on the tines, affecting the sound quality.
- Stuck or Skipping Mechanism: Sometimes, the winding mechanism gets stuck or begins to skip, causing the music to play inconsistently or not at all. This could be due to a worn-out spring, misaligned gears, or an obstructed cylinder.
- Broken or Missing Pins: The pins on the cylinder or disc can become damaged, bent, or even missing, preventing the music box from playing the correct notes. This may require replacing the pins or replacing the entire cylinder.
- Physical Damage: Wind-up music boxes are delicate objects, and they can easily sustain physical damage if mishandled or dropped. Cracked or broken casings, bent or broken components, and dents can all affect the functioning of the music box.
By carefully inspecting your music box and observing its behavior, you can identify which issue you are facing. It’s important to note that some problems may require simple fixes, such as cleaning or adjusting components, while others may necessitate more advanced repair techniques or professional assistance.
Now that we know the common issues that can occur with a wind-up music box, let’s gather the necessary tools and materials to begin the repair process.
Tools and Materials Needed
Repairing a wind-up music box requires a few essential tools and materials to ensure a successful outcome. Gathering these items beforehand will save you time and frustration during the repair process. Here are the tools and materials you will need:
- Screwdrivers: A set of screwdrivers with various sizes and types, including flathead and Phillips head, will be necessary for removing screws and accessing the internal components of the music box.
- Tweezers: Tweezers are useful for handling small parts and delicate components. They allow for precise placement and manipulation during the repair process.
- Lubricant: A high-quality lubricant, such as watch oil or sewing machine oil, is essential for keeping the gears and moving parts of the music box well-lubricated. This helps ensure smooth operation and reduces wear and tear.
- Cleaning Supplies: Dust, dirt, and debris can affect the performance of a music box. Having some soft brushes, cotton swabs, and mild cleaning solutions on hand will help you clean and restore the internal components.
- Replacement Parts: Depending on the issue you are facing, you may need to acquire specific replacement parts, such as new springs, pins, or even a replacement cylinder or comb. Identify the necessary parts before starting the repair process.
- Workstation: Prepare a clean and well-lit area to work on your music box. A soft cloth or padded surface will help protect the delicate components from scratches or damage.
It’s important to note that the specific tools and materials required may vary depending on the type and complexity of your music box. Some repairs may only require basic tools, while others may demand specialized equipment. Assess the needs of your particular music box and gather the necessary items accordingly.
With the tools and materials in place, we are now ready to dive into the step-by-step process of fixing a wind-up music box. Stay tuned for the next section, where we will guide you through the repair process.
Step-by-Step Process for Fixing a Wind Up Music Box
Now that you have a good understanding of wind-up music boxes, have identified common issues, and gathered the necessary tools and materials, let’s walk through the step-by-step process of fixing a wind-up music box:
- Assessment: Carefully examine your music box and take note of any visible issues or areas of concern. This will help you determine the scope of the repair and the specific steps needed.
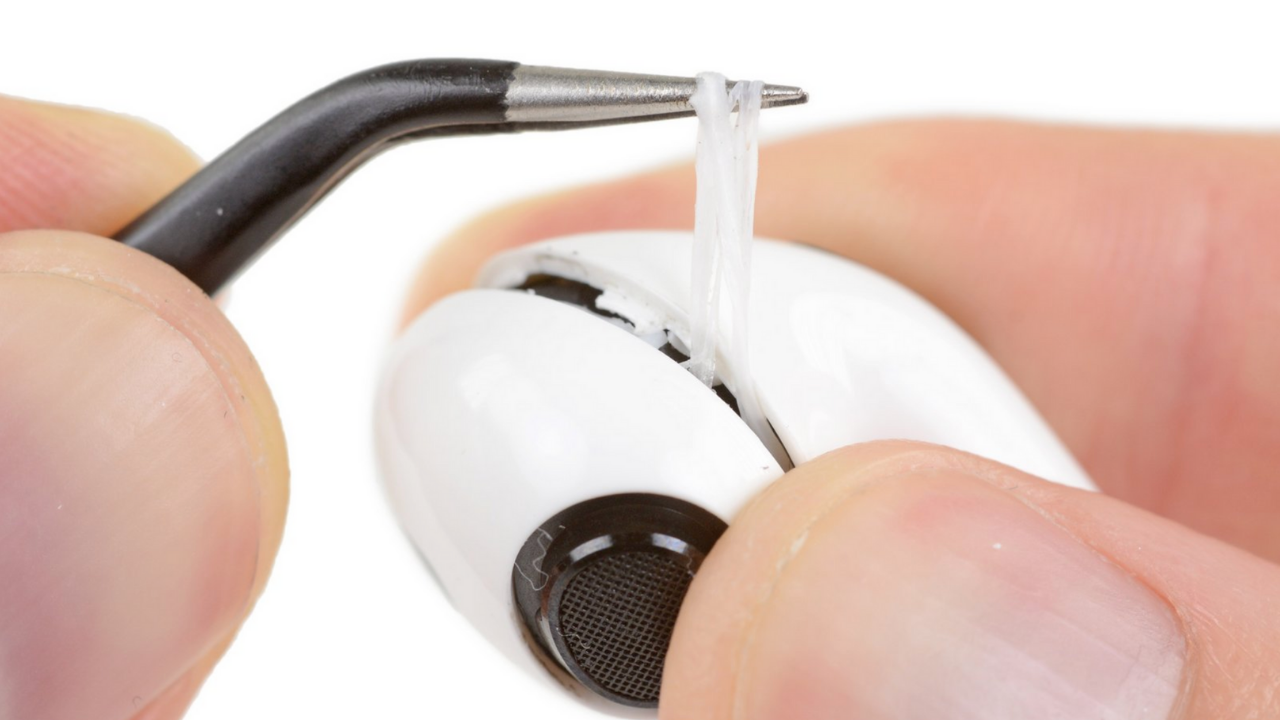
- Disassembly: If necessary, remove any panels or access points that will allow you to reach the internal components of the music box. Use the appropriate screwdrivers to remove screws or fasteners, taking care not to lose any small parts.
- Cleaning: Use soft brushes and cotton swabs to gently clean the various components of the music box. Remove any dust, debris, or residue that may be affecting the performance of the mechanism. You can use a mild cleaning solution for stubborn dirt, but avoid getting the musical mechanism wet.
- Lubrication: Apply a small amount of lubricant to the gears, cylinders, and other moving parts of the music box. Be careful not to use too much oil, as it can attract dust and cause a buildup over time. A drop or two of oil is usually sufficient for each component.
- Spring Adjustment: If the music box has a weak or distorted sound, you may need to adjust the tension of the spring. Using tweezers or a small tool, carefully adjust the position of the spring to increase or decrease tension as needed. Be mindful not to over-tighten or loosen the spring excessively.
- Pin and Cylinder Maintenance: Inspect the pins on the cylinder or disc for any damage or misalignment. Straighten bent pins and replace any missing or broken ones. Ensure that the pins are properly aligned and make contact with the hammers or tines to produce the correct notes.
- Reassembly: Once you have completed the necessary repairs and maintenance, carefully reassemble the music box, ensuring that all components fit snugly and securely. Use your screwdrivers to reattach panels and fasteners.
- Testing: Wind up the music box using the winding mechanism and listen for the desired melody. Observe the performance of the music box to ensure that it plays smoothly and produces the expected sound. Make any necessary adjustments before proceeding.
It’s important to note that the repair process may vary depending on the specific issue you are facing and the design of your music box. Some repairs may require more advanced techniques or professional help. It’s always a good idea to refer to the manufacturer’s instructions or seek expert advice if you are unsure about any steps in the process.
With the music box repaired, it’s time to test and troubleshoot any remaining issues. This will ensure that your music box continues to bring joy and enchantment for years to come. The next section will provide some guidance on testing and troubleshooting your repaired music box.
Testing and Troubleshooting
After completing the repair process for your wind-up music box, it’s crucial to test its functionality and troubleshoot any issues that may still persist. Here are some steps to follow for testing and troubleshooting:
- Wind Up: Begin by winding up the music box using the winding mechanism. Make sure to wind it up fully or according to the recommended number of turns for optimal performance.
- Sound Check: Listen carefully to the sound produced by the music box. Pay attention to the volume, clarity, and overall quality of the sound. If the music box is still playing weakly or distorted, there may be an issue with the comb or tone bar that needs further attention.
- Mechanism Check: Observe the movement of the various components, such as the gears, cylinders, and hammers, while the music box is playing. Ensure that they are operating smoothly and without any visible obstructions or irregularities.
- Timing Check: Assess the timing of the music. Make sure that the notes and melodies are playing in the correct sequence and rhythm. If there are any skips or inconsistencies, it may indicate a problem with the pin arrangement or timing mechanism.
- Additional Adjustments: If you encounter any issues during the testing phase, such as weak sound, skipped notes, or timing problems, you may need to make further adjustments. This could involve fine-tuning the position of the pins, lubricating specific areas, or rechecking the spring tension.
- Seek Professional Help: If you have tried troubleshooting the issues and are unable to resolve them, or if the problem is beyond your expertise, it’s advisable to seek professional assistance. A qualified repair technician with experience in wind-up music boxes can provide further guidance and assistance for more complex repairs.
Remember, patience is key during the testing and troubleshooting process. It may take a few iterations of adjustments and observations to achieve the desired outcome. Don’t be discouraged if you encounter bumps along the way – learning and refining your repair skills is part of the journey.
Once you are satisfied with the performance of your repaired wind-up music box, it’s important to take additional precautions to ensure its longevity and continued functionality. The next section will provide some additional tips and precautions to consider.
Additional Tips and Precautions
When it comes to repairing and maintaining wind-up music boxes, there are several additional tips and precautions to keep in mind. These will help ensure the longevity and optimal performance of your music box. Here are some important considerations:
- Handle with Care: Wind-up music boxes are delicate objects, so always handle them with care. Avoid dropping or mishandling the music box, as this can cause physical damage to the components.
- Regular Cleaning: Dust and debris can accumulate over time and affect the performance of the music box. Regularly clean the external and internal components of the music box using soft brushes and cotton swabs to keep it in good working condition.
- Moderate Use: Avoid overwinding the spring or excessively playing the music box. This can cause strain on the delicate mechanism and lead to premature wear and tear. Use the music box in moderation to extend its lifespan.
- Proper Storage: When not in use, store the music box in a cool, dry place away from direct sunlight and extreme temperatures. This will help prevent damage to the components and maintain its overall condition.
- Expert Assistance: If you encounter complex issues or if you are unsure about the repair process, don’t hesitate to seek professional assistance. An experienced repair technician can provide specialized knowledge and guidance to resolve any challenging problems.
- Document Your Repairs: Keep a record of the repairs you’ve performed on the music box, including any adjustments made or parts replaced. This documentation will prove helpful if you encounter similar issues in the future or if you decide to pass on the music box to someone else.
By following these additional tips and precautions, you can maintain the functionality and longevity of your wind-up music box. Remember, a little care and attention can go a long way in preserving the magic and charm of these timeless treasures.
With these tips in mind, you are now equipped with the knowledge and guidance to successfully repair and maintain wind-up music boxes. Cherish these beautiful melodies and enjoy the enchantment they bring to your life.
Now, it’s time to put your newfound skills into practice and revive the melody of your own wind-up music box. Best of luck with your repairs!
Conclusion
Wind-up music boxes hold a special place in our hearts, evoking nostalgia and enchantment with their beautiful melodies. Learning how to fix these charming mechanical devices allows us to preserve their magic and bring them back to life. By understanding the inner workings of wind-up music boxes, identifying common issues, and following the step-by-step repair process, you can restore these treasures to their former glory.
Throughout this article, we discussed the key components of wind-up music boxes, such as the winding mechanism, spring barrel, gears, cylinders, and pins. We also explored common issues that can arise, including no sound, weak or distorted sound, stuck or skipping mechanisms, broken or missing pins, and physical damage.
To begin the repair process, we gathered the necessary tools and materials, such as screwdrivers, tweezers, lubricant, cleaning supplies, and replacement parts. We then walked through the step-by-step process of fixing a wind-up music box, which involved assessment, disassembly, cleaning, lubrication, spring adjustment, pin and cylinder maintenance, reassembly, and testing.
Testing and troubleshooting were crucial steps to assess the functionality of the music box and address any remaining issues. Through careful observation of sound quality, mechanism movement, timing, and additional adjustments, we can ensure that the music box plays smoothly and produces the expected melodies.
Lastly, we provided some additional tips and precautions, including handling the music box with care, regular cleaning, moderate use, proper storage, seeking expert assistance when needed, and documenting repairs for future reference.
Repairing wind-up music boxes allows us to revive their nostalgic charm and enjoy their melodies for years to come. With patience, attention to detail, and a little know-how, you can transform a malfunctioning music box into a cherished item that brings joy to your life or the lives of others.
So, whether you have a forgotten heirloom or stumble upon a gem at an antique store, don’t hesitate to embark on the journey of repairing a wind-up music box. With the knowledge and guidance from this article, you have the power to restore and preserve the magic of these enchanting musical treasures.