Home>Devices & Equipment>Music Box>How To See Stuffed On Music Box

Music Box
How To See Stuffed On Music Box
Published: January 12, 2024
Discover the magic of Music Box with our step-by-step guide on how to see it fully stuffed. Uncover the enchantment of this timeless instrument.
(Many of the links in this article redirect to a specific reviewed product. Your purchase of these products through affiliate links helps to generate commission for AudioLover.com, at no extra cost. Learn more)
Table of Contents
Introduction
Welcome to the enchanting world of music boxes! These delightful little treasures have captivated hearts and minds for centuries with their beautiful melodies and intricate designs. But have you ever wondered how to take your music box experience to the next level? Well, look no further because in this article, we’ll explore a fun and creative way to make your music box even more special – by adding a furry friend to it!
Imagine the joy of watching a cute, stuffed animal gracefully twirl and dance to the soothing tones of your music box. It’s a magical sight that can bring a smile to anyone’s face, young or old. Whether you want to impress your guests, surprise a loved one, or simply indulge in a playful experience for yourself, seeing a stuffed animal on a music box is sure to delight and bring a touch of whimsy to your musical journey.
Now, you might be thinking, “How do I go about achieving this charming spectacle?” Don’t worry, we’ve got you covered. In the following steps, we’ll guide you through the process of selecting the perfect stuffed animal, securing it on the music box, and ensuring the optimal placement for maximum visual appeal. So, let’s dive right in and make your music box come alive with an adorable companion!
Step 1: Setting Up the Music Box
Before we can embark on our journey of adding a stuffed animal to your music box, it’s important to ensure that the music box itself is ready for the task. Here’s what you need to do:
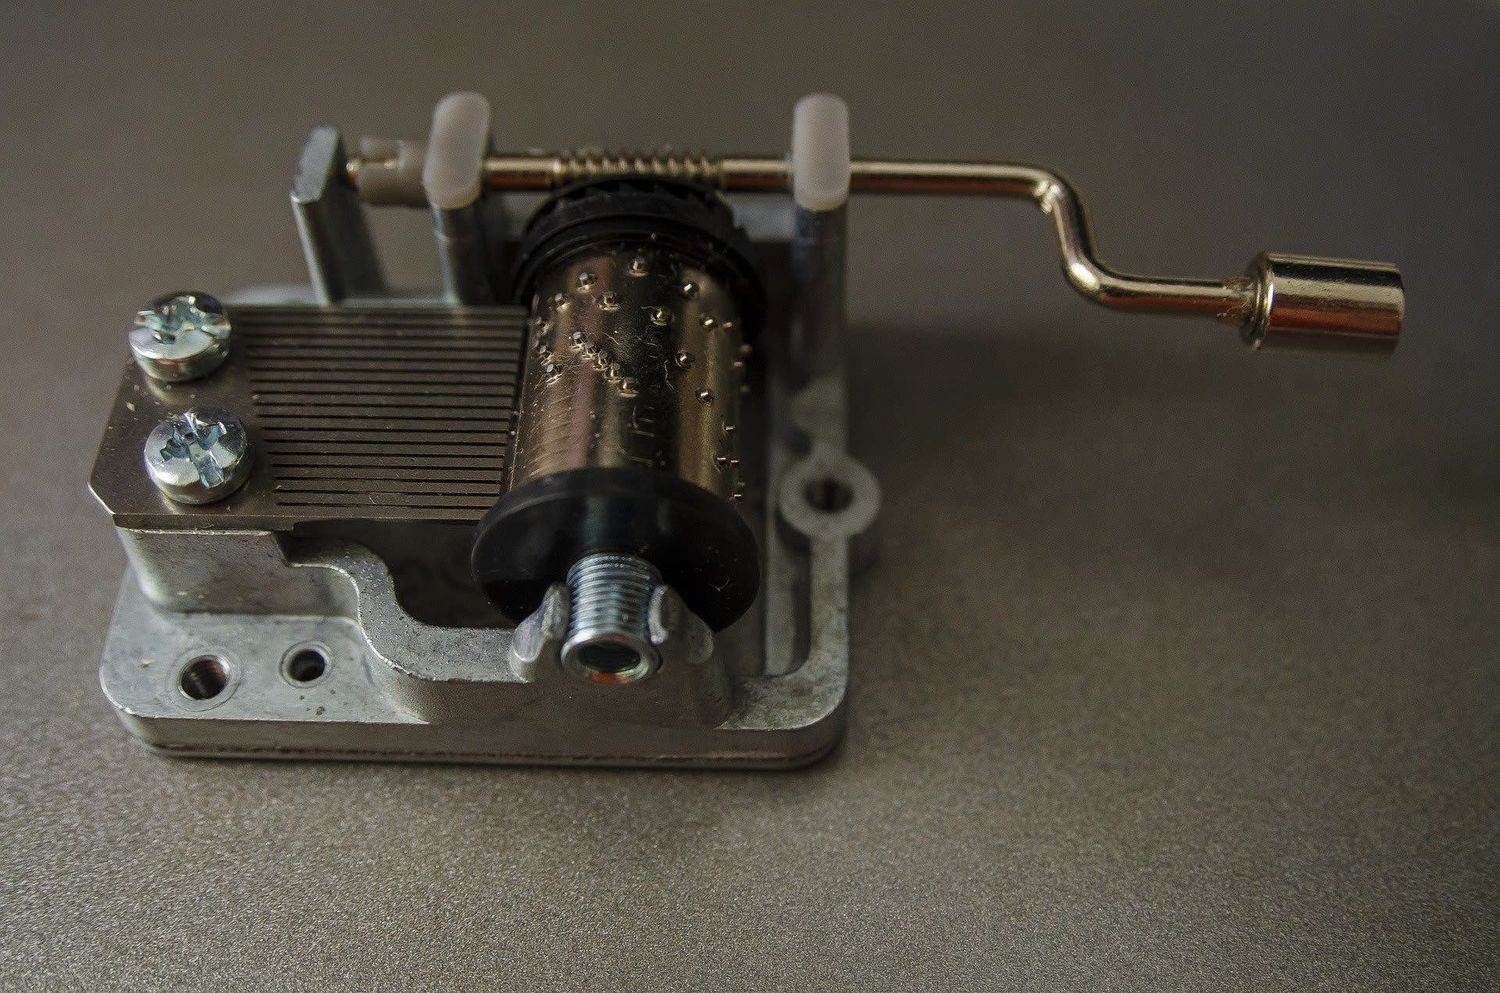
- Select a suitable music box: Choose a music box that has a flat top or a compartment where you can securely place the stuffed animal. Ensure that the music box is in good working condition and that the winding mechanism is functioning properly.
- Clean and polish the music box: Give your music box a gentle wipe down with a soft cloth to remove any dust or dirt. This will not only make it look more appealing but also prevent any particles from interfering with the mechanism.
- Test the music box: Wind up the music box and listen closely to ensure that the melody plays smoothly and without any interruptions. If you notice any issues, such as a loose gear or a faulty mechanism, it’s best to have it repaired by a professional.
Once you have completed these steps, your music box will be ready to become the stage for your adorable stuffed animal companion. Now, let’s move on to the exciting part – choosing the perfect furry friend to join your music box adventure!
Step 2: Choosing the Right Stuffed Animal
Now that your music box is prepared, it’s time to find the ideal stuffed animal to accompany it. Here are some factors to consider:
- Size: The size of the stuffed animal should be proportionate to the music box. Ensure that it’s not too small to be noticed or too large to fit comfortably on top of the box. Take measurements of the available space on the music box and keep them in mind while shopping for the perfect companion.
- Theme: Consider the theme or style of your music box. Is it a classic, vintage design or a modern, whimsical one? Choose a stuffed animal that complements the overall aesthetic of the music box. For example, a plush teddy bear might be perfect for a nostalgic, traditional music box, while a cute bunny could enhance the charm of a fairy-themed one.
- Movement: Think about how you want the stuffed animal to interact with the music box. Some music boxes have a spinning mechanism, while others have a simple up-and-down movement. Select a stuffed animal that aligns with the desired motion and will look visually appealing as it dances to the music.
- Material and Quality: Consider the material and quality of the stuffed animal. Opt for one made from soft and durable materials that can withstand regular movement and handling. Pay attention to details like stitching, stuffing, and overall craftsmanship to ensure a well-made companion for your music box.
- P personal preference: Ultimately, choose a stuffed animal that resonates with your personal taste and brings you joy. Whether it’s a cute kitten, a cuddly panda, or a whimsical unicorn, trust your instinct and select the one that you feel a strong connection with.
By taking these factors into consideration, you’ll be able to find the perfect stuffed animal that will enhance the magic of your music box and create a captivating visual experience. With the right companion in mind, let’s move on to preparing the stuffed animal for its grand performance on the music box!
Step 3: Preparing the Stuffed Animal
Before we can secure the stuffed animal to the music box, it’s important to properly prepare it. Here’s what you need to do:
- Clean the stuffed animal: Give the stuffed animal a thorough cleaning to ensure that it’s free from dirt, dust, and any potential allergens. Follow the care instructions provided by the manufacturer to maintain the integrity of the fabric.
- Check the attachment points: Examine the stuffed animal for any loose threads, buttons, or accessories that could pose a risk of becoming entangled in the music box mechanism. Remove or securely fasten any potential hazards to ensure the safety of both the stuffed animal and the music box.
- Inspect the bottom of the stuffed animal: Take a look at the underside of the stuffed animal and determine whether it has a flat surface or an attachment point that can be used to secure it to the music box. If needed, you can sew or attach a small piece of fabric to create a stable base for the stuffed animal.
- Add weight if necessary: Depending on the weight and stability of the stuffed animal, you may need to add some weight to its base to prevent it from toppling over when placed on the music box. You can achieve this by safely inserting small weights or even using a bean bag or similar object to create stability.
By taking the time to properly prepare the stuffed animal, you’ll ensure that it is safe, secure, and ready for its enchanting performance on the music box. Now that the preparation is complete, let’s move on to the next step – securing the stuffed animal to the music box!
Step 4: Securing the Stuffed Animal on the Music Box
Now that you have a prepared stuffed animal, it’s time to securely attach it to your music box. Follow these steps to ensure a stable and charming display:
- Select the attachment method: Determine the best way to secure the stuffed animal to the music box. Depending on the design of the music box and the stuffed animal, you can use options such as adhesive putty, double-sided tape, or even a small piece of non-slip fabric to create grip.
- Apply the attachment method: Carefully apply the chosen attachment method to the bottom of your stuffed animal. Make sure it’s evenly distributed and will provide enough support for the weight of the animal.
- Position the stuffed animal: Place the stuffed animal on top of the music box, aligning it with the desired placement. Gently press down to ensure that it adheres securely to the music box surface.
- Test the stability: Give the music box a gentle shake to ensure that the stuffed animal remains in place. If it feels loose, adjust the attachment method or reposition the stuffed animal until it sits securely on the music box.
By following these steps, you’ll create a beautiful and secure display of your stuffed animal on the music box. It’s important to periodically check the attachment and stability, especially if the music box is moved or played frequently. With the stuffed animal securely in place, let’s move on to the final step – testing and adjusting the placement for the perfect visual experience!
Step 5: Testing and Adjusting the Placement
With the stuffed animal securely attached to the music box, it’s time to test the placement and make any necessary adjustments to ensure a visually appealing display. Follow these steps to achieve the perfect arrangement:
- Activate the music box: Wind up the music box and let it play the enchanting melody. Observe how the stuffed animal moves in response to the music and consider if any adjustments are needed.
- Observe the movement: Pay close attention to how the stuffed animal interacts with the music box movement. Ensure that it twirls, spins, or moves in a way that is visually pleasing. You may need to slightly reposition the stuffed animal to achieve the desired effect.
- Consider the visual balance: Take a step back and assess the overall visual balance of the music box with the stuffed animal. Make sure that the size and placement of the stuffed animal complement the design and proportions of the music box. You may need to experiment with different placements until you achieve the perfect harmony.
- Ensure safety: Double-check that the stuffed animal remains securely attached to the music box during movement. If there are any concerns about stability or safety, readjust the attachment or consider using additional methods such as velcro or small clips to enhance stability.
By testing and adjusting the placement, you’ll create a captivating and harmonious scene where the music box and the stuffed animal come together in a delightful display. Take the time to step back and admire the result, and make any final tweaks to achieve the desired effect.
Now that you have gone through each step and perfected the placement, you can sit back, relax, and enjoy the harmonious symphony of music and movement brought to life by your music box and charming stuffed animal companion.
Congratulations! You have successfully learned how to see stuffed on a music box and embraced the magic and whimsy it brings to your musical experience. So go ahead and cherish this unique display, create beautiful memories, and share the joy with others.
May your music box continue to enchant and uplift your spirits as you embark on this delightful journey with your furry friend!
Conclusion
Adding a stuffed animal to your music box is a creative and whimsical way to elevate your music box experience. By following the steps outlined in this article, you can create a captivating display that combines the enchanting melodies of the music box with the charm of a furry companion.
From setting up the music box to choosing the perfect stuffed animal, preparing it, securing it on the music box, and testing the placement, each step is crucial in creating a visually appealing and harmonious scene. By taking the time to properly prepare and attach the stuffed animal, and making adjustments to ensure smooth movement and visual balance, you can achieve a truly magical and captivating display.
Remember to prioritize safety throughout the process, checking for any loose threads or potential hazards that could interfere with the music box’s mechanism. By taking these precautions, you can ensure a delightful and worry-free experience.
Now it’s time to sit back, relax, and enjoy the enchanting sight of a stuffed animal gracefully dancing to the melodies of your music box. Whether you choose a classic teddy bear, a whimsical unicorn, or any other beloved companion, the sight of them twirling in harmony with the music will surely bring joy and a touch of wonder to your music box experience.
So go ahead, unleash your creativity, and let your music box and stuffed animal companion inspire and captivate you. Cherish this unique display, create beautiful memories, and share the joy with others. With a little imagination, you can create a truly magical and personalized musical journey.
Embrace the magic, let the melody carry you away, and enjoy the delightful sight of a stuffed animal on your music box – a truly enchanting spectacle that will bring a smile to your face and warmth to your heart.