Home>Devices & Equipment>Music Box>How To Fix Music Box Spring
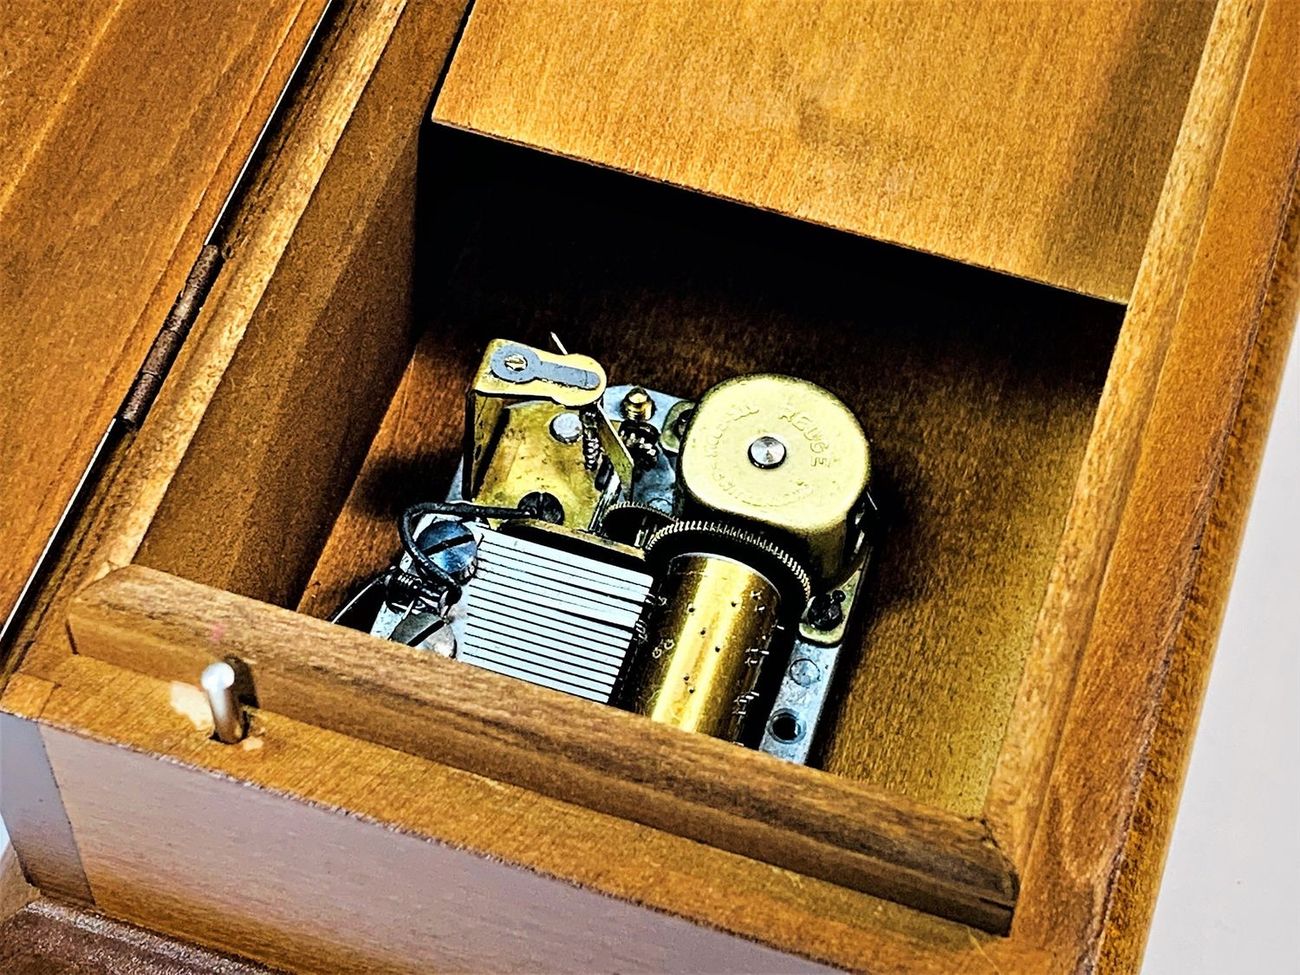

Music Box
How To Fix Music Box Spring
Published: January 11, 2024
Learn how to fix your music box spring and get it playing like new again with these simple tips and tricks. Enhance the life of your favorite music box with our expert advice.
(Many of the links in this article redirect to a specific reviewed product. Your purchase of these products through affiliate links helps to generate commission for AudioLover.com, at no extra cost. Learn more)
Table of Contents
Introduction
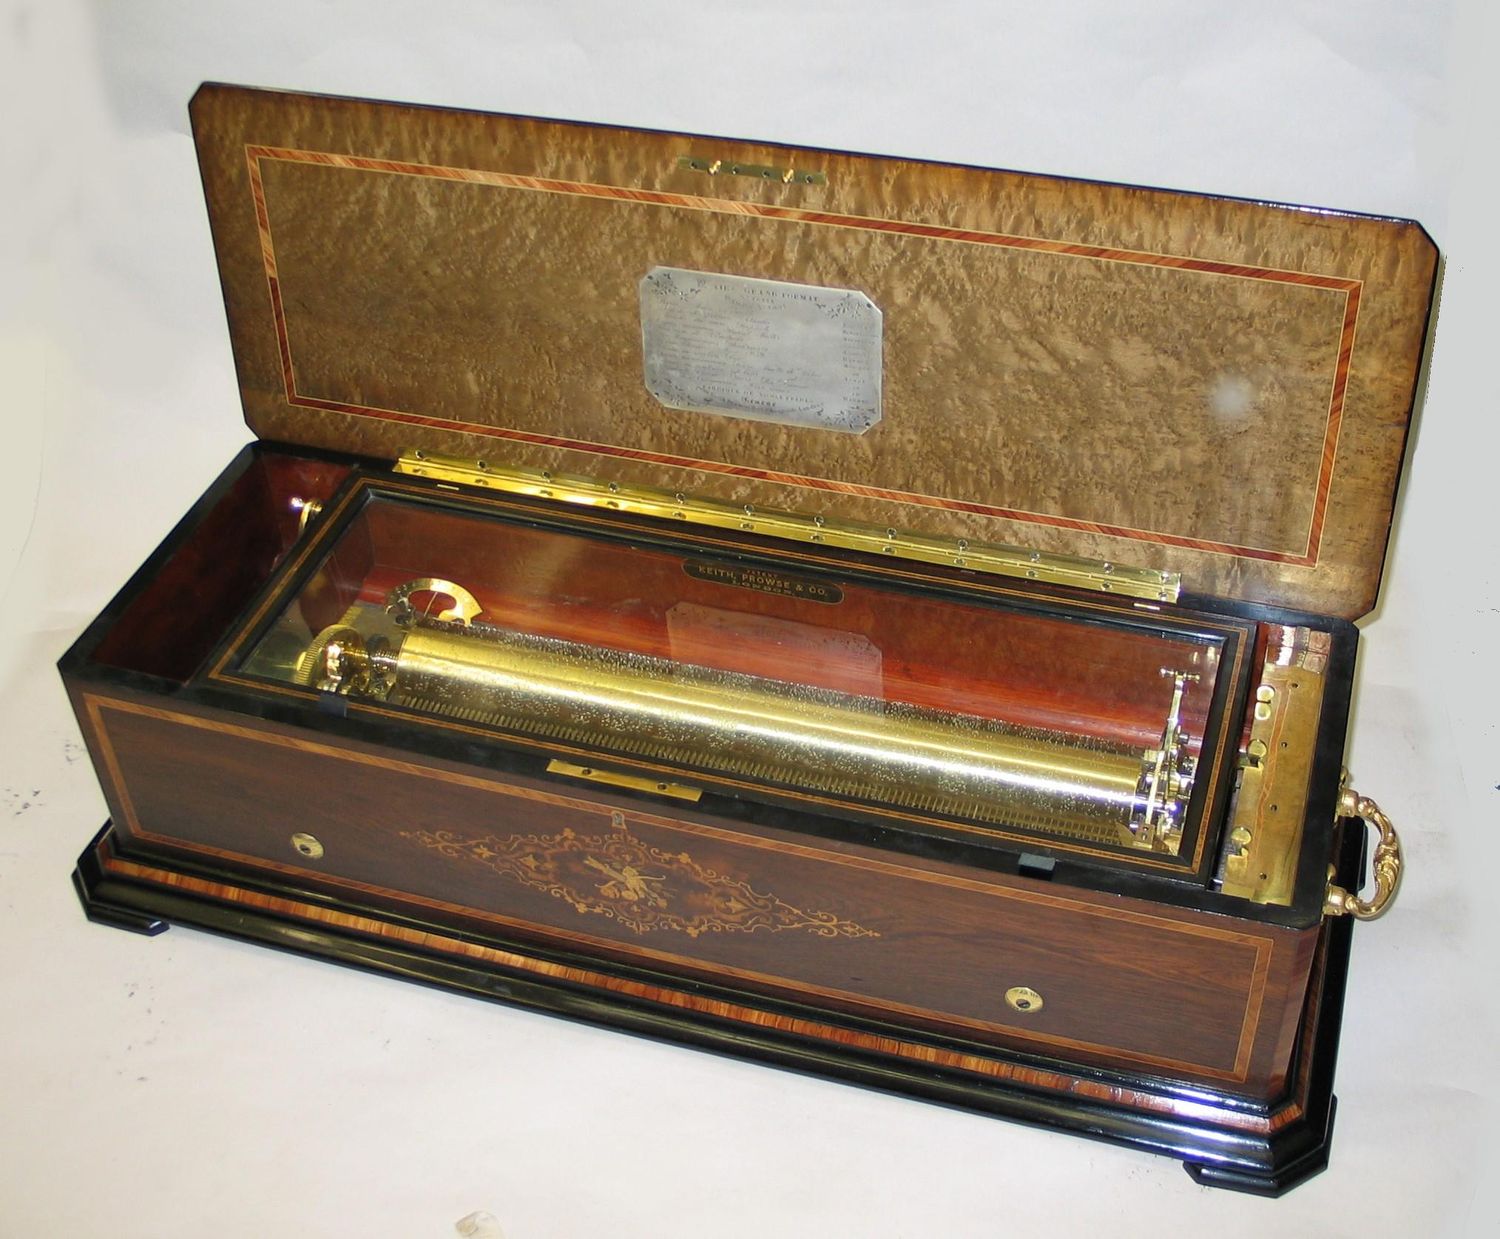
Music boxes are charming and delicate instruments that provide a touch of nostalgia and whimsy. They have been enchanting people for centuries with their melodic tunes. However, like any mechanical device, music boxes can experience issues over time, and one of the common areas that may need attention is the music box spring.
The music box spring plays a vital role in the functioning of the music box. It is responsible for providing tension to the mechanism, allowing the gears to rotate and produce the delightful melodies. When the spring becomes damaged or worn out, it can cause the music box to stop working or produce unpleasant sounds.
In this article, we will explore the basics of a music box spring, the common issues that can arise, and provide a comprehensive step-by-step guide on how to fix a music box spring. Whether you are a music box enthusiast or have recently inherited a music box with a malfunctioning spring, this article will equip you with the knowledge and tools you need to bring the sweet melodies back to life.
Understanding the Basics of a Music Box Spring
Before we dive into fixing a music box spring, it’s important to have a basic understanding of how it works. The music box spring is a coiled strip of metal that stores potential energy when it is wound up. This energy is then released gradually as the spring unwinds, providing power to the gears and allowing them to turn smoothly.
Music box springs come in various sizes and materials, such as steel or brass. The size and tension of the spring determine the speed and duration of the music. A larger, tighter spring will result in a slower and longer-lasting melody, while a smaller, looser spring will produce a quicker and shorter tune.
In addition to the size and tension, the quality of the spring is also crucial for optimal music box performance. High-quality springs are designed to withstand repeated winding and unwinding without losing their elasticity. However, over time, due to regular use or improper handling, the spring may become worn, stretched, or even broken, causing issues with the music box’s functionality.
It’s important to note that fixing a music box spring requires precision and care. If you are not confident in your abilities, it’s always wise to seek the assistance of a professional or a reputable music box repair specialist. However, for minor issues, such as reattaching a loose spring or adjusting its tension, you can attempt the repairs yourself with the proper tools and guidance.
Now that we have a basic understanding of how a music box spring works, let’s explore some common issues that can arise with these delicate springs.
Common Issues with Music Box Springs
While music box springs are designed to be durable, there are several common issues that can occur over time. These issues can affect the functioning of the music box and may require attention to restore its optimal performance. Here are some of the most common issues with music box springs:
- Loose or Disconnected Spring: One of the most frequent issues is when the music box spring becomes loose or disconnected from its anchor point. This can happen due to wear and tear or mishandling. When the spring is not secured properly, it may not provide sufficient tension to the mechanism, resulting in a weak or non-existent sound.
- Stretched or Weak Spring: Over time, the spring may lose its elasticity and become stretched or weak. This can lead to a decrease in the tension it provides, resulting in a slower or distorted melody. It may also cause the spring to fail in fully unwinding, causing the music box to stop prematurely.
- Broken or Fractured Spring: In some cases, a music box spring may break or fracture completely. This can happen due to excessive force or fatigue over time. A broken spring will render the music box non-functional, as there will be no tension to power the mechanism and produce the melodies.
- Rusty or Corroded Spring: If a music box has been stored in a damp or humid environment, the spring may develop rust or corrosion. This can affect its elasticity and lead to a decrease in performance or even complete failure. Rusty or corroded springs may produce unpleasant sounds or cause the music box to stop working altogether.
- Uneven Tension: In some cases, the tension of the spring may become uneven due to improper winding or adjustments. This can result in an irregular or erratic melody, as the gears may not rotate at a consistent speed. Adjusting the tension properly is crucial for achieving the desired musical output.
Now that we have identified the common issues with music box springs, we can move on to the tools and materials needed for fixing them.
Tools and Materials Needed for Fixing a Music Box Spring
Fixing a music box spring requires a few essential tools and materials to ensure a successful repair. Before you begin, gather the following items:
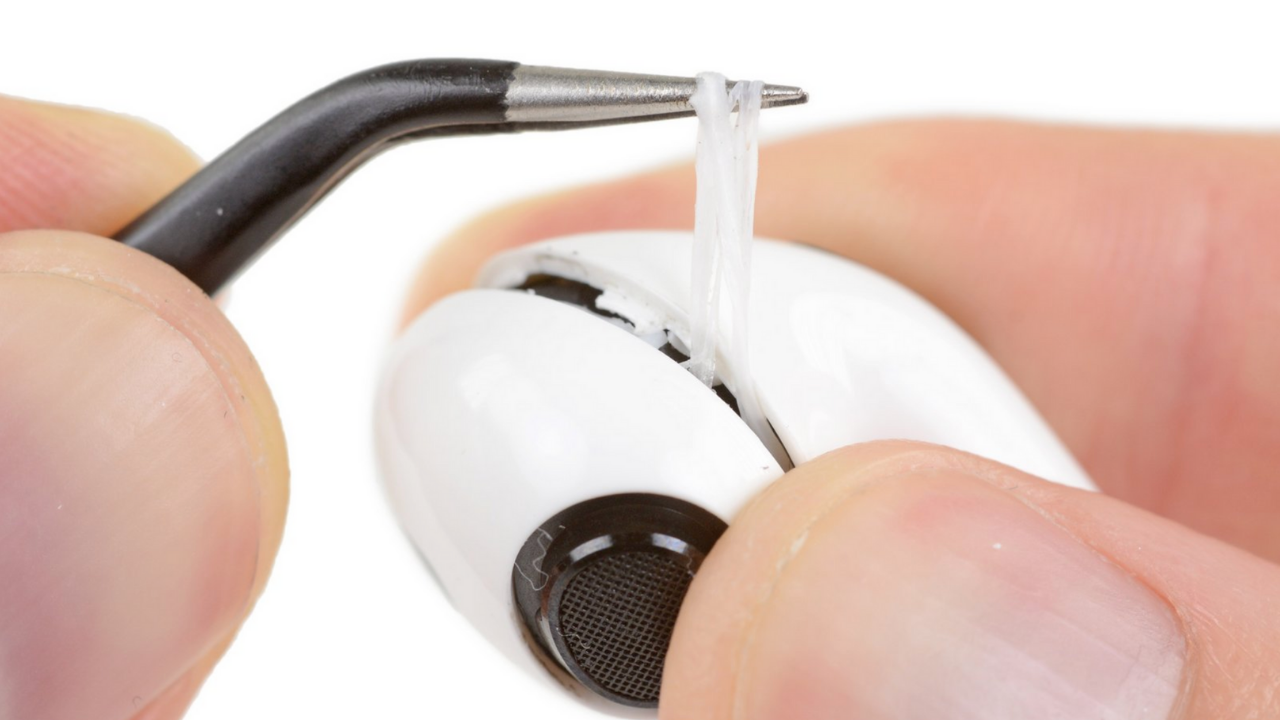
- Tweezers: Tweezers are useful for handling small parts and delicate components without causing damage.
- Spring Hooks: Spring hooks, or spring winder tools, are specifically designed to help wind or unwind the spring safely. They come in various sizes to accommodate different spring dimensions.
- Needle Nose Pliers: Needle nose pliers are handy for gripping, bending, or adjusting the spring and other components of the music box mechanism.
- Lubricating Oil: High-quality lubricating oil, such as clock oil or sewing machine oil, is essential for maintaining smooth movement between the gears and minimizing friction.
- Cotton Swabs: Cotton swabs are useful for applying lubricating oil in small and hard-to-reach areas of the music box mechanism.
- Screwdriver Set: A set of precision screwdrivers will come in handy for removing screws if necessary during the repair process.
- Soft Cloth: A soft cloth or microfiber cloth can be used for wiping and cleaning the music box externally.
- Replacement Springs: Depending on the issue with your music box spring, you may need replacement springs. Make sure to choose the appropriate size and tension that matches your music box model.
Having these tools and materials ready will significantly simplify the process of fixing a music box spring and ensure that you have everything you need to address common spring issues. Now that we have gathered our tools, let’s move on to the step-by-step guide for fixing a music box spring.
Step-by-Step Guide to Fixing a Music Box Spring
Now that you have the necessary tools and materials, let’s dive into the step-by-step process of fixing a music box spring:
- Assess the Issue: Start by identifying the specific issue with your music box spring. Is it loose, disconnected, stretched, or broken? Understanding the problem will help determine the appropriate course of action.
- Inspect for Damage: Carefully examine the spring for any signs of damage, such as rust, corrosion, or fractures. If the spring is severely damaged, it may need to be replaced.
- Detach the Music Box Mechanism: Depending on the design of your music box, you may need to detach the music box mechanism from its casing to access the spring more easily. Be sure to follow the manufacturer’s instructions or consult a specialist if needed.
- Secure a Loose Spring: If the spring is loose or disconnected, use tweezers or needle nose pliers to reattach it to its anchor point. Ensure it is fastened securely to provide proper tension.
- Adjust the Tension: If the spring’s tension is uneven, use a spring hook or tweezers to carefully increase or decrease the tension by winding or unwinding the spring. Make gradual adjustments to achieve the desired tension and test the music box’s performance as you go.
- Replace a Broken Spring: If the spring is broken or fractured, carefully remove the damaged spring using a spring hook or tweezers. Replace it with a new spring of the appropriate size and tension. Follow the manufacturer’s instructions or seek professional guidance if needed.
- Apply Lubricating Oil: Once the spring is fixed or replaced, apply a small amount of lubricating oil to the pivot points and gears of the music box mechanism. This will ensure smooth movement and prevent friction.
- Reassemble and Test: Reassemble the music box mechanism and test its functionality. Wind it up and listen for the melodies. If everything is working properly, you have successfully fixed the music box spring.
- Clean and Maintain: Regularly clean and maintain your music box to prevent future issues with the spring. Wipe the exterior with a soft cloth and apply a gentle cleaner if necessary. Periodically lubricate the mechanism to keep it in optimal condition.
Remember, if you encounter any difficulties or are unsure about the repair process, it’s always recommended to seek professional assistance. Now that you have the knowledge and guidance, you can confidently fix a music box spring and bring the enchantment back to your music box.
Conclusion
Music boxes are cherished possessions that bring joy and nostalgia to our lives. Understanding the basics of a music box spring and being able to fix common issues is an invaluable skill for any music box enthusiast or collector. By following the step-by-step guide and using the necessary tools and materials, you can restore the functionality of your music box and enjoy its beautiful melodies once again.
Remember to assess the specific issue with your music box spring, whether it’s a loose or disconnected spring, a stretched or weak spring, a broken or fractured spring, or uneven tension. Take the time to inspect the spring for any damage and determine if it needs to be repaired or replaced.
Be patient and careful during the repair process, making use of tweezers, spring hooks, needle nose pliers, lubricating oil, and other necessary tools. Follow each step diligently, adjusting the tension gradually and testing the music box functionality along the way.
Once you have successfully fixed the music box spring, reassemble the music box mechanism and give it a thorough test. Listen to the melodies and bask in the satisfaction of bringing new life to your treasured music box.
Remember to regularly clean and maintain your music box to prevent future issues with the spring. Proper care and lubrication will prolong the lifespan of your music box and ensure its continued performance.
Whether you inherited a music box with a malfunctioning spring or simply want to take care of your beloved music box, the ability to fix a music box spring is a valuable skill. Armed with the knowledge and tools provided in this article, you can confidently embark on the journey of repairing your music box and experience the joy of its enchanting melodies for years to come.


