Home>Devices & Equipment>Turntable>How To Fix A Turntable
Turntable
How To Fix A Turntable
Modified: January 22, 2024
Learn how to fix a turntable with our step-by-step guide. Get expert tips and troubleshooting techniques to keep your turntable spinning smoothly.
(Many of the links in this article redirect to a specific reviewed product. Your purchase of these products through affiliate links helps to generate commission for AudioLover.com, at no extra cost. Learn more)
Table of Contents
Introduction
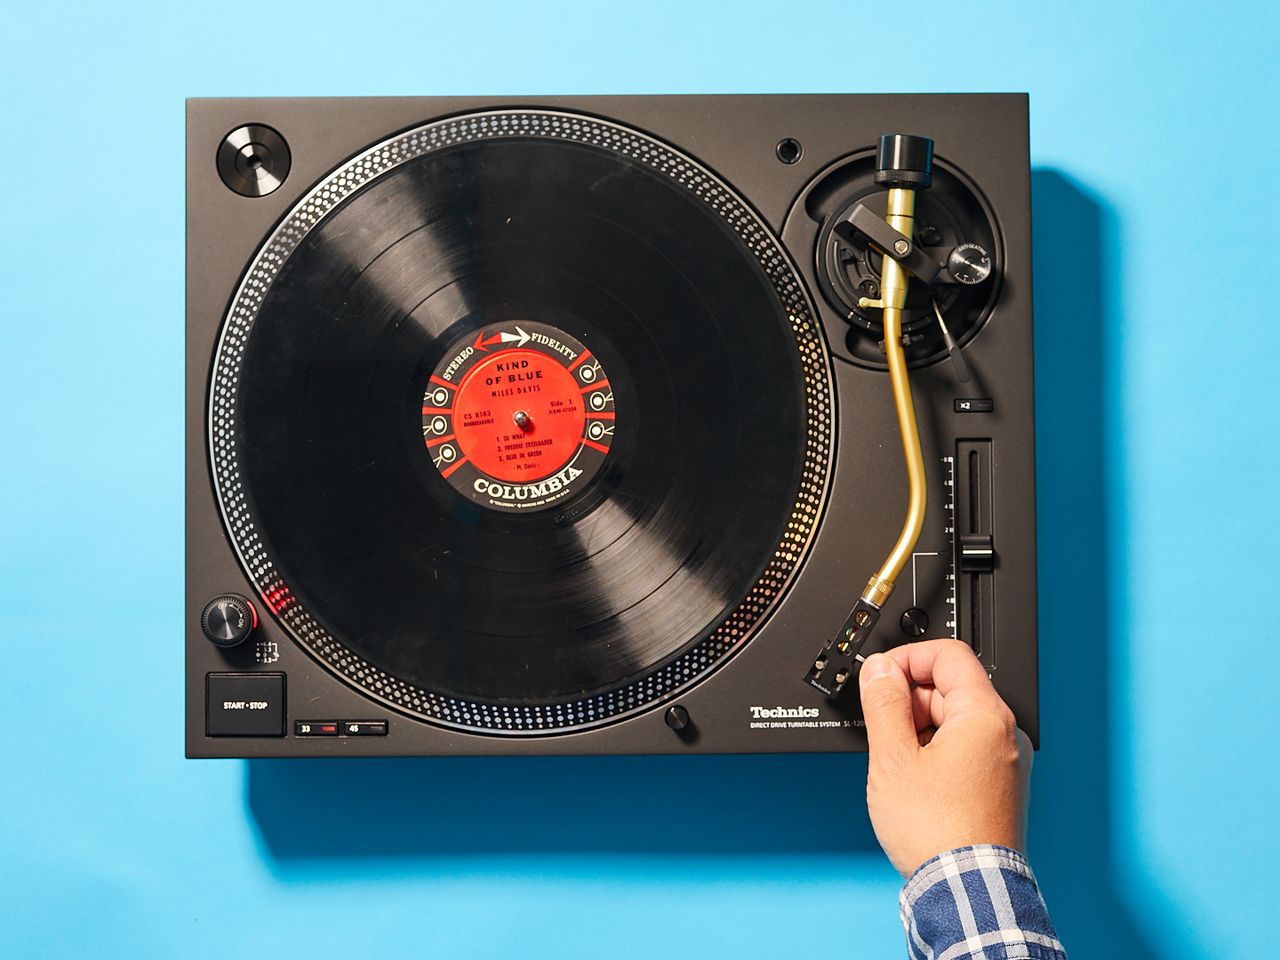
A turntable is more than just a device for playing vinyl records. It is a portal to a bygone era, allowing us to experience the rich and warm sound of analog music. However, like any electronic device, turntables can encounter issues that may impede their performance.
In this article, we will guide you through the process of troubleshooting and fixing common problems that may arise with your turntable. Whether it’s a malfunctioning power source, a dirty needle, or a worn-out belt, we’ve got you covered.
Before we delve into the steps of fixing a turntable, it’s important to understand the components of this iconic musical instrument. A turntable consists of various parts, including the platter, tonearm, cartridge, stylus, and motor. Each of these components plays a crucial role in the overall performance of the turntable.
Now, let’s jump into the steps and techniques that will help you get your turntable back in working order. Remember, if you’re not comfortable with performing any of these tasks yourself, it’s always best to seek professional assistance.
Step 1: Identify the Issue
The first step in fixing a turntable is to identify the specific issue that is affecting its performance. This requires careful observation and assessment of the symptoms exhibited by the turntable.
Start by listening to how the turntable sounds. Is there excessive background noise, skipping, or distortion? Are the speeds uneven or inconsistent? These are all clues that can help you pinpoint the problem.
Next, visually inspect the turntable for any physical damage or obvious issues. Check the tonearm for any visible signs of misalignment or damage. Examine the platter to ensure it is spinning smoothly and without any wobbling.
If you’re still unsure about the problem, consult the user manual or reach out to the manufacturer for troubleshooting advice. They may have specific recommendations based on the make and model of your turntable.
Remember to document any symptoms or observations you make during this stage. This information will be helpful later on when you’re trying to narrow down the issue and find a solution.
Step 2: Check the Power Source
One of the most common issues with turntables is a faulty or inadequate power supply. Before diving into other troubleshooting steps, it’s important to ensure that the turntable is receiving proper power.
First, check if the power cord is securely plugged into a functioning power outlet. Sometimes, the cable may become loose or disconnected, causing the turntable to lose power. Ensure that the connection is snug and secure.
If you’re using a plug-in power supply or adapter, verify that it is working correctly. You can do this by testing the power supply on another device or using a voltage tester to check for output. If the power supply is faulty, replace it with a new one.
In some cases, the issue may not be with the power supply itself but with the turntable’s internal circuitry. If you suspect this to be the case, consider seeking professional assistance or contacting the manufacturer for further guidance.
Additionally, if your turntable has a power switch, make sure it is turned on. It may seem obvious, but sometimes a simple oversight can lead to unnecessary troubleshooting.
By checking the power source first, you can rule out any simple power-related issues that may be affecting your turntable’s performance. If the issue persists after verifying the power supply, move on to the next step in the troubleshooting process.
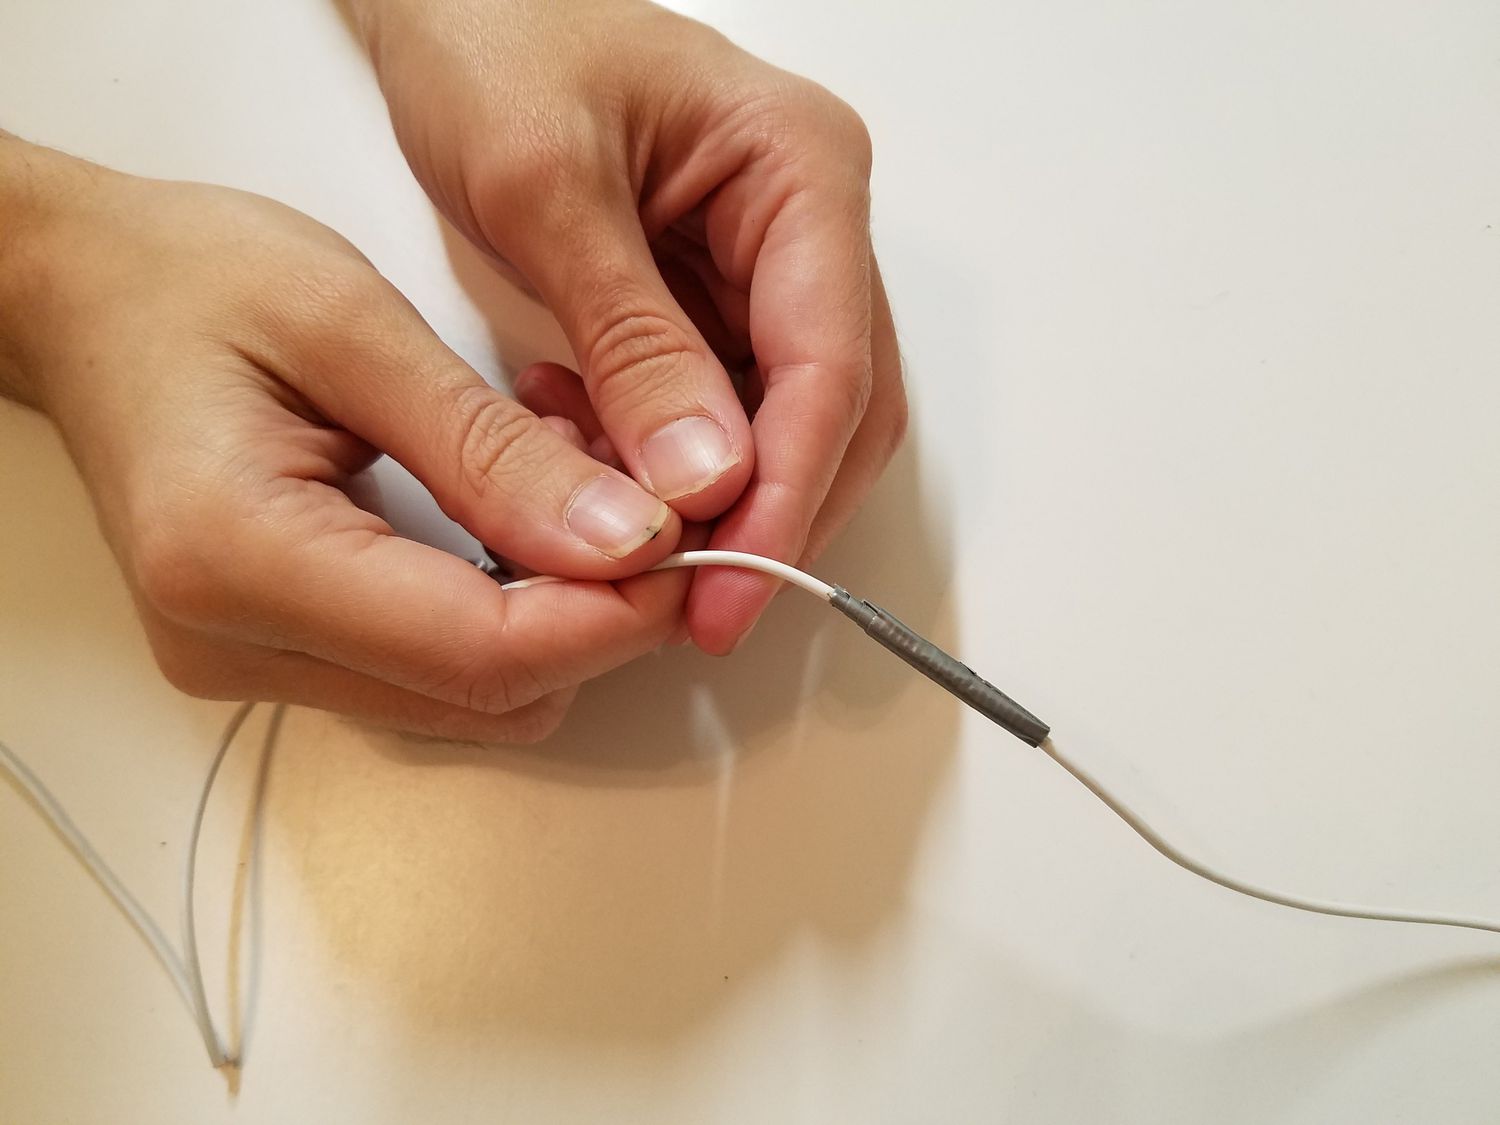
Step 3: Inspect the Connections
When fixing a turntable, it’s important to ensure that all the necessary connections are secure and properly functioning. Loose or faulty connections can lead to various issues, such as audio distortion or a complete lack of sound.
Start by checking the cables that connect the turntable to your audio system. Make sure they are firmly plugged into the appropriate ports. Check for any signs of wear or damage to the cables. If you notice any frayed or broken wires, replace the cables with new ones.
Next, inspect the connections on the turntable itself. Look for any loose RCA or phono connectors. These connectors are responsible for transmitting the audio signal from the turntable to the amplifier or receiver. If you find any loose connections, gently tighten them using a screwdriver or by hand, depending on the type of connector.
If your turntable has a grounding wire, ensure that it is properly connected. The grounding wire helps eliminate unwanted humming or buzzing noises. Ensure that it is securely connected to the designated grounding point on your audio system.
It’s also worth checking the connections between the cartridge and the tonearm. Make sure the cartridge is securely mounted and aligned with the tonearm. Any loose connections here can lead to poor audio quality or tracking issues.
In addition to physical connections, also check the settings on your audio system. Ensure that the input source for your turntable is correctly selected on your amplifier or receiver. Adjust the volume and balance settings to ensure optimal sound output.
By inspecting and ensuring all the connections are properly secured, you can eliminate any issues caused by loose or faulty connections. If the problem persists, it’s time to move on to the next step in troubleshooting your turntable.
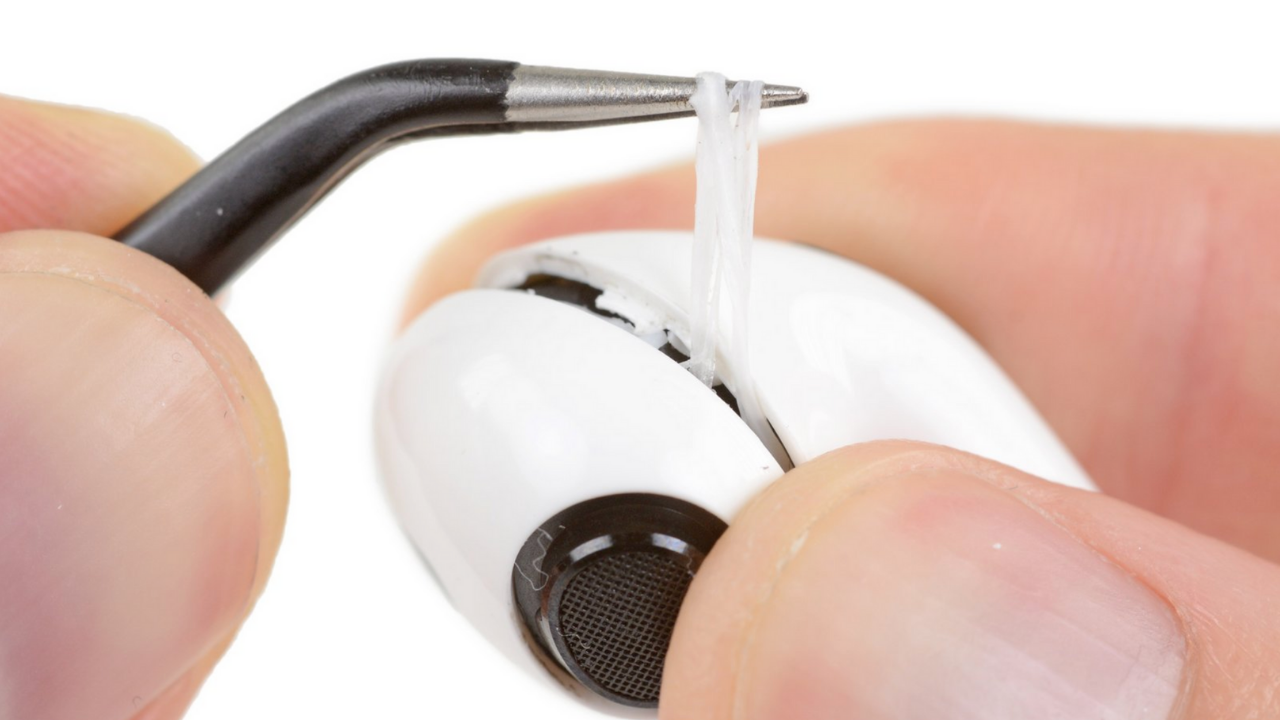
Step 4: Clean the Turntable Needle
The turntable needle, also known as the stylus, is a critical component responsible for tracking the grooves of your vinyl records. Over time, dust, debris, and accumulated grime can affect its performance and lead to issues such as skipping or distorted audio.
To clean the turntable needle, start by gently brushing off any visible dust or debris with a soft, anti-static brush. Be careful not to apply too much pressure or bend the needle. Ensure that the brush you use is specifically designed for turntable needles to avoid any potential damage.
For a deeper cleaning, use a specialized turntable stylus cleaning solution or a mixture of isopropyl alcohol and distilled water. Apply a small amount of the cleaning solution to a stylus cleaning brush or a dedicated stylus cleaning pad. Gently lower the stylus onto the surface of the cleaning solution and lift it off, repeating this motion a few times to remove any built-up dirt.
Alternatively, some turntables have a removable cartridge, which makes it easier to clean the needle. In this case, detach the cartridge according to the manufacturer’s instructions and clean the stylus with the same gentle brushing and cleaning solution method mentioned above.
Remember to avoid touching the needle directly with your fingers, as the oils from your skin can transfer onto the stylus and affect its performance.
Regularly cleaning the turntable needle is essential for maintaining optimal sound quality and prolonging the lifespan of your records. By ensuring a clean and well-maintained stylus, you can enjoy improved playback and prevent unnecessary wear and tear on your vinyl collection.
Step 5: Check the Belt
The belt is an essential component in many turntables, as it connects the motor to the turntable’s platter, allowing it to spin at the correct speed. Over time, the belt can become stretched, worn out, or even detached, resulting in speed inaccuracies or the turntable not spinning at all.
Start by visually inspecting the belt for any signs of wear or damage. Check for any visible cracks, fraying, or slackness. A loose or worn-out belt may need to be replaced. Refer to your turntable’s user manual or contact the manufacturer for instructions on how to properly replace the belt.
If the belt appears to be intact, check its tension. To do this, gently press down on the belt with your fingertip. It should have a moderate amount of tension and offer some resistance. If the belt feels loose and slips easily, it may need to be tightened or replaced.
It’s important to note that not all turntables have a belt-drive system. Some models may have a direct-drive mechanism, where the platter is directly connected to the motor. In this case, skip this step and proceed to the next troubleshooting step.
Regularly inspecting and maintaining the belt of your turntable ensures smooth and accurate rotation of the platter, allowing for precise playback. If you notice any issues with the belt, addressing them promptly will help restore the optimal performance of your turntable.
Step 6: Adjust the Tonearm
The tonearm is responsible for holding the cartridge and stylus in place, allowing it to accurately track the grooves of your vinyl records. If the tonearm is misaligned or improperly adjusted, it can lead to tracking errors, skipping, or poor sound quality.
Start by checking the balance of the tonearm. Most turntables have a counterweight at the end of the tonearm that can be adjusted to achieve proper tracking force. Refer to your turntable’s user manual or consult the manufacturer’s instructions to determine the recommended tracking force for your cartridge. Use a digital tracking force gauge or a built-in gauge (if available) to ensure the correct pressure is applied to the stylus.
Next, ensure that the anti-skate mechanism is properly adjusted. The purpose of the anti-skate setting is to counteract the inward force that occurs as the stylus tracks the record. Incorrect anti-skate adjustment can cause the stylus to mistrack or skip. Consult your turntable’s manual for guidance on adjusting this setting.
If you suspect that the tonearm is misaligned, it may need to be adjusted. Using a protractor alignment tool specifically designed for turntables, carefully align the cartridge and stylus to ensure proper alignment with the record grooves. Proper alignment is crucial for accurate tracking and optimal sound reproduction.
Remember to handle the tonearm and stylus with care while making adjustments. Apply gentle pressure and avoid any sudden movements that could potentially damage the delicate components.
By correctly adjusting the tonearm, you can ensure that your turntable tracks your records accurately, minimizing tracking errors and maximizing sound quality.
Step 7: Check the Motor
The motor in a turntable is responsible for spinning the platter at the appropriate speed, ensuring accurate playback of your vinyl records. If the motor is malfunctioning or running inconsistently, it can lead to speed variations, uneven playback, or complete failure to spin.
Start by listening carefully to the sound of the motor. Do you hear any unusual noises, such as grinding, buzzing, or excessive vibration? If so, it may indicate a problem with the motor. Additionally, observe the platter while it’s spinning. Does it rotate smoothly and evenly, or does it wobble or hesitate?
If you suspect an issue with the motor, check if it requires lubrication. Refer to your turntable’s user manual or contact the manufacturer for specific instructions on how to properly lubricate the motor. Be cautious and use a suitable lubricant recommended for turntable motors.
It’s also important to clean the motor and remove any debris or dust that may affect its performance. Use a soft, lint-free cloth to gently wipe the motor, avoiding any direct contact with the drive belt or other delicate parts.
If you have ruled out lubrication and cleaning as potential solutions and the motor continues to exhibit issues, it may be necessary to replace the motor entirely. Consult the manufacturer or seek professional assistance for guidance on motor replacement.
By ensuring that the motor is functioning properly, you can maintain consistent and accurate playback on your turntable, preserving the integrity of your vinyl records.
Step 8: Upgrade or Replace Parts
If you have gone through the previous troubleshooting steps and are still experiencing issues with your turntable, it may be time to consider upgrading or replacing certain components. Upgrading specific parts can significantly improve the overall performance and sound quality of your turntable.
One common component to consider upgrading is the cartridge. The cartridge houses the stylus and is responsible for the quality of sound reproduction. Upgrading to a higher-quality cartridge can result in clearer and more detailed audio playback.
Another component to consider upgrading is the phono preamp or amplifier. This device amplifies the signal from your turntable to a level suitable for your audio system. Investing in a high-quality phono preamp can enhance the audio signal and provide a cleaner and more dynamic sound output.
In some cases, it may be necessary to replace worn-out or damaged parts. This could include the belt, tonearm, or even the entire motor assembly. Ensure that you purchase suitable replacement parts that are compatible with your turntable’s make and model.
Before making any upgrades or replacements, research and gather information about the available options. Read reviews, consult with audio experts, and consider your budget and desired level of improvement. Upgrading specific components can breathe new life into your turntable and provide a more enjoyable listening experience.
Remember that upgrading or replacing parts may require technical knowledge or professional assistance. If you’re unsure about the process, it’s always recommended to seek guidance from experts in the field or consult with a professional audio technician.
By upgrading or replacing parts as needed, you can optimize the performance of your turntable and enhance your overall listening experience.
Conclusion
Fixing a turntable can be a rewarding endeavor that not only restores the functionality of your beloved audio equipment but also allows you to continue enjoying the warm and nostalgic sound of vinyl records. By following the troubleshooting steps outlined in this article, you can address common issues that may arise with your turntable and improve its overall performance.
From identifying the issue to checking the power source, inspecting connections, cleaning the turntable needle, checking the belt, adjusting the tonearm, examining the motor, and considering upgrades or replacements, each step plays a crucial role in the troubleshooting process.
Remember, when troubleshooting your turntable, it’s important to approach each step with care and attention to detail. Take your time, follow the instructions provided by the manufacturer, and if you’re unsure or uncomfortable with any step, consider seeking professional assistance.
Maintaining and caring for your turntable is equally important. Regular cleaning, proper storage, and gentle handling can help prolong its lifespan and ensure optimal performance for years to come.
With determination and a little bit of know-how, you can revive your turntable and continue enjoying the incomparable analog sound that vinyl records offer. So, don’t let any issues deter you from the joy of vinyl. Dive in, troubleshoot, and get back to spinning those cherished records!