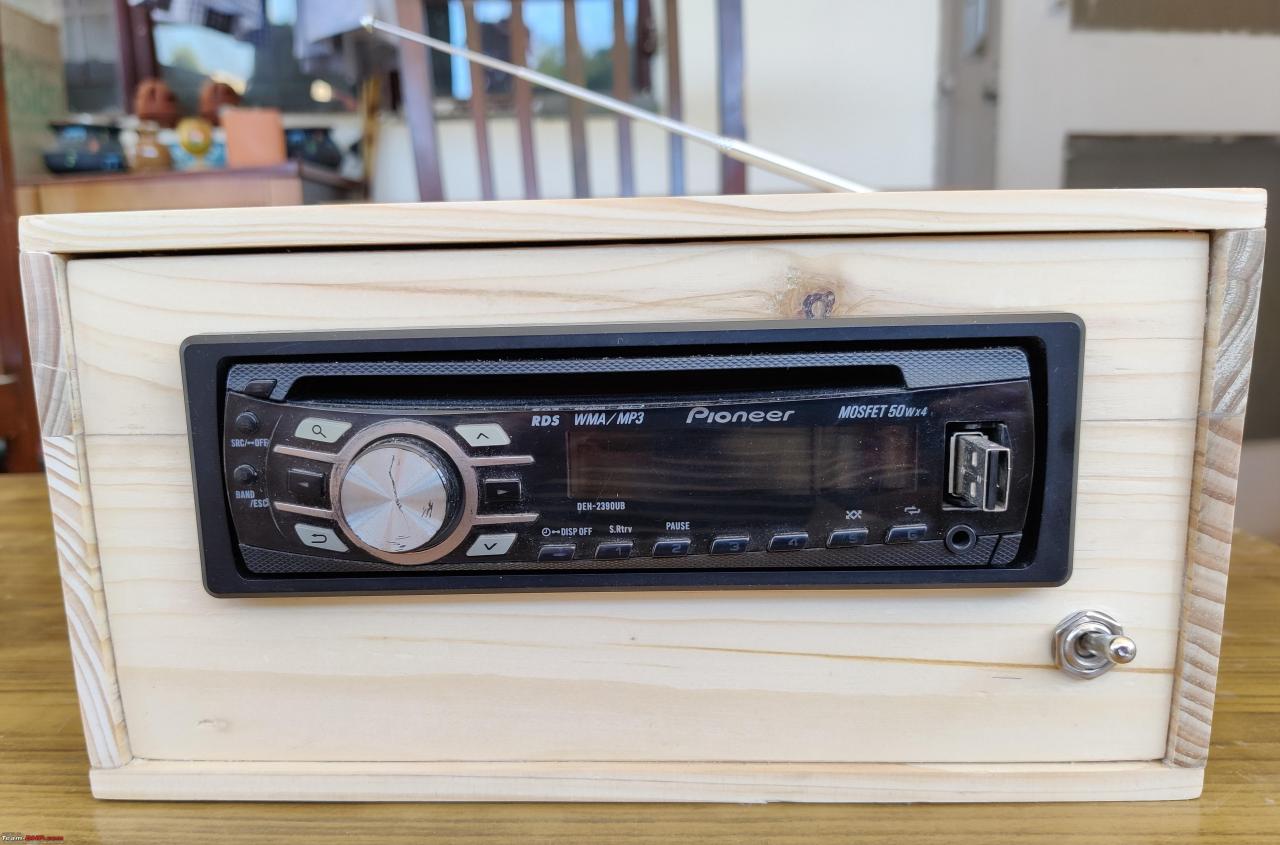
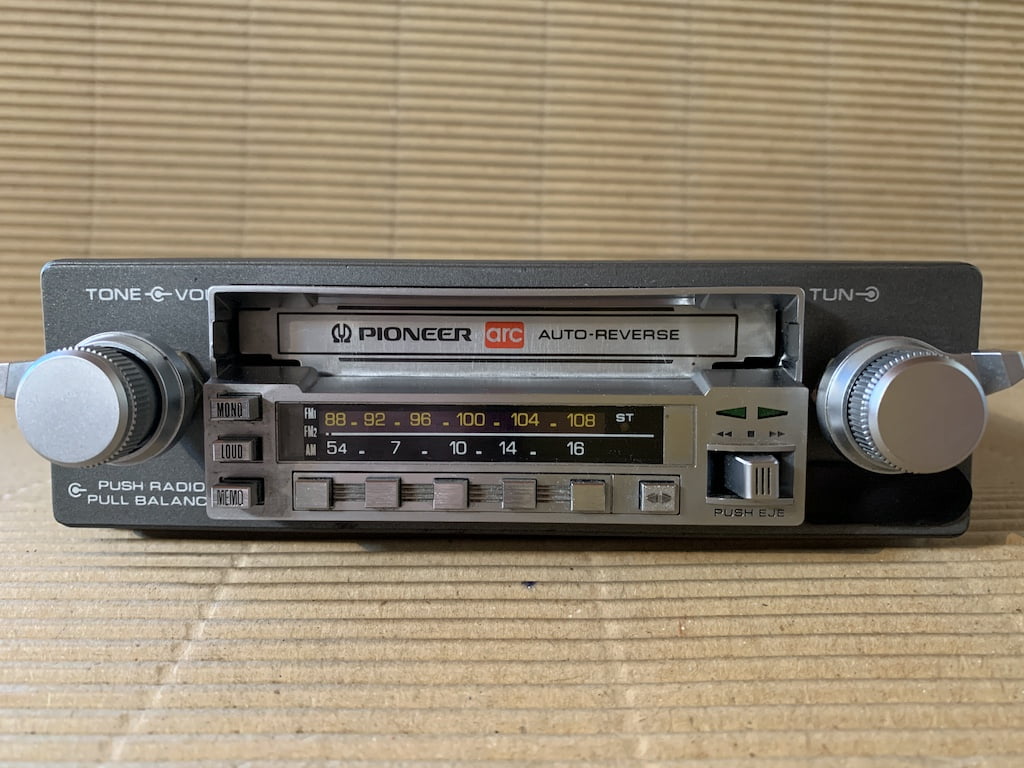
Home>Devices & Equipment>Radio>How To Connect Bluetooth To A Pioneer Radio
Radio
How To Connect Bluetooth To A Pioneer Radio
Published: November 10, 2023
Easily connect your Pioneer radio to Bluetooth devices with our step-by-step guide. Enjoy wireless streaming and hands-free calling with your car radio.
(Many of the links in this article redirect to a specific reviewed product. Your purchase of these products through affiliate links helps to generate commission for AudioLover.com, at no extra cost. Learn more)
Table of Contents
- Introduction
- Step 1: Ensure Bluetooth is enabled
- Step 2: Put the Pioneer radio in pairing mode
- Step 3: Enable Bluetooth on your device
- Step 4: Search for available Bluetooth devices
- Step 5: Select the Pioneer radio from the list
- Step 6: Enter a passkey, if prompted
- Step 7: Complete the pairing process
- Step 8: Test the Bluetooth connection
- Conclusion
Introduction
Welcome to the world of wireless connectivity with your Pioneer radio! With Bluetooth technology, you can easily connect your smartphone, tablet, or other compatible devices to your Pioneer radio and enjoy a seamless audio streaming experience. Whether you want to listen to your favorite music, make hands-free calls, or access various apps, connecting your device via Bluetooth offers convenience and flexibility.
In this article, we will guide you through the step-by-step process of connecting Bluetooth to your Pioneer radio. Whether you’re a seasoned tech enthusiast or a beginner, our comprehensive instructions will help you navigate the pairing process and ensure a successful connection.
Before we dive into the steps, it’s essential to note that the exact process may vary depending on the specific model of your Pioneer radio. However, the general principles and steps described here will serve as a helpful guide for most Pioneer radios.
Now, let’s get started and unlock the wonders of wireless connectivity with your Pioneer radio!
Step 1: Ensure Bluetooth is enabled
The first step in connecting Bluetooth to your Pioneer radio is to ensure that Bluetooth is enabled on both the radio and your device. This will allow them to discover and pair with each other.
On your Pioneer radio, navigate to the settings menu. Look for an option labeled “Bluetooth” or “Wireless” and select it. From there, you should see a toggle switch to enable Bluetooth. Slide the switch to the “On” position to activate Bluetooth on your Pioneer radio.
On your device, whether it’s a smartphone, tablet, or even a laptop, open the settings menu. Look for the “Bluetooth” option and tap on it to access the Bluetooth settings. Make sure the Bluetooth toggle or switch is turned on to enable Bluetooth connectivity.
Note that the exact steps may vary slightly based on your specific radio model and device. However, the general idea is to enable Bluetooth on both the Pioneer radio and your device so they can communicate with each other.
Once Bluetooth is enabled on both devices, you’re ready to move on to the next step: putting your Pioneer radio in pairing mode.
Step 2: Put the Pioneer radio in pairing mode
To establish a Bluetooth connection, you need to put your Pioneer radio in pairing mode. This allows your device to discover and connect to the radio. Here’s how to do it:
- On your Pioneer radio, navigate to the Bluetooth settings menu. Look for an option like “Pairing” or “Pairing Mode.”
- Select the “Pairing” option to initiate the pairing process.
- At this point, your Pioneer radio will start broadcasting its presence, making it discoverable by your device.
Once you’ve put your Pioneer radio in pairing mode, make sure to keep it in that mode until you complete the pairing process with your device. This ensures that your device has enough time to find and connect to the radio.
It’s worth noting that the process of entering pairing mode may differ depending on your specific Pioneer radio model. For some models, you may need to press a dedicated button or combination of buttons to enable pairing mode. Consult your Pioneer radio’s manual for precise instructions on how to put it in pairing mode.
Now that your Pioneer radio is in pairing mode, you’re ready to move on to the next step: enabling Bluetooth on your device and searching for available Bluetooth devices.
Step 3: Enable Bluetooth on your device
In order to connect your Pioneer radio to your device via Bluetooth, you need to enable Bluetooth on your device. Here’s how to do it:
- Open the settings menu on your device. The location of the Bluetooth settings may vary depending on the device and operating system you are using.
- Look for the “Bluetooth” option and tap on it to access the Bluetooth settings.
- Toggle the Bluetooth switch or button to the “On” position to enable Bluetooth on your device.
After enabling Bluetooth, your device will begin scanning for available Bluetooth devices in its vicinity. This is usually indicated by a spinning or pulsating Bluetooth icon.
It’s important to note that the process of enabling Bluetooth may differ slightly based on the make and model of your device. However, most devices follow a similar pattern, and you should be able to locate the Bluetooth settings within the settings menu.
Once Bluetooth is enabled on your device, you’re ready to move on to the next step: searching for available Bluetooth devices and selecting your Pioneer radio from the list.
Step 4: Search for available Bluetooth devices
With Bluetooth enabled on your device, it’s time to search for available Bluetooth devices and locate your Pioneer radio in the list. Here’s how to do it:
- On your device, go to the Bluetooth settings menu. This is typically found in the device settings or in the quick settings panel.
- Tap on the “Scan” or “Search” button to initiate the device discovery process. Your device will start scanning for nearby Bluetooth devices.
- Wait for the scan to complete. This may take a few seconds or longer, depending on the device and the number of Bluetooth devices in the vicinity.
Once the scan is complete, you should see a list of available Bluetooth devices on your device’s screen. These are the devices that your device has detected during the scan.
Look for the name or model number of your Pioneer radio in the list. The name may vary depending on your specific radio model. It usually consists of the word “Pioneer” followed by a series of numbers or letters.
If you don’t see your Pioneer radio in the list, make sure that it is in pairing mode and within range of your device. You may also try restarting the scanning process on your device to give it another chance to detect the radio.
Once you’ve located your Pioneer radio in the list of available devices, it’s time to establish the connection by selecting it. In the next step, we’ll guide you through the process of selecting your Pioneer radio and, if necessary, entering a passkey.
Step 5: Select the Pioneer radio from the list
Now that you have a list of available Bluetooth devices on your device’s screen, it’s time to select your Pioneer radio and initiate the pairing process. Follow these steps:
- From the list of available devices on your device’s screen, find the name or model number of your Pioneer radio.
- Tap on the name or model number to select your Pioneer radio. This will initiate the pairing process between your device and the radio.
Depending on your device and its operating system, the pairing process may take a few moments. You may see a progress indicator or a message indicating that the connection is being established.
In some cases, your device may prompt you to confirm the pairing. If prompted, verify that the passkey displayed on your device matches the passkey shown on the Pioneer radio’s display. If they match, confirm the pairing on your device.
Note that not all Pioneer radios require a passkey. Some devices use a default passkey, such as “0000” or “1234”. If prompted for a passkey and you’re unsure, consult your Pioneer radio’s manual for the default passkey or instructions on setting one up.
Once the pairing process is complete, your device will display a confirmation message or icon indicating that the connection with your Pioneer radio has been established.
Now that your device is successfully paired with your Pioneer radio, it’s time to move on to the next step: completing the pairing process and preparing for a flawless Bluetooth connection.
Step 6: Enter a passkey, if prompted
During the pairing process between your device and your Pioneer radio, you may be prompted to enter a passkey. A passkey is a numeric code used to verify the connection and ensure the security of the Bluetooth connection. Here’s what to do if you are prompted to enter a passkey:
- When prompted to enter a passkey, carefully examine both your device’s screen and your Pioneer radio’s display.
- If a passkey is displayed on both screens, compare the two passkeys to ensure they match. If they do, proceed to the next step.
- On your device’s screen, enter the passkey using the on-screen keyboard or numeric keypad. Take care to enter the passkey correctly to avoid any errors.
- Once you have entered the passkey, select “OK” or “Pair” on your device’s screen to confirm the passkey.
If the passkey is not displayed on your Pioneer radio’s display, it might be a default passkey such as “0000” or “1234”. If you are unsure, consult your Pioneer radio’s manual for the default passkey or instructions on setting one up.
Entering the correct passkey is crucial for establishing a secure and successful Bluetooth connection between your device and your Pioneer radio. If the passkey is entered incorrectly or the passkeys displayed on both devices do not match, the pairing process will fail. Double-check the passkey and try again if necessary.
Once you have successfully entered the passkey, you’re ready to move on to the next step: completing the pairing process and preparing to test the Bluetooth connection between your device and your Pioneer radio.
Step 7: Complete the pairing process
After entering the passkey, if prompted, it’s time to complete the pairing process between your device and your Pioneer radio. Follow these steps to finalize the connection:
- On your device’s screen, look for a button or option that indicates “Pair,” “Connect,” or “Done.” Tap on this button or select the option to complete the pairing process.
- Wait for a confirmation message or icon to appear on both your device and your Pioneer radio’s display. This indicates that the pairing process has been successfully completed.
Once the pairing process is complete, your device is now connected to your Pioneer radio via Bluetooth. Depending on your device and Pioneer radio model, you may see the name of your device displayed on the radio’s screen or vice versa.
It’s important to note that the specific steps to complete the pairing process may vary slightly depending on your device and Pioneer radio model. The general idea is to follow the on-screen instructions and prompts to finalize the pairing process.
Now that the pairing process is complete, it’s time to move on to the next step: testing the Bluetooth connection and ensuring that everything is working smoothly.
Step 8: Test the Bluetooth connection
Now that your device is paired with your Pioneer radio, it’s time to test the Bluetooth connection and ensure that everything is working smoothly. Follow these steps to test the connection:
- On your device, open a music streaming app or play a song from your device’s local music library.
- Make sure the audio output on your device is set to Bluetooth. This option can usually be found in the audio settings or playback settings of your device.
- Once the audio is playing on your device, check if it is being transmitted to your Pioneer radio. If the Bluetooth connection is successful, you should hear the audio playing through your Pioneer radio’s speakers.
- Adjust the volume on both your device and your Pioneer radio to ensure the desired sound level.
If the audio is not playing through your Pioneer radio’s speakers, there are a few troubleshooting steps you can follow:
- Make sure your Pioneer radio is set to the correct audio input. Consult your radio’s manual to determine the appropriate input for Bluetooth audio.
- Check the Bluetooth connection status on your device and confirm that it is still connected to your Pioneer radio. Reestablish the connection if necessary.
- Ensure that the volume on your device is turned up and not muted.
- Restart both your device and your Pioneer radio to refresh the Bluetooth connection.
If you have followed these troubleshooting steps and the Bluetooth connection is still not working, consult the user manual for both your device and your Pioneer radio for further assistance or contact customer support.
Congratulations! You have successfully connected your device to your Pioneer radio via Bluetooth. Now you can enjoy wireless audio streaming, hands-free calling, and more, all with the convenience of Bluetooth technology.
Keep in mind that the exact features and functionalities may vary depending on your specific Pioneer radio model. Consult the user manual for your Pioneer radio to explore the full range of Bluetooth capabilities.
Thank you for following our step-by-step guide. We hope you enjoy the seamless Bluetooth connectivity with your Pioneer radio!
Conclusion
Congratulations! You have successfully learned how to connect Bluetooth to your Pioneer radio. By following the step-by-step guide provided in this article, you have unlocked the power of wireless connectivity and can now enjoy a seamless audio streaming experience.
Pioneer radios equipped with Bluetooth capabilities offer convenience, flexibility, and improved accessibility. You can easily connect your smartphone, tablet, or other compatible devices to your radio and enjoy hands-free calling, music streaming, and more.
Remember, the specific steps and features may vary depending on your Pioneer radio model. It’s always a good idea to consult the user manual for your specific radio to fully understand the Bluetooth functionality and any model-specific instructions.
Now that you are connected via Bluetooth, take some time to explore the various features and functionalities available to you. Experiment with different music streaming apps, make hands-free calls, and enjoy the freedom of wirelessly controlling your audio experience.
If you encounter any issues during the pairing process or while using Bluetooth with your Pioneer radio, refer to the troubleshooting steps in this guide or consult customer support for further assistance.
We hope this guide has been helpful in assisting you with connecting Bluetooth to your Pioneer radio. Embrace the convenience and freedom of wireless connectivity and enjoy the enhanced audio experience it provides.
Thank you for reading, and happy Bluetooth streaming with your Pioneer radio!