Home>Devices & Equipment>Radio>How To Turn On Pioneer Radio
Radio
How To Turn On Pioneer Radio
Published: November 10, 2023
Discover how to turn on your Pioneer radio with this step-by-step guide. Learn the essential tips and tricks to enjoy your favorite stations effortlessly.
(Many of the links in this article redirect to a specific reviewed product. Your purchase of these products through affiliate links helps to generate commission for AudioLover.com, at no extra cost. Learn more)
Table of Contents
Introduction
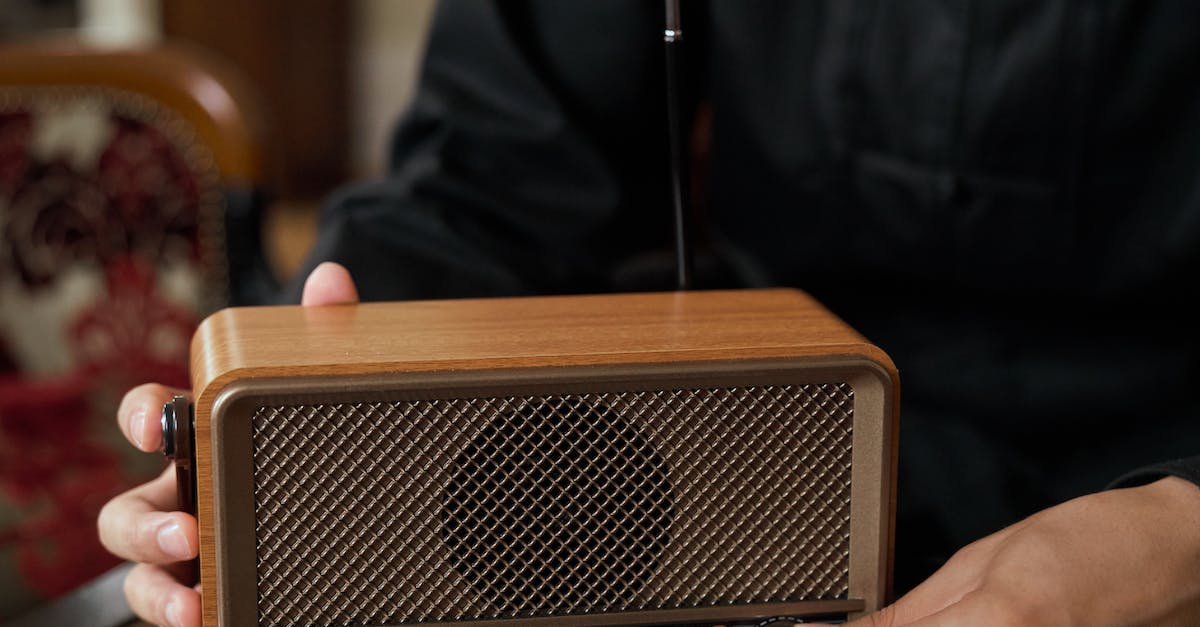
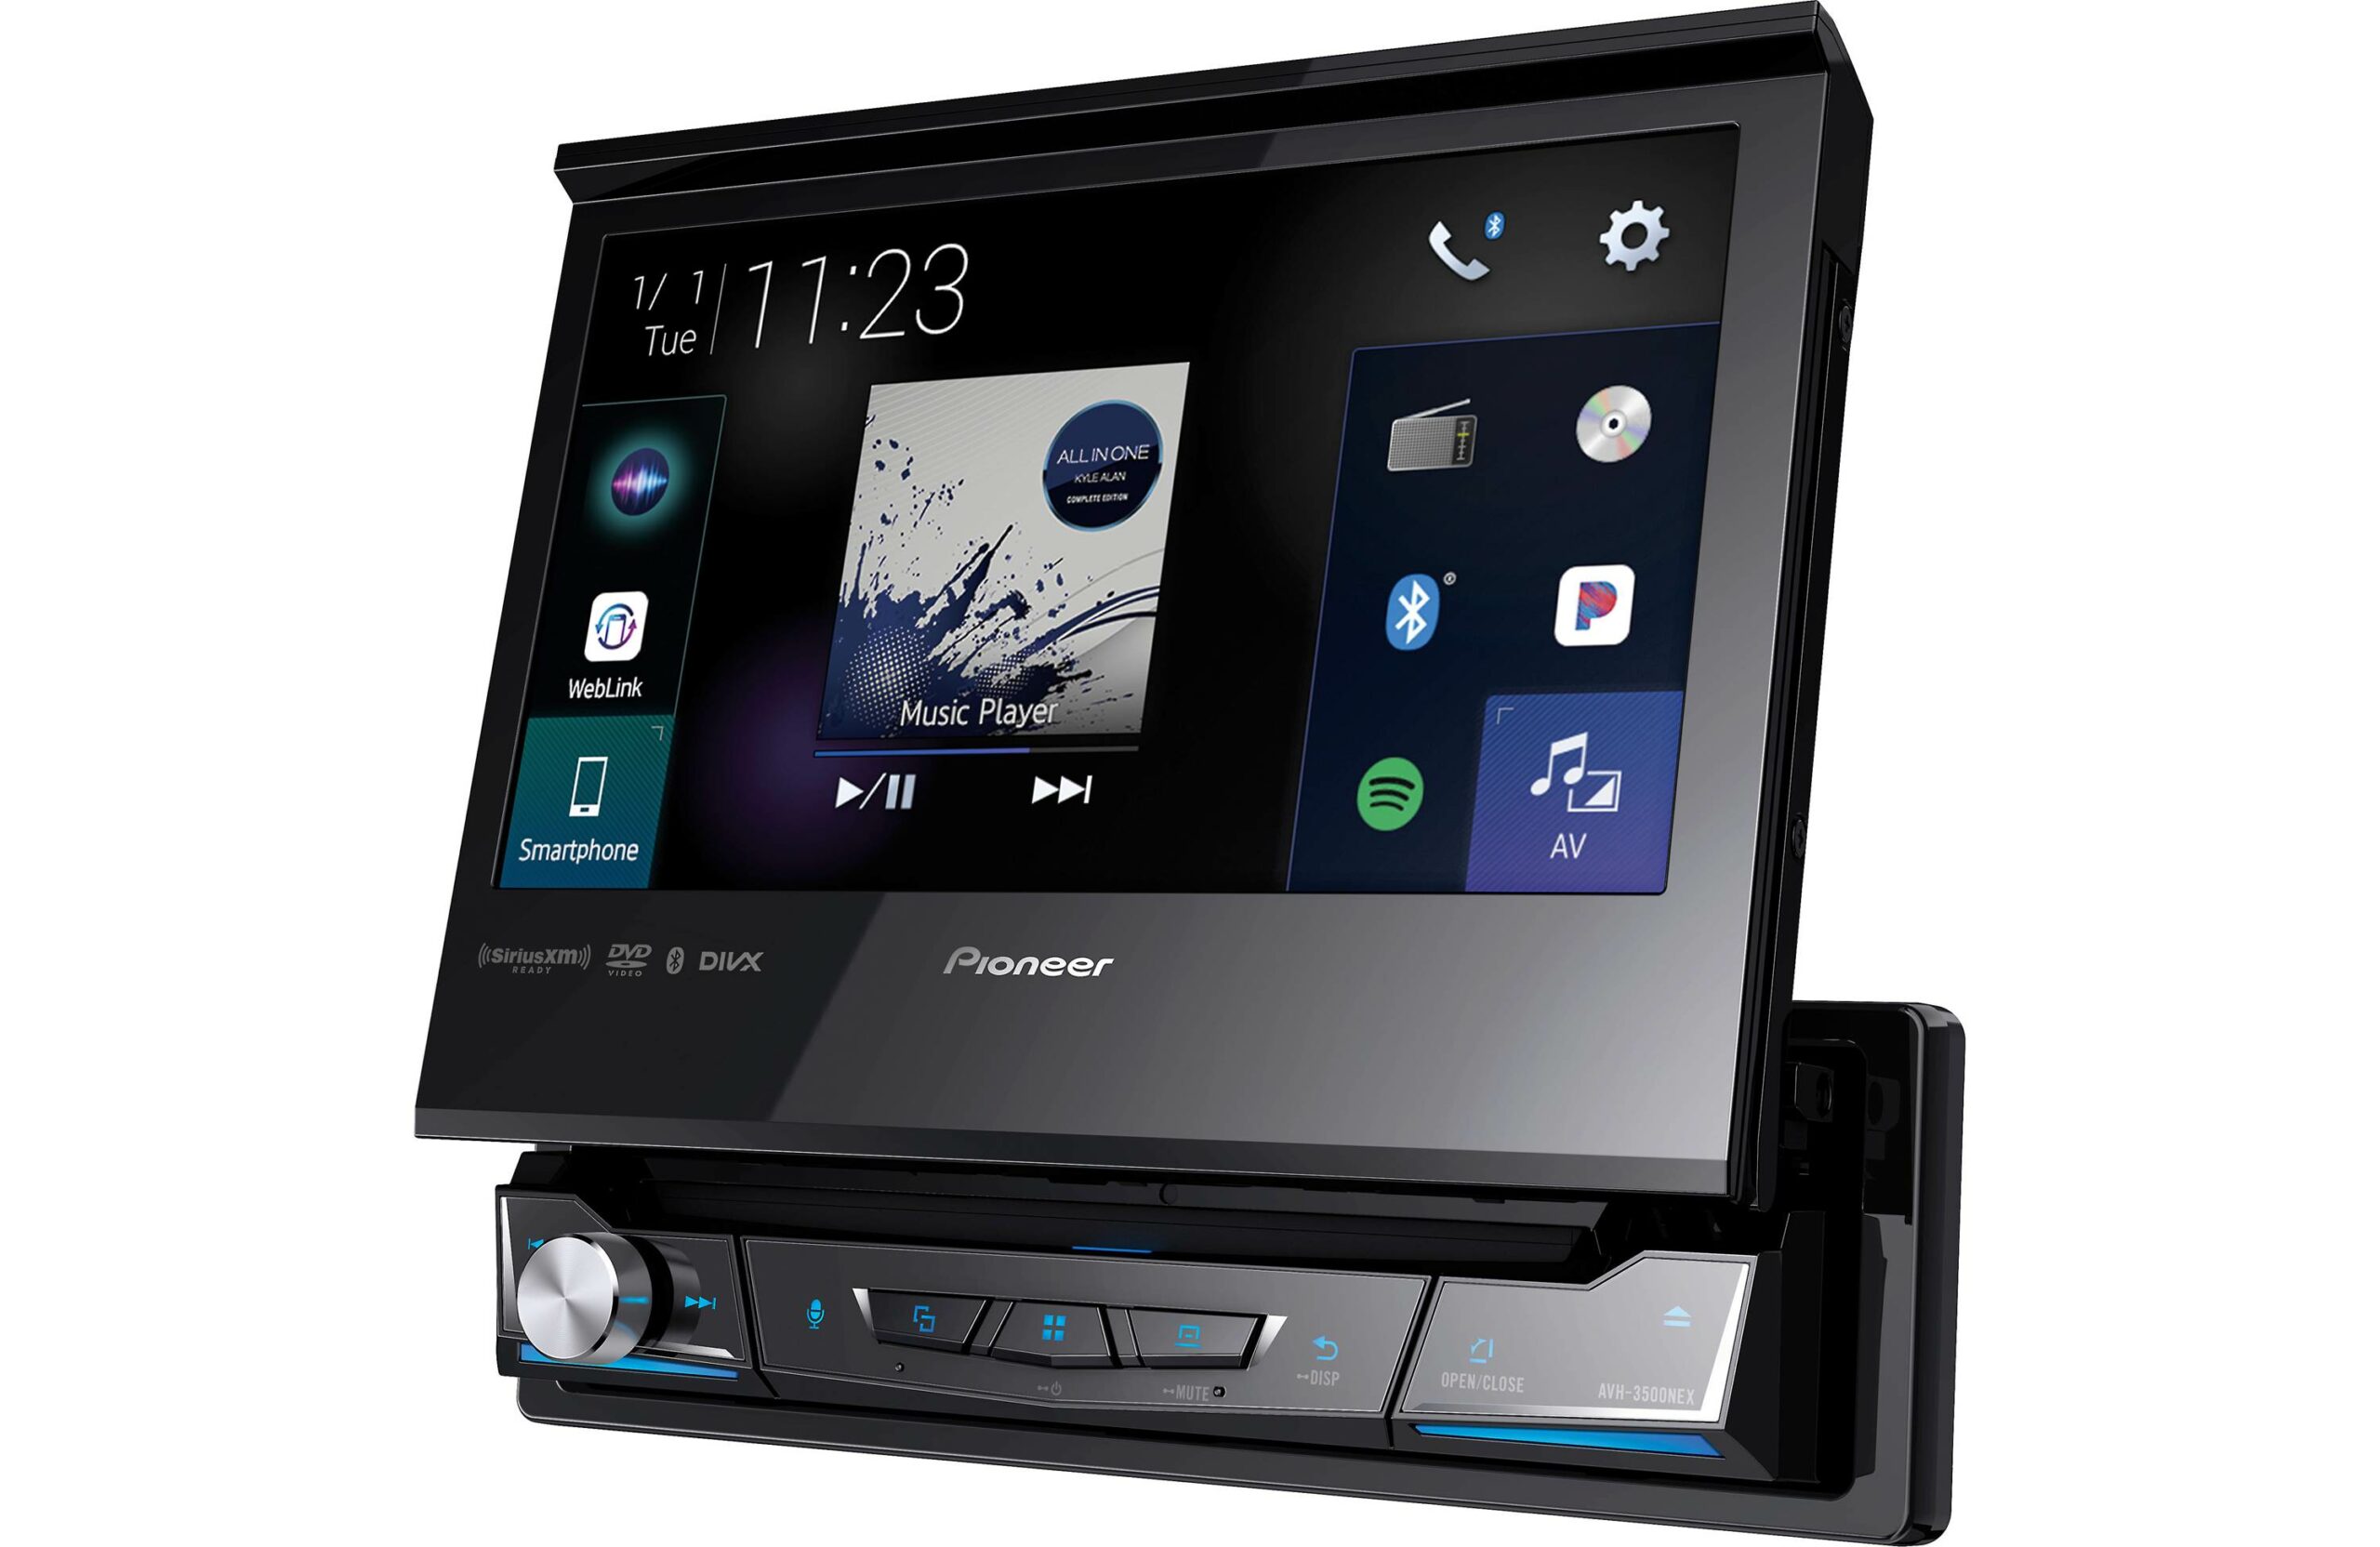
Are you an avid music lover who recently purchased a Pioneer radio? Congratulations! Pioneer is renowned for producing high-quality and innovative audio equipment, and their radios are no exception. Whether you’re a fan of classic rock, hip-hop, country, or any other genre, your Pioneer radio is poised to deliver an exceptional listening experience.
However, if you’re new to using Pioneer radios, you might be wondering how to turn on your device and get started. Don’t worry, as it’s a simple process that we’ll guide you through in this article. So, let’s dive in and learn how to turn on your Pioneer radio so that you can start enjoying your favorite tunes in no time!
Before we delve into the steps, it’s essential to mention that the specific instructions may vary slightly depending on the model of your Pioneer radio. However, the general guidelines provided in this article should apply to most Pioneer radio models, ensuring that you can follow along easily.
Now, let’s move on to the step-by-step process of turning on your Pioneer radio and getting ready to immerse yourself in the world of music!
Step 1: Check the Power Source
Before turning on your Pioneer radio, it’s crucial to ensure that it is properly connected to a power source. Start by checking that the power cord is securely plugged into both the radio and a functioning power outlet. If you’re using batteries to power your radio, ensure that they are inserted correctly and have enough charge.
If your Pioneer radio has a built-in power supply, such as a rechargeable battery, make sure it is charged. Some models may have an indicator light or display that shows the battery level, helping you determine if it needs to be charged. If it does, connect your radio to a power source using the provided charging cable and give it some time to charge fully.
It’s important to note that some Pioneer radios may come with an on/off switch located at the back or side of the device. Before proceeding to the next step, make sure the on/off switch is in the “on” position.
Once you’ve confirmed that your Pioneer radio is connected to a power source and any necessary power switches are activated, you’re ready to move on to the next step.
Step 2: Locate the Power Button
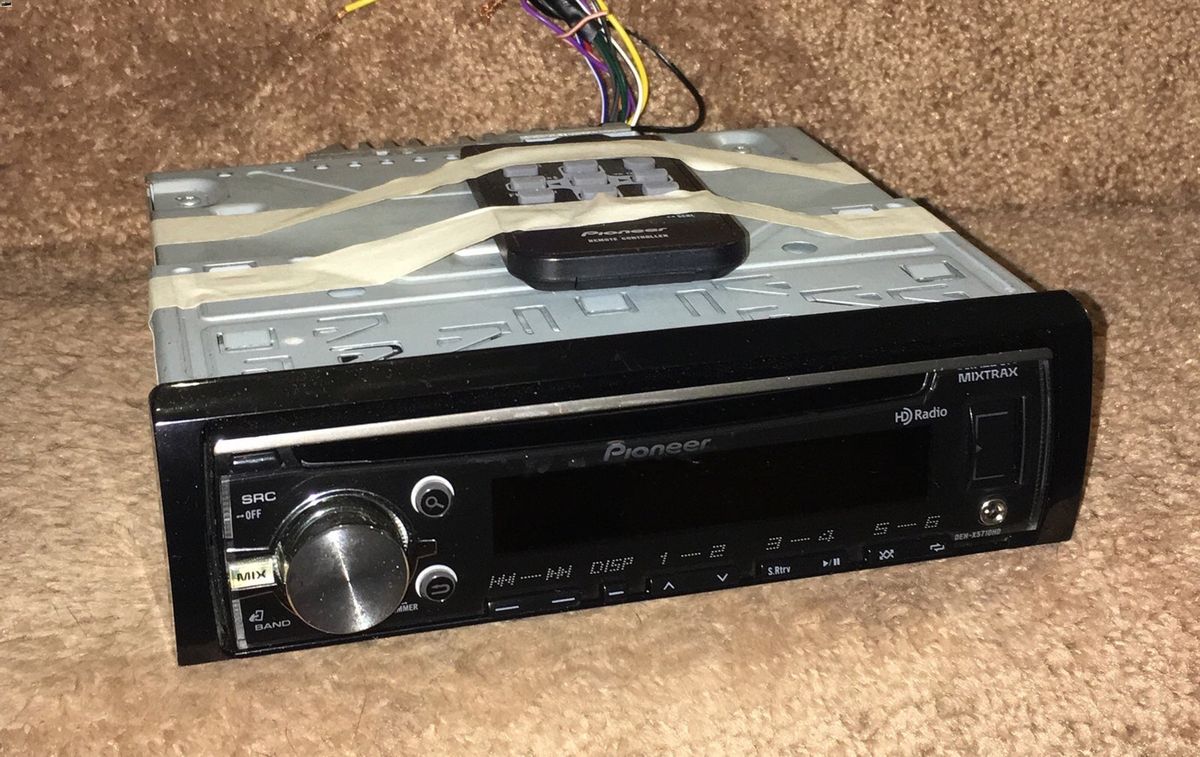
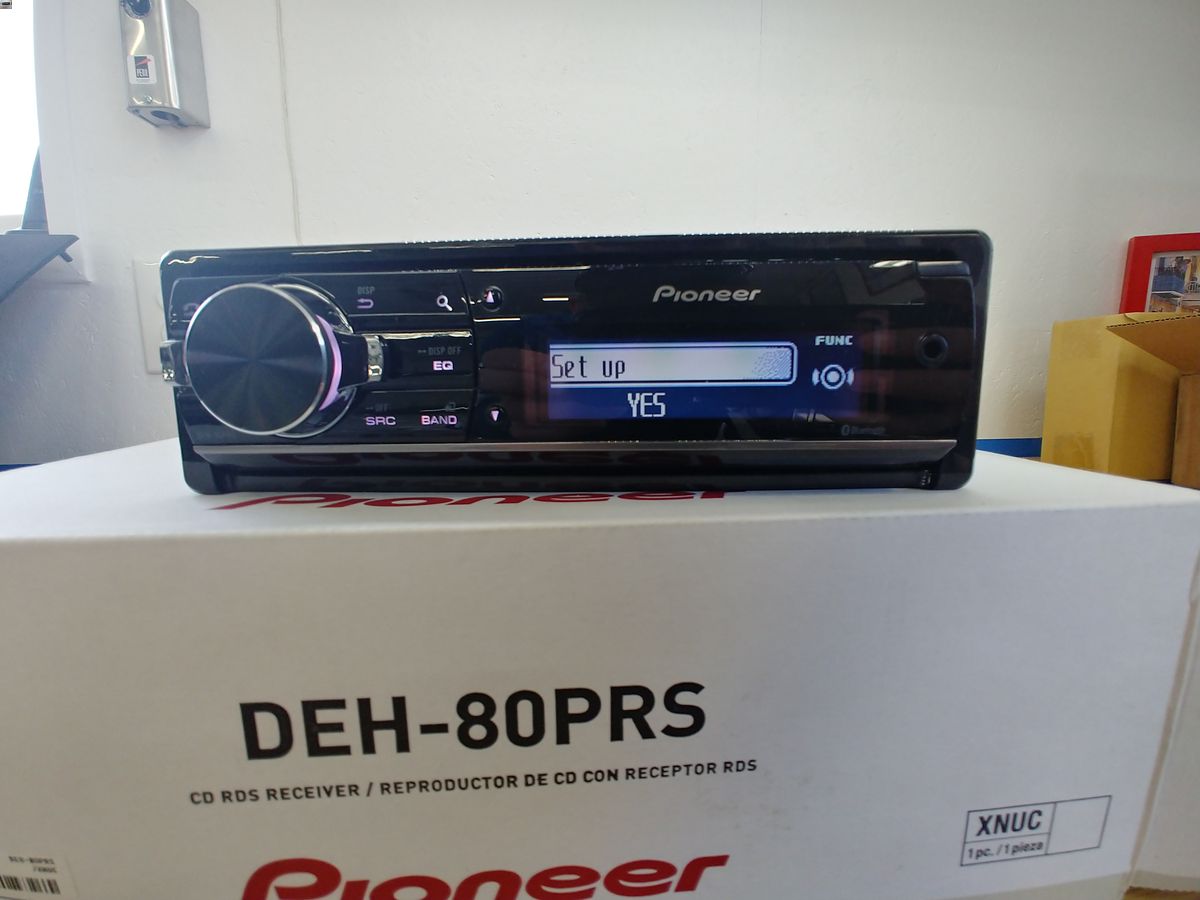
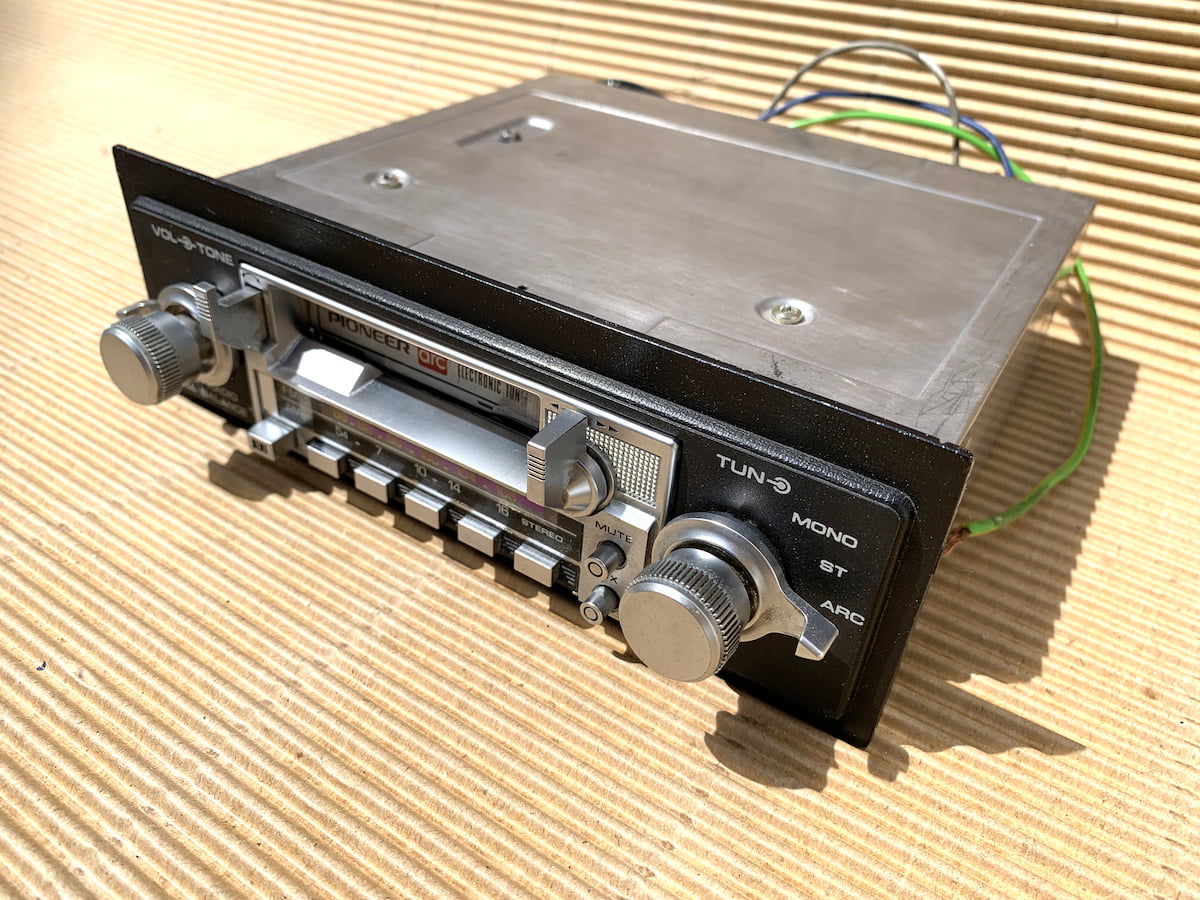
Now that you’ve ensured your Pioneer radio is properly connected to a power source, it’s time to locate the power button. The power button is typically located on the front panel of the radio and is marked with the universal power symbol (a circle with a vertical line). Take a moment to familiarize yourself with the layout of your Pioneer radio and locate the power button.
If you’re having trouble finding the power button, consult the user manual that came with your radio. The manual will provide specific instructions on how to identify the power button and any other essential buttons or controls on your particular model.
Once you’ve located the power button, you’re ready to move on to the next step and turn on your Pioneer radio.
Note: Some Pioneer radios may have a power-on feature that activates automatically when they detect an audio input signal. In such cases, you may not find a physical power button on the front panel.
Step 3: Press and Hold the Power Button
With the power button now located, it’s time to turn on your Pioneer radio. To do this, simply press and hold the power button for a few seconds. This action will activate the power supply, and your radio will begin to boot up.
While holding the power button, you may notice that the display on your Pioneer radio lights up or that an indicator light turns on, indicating that the device is powering on. Keep holding the power button until you see or hear signs that your radio has turned on.
Once your Pioneer radio has successfully powered on, you can release the power button. At this point, the display should show the default screen or menu of your radio, depending on the model. From here, you can proceed to the next step and begin customizing your listening experience.
If, for some reason, your Pioneer radio doesn’t turn on after pressing and holding the power button, double-check the power source and ensure it is connected properly. If you’re using batteries, make sure they are inserted correctly and have sufficient charge. If the issue persists, consult the user manual or contact Pioneer customer support for further assistance.
Step 4: Adjust the Volume
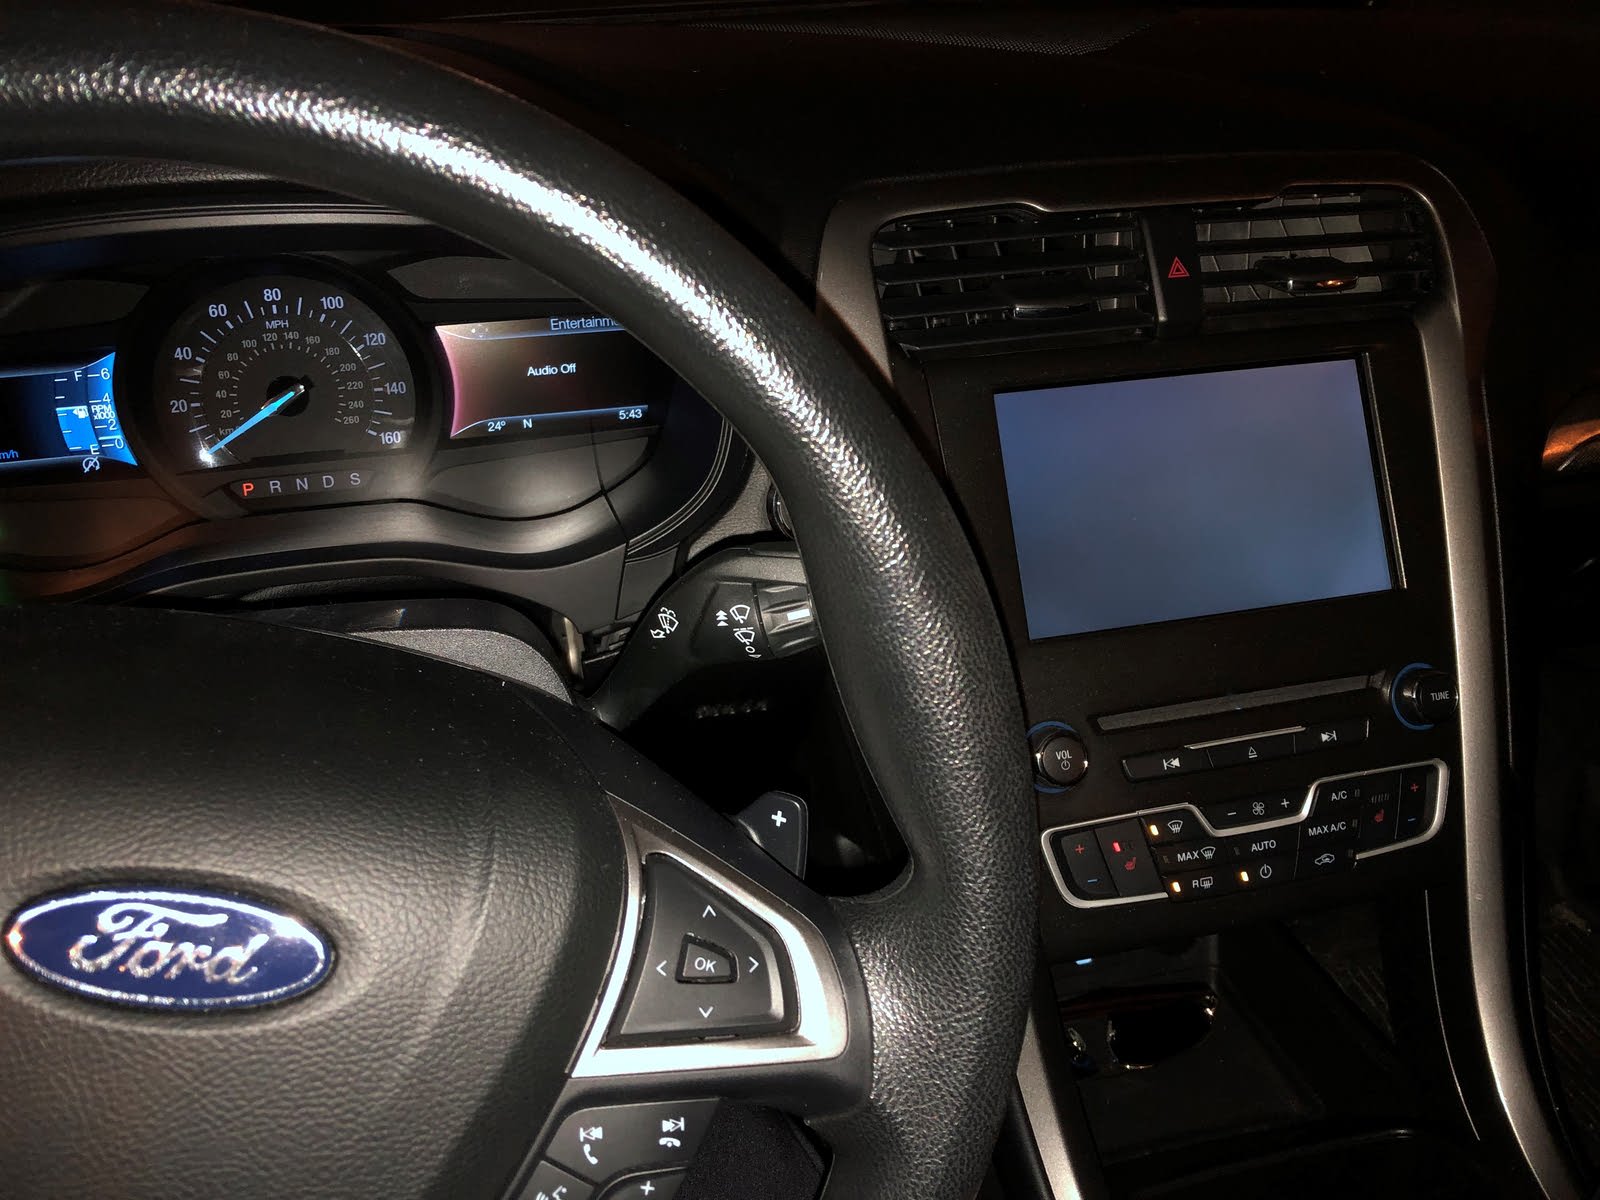
Now that your Pioneer radio is powered on, it’s time to adjust the volume to a comfortable level. The volume control is typically located on the front panel of the radio, near the power button. It may be represented by a knob, buttons, or a touch-sensitive panel, depending on the model of your Pioneer radio.
To increase the volume, turn the volume knob clockwise or press the “+” button. To decrease the volume, turn the knob counterclockwise or press the “-” button. As you adjust the volume, the display on your Pioneer radio may show a numerical value representing the volume level.
It’s essential to find the right volume level that suits your preferences and environment. Start by setting the volume at a low level, then gradually increase it until you achieve the desired sound level. Remember to consider the people around you and any noise restrictions that may be in place.
Pioneer radios often come with additional audio enhancement features, such as equalizers or sound presets. If you want to fine-tune the audio settings further, consult the user manual to understand how to access and adjust these features.
With the volume set to your liking, you’re ready to move on to the next step and start tuning in to your favorite radio stations on your Pioneer radio.
Step 5: Select a Radio Station
Now that your Pioneer radio is powered on and the volume is adjusted, it’s time to select a radio station to listen to. Pioneer radios offer a variety of tuning options, depending on the model.
Typically, you can choose between FM (Frequency Modulation) and AM (Amplitude Modulation) bands. The FM band provides access to a wide range of music, talk shows, and other content, while the AM band focuses more on news, sports, and talk radio.
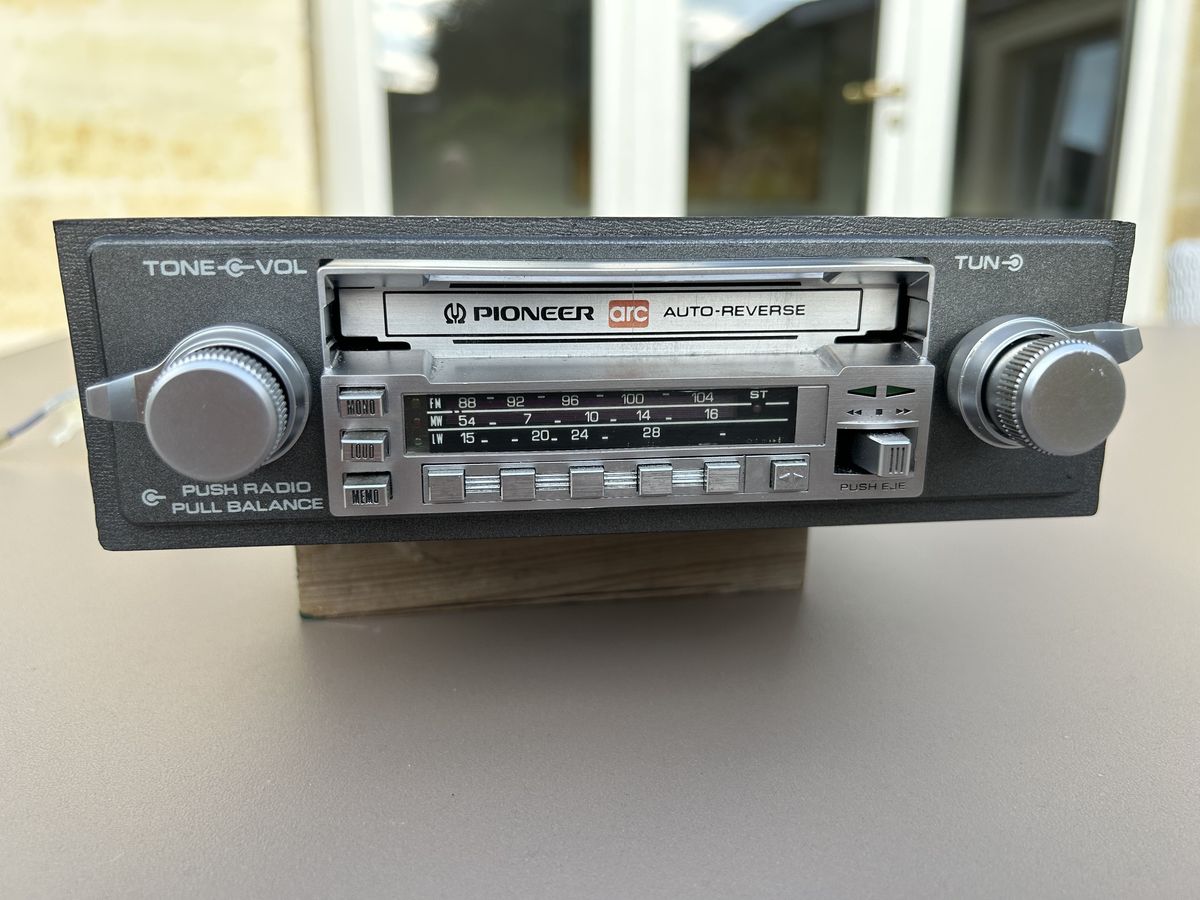
To select the desired band, use the dedicated buttons or knobs on the front panel of your Pioneer radio. Look for labels such as “FM,” “AM,” or icons representing the two bands. Press the appropriate button or turn the knob to switch between FM and AM.
Once you have selected the band, you can now search for a specific radio station. Some Pioneer radios have an auto-scan feature that automatically searches and saves the available radio stations in your area. To use this feature, press the “Scan” or “Auto” button, and the radio will scan through the frequencies, stopping at each station it detects. Once the scanning process is complete, you can navigate through the saved stations using the “Up” and “Down” buttons or knobs.
If your Pioneer radio doesn’t have an auto-scan feature, you can manually tune in to a specific frequency. Use the tuning knob or buttons to adjust the frequency up or down until you find the desired radio station. The display on your Pioneer radio may show the frequency or the station name, depending on the model.
Explore different radio stations and find the ones that resonate with your music or content preferences. With the radio station selected, you’re ready to move on to the next step and fine-tune the radio signal for optimal reception.
Step 6: Fine-tune the Radio Signal
After selecting a radio station on your Pioneer radio, you may need to fine-tune the radio signal to ensure clear and uninterrupted reception. This step is especially important if you are in an area with weak signal strength or if you experience interference from nearby electronic devices.
To begin fine-tuning the radio signal, look for a “Tuning” button or knob on the front panel of your Pioneer radio. Pressing the tuning button or turning the knob slowly and carefully allows you to adjust the signal frequency in small increments. Keep making slight adjustments until you find the optimal signal strength for the selected radio station.
If you encounter interference or static while tuning the signal, try repositioning your Pioneer radio or its antenna. Sometimes, simply rotating the radio or extending the antenna can improve the reception quality. If your antenna is detachable, make sure it is securely connected to the radio.
In some cases, radios with Digital Auto Tuning (DAT) functionality will automatically fine-tune the signal for better reception. If your Pioneer radio has this feature, simply press the “DAT” button and allow the radio to adjust the signal on its own. This can be useful when you’re in a moving vehicle or an area with fluctuating signal strength.
Remember that the quality of the radio signal can be influenced by various factors, including geographical location, building structures, and weather conditions. Experiment with different signal tuning techniques to find the best reception for your desired radio station.
Once you have successfully fine-tuned the radio signal to your satisfaction, you’re ready to move on to the final step and enjoy your Pioneer radio!
Step 7: Enjoy your Pioneer Radio
Now that you have powered on your Pioneer radio, adjusted the volume, selected a radio station, and fine-tuned the signal, it’s time to sit back, relax, and enjoy the music, news, or talk shows that your radio has to offer.
Take advantage of the various features and functionalities that Pioneer radios offer. Depending on the model, you may have access to additional options such as presets, which allow you to save and quickly access your favorite radio stations.
Explore different genres and stations to discover new music and engaging content. Use the tuner or seek buttons to navigate through the available radio frequencies and find stations that resonate with your preferences.
If your Pioneer radio supports it, you can also connect external devices such as smartphones, MP3 players, or USB drives to enjoy your personal collection of music. Refer to the user manual for instructions on how to connect and use these external devices with your Pioneer radio.
Remember to adjust the volume as required to suit your listening environment and personal preference. Enjoy the rich and high-quality sound output that Pioneer radios are known for, and immerse yourself in a captivating auditory experience.
Whether you’re enjoying your Pioneer radio in the comfort of your home, on a road trip, or during outdoor activities, it is sure to provide you with hours of entertainment and enjoyment.
So, sit back, relax, and let the music fill the air as you revel in the remarkable sound quality and features of your Pioneer radio.