Home>Devices & Equipment>Radio>How To Set Time On A Pioneer Radio
Radio
How To Set Time On A Pioneer Radio
Published: November 10, 2023
Learn how to set the time on your Pioneer radio easily. Get step-by-step instructions to ensure your radio displays the correct time. Perfect for car audio enthusiasts.
(Many of the links in this article redirect to a specific reviewed product. Your purchase of these products through affiliate links helps to generate commission for AudioLover.com, at no extra cost. Learn more)
Table of Contents
Introduction
Welcome to this comprehensive guide on how to set the time on a Pioneer radio. Whether you are a new owner of a Pioneer radio or simply need to adjust the time on your existing device, this step-by-step tutorial will walk you through the process. Setting the correct time on your radio is essential not only for accurate timekeeping but also for ensuring that features like radio presets, alarms, and GPS functionalities work correctly.
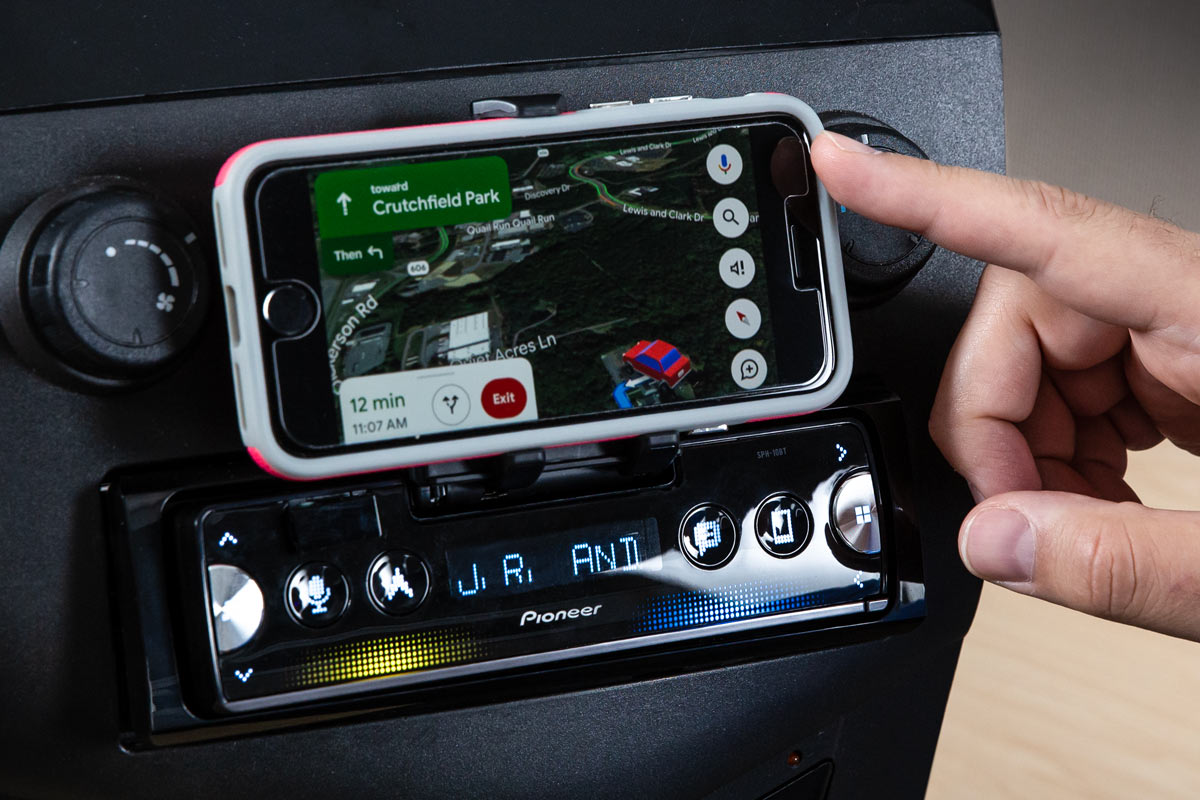
Pioneer is a renowned brand in the audio industry, known for producing high-quality car and home entertainment systems. Their radios are equipped with advanced features and user-friendly interfaces, making it easy for users to customize their listening experience. In this guide, we will focus on the steps to set the time on a Pioneer radio, regardless of the specific model you own.
It’s important to note that the process of setting the time may vary slightly depending on the model and firmware version of your Pioneer radio. However, the general steps we will outline should apply to most Pioneer radios. Before we dive into the tutorial, ensure that you have your Pioneer radio powered on and easily accessible.
Step 1: Power on the Pioneer Radio
The first step in setting the time on your Pioneer radio is to ensure that the device is powered on. This may seem like an obvious step, but it’s essential to check that your radio has power before proceeding with the time adjustment process.
If you are using a car stereo Pioneer radio, turn on your vehicle’s ignition to power on the radio. In most cases, the radio should automatically turn on when the ignition is activated. However, if it doesn’t, locate the power button on the radio’s control panel and press it to turn it on manually.
For home entertainment systems or standalone Pioneer radios, check that the power cord is securely connected to a power outlet. Locate the power button either on the radio itself or on the remote control, and press it to turn on the device.
Once your Pioneer radio is powered on, you are ready to proceed to the next step of setting the time, which involves accessing the settings menu. Note that some models may have specific requirements or additional steps to power on the radio, so refer to your user manual for detailed instructions if needed.
Step 2: Access the Settings Menu
After powering on your Pioneer radio, the next step is to access the settings menu. This menu provides access to various customization options, including the ability to set the time.
The process of accessing the settings menu may vary depending on the model of your Pioneer radio. However, the most common way to access the settings menu is by locating and pressing the “Menu” button on the radio’s control panel or remote control.
When you press the “Menu” button, you should see a menu interface displayed on the radio’s screen. This menu may include several options, such as audio settings, display settings, and clock settings.
Use the radio’s control buttons or the remote control’s navigation buttons to navigate through the menu options and locate the clock settings. In some cases, the clock settings may be labeled as “Time” or “Clock” in the menu.
If you are having trouble finding the settings menu or clock settings, refer to the user manual that came with your Pioneer radio. The manual should provide specific instructions on how to access the settings menu for your particular model.
Once you have successfully accessed the settings menu and located the clock settings, you are ready to move on to the next step of setting the time on your Pioneer radio.
Step 3: Select the Clock/Time option
Once you have accessed the settings menu on your Pioneer radio, the next step is to select the Clock or Time option. This will allow you to access the specific settings for adjusting the time on your radio.
Using the control buttons on the radio’s control panel or the navigation buttons on the remote control, navigate through the settings menu until you find the Clock or Time option. It may be listed under a submenu or as a separate option within the settings menu.
Once you have located the Clock or Time option, select it by pressing the corresponding button on the control panel or remote control. This will open up the clock settings interface, where you can make adjustments to the time.
If you are unsure of which option corresponds to the clock settings, refer to the user manual for your Pioneer radio. The manual will provide specific instructions on how to find and select the Clock or Time option for your particular model.
After selecting the Clock or Time option, you are now ready to proceed to the next step, which involves setting the current time on your Pioneer radio.
Step 4: Set the current Time
Now that you have accessed the clock settings interface on your Pioneer radio, it’s time to set the current time. Follow the steps below to ensure accurate and precise time adjustment:
- Use the control buttons or navigation buttons to navigate to the option that allows you to set the hours. This option may be labeled as “Hours” or “HH”.
- Once you have selected the option to set the hours, use the control buttons or navigation buttons to adjust the hour value to the current time. Some radios may use a 12-hour format with AM and PM options, while others may use a 24-hour format.
- After setting the hours, navigate to the next option that allows you to set the minutes. This option may be labeled as “Minutes” or “MM”.
- Adjust the minute value to match the current time using the control buttons or navigation buttons.
- If applicable, select the option to set the seconds and adjust the value accordingly.
- Once you have set the hours, minutes, and seconds (if applicable), verify that the time displayed on the screen is accurate.
Keep in mind that the specific steps and menu options may vary depending on the model of your Pioneer radio. It is always recommended to refer to the user manual for detailed instructions tailored to your specific radio model.
Take your time to ensure that the time settings are accurate and reflect the current time. Making slight adjustments as needed will help to maximize the functionality of your Pioneer radio and avoid any discrepancies in timekeeping.
Once you have set the current time, you are ready to save the changes and exit the settings menu.
Step 5: Save and exit the Settings Menu
After setting the current time on your Pioneer radio, the final step is to save the changes and exit the settings menu. Follow the instructions below to complete this process:
- Make sure that the time displayed on the screen accurately reflects the current time. Double-check the hours, minutes, and seconds (if applicable) to ensure they are set correctly.
- Look for an option within the settings menu that allows you to save the changes. This option may be labeled as “Save,” “Apply,” or “OK.”
- Select the save option by pressing the corresponding button on the control panel or remote control. This will save the new time settings on your Pioneer radio.
- After saving the changes, navigate through the settings menu to find an option to exit or close the menu. This option may be labeled as “Exit,” “Close,” or “Back.”
- Select the exit option to exit the settings menu and return to the main screen or interface of your Pioneer radio.
By following these steps, you have successfully set the time on your Pioneer radio and saved the changes. The new time settings will be displayed on the screen and will be used for features such as radio presets, alarms, and time-based functions.
If at any time you need to adjust the time in the future, you can repeat the steps outlined in this guide to access the clock settings and make the necessary changes.
Now that you have completed the steps to set the time on your Pioneer radio, you can enjoy accurate and synchronized timekeeping while enjoying your favorite music, news, or other content on your radio.
Conclusion
Setting the time on your Pioneer radio is a simple yet important task to ensure accurate timekeeping and optimize the functionality of your device. By following the step-by-step guide provided in this article, you are now equipped with the knowledge to set the time on your Pioneer radio with ease.
Remember to power on your Pioneer radio and access the settings menu to locate the clock or time option. From there, you can set the current time by adjusting the hours, minutes, and seconds if applicable. Finally, save the changes and exit the settings menu.
It’s important to consult your Pioneer radio’s user manual for model-specific instructions and menu options, as they may vary slightly. This will ensure that you have accurate and detailed guidance throughout the process.
By setting the time correctly, you will not only enjoy synchronized and precise timekeeping but also enable features like radio presets, alarms, and time-based functions to work seamlessly. Your Pioneer radio is designed to enhance your audio experience, and having the correct time is an essential element for maximizing its performance.
Now, it’s time to take control of your Pioneer radio and set the time to align with your daily routine. Enjoy your listening experience with the confidence of accurate timekeeping, thanks to your newly acquired knowledge.