Home>Production & Technology>Surround Sound>How To Connect Pioneer Surround Sound To A TV
Surround Sound
How To Connect Pioneer Surround Sound To A TV
Modified: January 22, 2024
Learn how to easily connect your Pioneer surround sound system to your TV for an immersive audio experience. Enhance your viewing pleasure with seamless integration.
(Many of the links in this article redirect to a specific reviewed product. Your purchase of these products through affiliate links helps to generate commission for AudioLover.com, at no extra cost. Learn more)
Table of Contents
Introduction
Surround sound systems have revolutionized the audio experience, immersing us in a world of breathtaking soundscapes. Whether you’re an avid movie lover or a music enthusiast, connecting your Pioneer surround sound system to your TV can take your audio experience to the next level. By doing so, you can enjoy rich, high-quality sound that complements the stunning visuals on your screen.
Connecting your Pioneer surround sound system to your TV may seem like a daunting task, especially if you’re not familiar with audio equipment. However, with the right knowledge and step-by-step instructions, you can easily set up your system and start enjoying the incredible surround sound experience.
In this guide, we will walk you through the process of connecting your Pioneer surround sound system to your TV. We will cover the necessary equipment, step-by-step instructions, and helpful tips to ensure a seamless setup. So, let’s dive in and transform your living room into a personal home theater!
Step 1: Gather the necessary equipment
Before you can connect your Pioneer surround sound system to your TV, it’s important to gather all the necessary equipment. Here are the items you will need:
- A Pioneer surround sound system: Make sure you have a compatible Pioneer audio receiver and a set of speakers. The specific models may vary, but ensure that they offer the necessary connectivity options.
- TV: You’ll need a television with audio output options, such as HDMI ARC (Audio Return Channel), optical audio output, or RCA audio outputs.
- Audio cables: Depending on the available connections on your TV and surround sound system, you may need HDMI, optical, or RCA cables to establish the audio connection.
- HDMI or optical cable: If you’re using an HDMI ARC or optical audio output, you’ll need a corresponding cable to transmit the audio signal between the TV and the audio receiver.
- Remote control: Keep your Pioneer remote control handy, as you may need it to navigate through the audio receiver’s settings.
- Power cables: Ensure that you have all the necessary power cables to connect the audio receiver and the speakers to a power source.
Once you have gathered all the required equipment, you’re ready to move on to the next step of connecting your Pioneer surround sound system to your TV.
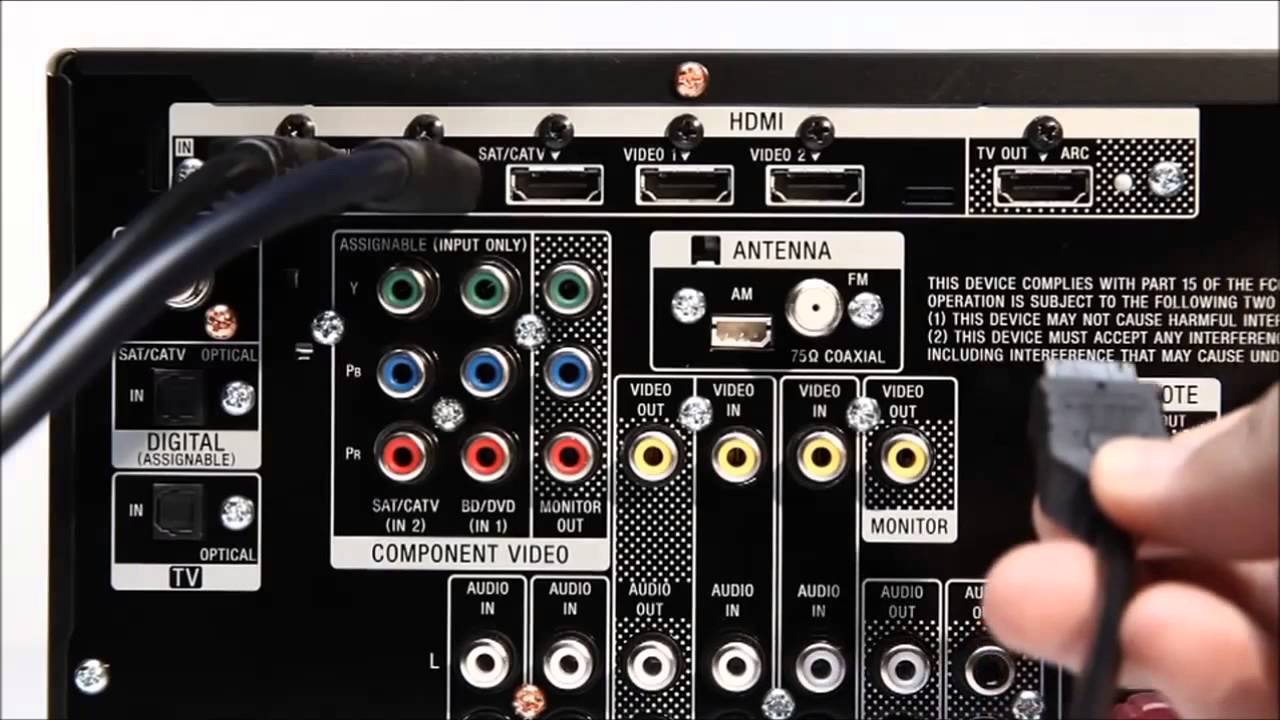
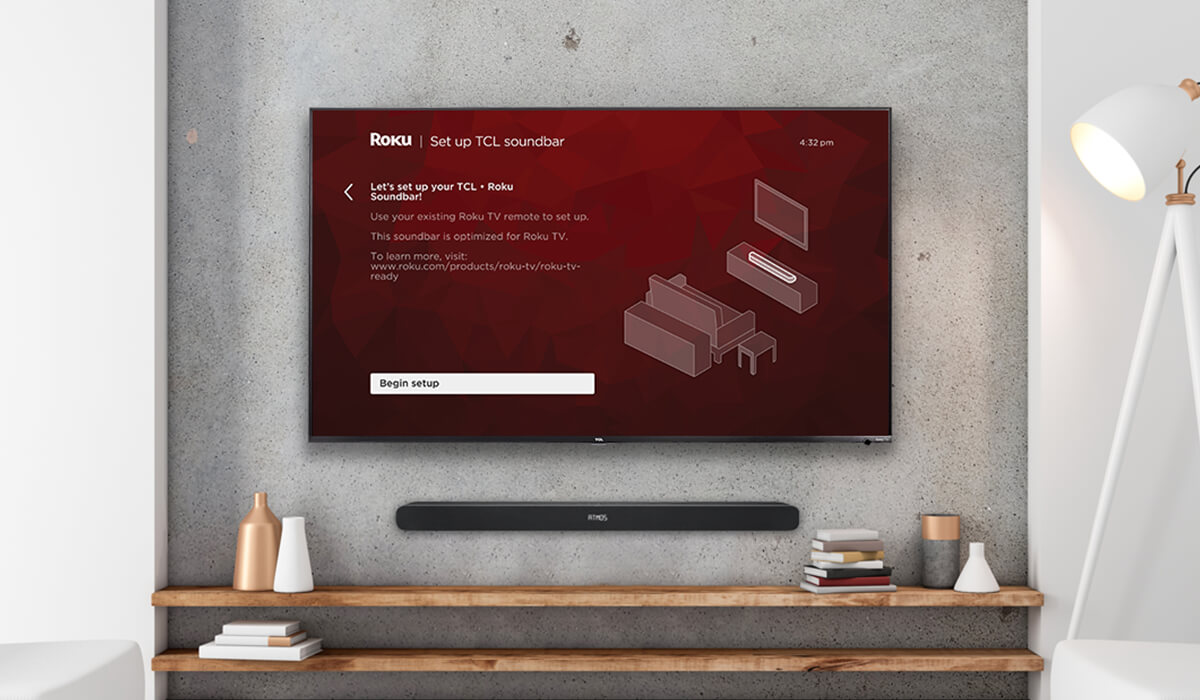
Step 2: Connect the audio receiver to the TV
Now that you have all the necessary equipment, it’s time to connect your Pioneer audio receiver to your TV. Follow these steps:
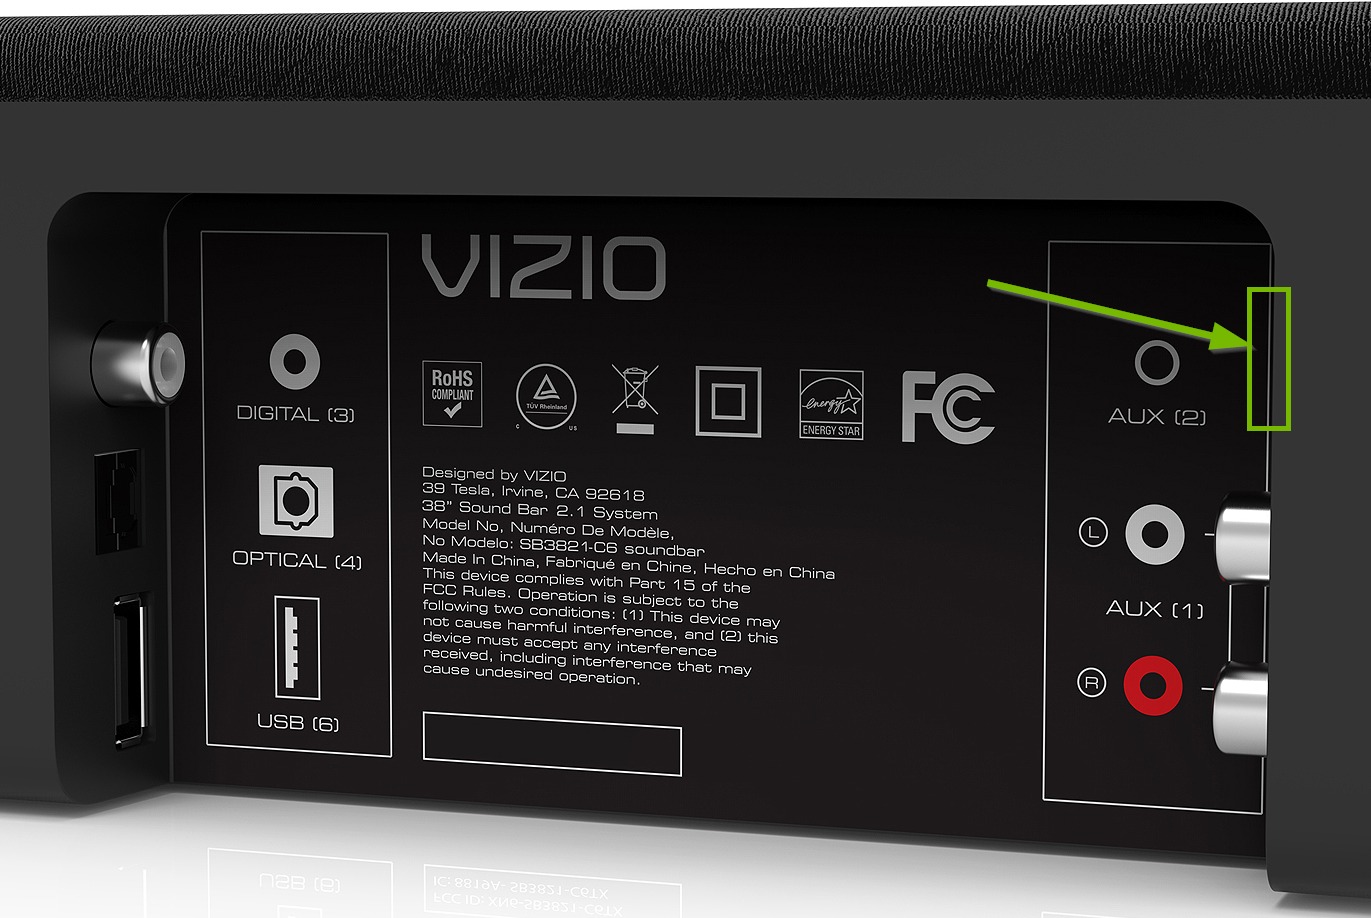
- Identify the audio output options on your TV: Check the back or side panels of your TV for audio output ports. The most common options are HDMI ARC, optical audio output, or RCA audio outputs.
- Choose the appropriate audio cable: Depending on the available audio output ports on your TV and the input options on your Pioneer audio receiver, select the corresponding audio cable. If your TV has HDMI ARC, use an HDMI cable. For optical audio output, use an optical cable. And for RCA outputs, use RCA cables.
- Connect one end of the audio cable to the designated audio output port on your TV.
- Connect the other end of the audio cable to the corresponding input port on your Pioneer audio receiver.
- If you are using HDMI ARC, make sure to activate the HDMI ARC feature on your TV. Go to your TV’s settings menu and find the audio settings. Enable the HDMI ARC or CEC (Consumer Electronics Control) feature.
- Power on your TV and the Pioneer audio receiver.
- On your TV, select the appropriate input source that corresponds to the audio connection you made. For example, if you connected the audio cable to the HDMI ARC port, select the HDMI ARC input source.
- Once the connection is established, you should now be able to hear the audio from your TV through your Pioneer surround sound system.
Make sure to consult the user manual for your specific Pioneer audio receiver and TV for any additional steps or settings that may be required for proper audio connection.
Congratulations! You have successfully connected your Pioneer audio receiver to your TV. In the next step, we will configure the audio settings on your TV to ensure optimal performance of your surround sound system.
Step 3: Configure the audio settings on the TV
After connecting your Pioneer audio receiver to your TV, it’s important to configure the audio settings on the TV to ensure that the audio is correctly routed to your surround sound system. Follow these steps:
- Access the settings menu on your TV: Depending on your TV model, you can usually access the settings menu by pressing the “Menu” or “Settings” button on your TV remote control.
- Navigate to the audio settings: Look for a section in the settings menu that is related to audio or sound. It may be labeled as “Audio Settings,” “Sound,” or “Audio Output.”
- Select the appropriate audio output option: Choose the audio output option that corresponds to the connection you made in Step 2. For example, if you connected the audio cable to the HDMI ARC port, select “HDMI ARC” as the audio output option.
- Configure the audio format: Depending on the capabilities of your Pioneer audio receiver and your TV, you may have options to configure the audio format. Select the format that is supported by both devices, such as Dolby Digital or DTS.
- Adjust the audio settings: Explore the audio settings menu on your TV to fine-tune the audio output. You may have options to adjust the volume levels, apply sound effects, or enable any available surround sound modes.
- Test the audio: Play a video or audio content on your TV and listen for the sound through your Pioneer surround sound system. Make sure the audio is coming from all the speakers and that it is balanced and clear.
It’s worth noting that the menu options and terminology may differ slightly depending on your TV brand and model. If you encounter any difficulties or are unsure about the audio settings on your TV, refer to the TV’s user manual or contact the manufacturer’s support for assistance.
Once you have configured the audio settings on your TV, you are ready to move on to the next step of connecting the speakers to your Pioneer audio receiver. This will enable you to experience true surround sound immersion.
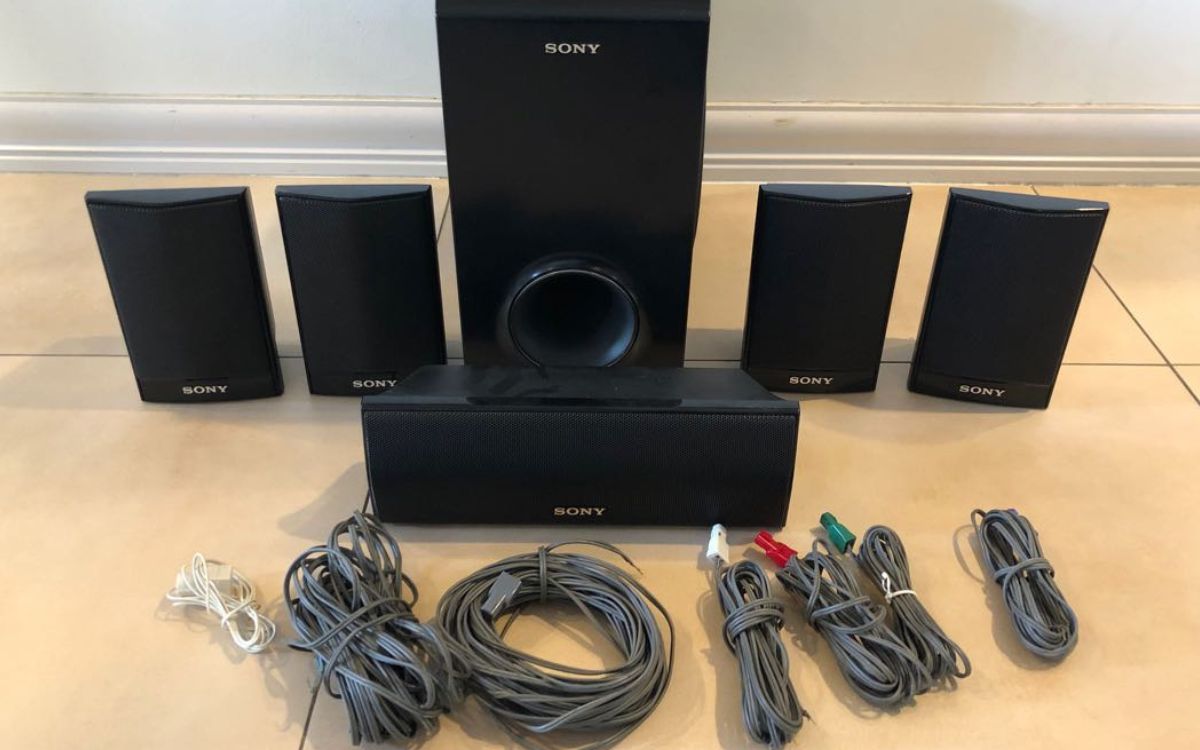
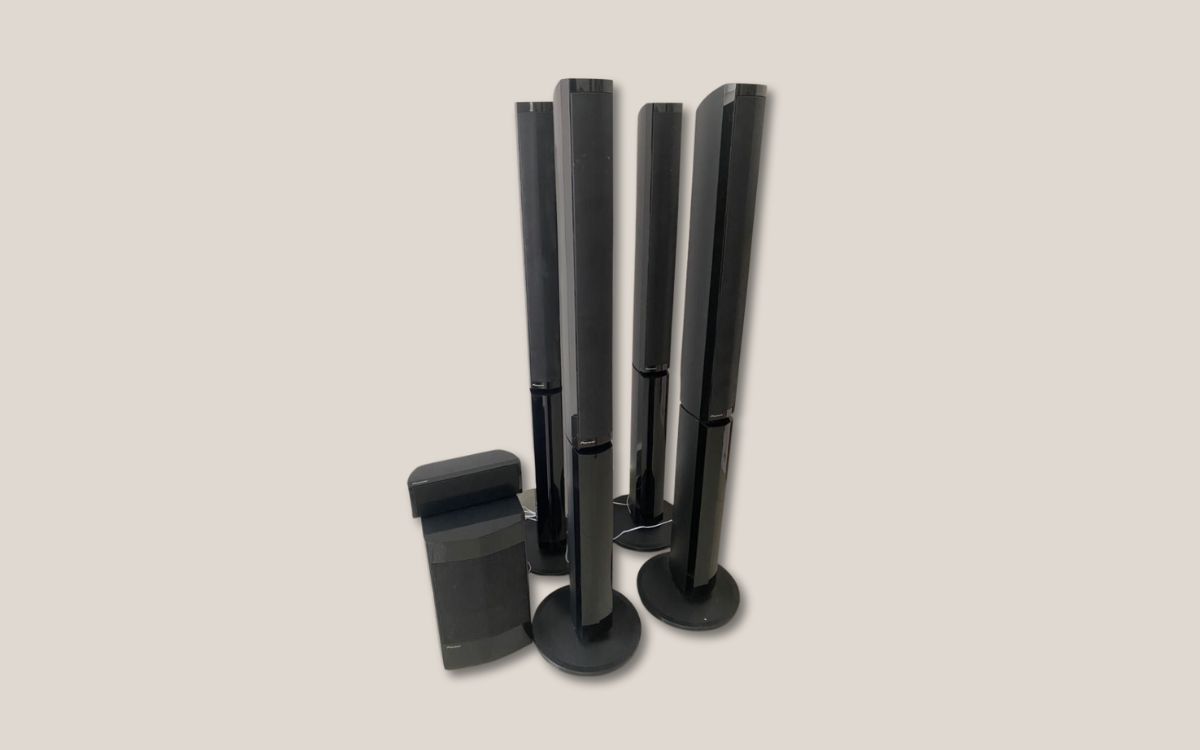
Step 4: Connect the speakers to the audio receiver
Now that you have successfully connected your Pioneer audio receiver to your TV and configured the audio settings, it’s time to connect the speakers to the audio receiver. Follow these steps:
- Identify the speaker terminals: On the back panel of your Pioneer audio receiver, locate the speaker terminals. These are usually labeled as “Front,” “Center,” “Surround,” and “Subwoofer.”
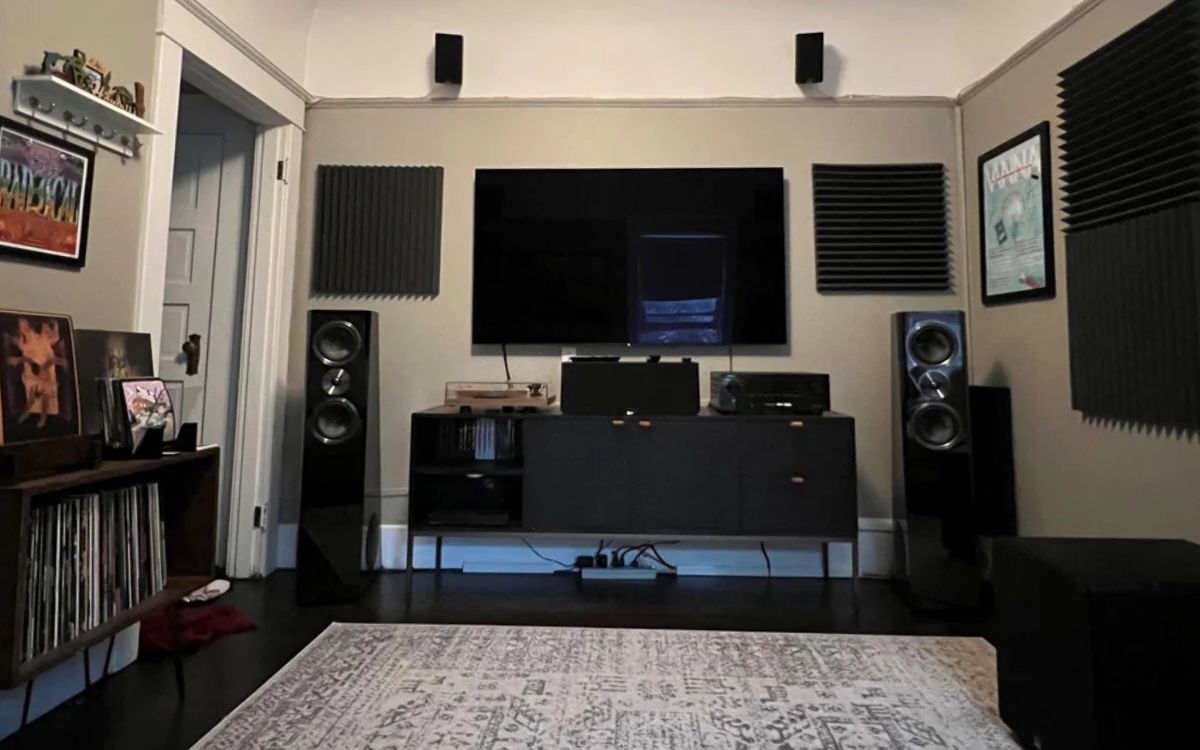
- Determine your speaker configuration: Decide on your desired speaker setup, such as 5.1 or 7.1 surround sound. This will determine the number of speakers you need to connect and their placement in your room.
- Prepare the speaker wires: Cut the speaker wires to the desired length for each speaker. It’s recommended to leave some extra length for flexibility.
- Strip the ends of the speaker wires: Carefully strip about half an inch of insulation from the ends of each speaker wire to expose the bare wire.
- Connect the speakers to the audio receiver: For each speaker, match the respective colored wires to the corresponding terminals on the audio receiver. Connect the positive (+) wire to the positive terminal and the negative (-) wire to the negative terminal. Repeat this process for each speaker.
- If you have a subwoofer, connect it to the dedicated subwoofer output on the audio receiver. Using an RCA cable, plug one end into the subwoofer’s input and the other end into the audio receiver’s subwoofer output.
- Secure the connections: Ensure that all the speaker wire connections are tight and secure. Loose connections can result in poor audio quality or no sound at all.
- Arrange the speakers: Place the speakers in their designated positions around your room. Refer to the user manual of your Pioneer audio receiver for optimal speaker placement guidelines.
- Power on the audio receiver and the speakers: Connect the audio receiver and speakers to a power source and turn on the system. You may need to consult the user manual to properly power up your specific Pioneer audio receiver.
Once the speakers are connected and powered on, your Pioneer surround sound system is ready to deliver immersive audio. In the next step, we will test the surround sound system to ensure everything is working correctly.
Step 5: Test the surround sound system
Now that you have connected all the speakers to your Pioneer audio receiver, it’s time to test the surround sound system and ensure that everything is working as expected. Follow these steps to perform a quick test:
- Play a movie or TV show that has surround sound capabilities: Choose a media source that is known to have surround sound audio. This will allow you to fully experience the capabilities of your newly set up system.
- Adjust the volume levels: Use the audio receiver’s remote control to adjust the volume levels of each speaker. Make sure the audio is balanced and that all speakers are producing sound.
- Test each speaker individually: Some audio receivers have a built-in test mode that allows you to test each speaker individually. Use this feature to ensure that sound is coming from each speaker and that they are positioned correctly.
- Listen for directional audio: As you play the content, pay attention to the directional audio effects. A properly set up surround sound system should provide a realistic and immersive audio experience, with sounds coming from different directions.
- Check the subwoofer: Make sure the subwoofer is producing deep bass sounds without distorting or overpowering the other speakers. Adjust the subwoofer’s volume control if necessary.
- Experiment with sound modes: Your Pioneer audio receiver may have different sound modes, such as Movie, Music, or Game modes. Explore these options and determine which one suits your preference for different types of content.
During the testing phase, it’s essential to make small adjustments as needed. You may need to fine-tune the speaker placement, volume levels, or audio settings to achieve the optimal surround sound experience.
If you encounter any issues or are not getting the desired results, refer to the user manual of your Pioneer audio receiver or contact the manufacturer’s support for further assistance.
With your Pioneer surround sound system successfully connected and tested, you are now ready to enjoy immersive audio whenever you watch movies, play games, or listen to music from your TV. Sit back, relax, and experience the full potential of your new audio setup!
Conclusion
Congratulations! You have successfully connected your Pioneer surround sound system to your TV and are now able to enjoy a truly immersive audio experience. By following the step-by-step instructions and taking the time to configure and test your system, you have unlocked the full potential of your home entertainment setup.
With your Pioneer audio receiver properly connected to your TV, the audio signals are now being delivered to your speakers in high-fidelity, creating a surround sound environment that enhances the visuals on your screen. Whether it’s the explosive sound effects of an action movie or the crisp vocals of your favorite singer, your surround sound system will elevate your audio experience to new heights.
Remember, when setting up your surround sound system, it’s important to gather all the necessary equipment, connect the audio receiver to your TV, configure the audio settings, connect the speakers, and then test the system to ensure optimal performance. By taking the time to carefully set up each component and make necessary adjustments, you can fully immerse yourself in a captivating audio experience that enhances your viewing pleasure.
Don’t hesitate to experiment with different sound modes, speaker placements, and audio settings to customize the audio to your liking. Each room and individual preference may vary, so it’s important to find the right balance and settings that suit your environment and personal preferences.
We hope this guide has been helpful in assisting you with connecting your Pioneer surround sound system to your TV. Now, sit back, relax, and enjoy the incredible audio experience that your home theater setup provides. Whether it’s a movie night, a gaming session with friends, or simply enjoying your favorite music, you can now fully immerse yourself in the world of surround sound audio.