Home>Devices & Equipment>Radio>How To Set Up CB Radio
Radio
How To Set Up CB Radio
Modified: January 22, 2024
Learn how to set up a CB radio and improve your communication on the go. Enhance your radio skills and stay connected with ease.
(Many of the links in this article redirect to a specific reviewed product. Your purchase of these products through affiliate links helps to generate commission for AudioLover.com, at no extra cost. Learn more)
Table of Contents
Introduction
Welcome to the world of CB radio! If you’re looking to set up your own CB radio system, you’re in the right place. CB radio, or Citizens Band radio, has been a popular means of communication for truckers, off-roaders, and radio enthusiasts for decades. It allows users to communicate over short distances, making it a valuable tool for staying connected while on the road.
In this article, we’ll guide you through the step-by-step process of setting up your CB radio system. Whether you’re a beginner or have some experience with radios, we’ll cover everything you need to know to get started. From choosing the right CB radio to installing the antenna and connecting the necessary components, we’ve got you covered.
Setting up a CB radio may seem intimidating at first, but with the right knowledge and guidance, it can be a straightforward and enjoyable task. CB radios are versatile and can be used for various purposes, such as communicating with fellow truckers, coordinating with off-roading buddies, or even staying connected in emergency situations.
Before we dive into the step-by-step guide, it’s worth familiarizing yourself with some key terms and concepts related to CB radios. CB radio operates on specific frequencies within the 27 MHz range, and it is regulated by the Federal Communications Commission (FCC) in the United States. The range of CB radios is typically limited to a few miles, although external factors such as antenna height and atmospheric conditions can affect the range.
CB radios use a single-sideband modulation (SSB) or amplitude modulation (AM) method of transmission. SSB radios generally offer better range and sound quality, but they are more expensive than AM radios. The choice between SSB and AM depends on your specific needs and budget.
Now that you have a basic understanding of CB radios, let’s get started on setting up your own CB radio system. From choosing the right radio to testing and tuning, we’ll cover everything you need to know. So grab your tools and let’s get started!
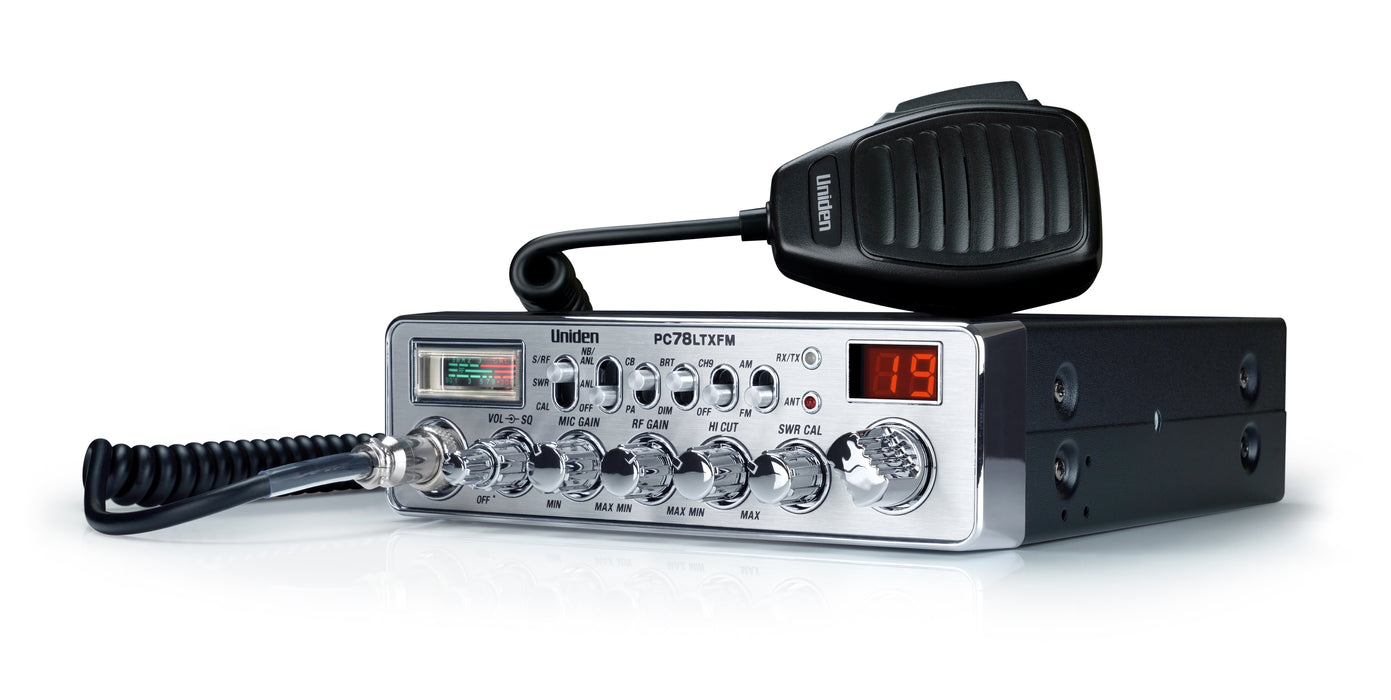
Step 1: Choosing the Right CB Radio
The first step in setting up your CB radio system is choosing the right CB radio for your needs. With a wide range of options available on the market, it’s important to consider factors such as features, price, and quality when making your decision.
When selecting a CB radio, one of the main considerations is whether you prefer a handheld or a mobile unit. Handheld CB radios offer portability and are ideal for those who need to use their radio outside of their vehicle. Mobile CB radios, on the other hand, are designed for installation in a vehicle and offer a more permanent solution.
Next, determine whether you want a basic model or one with advanced features. Basic CB radios typically offer the essential functions for communication, including channel selection, volume control, and squelch, whereas advanced models may include additional features such as weather channels, built-in SWR meters, and Bluetooth connectivity.
Consider the power output of the CB radio as well. Most CB radios have a power output of 4 watts, which is the maximum allowed by the FCC. However, some radios have a switchable power output, allowing you to switch between 4 watts and a lower power setting to conserve battery or reduce interference.
Another important factor to consider is the size and layout of your vehicle. If space is a constraint, you may want to opt for a compact CB radio that can be easily installed in tight spaces. Some CB radios also come with remote mount options, allowing you to separate the radio unit from the control panel for more flexibility in installation.
Lastly, it’s important to set a budget for your CB radio system. Prices can vary significantly depending on the brand and features of the radio. It’s worth investing in a quality CB radio from a reputable manufacturer to ensure reliable performance and durability.
Once you have considered these factors, it’s time to research and compare different CB radio models to find the one that best meets your needs. Read reviews, check specifications, and consider feedback from other CB radio users to make an informed decision.
Remember, choosing the right CB radio is crucial to ensure clear and reliable communication. Take your time, weigh the pros and cons, and select a CB radio that suits your specific requirements. With the right radio in hand, you’re one step closer to setting up your CB radio system.
Step 2: Installing the Antenna
Once you have chosen the right CB radio, the next step is installing the antenna. The antenna plays a crucial role in ensuring optimal signal transmission and reception, so it’s important to install it correctly for optimal performance.
The first consideration when installing the antenna is the type of antenna you choose. There are various types available, including magnet mount antennas, fiberglass antennas, and whip antennas. The type of antenna you choose depends on factors such as your vehicle type, budget, and personal preference.
When selecting the location for the antenna, it’s important to choose a spot that provides good visibility and maximizes signal strength. Ideally, the antenna should be mounted as high as possible on your vehicle to minimize obstructions and interference. Common mounting locations include the roof, trunk, or hood of the vehicle.
Once you have decided on the location, it’s time to install the antenna mount. The mount should be securely attached to the vehicle using screws or brackets, ensuring that it is stable and will not easily come loose during travel.
Next, attach the antenna mast or whip to the mount. Most antennas come with a standard thread size that fits onto the mount. Follow the manufacturer’s instructions for attaching the antenna securely to the mount, ensuring a tight connection.
After installing the antenna, it’s important to properly route the antenna cable to the CB radio. You’ll want to avoid any sharp bends or kinks in the cable, as this can affect the signal quality. Carefully route the cable inside your vehicle, making sure it is secured and protected from any potential damage.
Once you have routed the cable to the CB radio, connect it to the appropriate connector on the back of the radio. Most CB radios have a designated antenna connector, typically labeled “ANT” or “ANTENNA.” Ensure the connection is tight and secure to prevent signal loss.
Before finalizing the antenna installation, it’s important to test the system to ensure proper functionality. Turn on your CB radio and perform a radio check with another user to ensure clear communication. If you encounter any issues or poor signal quality, double-check all connections and antenna positioning.
Remember, the quality and proper installation of the antenna are crucial for optimal CB radio performance. Take your time, follow the manufacturer’s instructions, and double-check all connections to ensure a successful antenna installation. With the antenna installed, you’re one step closer to enjoying clear and reliable communication with your CB radio system.
Step 3: Mounting the CB Radio
After installing the antenna, the next step in setting up your CB radio system is mounting the CB radio itself. Mounting the radio properly ensures easy access, secure placement, and optimal performance.
The first consideration when mounting the CB radio is selecting the right location. It’s important to choose a spot that is easily accessible from the driver’s seat and does not obstruct your view or any essential controls. Common mounting locations include under the dashboard, on the center console, or on the side of the driver or passenger seat.
Once you have chosen the location, you’ll need to determine the best method of mounting. There are several options available, including brackets, mounting brackets, and adhesive mounts. The method you choose depends on your vehicle type and personal preference.
If using brackets or mounting brackets, follow the manufacturer’s instructions to securely attach them to the chosen location. Ensure that the brackets are aligned properly to prevent any tilting or shifting of the CB radio during use.
If using an adhesive mount, make sure the surface where you plan to attach it is clean and free of any dirt or debris. Peel off the backing of the adhesive mount and firmly press it onto the desired location. Allow sufficient time for the adhesive to set and ensure a strong bond.
Once the mounting method is in place, carefully place the CB radio onto the brackets or mounting surface. Ensure that the radio is securely fastened in place and doesn’t wiggle or move around during travel.
After mounting the CB radio, you’ll need to connect the necessary cables. Most CB radios require a power connection and an external speaker connection. Refer to the manufacturer’s instructions for the correct cables and connections.
The power connection typically involves connecting the positive and negative power wires to your vehicle’s electrical system. You may need to consult a wiring diagram or seek professional assistance if you’re not familiar with vehicle wiring.
For the speaker connection, use the specified speaker wire to connect the CB radio to an external speaker. This allows for clear and loud audio output during communication.
Once all cables are connected, carefully tuck away any excess wiring to maintain a clean and organized installation. Use zip ties or cable management clips to secure the cables and prevent them from becoming tangled or causing any interference.
Before finalizing the mounting process, turn on the CB radio and test its functionality. Ensure that you can receive and transmit clear signals and adjust the volume and squelch settings as needed.
With the CB radio securely mounted and connected, you’re one step closer to enjoying seamless communication on the road. Take your time, follow the manufacturer’s instructions, and ensure a proper and stable mounting of your CB radio for optimal performance.
Step 4: Connecting the CB Radio to the Power Source
Now that you have mounted your CB radio, the next crucial step is connecting it to a power source. Proper power connection ensures that your CB radio has sufficient power to operate and allows for seamless communication.
The first step in connecting the CB radio to the power source is identifying a suitable power supply. Most CB radios can be powered through the vehicle’s electrical system, typically using a 12-volt DC power source. Locate an available power outlet or accessory socket in your vehicle to connect the radio.
Next, you’ll need to gather the necessary cables and connectors. CB radios usually come with a power cable that includes a fuse holder and a connector that plugs into the radio. You may also need additional connectors or adapters depending on the type of power outlet in your vehicle.
Before connecting the power cable, it’s important to ensure that the CB radio is turned off. This prevents any potential electrical surge or damage during the power connection process.
Now, locate the positive and negative terminals on the power outlet or accessory socket and connect the corresponding wires from the CB radio’s power cable. The red wire is typically the positive lead, while the black wire is the negative lead. Securely attach the wires to the terminals, ensuring a tight and reliable connection.
Once the wires are securely connected, you can insert the fuse into the fuse holder. The fuse acts as a safety mechanism and protects the radio from electrical damage in case of a power surge or short circuit. Make sure to use the appropriate fuse rating as specified by the manufacturer.
After completing the power connection, turn on the CB radio and check for any signs of power. The radio should power up and display the relevant information on the screen. Adjust the volume and squelch settings to ensure optimal sound quality and reception.
It’s important to note that some vehicles may require additional steps to ensure proper power connection. For example, in vehicles with modern electrical systems or computer-controlled wiring, it may be necessary to use a power filter or isolator to prevent electrical interference or compatibility issues.
If you’re unsure about the power connection process or are unfamiliar with vehicle wiring, it’s recommended to consult a professional or seek assistance. They can ensure a safe and reliable power connection for your CB radio system.
With the CB radio successfully connected to the power source, you’re one step closer to enjoying uninterrupted communication on the road. Take your time, follow the manufacturer’s instructions, and ensure a secure and proper power connection for your CB radio.
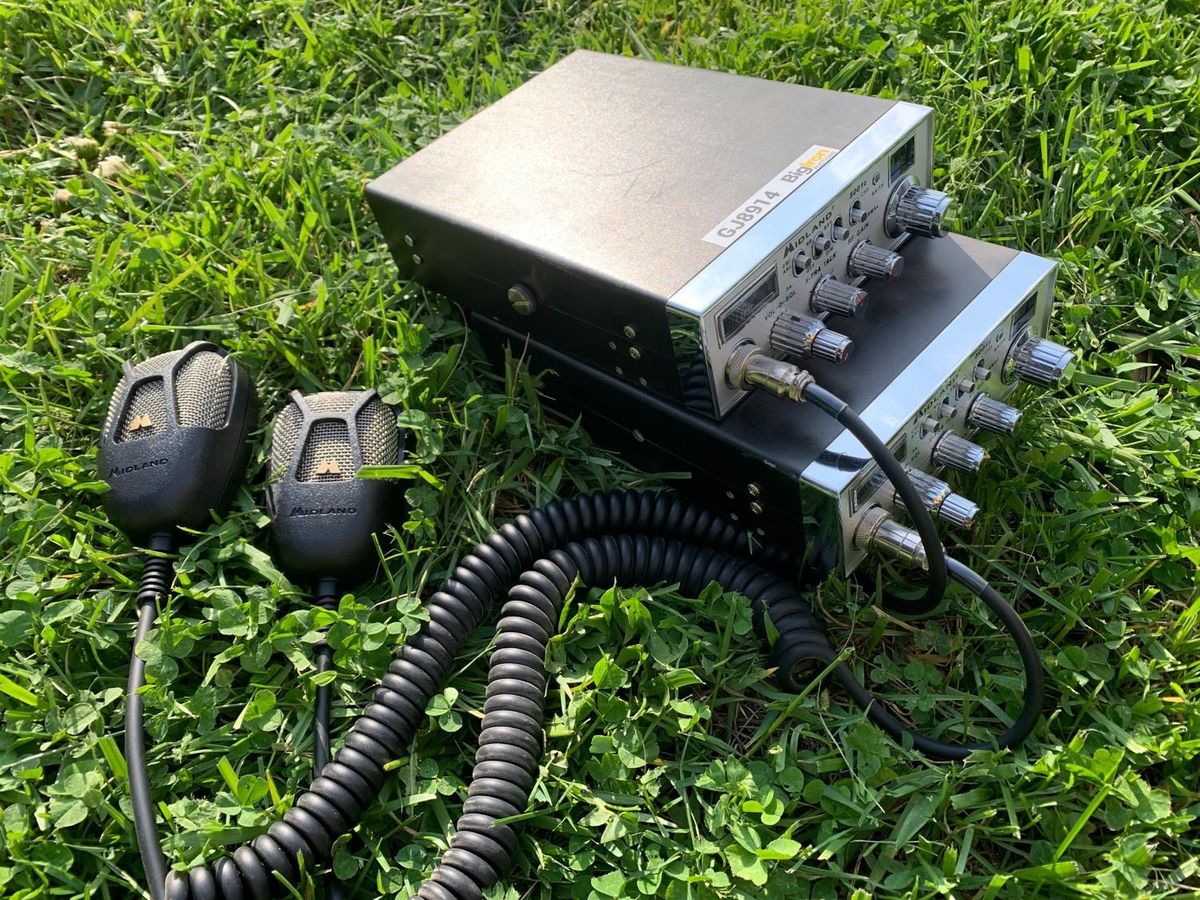
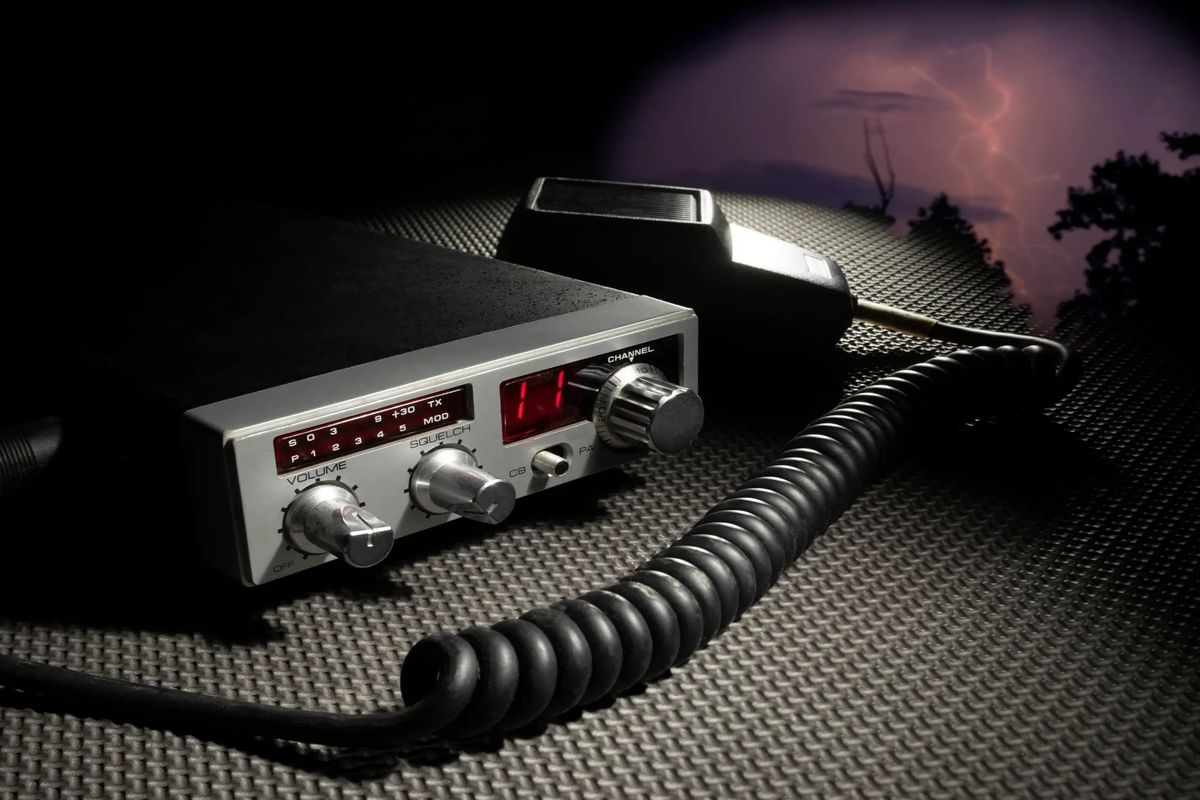
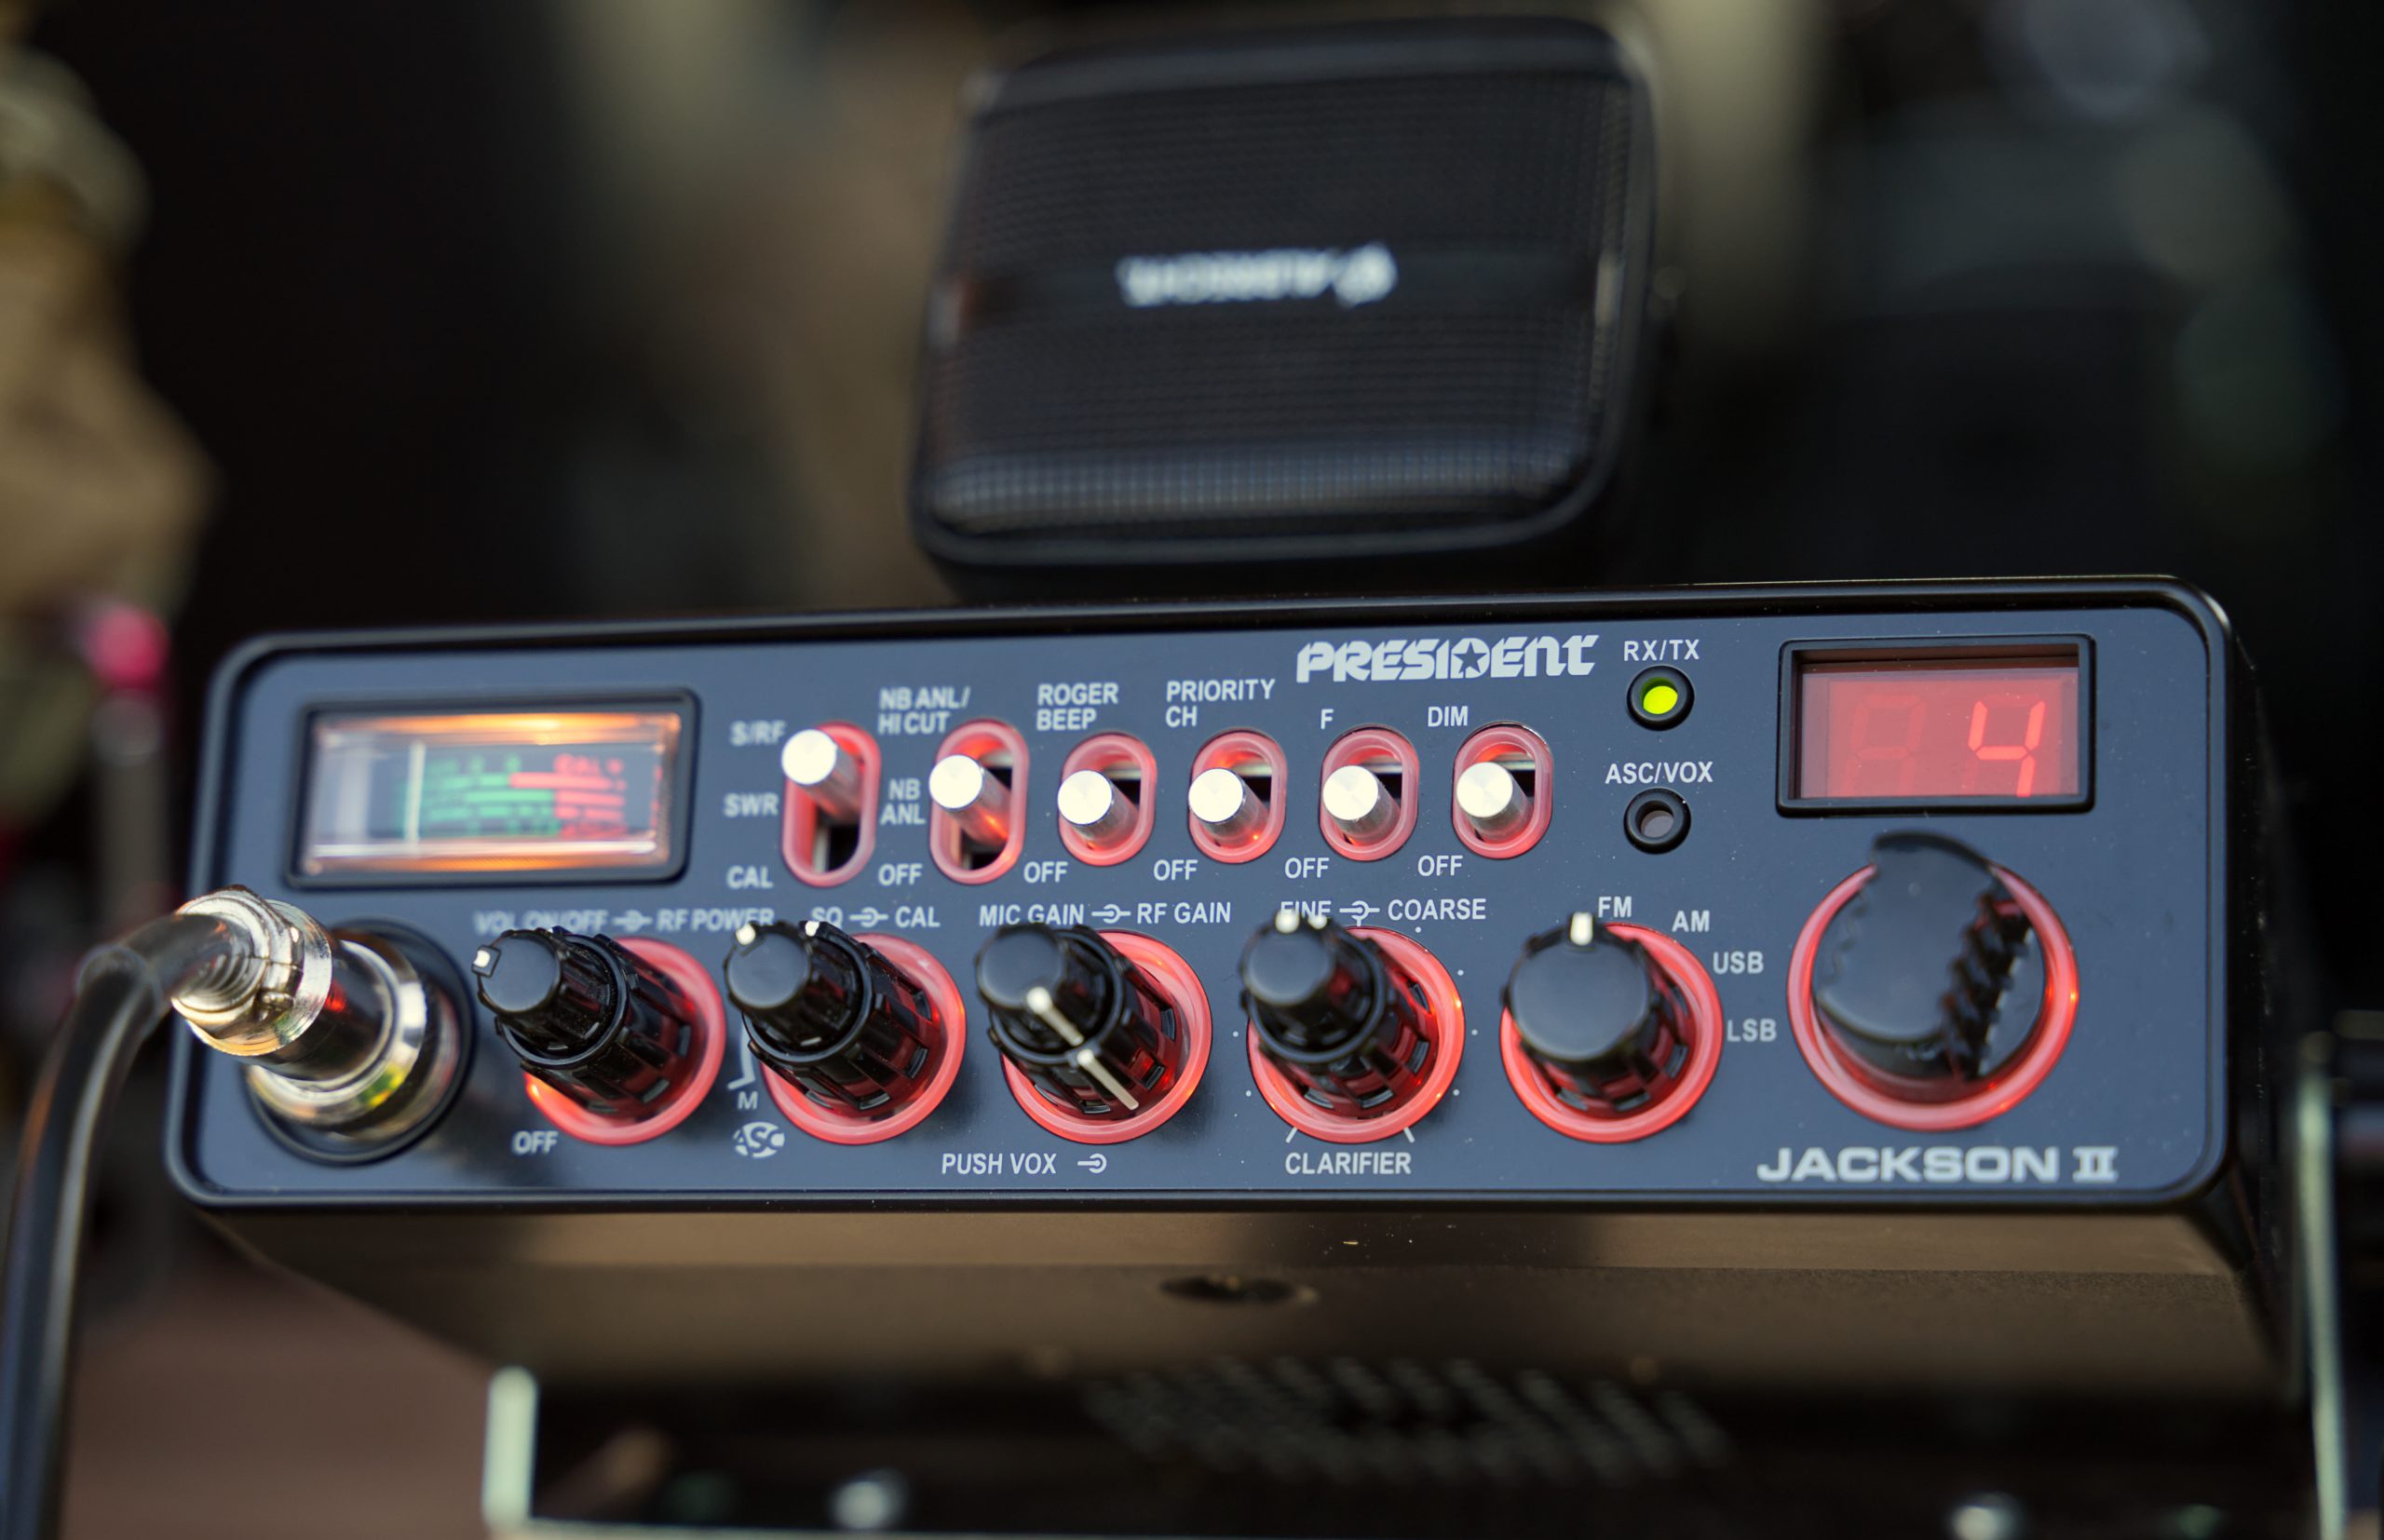
Step 5: Attaching the Microphone and Speaker
Once you have connected your CB radio to the power source, the next step is to attach the microphone and speaker. These components are essential for transmitting and receiving audio during communication.
The first component to connect is the microphone. The microphone is typically included with your CB radio and is connected to the front or side of the radio unit. Look for the microphone port or jack and insert the microphone plug into it. Ensure that it is securely inserted to establish a proper connection.
Next, position the microphone within easy reach while driving. You can attach it to the dashboard, console, or steering wheel using the provided clip or a separate microphone holder. The goal is to position it in a convenient location that allows for easy access and comfortable usage.
After attaching the microphone, it’s time to connect the external speaker. While some CB radios have a built-in speaker, it is often beneficial to connect an external speaker for better sound quality and volume.
Find the speaker port or jack on your CB radio and connect the speaker cable to it. The speaker cable is typically included with the external speaker and has a plug that matches the port on the radio. Insert the plug into the port and ensure a secure connection.
Now, find a suitable location to mount the external speaker. It’s important to place the speaker where it can produce clear and audible sound without any obstructions. Common mounting locations include under the dashboard, on the side panels, or on the rear deck of the vehicle.
Once you have chosen the location, securely attach the speaker using the provided brackets or mounting hardware. Ensure that the speaker is positioned in a way that directs the sound towards the driver for optimal listening experience.
After attaching the microphone and speaker, turn on your CB radio and perform a test transmission and reception. Speak into the microphone and check that the sound is clear and audible through the external speaker. Adjust the volume settings as needed for comfortable listening.
It’s important to note that some CB radios may require additional configurations or adjustments to optimize the microphone and speaker performance. Refer to the manufacturer’s instructions and consult the user manual for specific guidelines related to your CB radio model.
With the microphone and speaker properly attached and functional, you’re now ready to fully utilize your CB radio system. Take your time, ensure proper connections, and position the microphone and speaker for optimal performance and convenience.
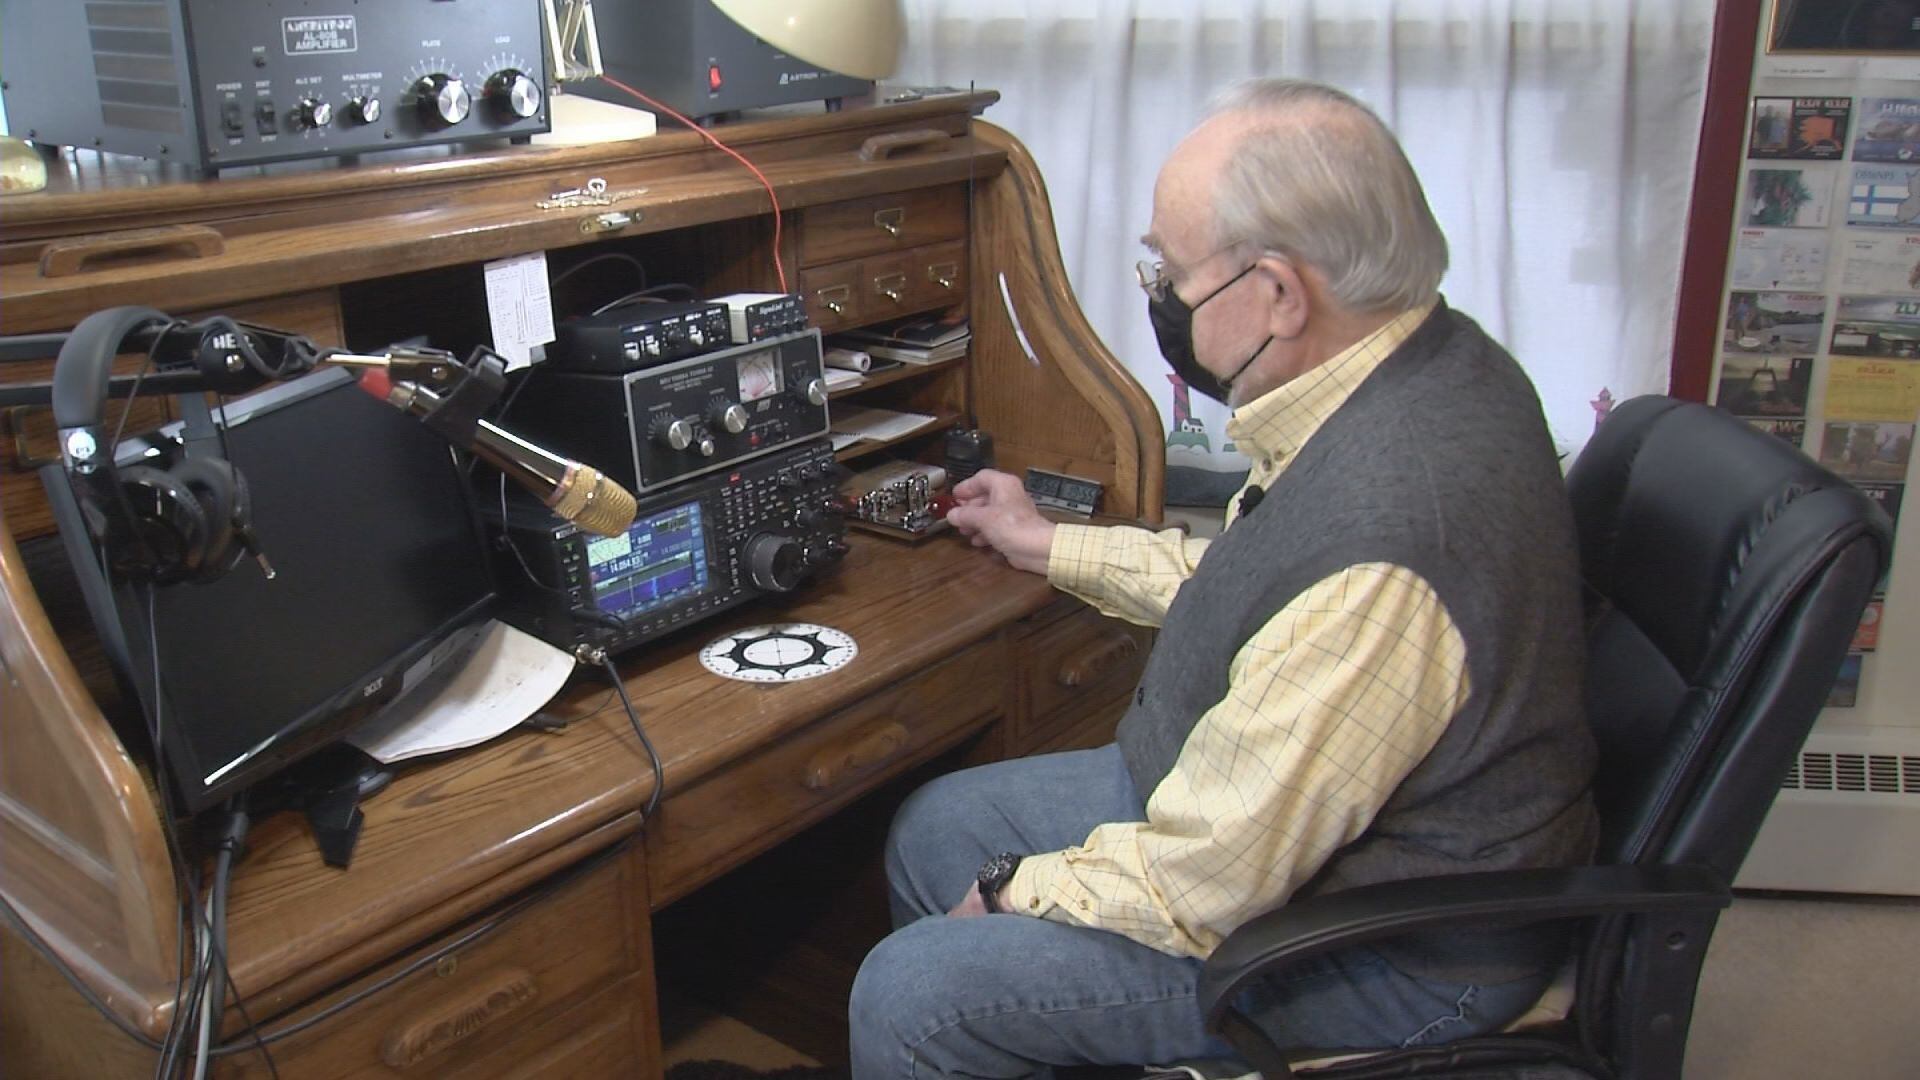
Step 6: Testing the CB Radio
After completing the previous steps of setting up your CB radio system, it’s important to perform a thorough test to ensure everything is functioning properly. Testing allows you to identify any potential issues and make necessary adjustments for optimal communication performance.
Start by tuning your CB radio to a common channel, such as channel 19, which is widely used for trucking and general communication. Make sure the squelch control is adjusted correctly to eliminate background noise while still allowing signals to come through.
Once the radio is tuned and the squelch is set, try transmitting a message. Speak into the microphone clearly and concisely, and ask for a radio check or request someone to respond. You can ask a fellow CB radio user in your vicinity or a friend with a CB radio to help with the test.
Listen for any distortion, static, or weak audio quality when transmitting. If you encounter any issues, check the microphone connection, ensure the microphone is not muted, and verify that the antenna is properly installed and connected.
If your transmission is heard clearly by another CB radio user, request them to respond so you can verify your receiving capabilities. Pay attention to the audio quality, volume, and any potential interference that may affect the communication.
During the test, you can also adjust the RF gain and the volume controls to fine-tune the incoming signals. The RF gain control helps filter out weak or distant signals, while the volume control allows you to adjust the audio output to your preference.
In addition to testing the transmission and receiving capabilities, it’s also a good idea to test any additional features of your CB radio system. For example, if your radio has weather channels, tune to a local weather channel and ensure you can receive accurate weather updates.
Take note of any issues or areas for improvement that arise during the testing process. If you encounter any difficulties, refer to the manufacturer’s instructions, consult the user manual, or seek assistance from a knowledgeable CB radio user or technician.
By thoroughly testing your CB radio system, you can ensure that it is operating optimally and ready to be used for your communication needs. Testing enables you to identify and address any issues early on, creating a more reliable and enjoyable experience with your CB radio.
Step 7: Tuning the CB Radio
After setting up and testing your CB radio system, the final step is to tune the radio for optimal performance. Tuning ensures that your CB radio is operating at its best and allows for clear and reliable communication.
Start by checking the standing wave ratio (SWR) of your CB radio. SWR is a measurement of how effectively your CB antenna is transmitting and receiving signals. A high SWR can indicate a problem with the antenna or its installation, leading to poor performance.
To measure the SWR, you’ll need an SWR meter. Follow the instructions provided by the meter and connect it between the antenna and the CB radio. Tune your CB radio to channel 1 and key the microphone while adjusting the meter to obtain the SWR reading.
Refer to the SWR meter’s manual to interpret the reading. Ideally, the SWR should be as low as possible, preferably below 1.5. If the SWR reading is high, it may be necessary to adjust the antenna length, position, or other related components to achieve a lower SWR.
Use the manufacturer’s instructions or seek guidance from an experienced CB radio user if you need to make adjustments to the antenna. Proper antenna tuning can significantly improve your CB radio’s performance.
In addition to SWR tuning, you may also want to fine-tune other settings on your CB radio. Most CB radios allow you to adjust the RF gain, which controls the sensitivity of the receiver. Experiment with the RF gain control to find the optimal setting that balances sensitivity with filtering out unwanted noise.
Another setting to consider is the squelch control. Squelch helps eliminate background noise when there is no incoming signal. Adjust the squelch control to a level where the radio remains quiet until a signal is received, minimizing any unnecessary noise.
Take your time when tuning your CB radio and make small adjustments at a time. It’s a process of trial and error, but with patience and attention to detail, you can fine-tune your CB radio to deliver optimal performance.
Remember to document the settings you’ve found to be ideal for your specific situation. This will make it easier to reconfigure your CB radio in the future or when using it in a different vehicle.
By completing the tuning process, you can be confident that your CB radio is operating at its best potential. Enjoy the clear communication and connect with fellow CB radio users, making the most out of your CB radio system.
Conclusion
Congratulations! You have successfully set up your CB radio system. By following the steps outlined in this guide, you have chosen the right CB radio, installed the antenna, mounted the CB radio, connected it to the power source, attached the microphone and speaker, tested the system, and tuned the radio for optimal performance.
With your CB radio system up and running, you can now enjoy the benefits of clear and reliable communication on the road. Whether you’re a trucker, off-roader, or radio enthusiast, CB radio provides a valuable means of staying connected and enhancing your overall experience.
Remember to familiarize yourself with the rules and regulations governing CB radio usage in your country or region. Adhere to proper radio etiquette, respect other users, and use your CB radio responsibly.
As you dive deeper into the world of CB radio, you may discover additional features and accessories that can further enhance your communication experience. From external amplifiers to additional antennas and filters, there are numerous options to explore based on your specific needs and preferences.
Regular maintenance and periodic checks are also important to ensure the continued performance of your CB radio system. Monitor the condition of the antenna, cables, and connectors for any signs of wear or damage. Clean your microphone and speaker regularly to keep them in optimal condition.
Stay informed about any updates in CB radio technology and regulations to make the most out of your system. Join online communities and forums to connect with other CB radio enthusiasts, share experiences, and gain valuable insights.
Setting up a CB radio system may seem daunting at first, but with the proper guidance and knowledge, it can be an enjoyable and rewarding experience. The ability to communicate with fellow CB radio users and stay connected while on the road adds a new level of convenience, safety, and camaraderie to your travels.
So, grab your microphone, tune to your favorite channel, and start exploring the exciting world of CB radio. Happy communicating!