Home>Devices & Equipment>Microphone>How To Set Up A Microphone
Microphone
How To Set Up A Microphone
Published: February 17, 2024
Learn how to set up a microphone for optimal sound quality with our step-by-step guide. Get the best tips for using your microphone effectively.
(Many of the links in this article redirect to a specific reviewed product. Your purchase of these products through affiliate links helps to generate commission for AudioLover.com, at no extra cost. Learn more)
Table of Contents
Introduction
Introduction
So, you've finally decided to step into the world of audio recording and podcasting. Congratulations! Whether you're a musician, podcaster, YouTuber, or content creator, having a high-quality microphone is essential for capturing clear and professional-sounding audio. However, setting up a microphone for the first time can be a bit daunting. Not to worry, though – I'm here to guide you through the process, step by step.
In this comprehensive guide, we'll cover everything you need to know about setting up a microphone. From choosing the right microphone for your needs to connecting it to an audio interface and adjusting the settings, you'll learn the ins and outs of microphone setup. By the end of this tutorial, you'll feel confident and ready to start recording with your newly set-up microphone.
Let's dive in and explore the world of microphone setup together. Whether you're a complete beginner or someone looking to refine their setup, this guide has got you covered. Let's get started!
Choosing the Right Microphone
Choosing the right microphone is the first crucial step in setting up your recording environment. With a myriad of options available, it's essential to select a microphone that suits your specific needs and budget. Here are some key factors to consider when choosing the right microphone:
1. Microphone Type: Microphones come in various types, including dynamic, condenser, and ribbon. Dynamic microphones are rugged and versatile, making them suitable for live performances and recording loud sound sources. Condenser microphones, on the other hand, are more sensitive and capture a wider frequency range, making them ideal for studio recordings and capturing nuanced vocals and instruments. Ribbon microphones are known for their warm and vintage sound, making them a popular choice for certain recording applications.
2. Polar Pattern: The polar pattern of a microphone determines the direction from which it captures sound. Common polar patterns include cardioid, omnidirectional, and figure-8. Consider the sound sources you’ll be recording and choose a microphone with a polar pattern that best suits your needs. For solo vocal recordings, a cardioid microphone provides excellent isolation, while omnidirectional microphones are suitable for capturing ambient sounds and group vocals.
3. Frequency Response: Understanding the frequency response of a microphone is essential for capturing the desired tonal characteristics of your audio source. Different microphones have varying frequency responses, and selecting one that complements the tonal qualities of your voice or instrument is crucial for achieving a pleasing sound.
4. Budget and Quality: It’s important to strike a balance between your budget and the quality of the microphone. While high-end microphones offer exceptional sound quality and durability, there are also budget-friendly options that deliver impressive performance for home studios and beginner setups.
Before making a purchase, research different microphone models, read user reviews, and if possible, test the microphones to determine which one best suits your recording needs. Once you’ve chosen the right microphone, you’re ready to move on to the next steps in the setup process.
Setting Up the Microphone Stand
Once you’ve selected the ideal microphone for your recording needs, it’s time to set up the microphone stand. Properly positioning the microphone is crucial for capturing clear and balanced audio. Here’s a step-by-step guide to setting up the microphone stand:
1. Choose the Right Location: Select a suitable location for your microphone stand. Consider factors such as room acoustics, proximity to sound sources, and potential obstructions. Ideally, the microphone should be placed in an area where it can capture the desired sound without interference.
2. Adjust the Stand Height: Most microphone stands feature adjustable height settings. Set the stand to an appropriate height based on the sound source you intend to capture. For vocal recordings, position the microphone at approximately mouth level to achieve optimal vocal clarity. When recording instruments, adjust the stand to ensure the microphone is positioned at the ideal distance and angle for capturing the sound accurately.
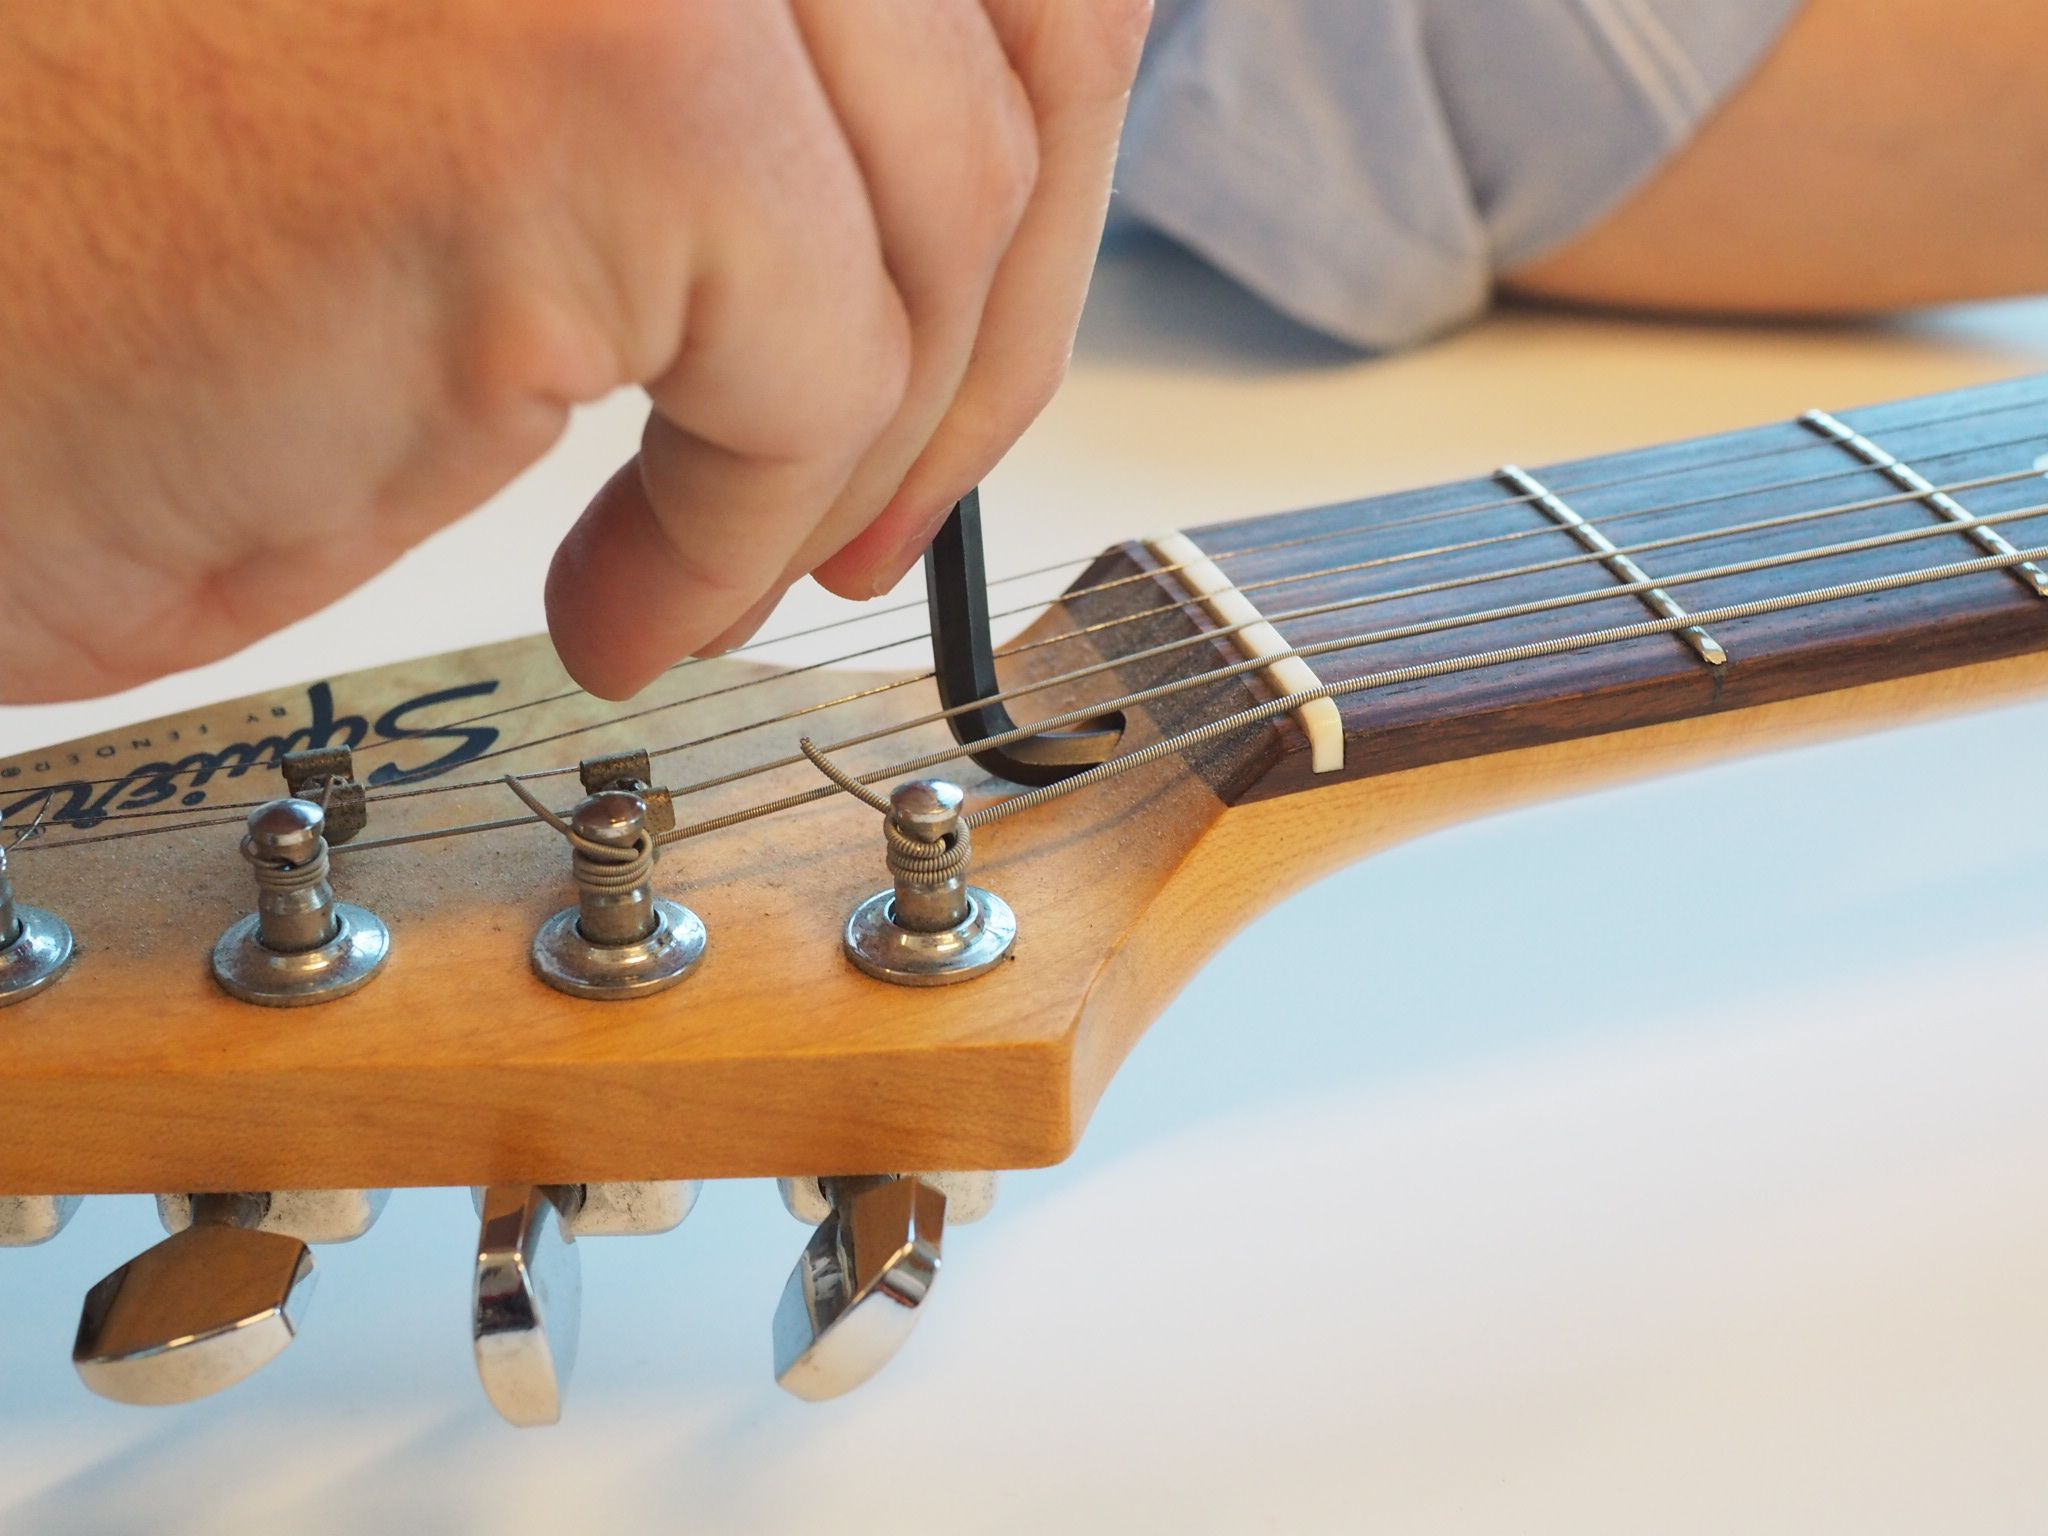
3. Secure the Microphone: Once the stand is positioned, securely attach the microphone to the stand’s microphone clip or shock mount. Ensure that the microphone is firmly in place to prevent any unwanted movement or vibrations during recording sessions.
4. Consider Microphone Isolation: If you’re recording in a space with background noise or reverberation, consider using a microphone isolation shield or reflection filter. These accessories help minimize unwanted room reflections and ambient noise, resulting in cleaner recordings.
5. Test the Position: Before finalizing the setup, test the microphone’s position by speaking or playing the instrument to ensure that the sound is being captured accurately. Make any necessary adjustments to the stand’s position or height to achieve the desired sound capture.
By following these steps, you’ll have your microphone securely positioned on the stand, ready to capture pristine audio for your recordings. With the microphone stand in place, you’re now prepared to move on to the next stage of the setup process.
Connecting the Microphone to the Audio Interface
With the microphone stand set up, the next crucial step is to connect the microphone to an audio interface. The audio interface serves as the bridge between your microphone and the recording device, ensuring that the audio signal is captured and processed effectively. Here’s a detailed guide to connecting the microphone to the audio interface:
1. Select the Appropriate Cable: Depending on the type of microphone and audio interface you’re using, choose the appropriate cable for the connection. Common options include XLR cables for professional microphones and USB cables for USB microphones. Ensure that the cable length is sufficient to reach from the microphone to the audio interface without tension or strain.
2. Locate the Input on the Audio Interface: Identify the microphone input on your audio interface. This input is typically labeled as “Mic,” “XLR,” or with a microphone symbol. Some audio interfaces feature combo inputs that accommodate both XLR and 1/4-inch connectors, providing flexibility for various microphones and instruments.
3. Connect the Microphone: If you’re using a microphone with an XLR connector, plug one end of the XLR cable into the microphone and the other end into the microphone input on the audio interface. Ensure a secure connection to prevent any signal loss or interference. For USB microphones, simply connect the USB cable to an available USB port on the audio interface or computer.
4. Set Input Gain and Phantom Power: Depending on your microphone type, you may need to engage phantom power on the audio interface if you’re using a condenser microphone. Additionally, adjust the input gain on the interface to set the appropriate recording level for the microphone. Carefully monitor the input levels to avoid clipping or distortion during recording.
5. Test the Signal: Before proceeding with recording, test the microphone signal by speaking into the microphone or playing an instrument. Use the audio interface’s monitoring capabilities or recording software to ensure that the microphone signal is being received and processed accurately.
Once the microphone is successfully connected to the audio interface and the signal is confirmed, you’re ready to move on to the next stage of the setup process, which involves adjusting the microphone settings for optimal performance.
Adjusting the Microphone Settings
After connecting the microphone to the audio interface, it’s essential to fine-tune the microphone settings to achieve the best possible audio quality. Properly adjusting the microphone settings ensures that the recorded audio is clear, balanced, and free from unwanted noise or distortion. Here’s a comprehensive guide to adjusting the microphone settings:
1. Polar Pattern Selection: If your microphone features selectable polar patterns, such as cardioid, omnidirectional, or figure-8, choose the appropriate pattern based on the recording scenario. For solo vocals or instruments, a cardioid pattern offers focused sound capture, while omnidirectional patterns are suitable for ambient recordings or group vocals.
2. Low-Cut Filter and Pad: Some microphones are equipped with low-cut filters and pads to control bass frequencies and handle high sound pressure levels, respectively. Adjust these settings as needed to tailor the microphone’s response to the specific sound source and recording environment.
3. Input Gain Adjustment: Use the input gain control on the audio interface to set the optimal recording level for the microphone. Aim to achieve a healthy signal level without allowing the input to clip or distort. Monitoring the input levels during sound checks and test recordings helps ensure that the gain is appropriately adjusted for the desired sound quality.
4. Phantom Power Activation: If you’re using a condenser microphone that requires phantom power, ensure that the phantom power switch on the audio interface is activated. This provides the necessary power for the microphone’s internal circuitry and ensures proper signal transmission.
5. Monitor the Signal: Utilize the audio interface’s monitoring capabilities or recording software to monitor the microphone signal in real time. Check for any unwanted noise, interference, or signal irregularities, and make adjustments as needed to optimize the signal quality.
6. Positioning and Acoustic Treatment: Consider the microphone’s positioning and the acoustic characteristics of the recording environment. Experiment with microphone placement and utilize acoustic treatment, such as sound absorption panels or diffusers, to enhance the sound capture and minimize undesirable room reflections.
By carefully adjusting the microphone settings and considering the recording environment, you can ensure that the microphone delivers exceptional audio quality for your recordings. With the microphone settings optimized, you’re now prepared to move on to the final step in the setup process – testing the microphone to confirm its performance.
Testing the Microphone
Before diving into full-fledged recordings, it’s crucial to thoroughly test the microphone to confirm its performance and ensure that the setup meets your expectations. Testing the microphone allows you to identify and address any potential issues or adjustments needed before embarking on recording sessions. Here’s a comprehensive guide to testing the microphone:
1. Sound Check: Perform a sound check by speaking into the microphone or playing the intended instrument at various volumes. This initial test helps evaluate the microphone’s sensitivity, frequency response, and overall sound capture capabilities.
2. Recording Samples: Record short audio samples using your preferred recording software or audio interface. Capture a range of vocal and instrumental passages to assess the microphone’s performance across different sound sources and dynamic levels.
3. Playback and Analysis: Listen to the recorded samples attentively, paying close attention to the clarity, tonal balance, and any potential background noise or artifacts. Analyze the recordings to identify any areas that may require adjustments, such as input gain, positioning, or microphone settings.
4. Room Acoustics and Reflections: Evaluate the impact of room acoustics on the recorded audio. Take note of any unwanted reflections, reverberation, or room noise that may affect the overall sound quality. Consider implementing acoustic treatment or repositioning the microphone to mitigate these issues.
5. Dynamic Range and Distortion: Assess the microphone’s ability to capture both soft and loud sound sources without introducing distortion or signal clipping. Test the microphone’s dynamic range by recording passages with varying intensity and volume levels.
6. Additional Considerations: If you’re using the microphone for specific applications, such as podcasting, voiceover work, or musical performances, tailor the testing process to address the unique requirements of each scenario. Pay attention to speech intelligibility, vocal presence, and instrument articulation as applicable.
By conducting thorough testing, you can fine-tune the microphone setup and address any potential challenges before embarking on formal recording sessions. Testing the microphone not only ensures optimal performance but also provides valuable insights into refining the setup for future use.
Conclusion
Congratulations, you’ve successfully navigated the process of setting up a microphone for your recording endeavors. By following this comprehensive guide, you’ve gained valuable insights into selecting the right microphone, configuring the microphone stand, connecting the microphone to an audio interface, adjusting the microphone settings, and conducting thorough testing. As a result, you’re now equipped to capture professional-quality audio for your creative projects, whether it’s music production, podcasting, voiceovers, or content creation.
Remember, the key to achieving exceptional audio quality lies in attention to detail and a willingness to experiment and refine your setup. Continuously evaluate and optimize your microphone setup based on the specific demands of your recording environment and the characteristics of the sound sources you’re capturing. Whether it’s adjusting microphone placement, fine-tuning input gain, or implementing acoustic treatment, each refinement contributes to enhancing the overall audio capture experience.
Furthermore, as you delve deeper into the world of audio recording, don’t hesitate to explore additional resources, seek advice from fellow enthusiasts, and stay updated on the latest advancements in microphone technology and recording techniques. Embracing a mindset of continuous improvement and learning will undoubtedly elevate your recording capabilities and expand your creative horizons.
With your microphone setup primed and ready, it’s time to unleash your creativity and bring your artistic vision to life through the power of pristine audio capture. Whether you’re crafting captivating melodies, delivering engaging narratives, or expressing your unique voice, your meticulously set-up microphone stands as a steadfast ally in translating your creative expressions into captivating sonic experiences.
So, go forth with confidence, armed with the knowledge and expertise to harness the full potential of your microphone setup. Let your passion for sound and storytelling resonate through each recording, and may your microphone serve as a faithful conduit for channeling your artistic brilliance.
Happy recording!