Home>Devices & Equipment>Yamaha>How To Set Up Yamaha Receiver

Yamaha
How To Set Up Yamaha Receiver
Published: February 6, 2024
Learn how to set up your Yamaha receiver with our easy step-by-step guide. Unlock the full potential of your sound system and enjoy immersive audio experience
(Many of the links in this article redirect to a specific reviewed product. Your purchase of these products through affiliate links helps to generate commission for AudioLover.com, at no extra cost. Learn more)
Table of Contents
Introduction
Welcome to this comprehensive guide on how to set up a Yamaha receiver. Whether you’re a beginner or an experienced audio enthusiast, setting up a receiver can sometimes be a daunting task. However, with a little guidance, you’ll be able to enjoy the full capabilities of your Yamaha receiver and achieve the best audio experience possible.
Yamaha is a renowned brand known for its high-quality audio equipment. Their receivers are packed with advanced features and cutting-edge technology, making them a popular choice among home theater enthusiasts and music lovers alike. From immersive surround sound to seamless connectivity options, a Yamaha receiver offers an exceptional audio experience.
In this article, we will walk you through the step-by-step process of setting up your Yamaha receiver. We’ll cover everything from unboxing the receiver to configuring audio settings and connecting additional devices. By the end of this guide, you’ll have a fully functional Yamaha receiver that will bring your audio experience to a whole new level.
Before we delve into the setup process, it’s essential to ensure that you have all the necessary components. Along with your Yamaha receiver, you’ll need the included remote control, power cable, HDMI cables, and any other audio or video cables required for your specific setup. It’s also important to have a clear understanding of your audio and video sources, such as speakers, Blu-ray players, game consoles, and streaming devices, that you’ll be connecting to the receiver.
Now that we’ve got the basics covered, let’s move on to the first step: unboxing your Yamaha receiver and getting it ready for setup.
Step 1: Unboxing the Yamaha Receiver
The first step in setting up your Yamaha receiver is to unbox it and get everything ready for installation. Follow these simple steps to ensure a smooth unboxing process:
- Find a suitable workspace: Choose a well-lit and spacious area where you have enough room to work comfortably and can easily access the receiver.
- Handle with care: Yamaha receivers are delicate electronic devices, so it’s important to handle them with care. Avoid dropping or mishandling the receiver to prevent any damage.
- Remove the packaging: Carefully remove the outer packaging, ensuring that you don’t accidentally damage any components inside. Yamaha usually packages their receivers securely to protect them during transportation.
- Check for accessories: Locate and examine the accessories that come with the receiver, such as the remote control, batteries, power cable, and any other included cables or documentation. Ensure that you have all the necessary components.
- Read the manual: Before proceeding with the setup, take a few moments to read through the user manual. The manual provides important information on the specific features and functions of your Yamaha receiver, as well as detailed setup instructions that may be unique to your model. Familiarizing yourself with the manual will make the setup process easier and help you optimize your receiver’s performance.
Once you’ve completed these steps, you’re now ready to move on to the next phase of setting up your Yamaha receiver: connecting the necessary cables.
Step 2: Connecting the Cables
Now that you have unboxed your Yamaha receiver, it’s time to connect the necessary cables. Proper cable connections are crucial for ensuring the optimal performance of your receiver. Follow these steps to make the necessary connections:
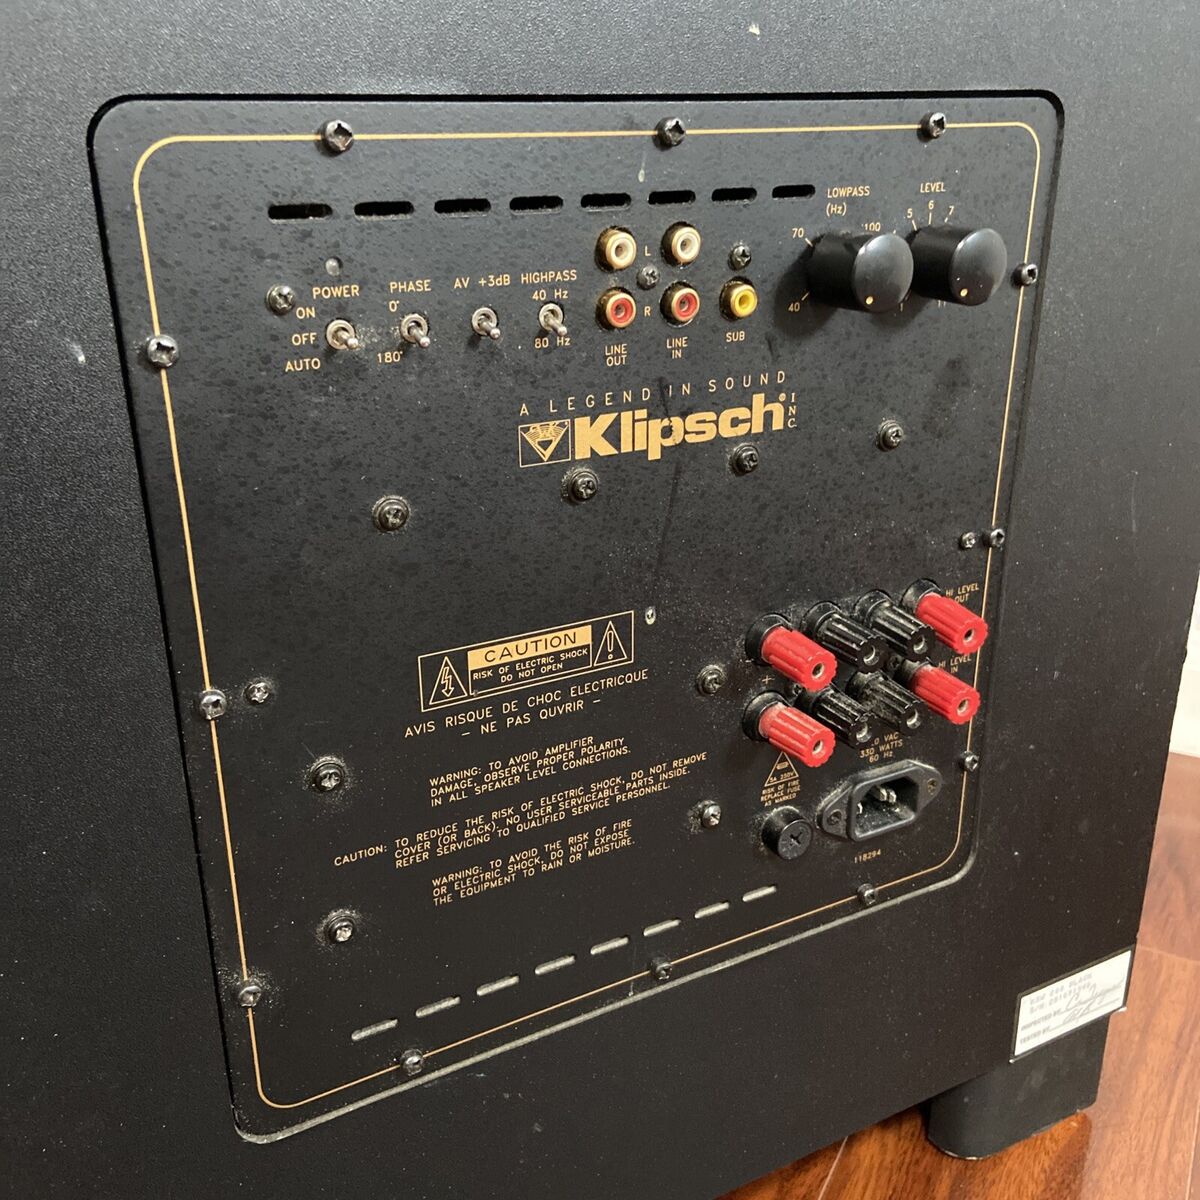
- Identify the input and output ports: Examine the back panel of your Yamaha receiver to locate the input and output ports. These ports may vary depending on the model, but you’ll typically find HDMI ports, audio input and output ports, as well as speaker terminals.
- Connect the speakers: Start by connecting your speakers to the receiver. Ensure that the positive and negative terminals of the speakers match the corresponding terminals on the receiver. You can use either banana plugs, bare wire connections, or spade connectors, depending on the speaker terminals.
- Connect the audio/video sources: Determine the audio and video sources you’ll be connecting to the receiver, such as Blu-ray players, gaming consoles, or media streaming devices. Use HDMI cables to connect these sources to the appropriate HDMI input ports on the receiver. If you’re using analog audio sources, utilize RCA or optical cables to connect them to the appropriate audio input ports.
- Connect to the TV: To enjoy video content on your TV, connect an HDMI cable from the HDMI output port on the receiver to the HDMI input port on your TV. This will transmit both audio and video signals from the receiver to your TV.
- Power up the receiver: Connect the power cable to the back of the receiver and plug it into a power outlet. Ensure that the receiver is properly grounded and that all connections are secure.
Once you have successfully connected all the cables, you can move on to the next step: configuring the audio settings on your Yamaha receiver.
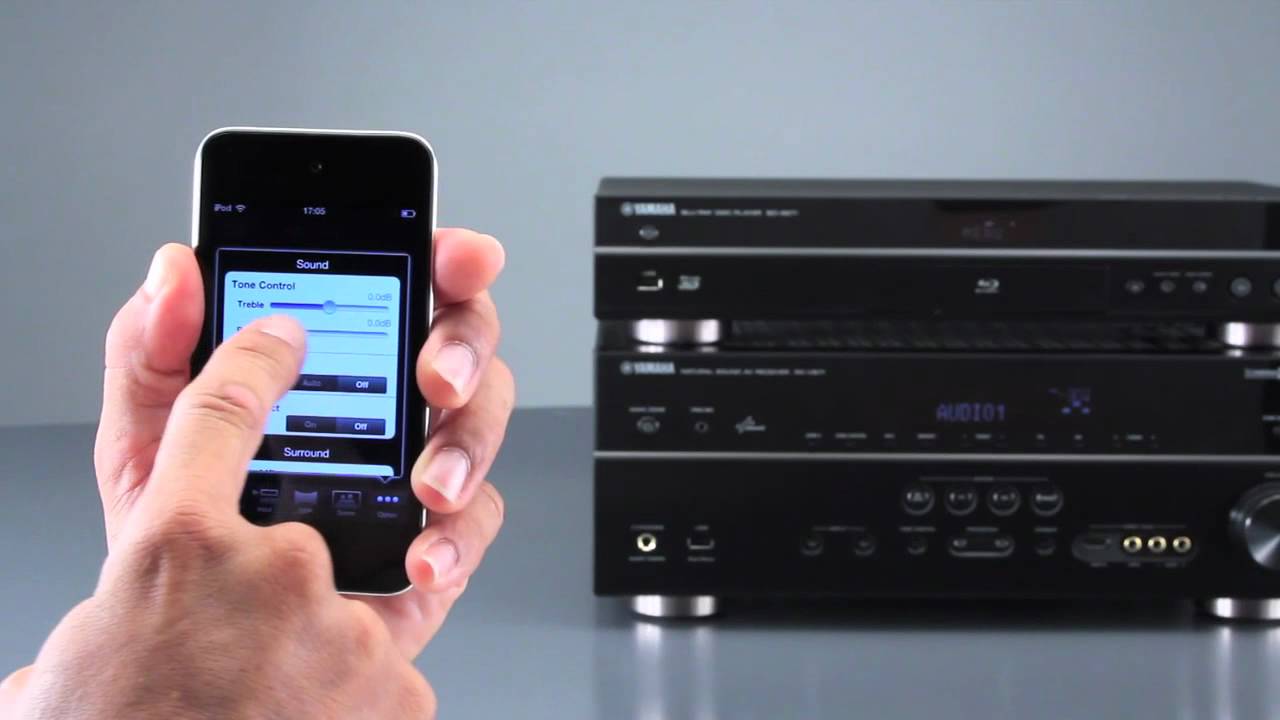
Step 3: Configuring the Audio Settings
Configuring the audio settings on your Yamaha receiver is crucial for obtaining the best sound quality and personalizing your audio experience. Follow these steps to configure the audio settings:
- Turn on the receiver: Press the power button on the receiver or the remote control to turn it on.
- Access the setup menu: Most Yamaha receivers have an on-screen setup menu that allows you to configure various settings. Use the remote control to navigate to the setup menu on your TV screen.
- Audio mode selection: Within the setup menu, select the audio mode that best suits your preferences. You can choose from options such as Stereo, Surround, or Multi-Channel Stereo. The ideal mode will depend on your specific setup and the type of content you’ll be consuming.
- Speaker configuration: In the setup menu, access the speaker configuration settings. Here, you can specify the size and type of speakers you have connected to your receiver. You can also set the crossover frequencies and adjust individual speaker levels to achieve the desired audio balance.
- Audio decoding settings: If you’re playing surround sound content, ensure that the proper audio decoding settings are selected. This will ensure that your receiver can decode the audio formats correctly for an immersive sound experience.
- Room calibration: Many Yamaha receivers offer room calibration features that can optimize the sound output based on the acoustics of your room. Follow the on-screen instructions and connect the provided microphone to properly calibrate the audio settings.
- Save and apply settings: Once you have made all the necessary audio adjustments, save the settings and apply them. Your Yamaha receiver will now be configured to deliver the best audio performance for your specific setup.
With the audio settings properly configured, it’s time to move on to the next step: pairing the remote control.
Step 4: Pairing the Remote Control
Pairing the remote control with your Yamaha receiver is essential for controlling the various functions and settings of the receiver with ease. Follow these steps to pair the remote control:
- Ensure the batteries are inserted: Make sure that the batteries are properly inserted into the remote control.
- Power on the receiver and the TV: Turn on both the receiver and the TV.
- Put the remote control into programming mode: Press and hold the “Code Set” or “Setup” button on the remote control until the LED light on the remote starts flashing.
- Point the remote control to the receiver: Aim the remote control towards the receiver and press the “Power” button. The LED light on the remote control should stop flashing, indicating that the pairing is successful.
- Test the remote control: To ensure that the remote control is working properly, test it by using various functions such as volume control, input selection, and menu navigation. Make sure that the receiver responds accordingly to the remote commands.
If the remote control doesn’t pair successfully or if you encounter any issues with controlling the receiver, refer to the user manual or contact Yamaha customer support for further assistance.
With the remote control successfully paired, you can now proceed to the next step: connecting additional devices to your Yamaha receiver.
Step 5: Connecting Additional Devices
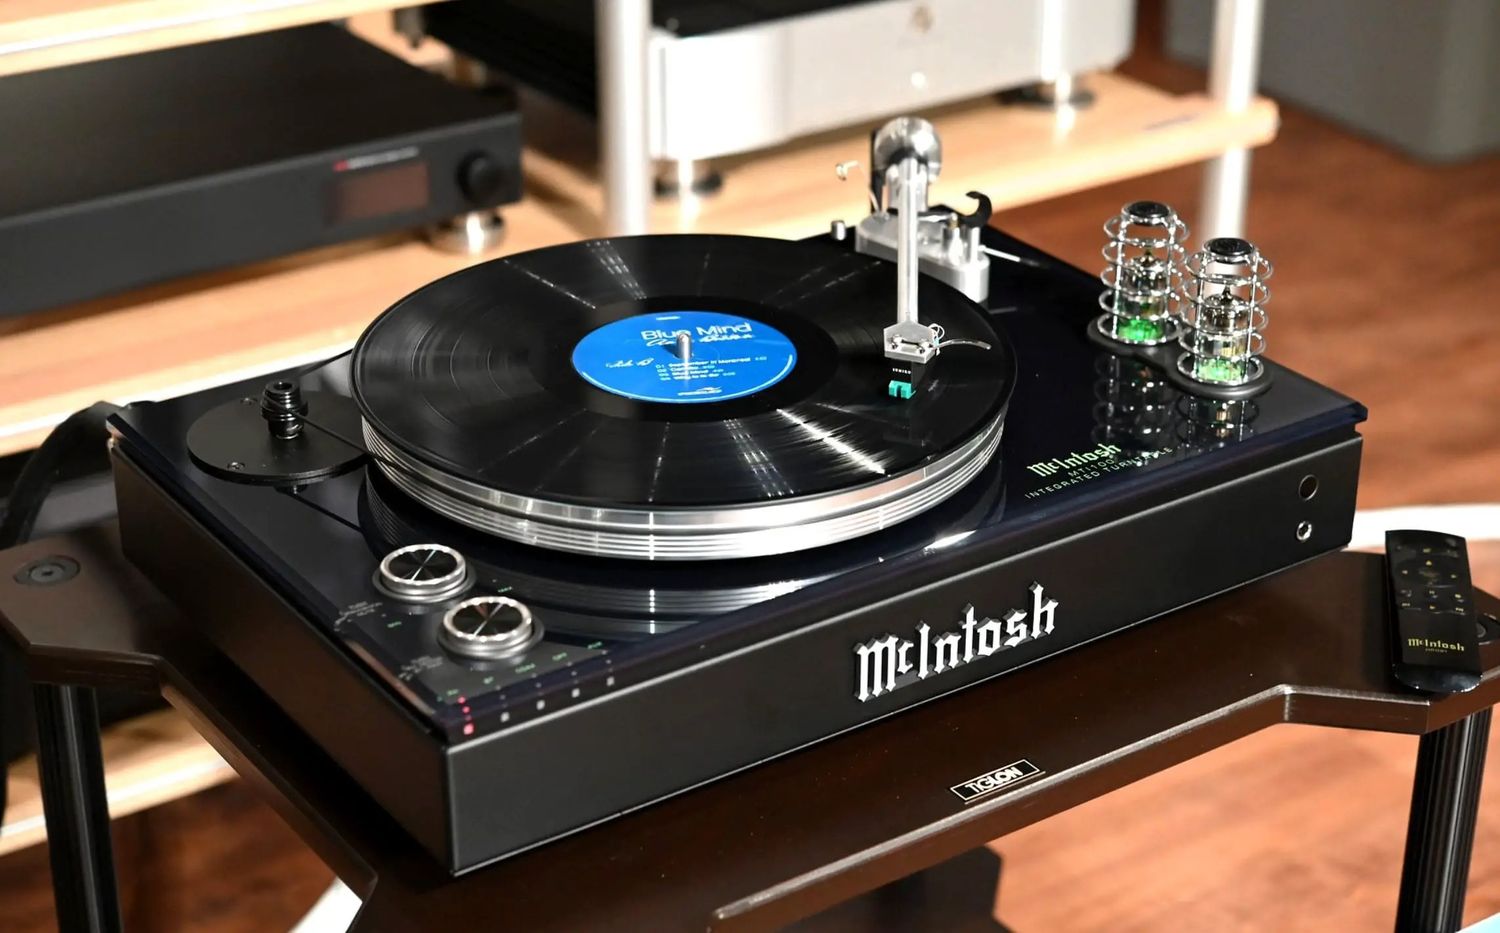
In addition to the main audio and video sources, such as a Blu-ray player or gaming console, you may want to connect additional devices to your Yamaha receiver. These devices can include streaming media players, smartphones, or even a turntable. Follow these steps to connect additional devices:
- Identify the available ports: Take a look at the back panel of your Yamaha receiver to identify any available ports for connecting additional devices. These may include HDMI ports, USB ports, or auxiliary input ports.
- Select the appropriate cable: Depending on the device you want to connect, choose the appropriate cable. It can be an HDMI cable, USB cable, or an RCA cable.
- Connect the device: Plug one end of the cable into the corresponding port on the device you are connecting. Then, plug the other end into the appropriate input port on the back of the Yamaha receiver.
- Configure the device settings: Once connected, you may need to configure the settings on the device itself. This can involve selecting the input source, enabling the correct audio output, or adjusting any other relevant settings on the connected device.
- Test the device: After following the above steps, test the connected device to ensure that both audio and video (if applicable) are properly transmitted through the Yamaha receiver. Play some content on the device and verify that the audio is playing through the receiver’s speakers.
By following these steps, you can expand the functionality of your Yamaha receiver by connecting additional devices and enjoying a wider range of audio sources.
Now that you have successfully connected all of your devices, let’s move on to the last step: finalizing the setup of your Yamaha receiver.
Step 6: Finalizing the Setup
After completing all the previous steps, you’re now in the final stage of setting up your Yamaha receiver. Follow these final steps to ensure that everything is properly configured:
- Check all connections: Double-check all the cable connections to ensure they are securely plugged into their respective ports. Verify that there are no loose connections or cables that may cause audio or video disturbances.
- Power on the connected devices: Power on all the devices that are connected to your Yamaha receiver, including the TV, speakers, and any additional devices. Make sure the receiver is set to the correct input source for each device.
- Test the sound output: Play some audio or video content through your connected devices and verify that the sound is being output correctly through the speakers. Adjust the volume levels as needed to achieve your desired listening experience.
- Explore additional features: Take some time to explore the additional features and settings available on your Yamaha receiver. This may include adjusting sound modes, customizing equalizer settings, or enabling any other advanced features that enhance your audio experience.
- Tweak settings for personal preference: Every listener has unique preferences when it comes to audio. Spend some time experimenting with the settings on your Yamaha receiver to find what suits your taste best. You can adjust the speaker levels, tone controls, or any other settings until you achieve your desired sound signature.
With the final steps completed, you have successfully set up your Yamaha receiver. Now you can sit back, relax, and enjoy the immersive audio experience that your receiver delivers.
Remember, if you ever need to make changes to the setup or encounter any issues, refer back to the user manual or consult Yamaha’s customer support for further assistance.
Congratulations on completing the setup of your Yamaha receiver and enjoy your enhanced audio experience!
Conclusion
Setting up a Yamaha receiver may initially seem like a complex task, but with the help of this comprehensive guide, you can confidently navigate through each step and create an optimal audio experience in your home theater or entertainment setup.
We’ve covered the entire setup process, from unboxing the receiver to configuring audio settings, pairing the remote control, connecting additional devices, and finalizing the setup. Each step is crucial in ensuring that your Yamaha receiver delivers the best sound quality and functionality possible.
By properly connecting the cables, configuring the audio settings, and pairing the remote control, you can take full advantage of the advanced features and immersive sound capabilities that Yamaha receivers offer. Additionally, connecting additional devices allows you to expand your audio sources and enjoy a wider range of content.
Remember to consult the user manual and reach out to Yamaha’s customer support if you encounter any challenges along the way. They are there to assist you and provide guidance for a successful setup.
Now that you’ve completed the setup process, you’re ready to sit back, relax, and immerse yourself in the world of high-quality audio. Enjoy the enhanced sound quality, surround sound effects, and seamless connectivity that your Yamaha receiver brings to your home entertainment system.
Thank you for choosing Yamaha, and we hope you have many enjoyable listening experiences with your newly set up receiver.