Home>Devices & Equipment>Radio>How To Test A CB Radio

Radio
How To Test A CB Radio
Modified: January 22, 2024
Learn how to test a CB radio with step-by-step instructions and troubleshooting tips. Ensure your radio is working properly before hitting the road.
(Many of the links in this article redirect to a specific reviewed product. Your purchase of these products through affiliate links helps to generate commission for AudioLover.com, at no extra cost. Learn more)
Table of Contents
- Introduction
- Step 1: Gather necessary tools and equipment
- Step 2: Set up the CB radio
- Step 3: Check antenna connection
- Step 4: Perform a radio check
- Step 5: Test transmission and reception
- Step 6: Adjust settings if needed
- Step 7: Test CB radio range
- Step 8: Verify emergency channels
- Step 9: Check for interference
- Step 10: Evaluate audio quality
- Conclusion
Introduction
Welcome to the comprehensive guide on how to test a CB radio. Citizen’s Band (CB) radio is a popular communication tool that allows people to connect with each other over short distances. Whether you’re a seasoned CB radio enthusiast or a beginner, testing your radio is an important step to ensure optimal performance and communication.
In this article, we will walk you through the step-by-step process of testing your CB radio. From gathering the necessary tools to evaluating audio quality, we will cover everything you need to know to perform a thorough test. Whether you’re testing a new CB radio installation or just want to make sure your existing radio is in top shape, this guide will help you get the most out of your communication device.
Testing a CB radio involves checking various aspects, such as the antenna connection, transmission and reception quality, range, and audio clarity. By following the steps outlined in this guide, you can troubleshoot any issues and improve your overall communication experience. So, let’s dive in and get started with testing your CB radio!
Step 1: Gather necessary tools and equipment
Before you can begin testing your CB radio, it’s essential to gather the necessary tools and equipment. Having everything you need on hand will ensure a smooth and efficient testing process. Here are the tools and equipment you’ll need:
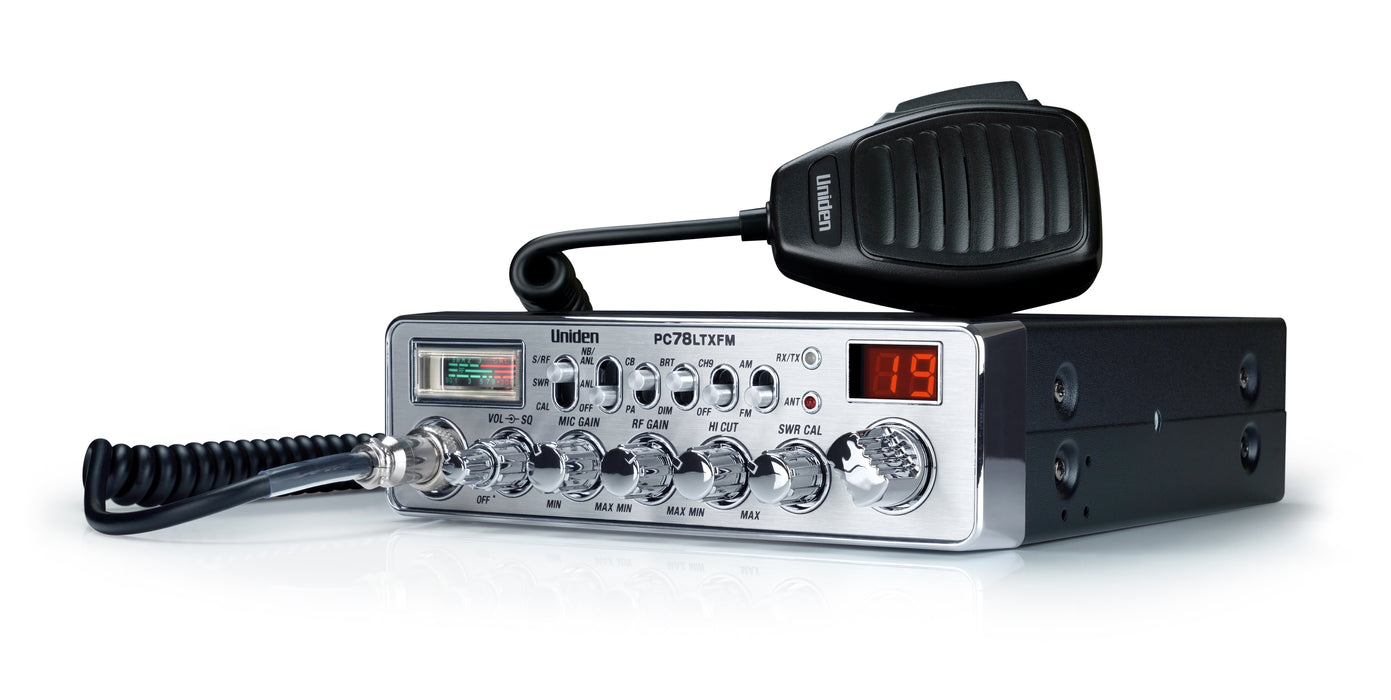
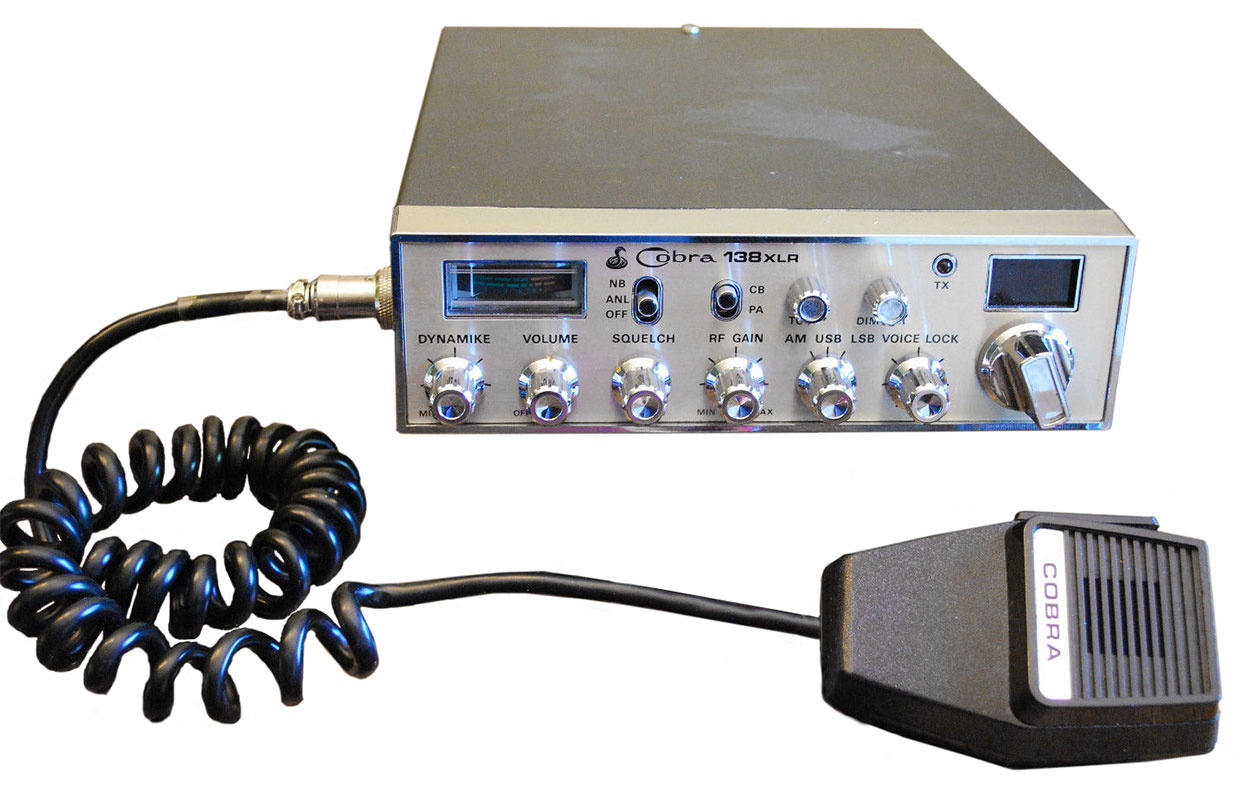
- CB Radio: Obviously, you’ll need the CB radio itself. Make sure it’s in good working condition and properly installed.
- Antenna: The antenna is a vital component of your CB radio setup. Ensure the antenna is securely mounted and connected to the radio.
- Coaxial Cable: A coaxial cable is used to connect the CB radio and the antenna. Check that the cable is properly connected and free of any damage.
- SWR Meter: Standing Wave Ratio (SWR) is an important measurement to evaluate the performance of your CB radio. An SWR meter will help you check the antenna’s impedance match and adjust it if necessary.
- External Speaker: While not mandatory, having an external speaker can enhance audio quality and make it easier to hear incoming transmissions. Consider using one during your testing.
- Power Supply: If your CB radio requires an external power supply, ensure you have one ready. This could be a 12-volt DC power source, such as a car battery or a power supply unit.
- Test Dummy Load: A test dummy load is a device that simulates an antenna load. It is useful for testing CB radios without transmitting a signal over the air.
- Pen and Paper: Keeping a pen and paper handy will allow you to take notes during the testing process, jotting down any observations or adjustments you make.
Once you have gathered these tools and equipment, you’ll be ready to move on to the next steps in testing your CB radio. Being well-prepared ensures that you can accurately assess the performance of your radio and diagnose any potential issues that may arise.
Step 2: Set up the CB radio
Setting up your CB radio properly is crucial for optimal performance during the testing process. Follow these steps to ensure your radio is set up correctly:
- Choose a suitable location: Select a location for your CB radio that is easily accessible and provides good visibility of the control panel. Avoid mounting it near other electronic devices that may cause interference.
- Mount the radio: Use the appropriate mounting bracket or mounting kit to securely attach the CB radio to your vehicle or desired location. Ensure it is tightly fastened to avoid any vibrations or movement.
- Connect the power: Depending on your CB radio model, it may require either a direct connection to a power supply or the use of batteries. Follow the manufacturer’s instructions to properly connect the power source.
- Attach the antenna: Connect the coaxial cable from the antenna to the designated antenna port on the CB radio. Ensure that the connection is tight and secure to minimize signal loss.
- Ground the radio: CB radios often require grounding for optimal performance. Attach a grounding wire from the radio to a suitable grounding point, such as a vehicle’s chassis or a grounding rod.
- Install an external speaker (optional): If you prefer better audio quality, connect an external speaker to the appropriate port on the CB radio. This will provide clearer and louder sound during transmissions.
- Perform a visual inspection: Before proceeding with the testing, visually inspect the CB radio and all the connections to ensure everything is properly installed and free from damage or loose connections.
By carefully setting up your CB radio, you will lay the foundation for accurate testing. Any issues with the installation or connections can affect the radio’s performance, so it is important to double-check everything before moving on to the next steps.
Step 3: Check antenna connection
Ensuring a proper antenna connection is essential for the optimal performance of your CB radio. A loose or faulty connection can result in signal loss, reduced range, and poor reception. Follow these steps to check the antenna connection:
- Inspect the coaxial cable: Examine the coaxial cable that connects the antenna to the CB radio. Look for any signs of damage such as cuts, fraying, or corrosion. If you notice any issues, replace the cable with a new one.
- Tighten the connections: Ensure both ends of the coaxial cable are securely connected. The connection at the antenna should be tight, and the connector should be properly screwed in. Similarly, check the connection on the CB radio and tighten it if necessary.
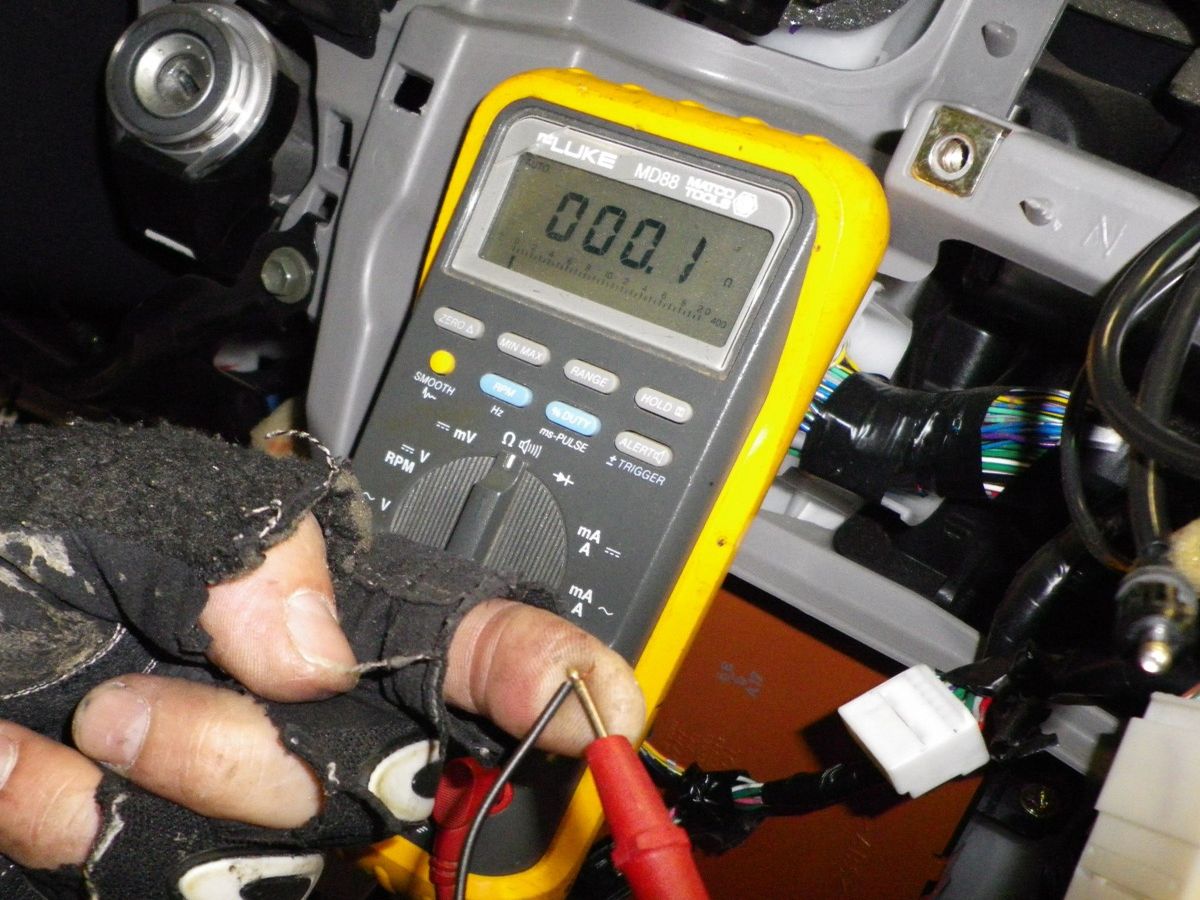
- Verify impedance match: An impedance mismatch between the antenna and the CB radio can lead to poor performance. Use an SWR meter to measure the standing wave ratio. Ideally, the SWR reading should be as close to 1:1 as possible. If the SWR is too high, it indicates an impedance mismatch, and adjustments may be needed.
- Adjust the antenna length (if applicable): Some antennas can be adjusted in length to fine-tune their performance. Refer to the antenna’s user manual to determine the optimal length for your specific setup. Make small adjustments and recheck the SWR to find the best resonance point.
- Check the ground connection (if applicable): If your CB radio requires a grounding connection, ensure that it is properly connected. A solid ground connection helps reduce electrical interference and improves signal transmission.
By carefully inspecting and ensuring a secure and proper antenna connection, you can optimize the performance of your CB radio. This step plays a crucial role in maximizing signal strength, range, and overall communication quality.
Step 4: Perform a radio check
Performing a radio check is an important step in testing your CB radio’s transmission and reception capabilities. It allows you to verify if your radio is functioning properly and assess the quality of your signal. Here’s how you can perform a radio check:
- Select a channel: Tune your CB radio to a clear and unused channel. Channels 9 and 19 are commonly used for general communication and emergencies, respectively.
- Listen for activity: Take a moment to listen to the channel for any ongoing conversations or signals. This will help you determine if there is any ongoing activity that could interfere with your radio check.
- Announce your radio check: Key the microphone and announce your radio check by saying something like “Radio check, radio check, this is [Your Call Sign].” Provide a pause after your call sign to allow others to respond.
- Listen for responses: After announcing your radio check, listen for any responses from other CB radio users. They may provide feedback on their ability to hear your transmission and the quality of your signal.
- Adjust your microphone gain: If you receive feedback regarding your audio quality or volume, adjust the microphone gain on your CB radio to achieve clearer and more balanced audio.
- Respond to confirm: Once you receive responses, acknowledge them by responding with “Thank you, [Responder’s Call Sign].” This confirms the successful completion of the radio check and signals the end of the test.
Performing a radio check allows you to assess the effectiveness of your CB radio’s transmission and reception. It also provides an opportunity to interact with other CB radio users in your vicinity and gauge the range and clarity of your signals.
Note: Remember to use proper CB radio etiquette during your radio check. Avoid unnecessary broadcasts and keep your transmissions clear and concise. Listen for others before transmitting and use a respectful and friendly tone when interacting with fellow CB radio users.
Step 5: Test transmission and reception
Testing the transmission and reception of your CB radio is crucial in evaluating its overall performance. This step allows you to assess the range, clarity, and effectiveness of your communication. Here’s how you can test the transmission and reception:
- Select a channel: Choose a clear and unused channel for your test. It is recommended to use a channel that is less prone to interference to get accurate results.
- Transmit a test message: Key the microphone and transmit a test message, clearly stating your intention to test transmission and requesting others to respond. For example, say “This is [Your Call Sign] testing transmission, please respond.”
- Listen for acknowledgments: After transmitting your test message, listen for any acknowledgments or responses from other CB radio users. Their responses will confirm that your transmission is being received and help you determine the range of your radio.
- Assess audio quality: Evaluate the audio quality of both your transmissions and the responses you receive. Pay attention to clarity, volume, and any background noise or interference. If necessary, adjust the microphone gain or audio settings on your CB radio for optimal sound quality.
- Test range: If you have the opportunity, try testing the range of your CB radio by coordinating with another CB radio user located at a distance. Move away from each other to evaluate the range at which your signals can be effectively transmitted and received.
- Repeat the process: Conduct multiple test transmissions on different channels to get a more comprehensive understanding of your CB radio’s performance. This will help you identify any patterns or inconsistencies in transmission and reception quality.
By testing the transmission and reception of your CB radio, you can verify its functionality and assess how well it performs in different scenarios. This step allows you to make any necessary adjustments and optimizations to ensure clear and reliable communication.
Note: When conducting transmission tests, always follow local regulations and guidelines regarding CB radio usage, including power limitations and permitted channels. Be mindful of other CB radio users and try to avoid unnecessary disruptions to ongoing conversations.
Step 6: Adjust settings if needed
Adjusting the settings of your CB radio may be necessary to optimize its performance. Fine-tuning various parameters can improve transmission quality, range, and overall communication experience. Here are some settings you can adjust if needed:
- Squelch: The squelch control helps eliminate background noise when there is no active signal. Set the squelch level to a point where the background noise is minimized but the radio still picks up incoming transmissions effectively.
- RF Gain: The RF gain control adjusts the radio’s sensitivity to incoming signals. Increase the RF gain for weak signals or decrease it when strong signals cause distortion or interference.
- Modulation: Modulation affects the strength and clarity of your transmitted signal. Adjust the modulation settings to achieve a balanced and clear transmission without distortion or excessive noise.
- Power output: Some CB radios allow you to adjust the power output, typically between high and low settings. Consider reducing power in areas with signal congestion to avoid interference with other CB radio users.
- Channel selection: Experiment with different channels to find ones with less interference or congestion. This can help improve overall communication quality by reducing the chances of signal conflicts or overlapping conversations.
- Echo and noise filters (if applicable): If your CB radio has built-in echo or noise filters, adjust them to minimize unwanted echo effects or filter out background noise for cleaner audio.
- Microphone adjustments: Check your microphone settings to ensure proper volume levels and sensitivity. Make adjustments if your transmitted audio is too loud, too soft, or distorted.
Keep in mind that every CB radio model may have different settings and controls. Refer to the user manual that came with your specific radio for detailed instructions on how to adjust the settings effectively. Experimenting with different settings and fine-tuning them to your preference can greatly enhance the performance and clarity of your CB radio.
Remember to make incremental adjustments and test each setting change to gauge its impact on performance. Document any adjustments and their effects to have a reference for future use.
Step 7: Test CB radio range
Testing the range of your CB radio is essential to determine how far your signals can reach and to evaluate the effectiveness of your communication at different distances. Here’s how you can test the range of your CB radio:
- Choose a testing location: Select a location with open space and minimal obstructions, such as tall buildings or dense vegetation. This will help eliminate potential barriers that could limit signal propagation.
- Identify a distant point: Identify a distant point or landmark that is within the estimated range of your CB radio. This will serve as your target location for testing the range.
- Station a second person at the target location: Have a second person stationed at the target location with another CB radio. This person will assist in monitoring the clarity and strength of the signals received at that location.
- Move away from the target location: Move away from the target location while maintaining communication with the person stationed there. Gradually increase the distance between you and the target location to evaluate the range of your CB radio.
- Monitor signal strength and clarity: Ask the person at the target location to provide feedback on the signal strength and the clarity of your transmissions as you move further away. This will help you assess how well your CB radio maintains communication over distance.
- Note any degradation: Take note of any degradation in signal strength or clarity as you move farther from the target location. This will help you identify the range limitation of your CB radio and any potential areas for improvement.
- Repeat the process: Perform the range test in different locations to account for variations in terrain, landscape, and potential interference. This will provide a more comprehensive understanding of the range capabilities of your CB radio.
Testing the range of your CB radio allows you to determine the maximum distance at which you can effectively communicate. It helps you identify any range limitations and plan your communication strategy accordingly. By understanding your radio’s range, you can make informed decisions about when and where to use it for optimal communication.
Remember that the range of a CB radio can be influenced by various factors, including the power output of the radio, the quality of the antenna, terrain conditions, and any interference from other electronic devices. Taking these factors into consideration will help you interpret and analyze the results of your range tests accurately.
Step 8: Verify emergency channels
Verifying the emergency channels on your CB radio is crucial for ensuring you can quickly and effectively communicate during emergencies. Emergency channels are designated frequencies where you can seek assistance or provide crucial information to other CB radio users who may be monitoring these channels. Here’s how you can verify the emergency channels on your CB radio:
- Identify the emergency channels: The emergency channels on CB radios are commonly Channel 9 and Channel 19. Channel 9 is designated as the national calling channel for emergencies, while Channel 19 is used for highway information and general communication.
- Tune to Channel 9: Set your CB radio to Channel 9 and monitor the channel for any emergency broadcasts or distress calls. Listen for a while to ensure that the channel is clear and free from interference.
- Transmit an emergency call: Key the microphone and transmit a brief emergency call to test if your transmission is being received on Channel 9. Clearly state your emergency and provide necessary details such as your location and the nature of the emergency.
- Listen for responses: After transmitting the emergency call, listen for any responses from other CB radio users. They may acknowledge your emergency call and provide assistance or information if needed.
- Repeat the process on Channel 19: Perform the same verification process on Channel 19 to ensure its functionality and to know if it can fulfill its purpose as a communication channel during emergencies.
- Note any issues: If you encounter any problems or difficulties while verifying the emergency channels, make note of them. This will allow you to address the issues and ensure that your CB radio is reliable during critical situations.
- Contact local authorities: In some areas, there may be specific emergency channels or contact numbers designated by local authorities. Consider reaching out to them to inquire about any additional emergency channels or protocols you should be aware of.
Verifying the emergency channels on your CB radio ensures that you are prepared to handle emergency situations effectively. It allows you to confirm the functionality of these channels, giving you peace of mind knowing that you can reach out for help or receive important information in times of need.
Remember, in emergency situations, it is important to use the emergency channels responsibly. Avoid unnecessary broadcasts or tying up the channels with non-emergency communication. Use these channels strictly for emergencies or urgent communications to ensure they remain available for those who truly need them.
Step 9: Check for interference
Checking for interference is an important step in ensuring clear and uninterrupted communication on your CB radio. Interference can degrade the quality of signals and make it challenging to communicate effectively. Here’s how you can check for interference:
- Listen for background noise: Tune your CB radio to a clear channel and listen for any background noise or static. These can be signs of interference that may affect the clarity and strength of your transmissions.
- Identify potential sources of interference: Look out for potential sources of interference, such as nearby electronic devices, power lines, overhead electrical wires, or other CB radio users operating on the same channel.
- Experiment with different locations: Try moving to different locations to see if the interference persists or changes. Sometimes, simply changing your position can help reduce or eliminate interference from specific sources.
- Adjust the squelch control: The squelch control can help filter out background noise and minor interference. Adjusting the squelch level can help minimize interference and improve the clarity of your CB radio signals.
- Change channels: If you encounter persistent interference on a particular channel, try switching to a different channel and see if the interference disappears. Some channels may be less prone to interference, making them better options for clear communication.
- Consider adding filters: In areas with high interference, you may consider adding filters to your CB radio setup. Filters can help reduce interference from specific sources, such as power lines or nearby electronic devices.
- Report interference: If you consistently experience interference from a specific source, such as a neighboring radio operator or a local electrical interference, report the issue to the appropriate authorities. They may be able to address the interference or provide guidance on how to mitigate its impact.
Checking for interference is an ongoing process, as new sources of interference may arise over time. Regularly monitoring and addressing interference will help ensure reliable and clear communication on your CB radio.
Remember, good communication etiquette is important in minimizing interference. Avoid unnecessary broadcasts, be considerate of others on the airwaves, and follow proper CB radio protocols. This will create a more pleasant and interference-free experience for all CB radio users.
Step 10: Evaluate audio quality
Evaluating the audio quality of your CB radio is essential for clear and effective communication. Poor audio quality can make it difficult for others to understand your transmissions, reducing the overall effectiveness of your communication. Here’s how you can evaluate the audio quality of your CB radio:
- Listen to your own transmissions: Key the microphone and transmit a test message. Pay close attention to the clarity, volume, and overall quality of your own voice during the transmission.
- Ask for feedback: Request feedback from other CB radio users on the audio quality of your transmissions. Listen to their comments and take note of any specific areas where improvement may be needed.
- Check for distortion: Distortion can occur when the audio signal is too loud or when the microphone gain is set too high. Adjust the microphone gain to reduce distortion and ensure a clear transmission without any clipping or excessive noise.
- Assess background noise: Listen for any background noise during your transmissions. Background noise can negatively impact the clarity of your voice, making it more challenging for others to understand you. Minimize background noise as much as possible by reducing the gain or using a noise-canceling microphone.
- Utilize an external speaker: Consider connecting an external speaker to your CB radio. External speakers can enhance the audio quality and make it easier to hear incoming transmissions, especially in noisy environments.
- Make necessary adjustments: If you receive feedback on specific areas for improvement, make the necessary adjustments to your CB radio setup. This may involve fine-tuning settings such as microphone gain, modulation, or using filters to reduce unwanted noise.
- Test in different environments: Conduct audio quality tests in a variety of environments to assess how well your CB radio performs in different conditions. This will help you identify any specific challenges or adjustments needed for optimal audio quality.
Regularly evaluating the audio quality of your CB radio ensures that your transmissions are clear and easily understandable to others. It enhances the overall communication experience, fosters effective conversations, and minimizes misunderstandings.
Remember to practice proper microphone techniques such as speaking clearly, maintaining an appropriate distance from the microphone, and avoiding excessive background noise. This will further contribute to improved audio quality and efficient communication on your CB radio.
Conclusion
Congratulations! You have now completed the comprehensive guide on how to test a CB radio. By following the step-by-step process outlined in this article, you have gained the knowledge and skills needed to ensure optimal performance and clear communication with your CB radio.
We started by gathering the necessary tools and equipment, ensuring that you have everything you need for the testing process. Then, we walked through the steps of setting up the CB radio, checking the antenna connection, performing radio checks, testing transmission and reception, adjusting settings if needed, testing the range, verifying the emergency channels, checking for interference, and evaluating audio quality.
By thoroughly testing your CB radio, you have the confidence that it is functioning properly and able to meet your communication needs. You have learned how to identify and address any issues that may arise, such as poor audio quality, interference, or range limitations. With this knowledge, you can enjoy effective and reliable communication with fellow CB radio users.
Remember to always practice proper CB radio etiquette, follow local regulations, and be considerate of others on the airwaves. Clear and respectful communication is key to a positive CB radio experience for everyone.
Now it’s time to take your CB radio out for a spin and put your newly acquired knowledge into practice. Whether you’re using it for long-distance road trips, emergency communication, or recreational conversations with fellow enthusiasts, your tested CB radio will be a valuable tool for staying connected.
Happy testing and happy CB radio communication!

