Home>Devices & Equipment>Radio>How To Tune Your CB Radio
Radio
How To Tune Your CB Radio
Modified: January 22, 2024
Learn how to tune your CB radio for optimal performance. Discover the best techniques and settings to get the most out of your radio.
(Many of the links in this article redirect to a specific reviewed product. Your purchase of these products through affiliate links helps to generate commission for AudioLover.com, at no extra cost. Learn more)
Table of Contents
Introduction
Welcome to the world of CB radios, where you can enjoy clear communication and stay connected with friends and fellow travelers on the road. Whether you’re a truck driver, an off-roading enthusiast, or just someone looking for a reliable means of communication, tuning your CB radio is essential for optimal performance.
CB (Citizens Band) radios have been a popular choice for decades due to their simplicity, long-range communication capabilities, and compatibility with a wide range of vehicles. Tuning your CB radio ensures that you are operating at peak efficiency and maximizing signal strength for clear and reliable communication.
In this article, we will guide you through the process of tuning your CB radio for the best possible performance. From selecting the right antenna to calibrating the SWR meter, we will cover all the necessary steps to help you get the most out of your CB radio.
So, whether you’re a seasoned CB radio user or just getting started, read on to learn how to tune your CB radio and enhance your communication experience on the road.
Understanding CB Radios
Before diving into the process of tuning your CB radio, it’s important to have a basic understanding of how these radios work. CB radios operate on a specific frequency range known as the Citizens Band, which is allocated for public use. The range typically spans from 26.965 MHz to 27.405 MHz, with 40 channels available for communication.
CB radios use highly efficient AM (Amplitude Modulation) technology to transmit and receive signals. AM modulation allows for the transfer of both voice and data signals by varying the amplitude of the carrier wave. This modulation technique ensures that the transmitted signal remains clear and free from distortion.
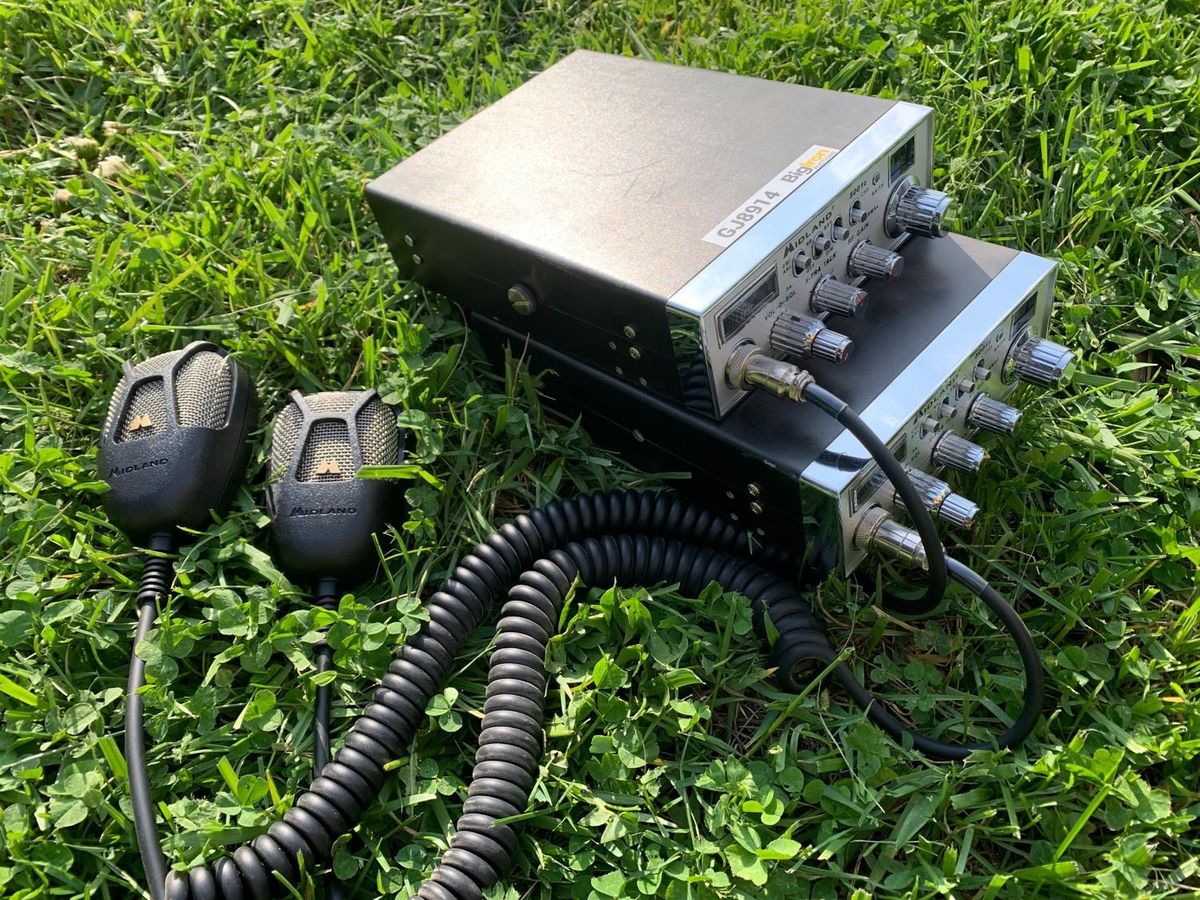
When it comes to selecting the right CB radio, there are a few key factors to consider. One of the most important features is the power output, measured in watts. A higher power output allows for increased transmission range and better signal strength.
Another crucial consideration is the number of channels supported by the CB radio. While the Citizens Band consists of 40 channels, some radios may offer additional channels or features such as weather channels, which can be handy for staying informed about current conditions on the road.
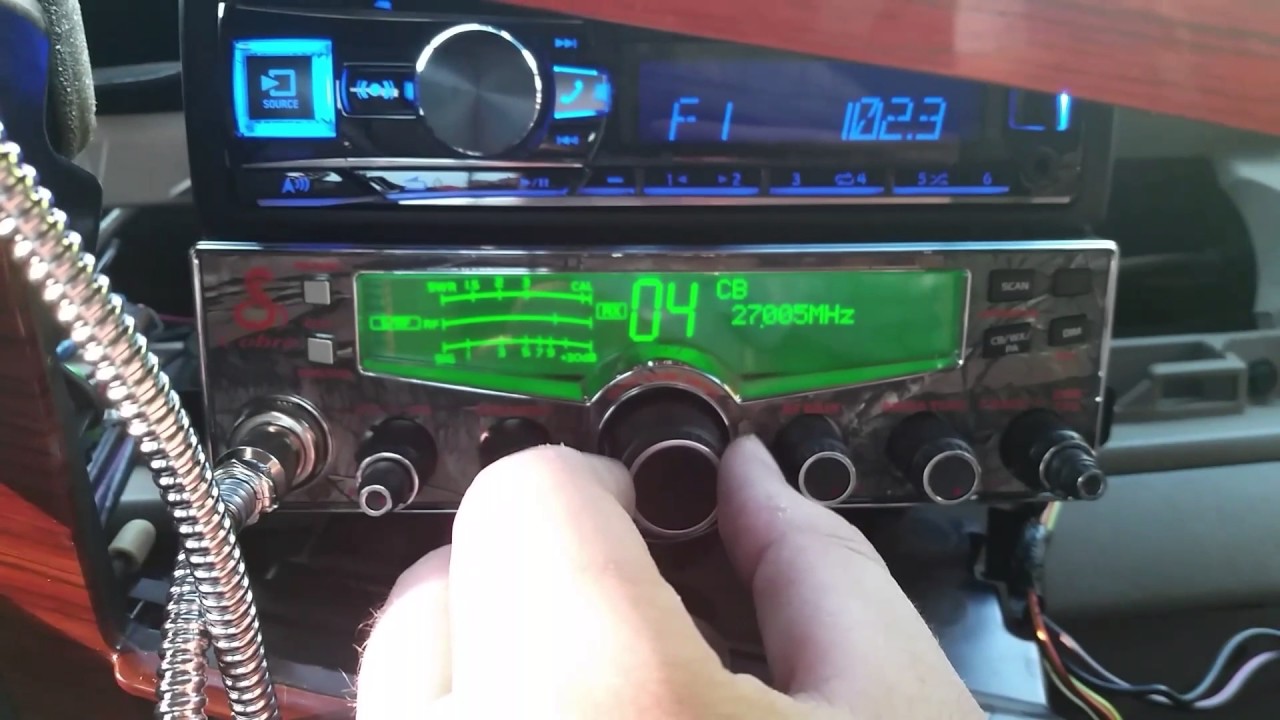
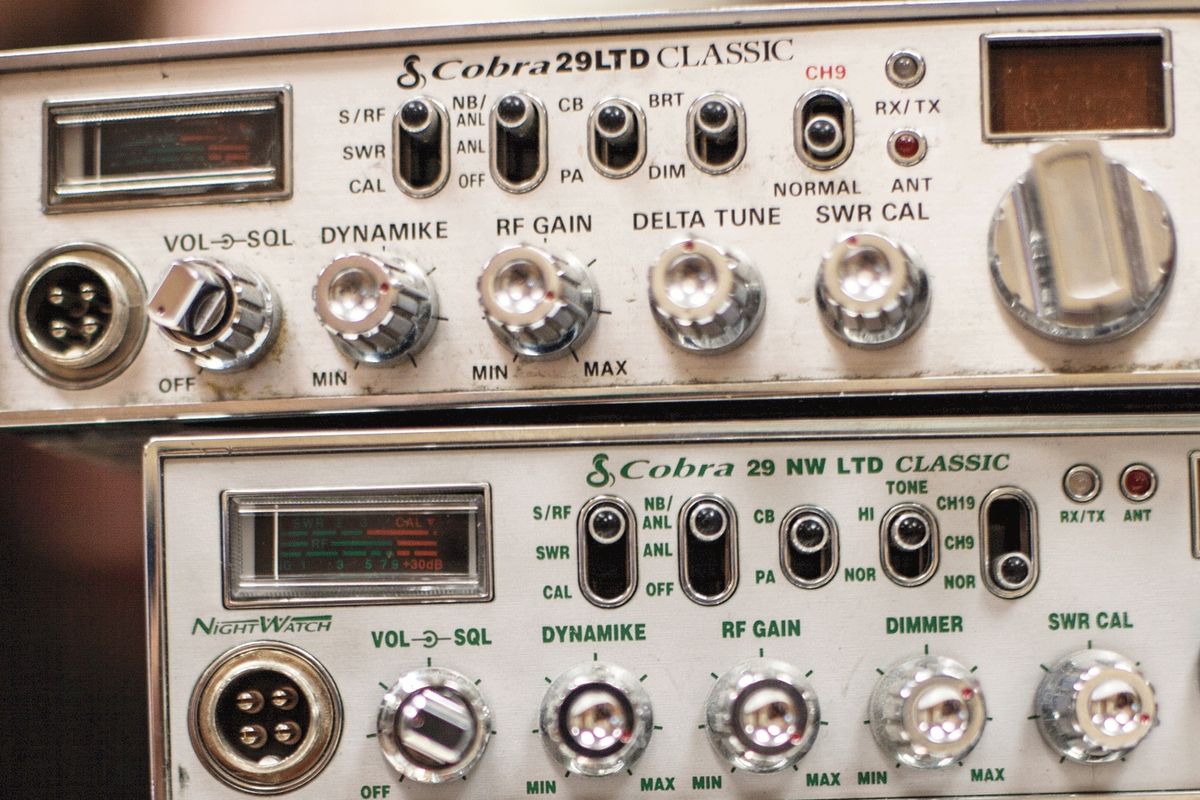
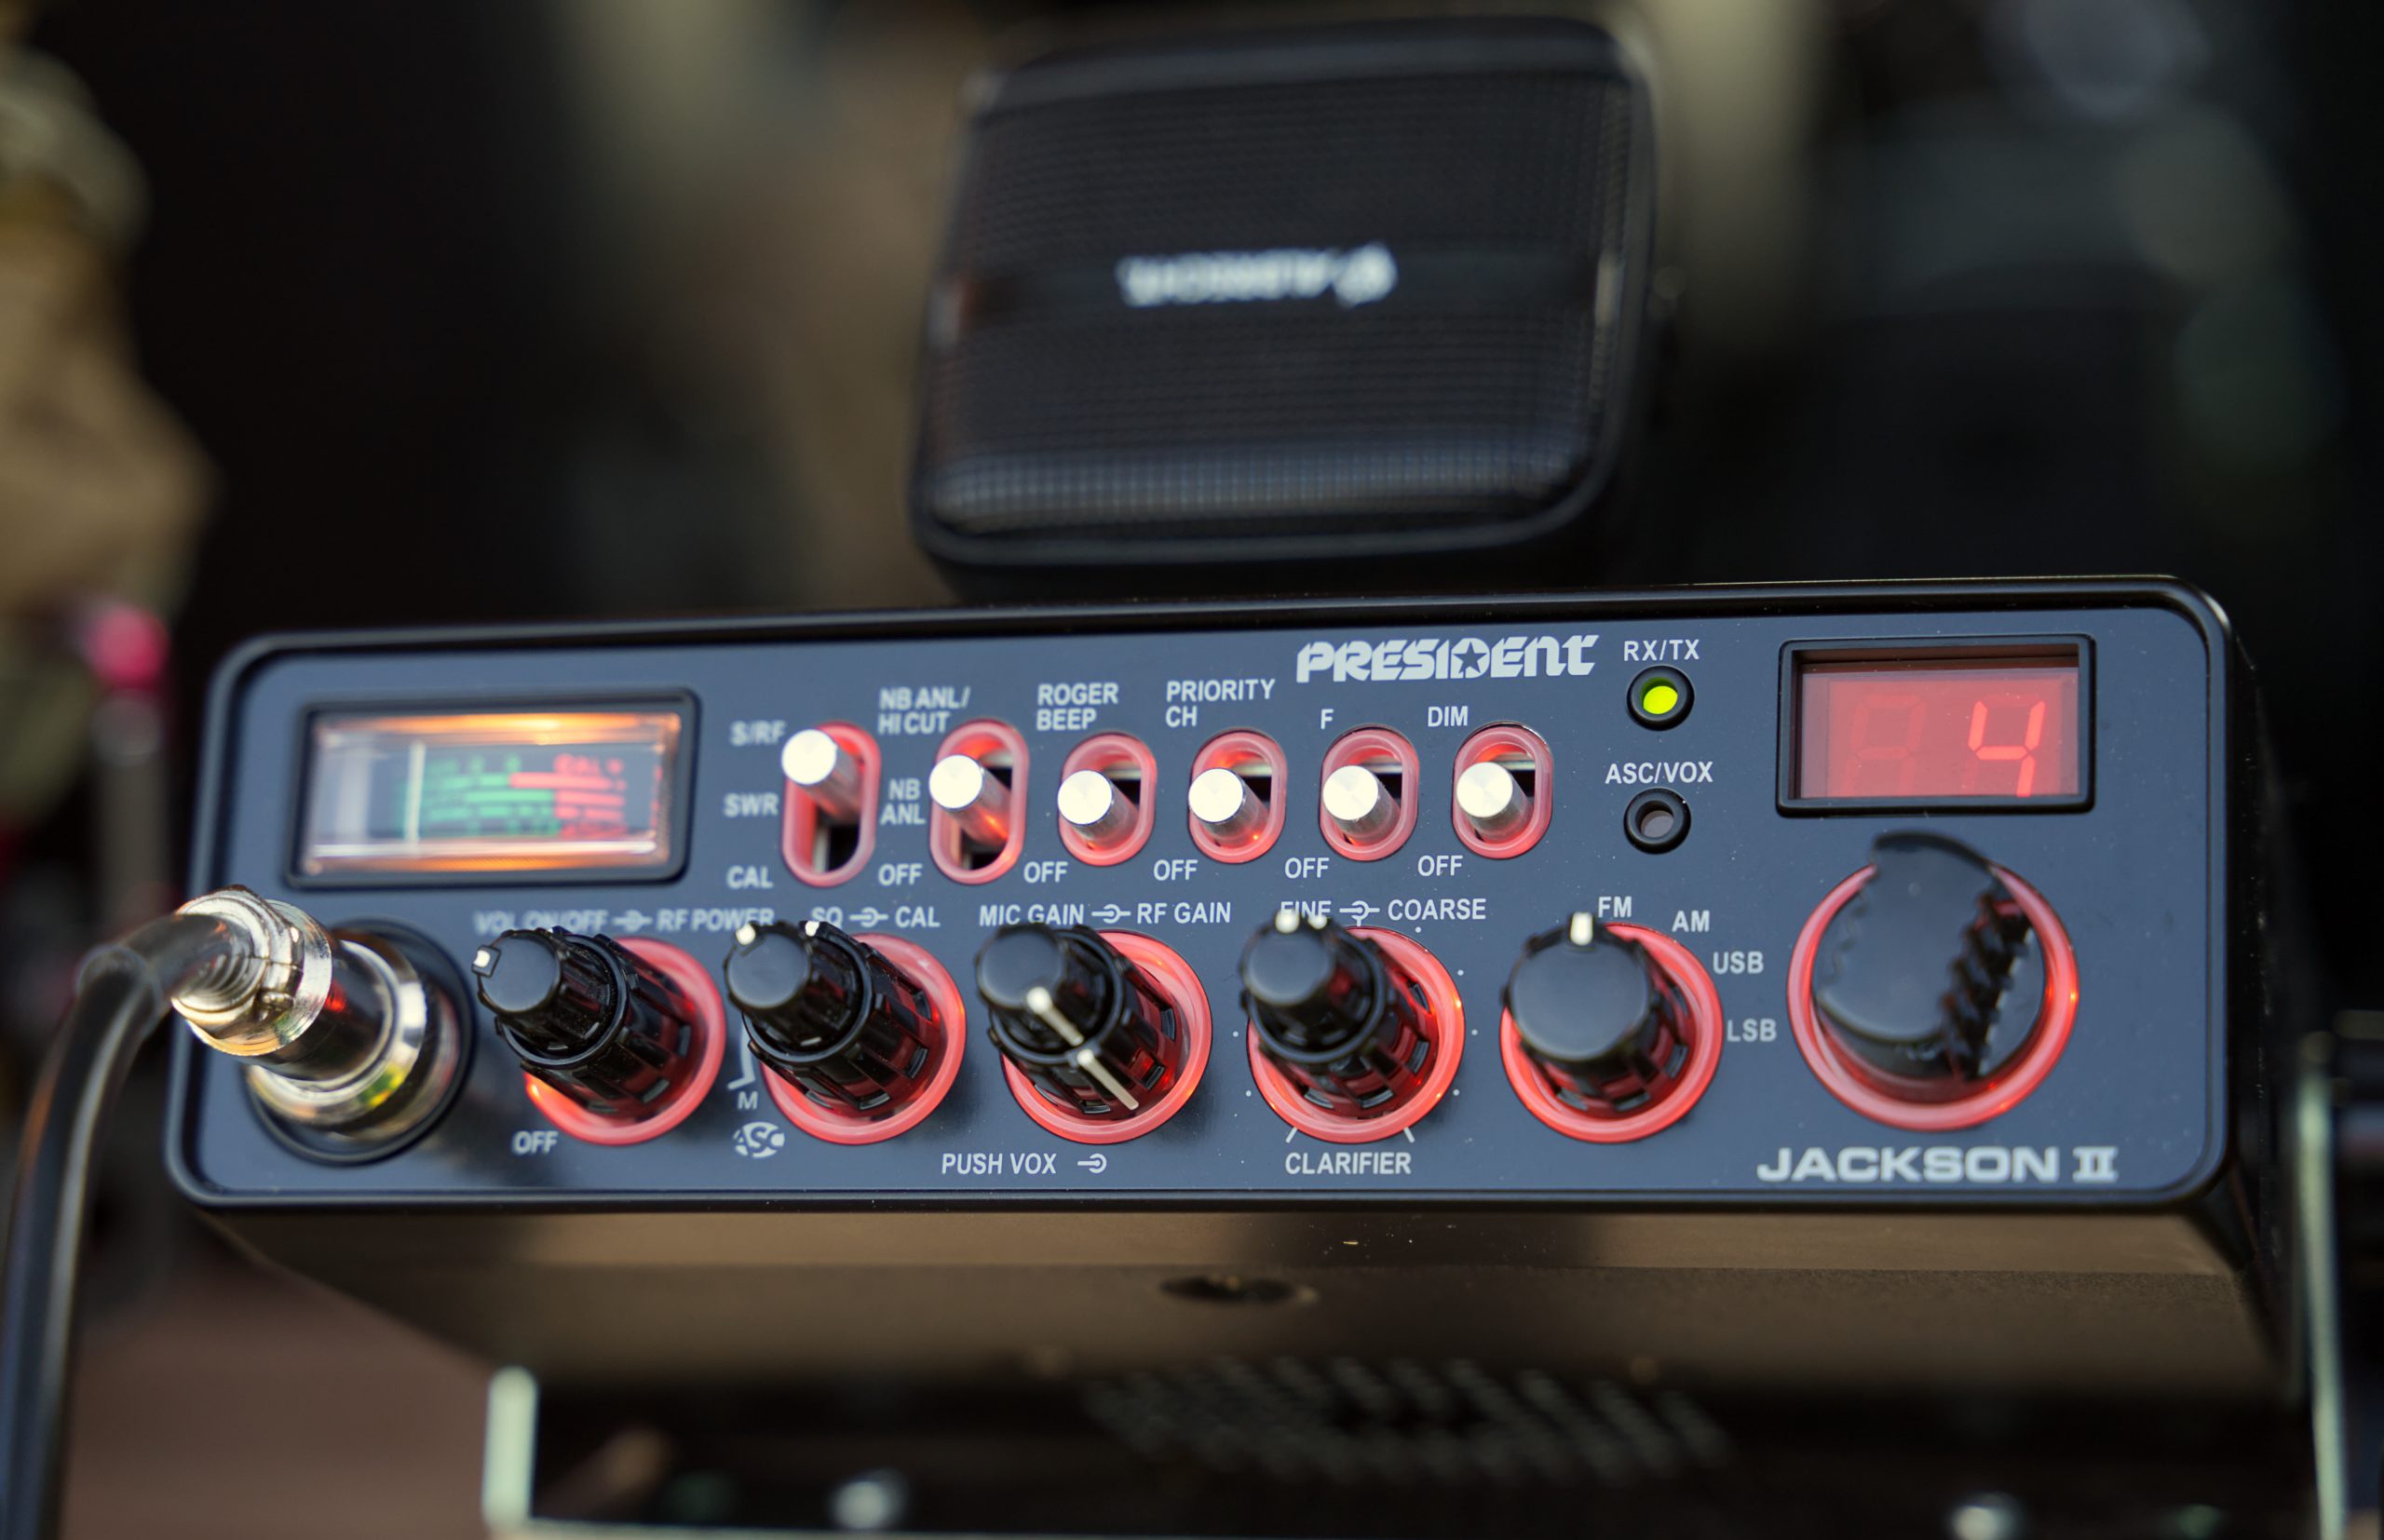
Furthermore, CB radios can feature various controls and settings that allow you to customize your communication experience. These controls include squelch control, RF gain, and channel selector knobs, among others. Understanding these controls and how to adjust them is essential for optimizing performance.
By familiarizing yourself with the basic principles and features of CB radios, you are better equipped to tune and utilize your radio to its full potential. Now let’s move on to the next step in the tuning process: selecting the right antenna.
Selecting the Right Antenna
When it comes to CB radio performance, choosing the right antenna is crucial. The antenna serves as the primary means of transmitting and receiving signals, and a well-matched antenna is essential for optimal communication range and signal strength.
There are several types of CB antennas available, each with its own advantages and considerations. The most common types include the whip antenna, fiberglass antenna, and magnetic mount antenna.
The whip antenna is the most basic and widely used type. It consists of a metal rod mounted vertically on a base. Whip antennas are relatively inexpensive and offer reasonable performance for general use.
Fiberglass antennas, on the other hand, are more durable and provide better signal range and clarity compared to whip antennas. They are designed to withstand harsh weather conditions and are a popular choice for truckers and off-road enthusiasts.
Magnetic mount antennas offer convenience as they can easily be attached to any metal surface on your vehicle. They are often preferred by those who frequently switch between vehicles or need a temporary antenna solution.
When selecting an antenna, it is important to consider its compatibility with your vehicle’s mounting options. Some antennas require drilling holes or specific mounting brackets, while others can be easily attached to existing mounting points.
Additionally, the length of the antenna plays a crucial role in performance. As a general rule, a longer antenna will provide better signal range, but it may be less practical in certain situations where space is limited.
Lastly, it is essential to ensure that the antenna is properly grounded. A good ground connection helps minimize interference and maximize performance. It is recommended to attach the ground wire directly to a metal surface on your vehicle, such as the chassis.
By understanding the different types of antennas and considering factors such as compatibility and length, you can select the right antenna that suits your needs and provides optimal CB radio performance. Next, we will move on to the installation of your CB radio.
Installing Your CB Radio
Installing your CB radio properly is crucial for optimal performance and longevity. Follow these steps to ensure a seamless installation:
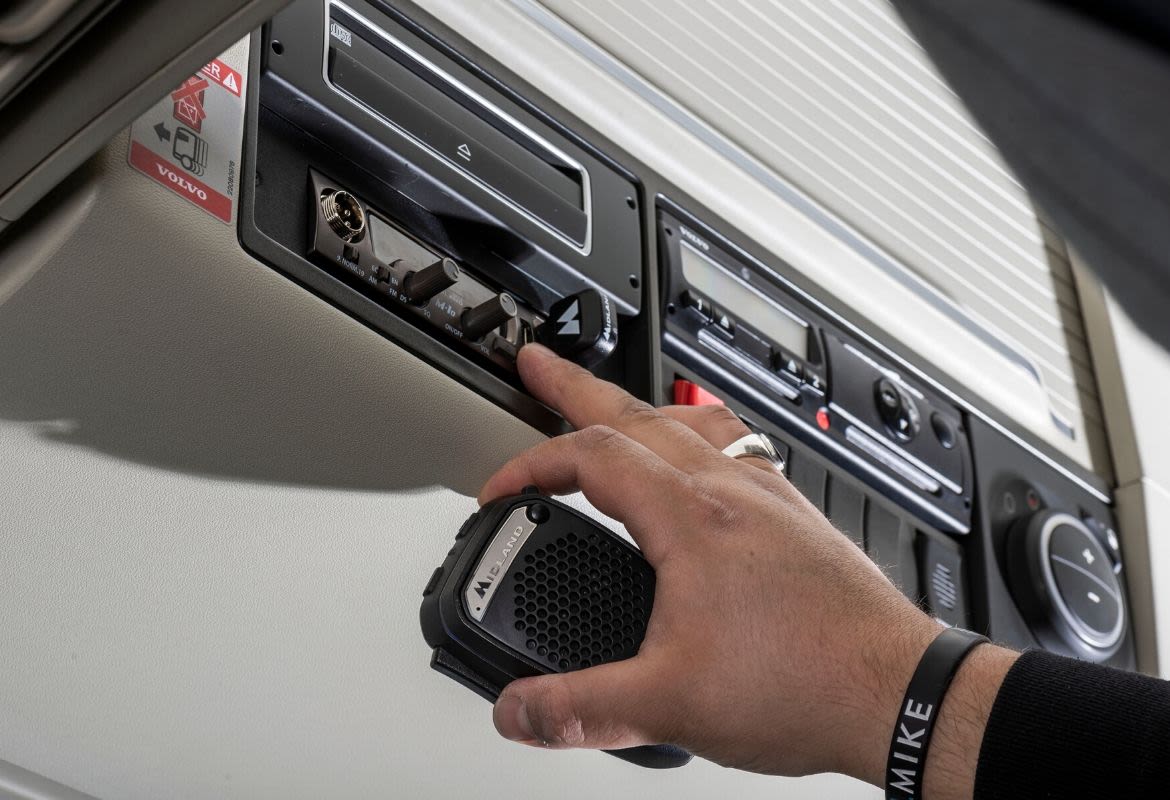
- Choose the perfect location: Select a location in your vehicle that is easily accessible and allows for comfortable operation of the CB radio. Common options include the dashboard, under the seats, or in the center console.
- Mount the CB radio: Use the mounting bracket and screws provided with the radio to securely fasten it in the chosen location. Make sure the radio is mounted securely to prevent vibration or movement while driving.
- Connect the power source: Connect the CB radio’s power cord to a suitable power source. This is typically the vehicle’s fuse box or a dedicated power outlet. Ensure that the power source has a 12-volt DC output and use an appropriate fuse to protect the radio from power surges.
- Ground the CB radio: Establish a solid ground connection for your CB radio. This involves connecting a ground wire from the radio’s grounding point to a metal surface on your vehicle, such as the chassis. A good ground connection helps reduce interference and improves performance.
- Attach the antenna coaxial cable: Connect the coaxial cable from the antenna to the designated antenna port on the CB radio. Make sure the connection is secure and free from any loose or damaged components.
- Route and secure the cables: Carefully route the power and antenna cables to avoid any interference with other vehicle components. Use cable ties or clips to secure the cables in place and prevent them from moving or getting tangled.
- Verify proper voltage and connections: Before finalizing the installation, double-check that the CB radio is receiving the correct voltage and that all connections are tight and secure. Use a multimeter to measure the voltage at the radio’s power connection point.
By following these steps, you can ensure a proper and reliable installation of your CB radio. Remember to consult the user manual provided with your specific radio model for any additional installation instructions or guidelines.
Next, we will cover the power and grounding requirements for your CB radio.
Powering and Grounding Your CB Radio
Proper powering and grounding of your CB radio is essential for reliable performance and to minimize interference. Follow these steps to ensure a solid power connection and effective grounding:
- Verify the power requirements: Before connecting your CB radio to the power source, check the user manual or the radio’s specifications to ensure that the voltage and current requirements match the power source. Using an incompatible power source can damage the radio.
- Connect the power cord: Attach the power cord of the CB radio to the designated power source. This is typically done by connecting the positive (red) wire to the positive terminal and the negative (black) wire to the negative terminal of the power source.
- Use appropriate fuse protection: Install an appropriate fuse in-line with the positive wire of the power cord. The fuse acts as a protective measure to prevent damage to the radio in case of a power surge or short circuit.
- Ground the CB radio: Establish a proper ground connection for your CB radio. A solid ground connection helps reduce interference and improves overall performance. Connect a grounding wire from the grounding point on the radio to a metallic part of your vehicle’s chassis. Ensure the connection is secure and free from any rust, paint, or corrosion.
- Test the ground connection: Verify the effectiveness of the ground connection by using a multimeter. Set the multimeter to the resistance or continuity mode and test for a low resistance reading between the grounding point on the radio and the vehicle’s chassis. A reading close to zero indicates a good ground connection.
- Keep power and antenna cables separated: To minimize interference, keep the power and antenna cables separated from each other and any other vehicle wiring. Avoid running them parallel or crossing them. Use cable ties or clips to secure the cables and prevent them from moving or getting tangled.
By following these steps, you are ensuring a proper power connection and effective grounding for your CB radio. Always refer to the user manual provided with your specific radio model for any additional power and grounding instructions or recommendations.
Next, we will explore the process of adjusting the squelch control on your CB radio.
Adjusting the Squelch Control
The squelch control on your CB radio helps filter out unwanted background noise and interference, allowing for clear reception of incoming signals. Adjusting the squelch control is important to find the right balance between eliminating noise and receiving valid transmissions. Here’s how to adjust the squelch control:
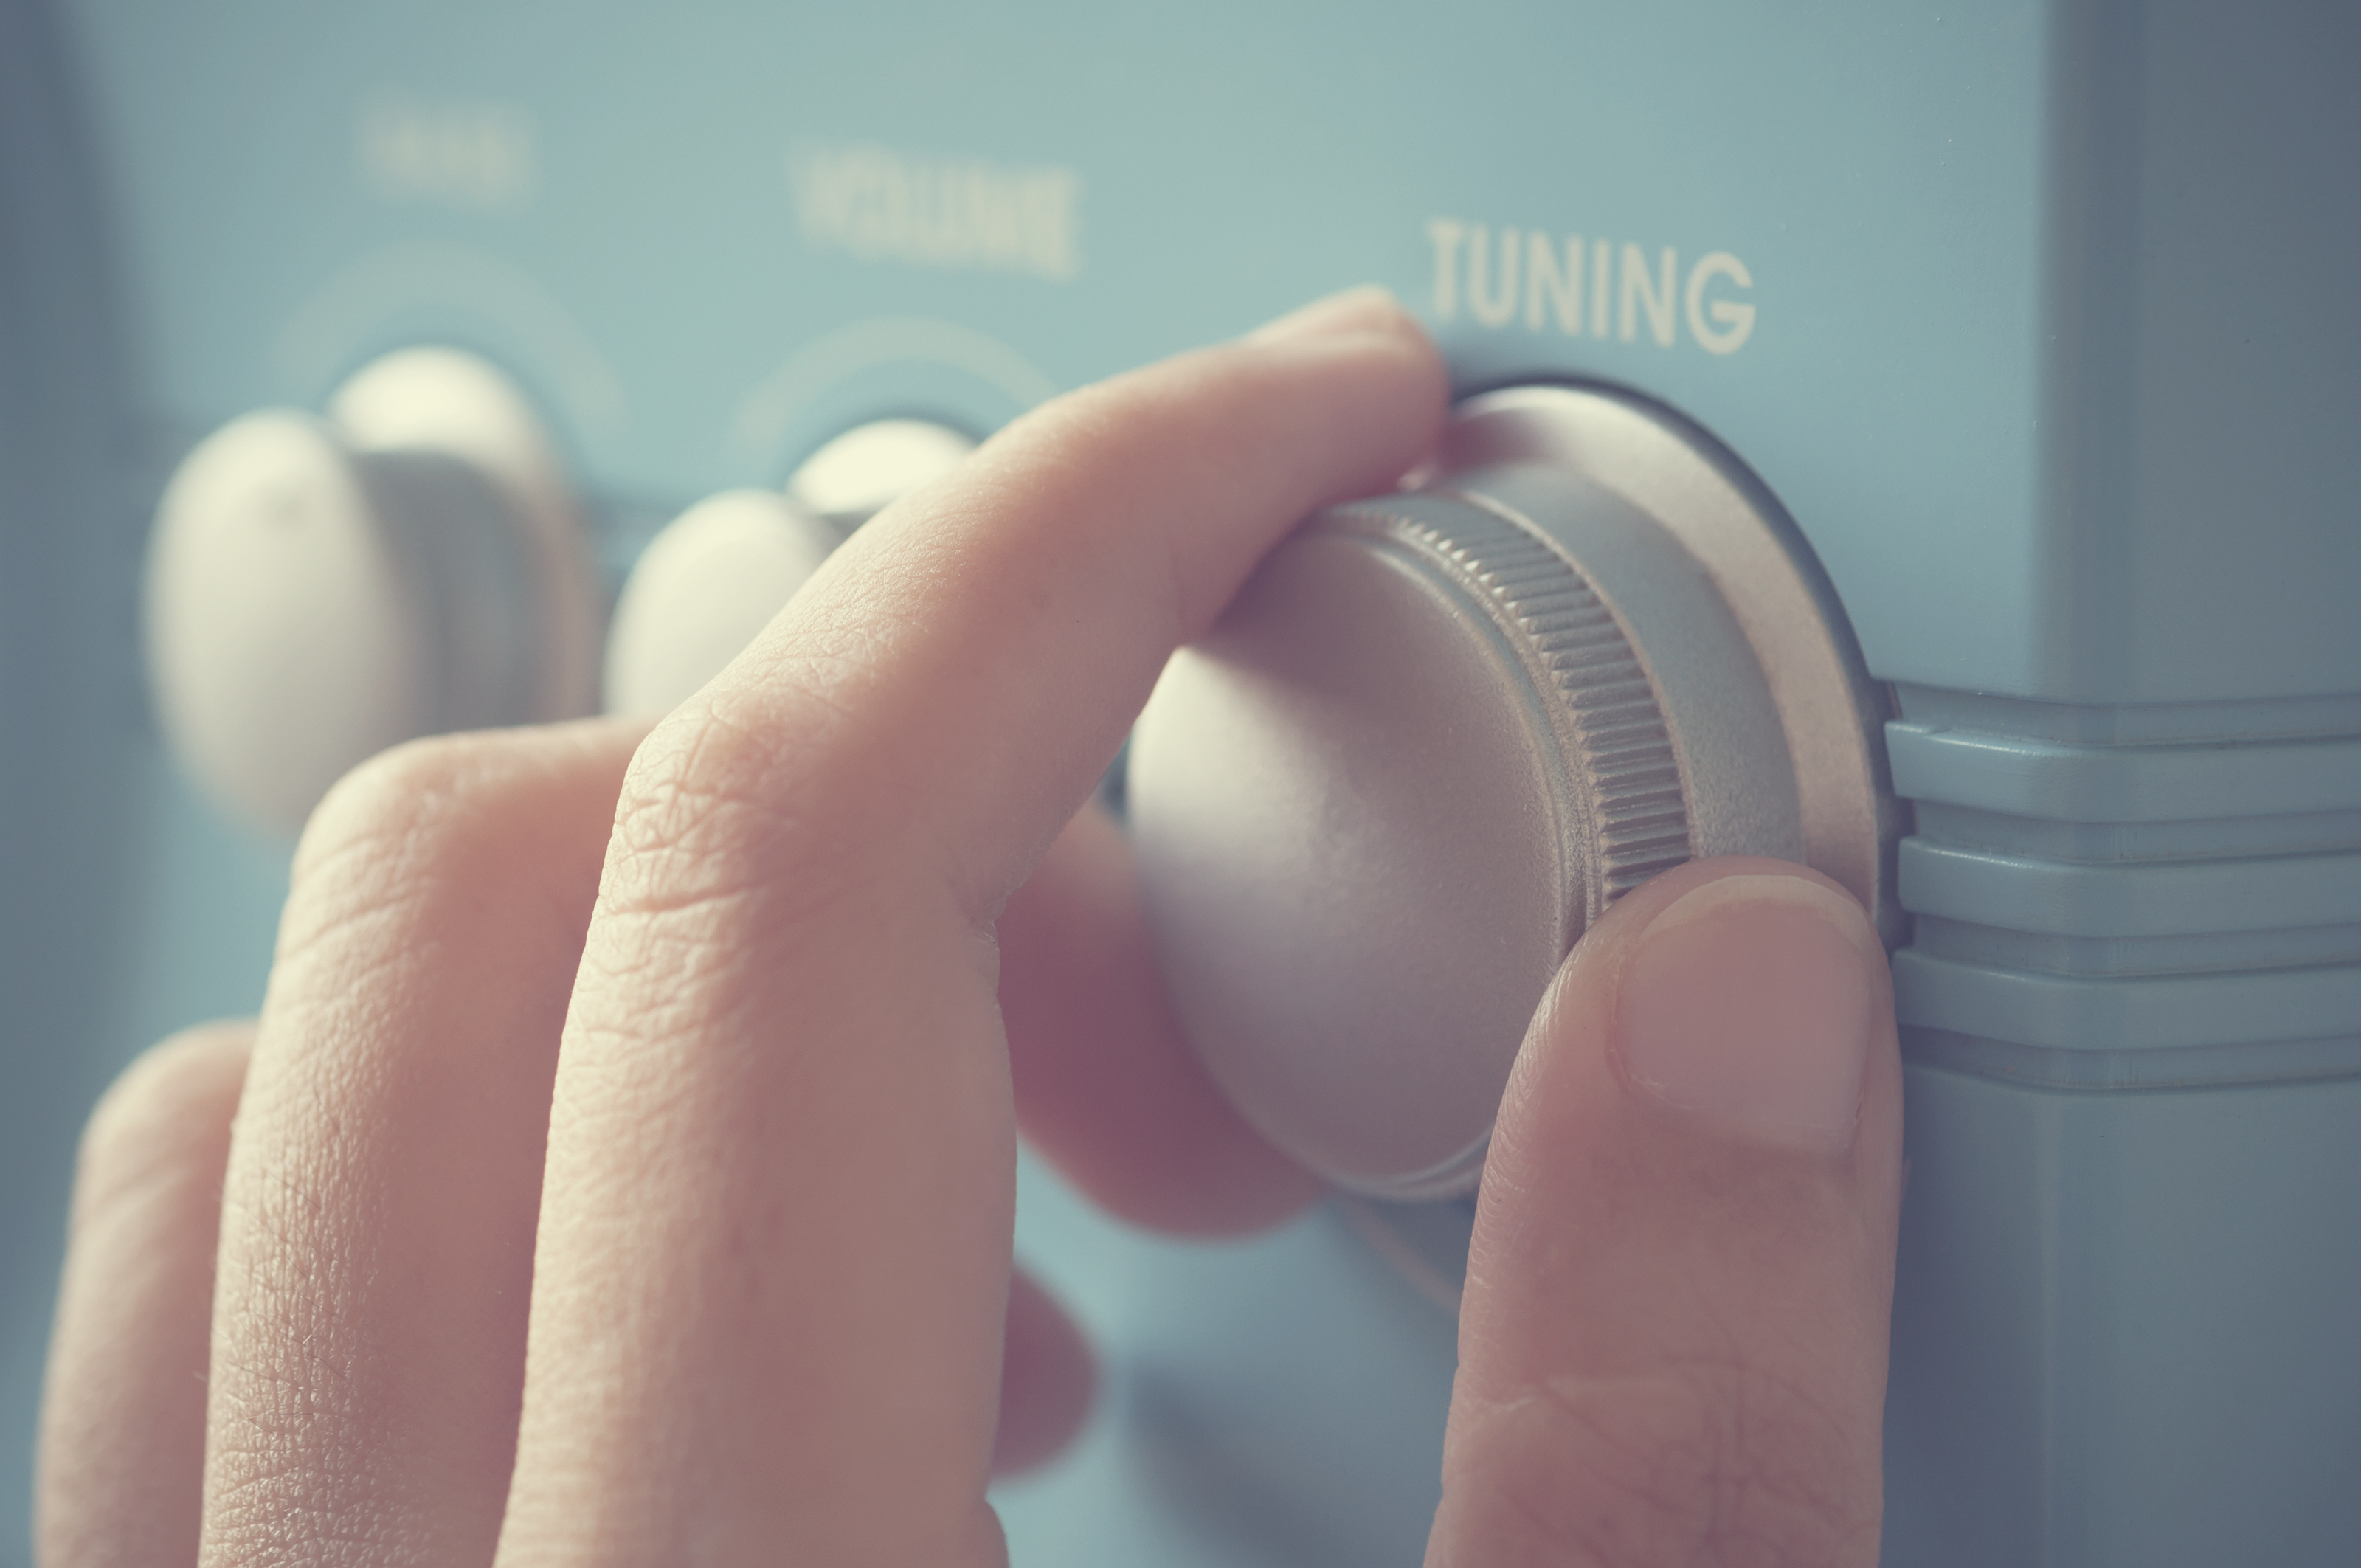
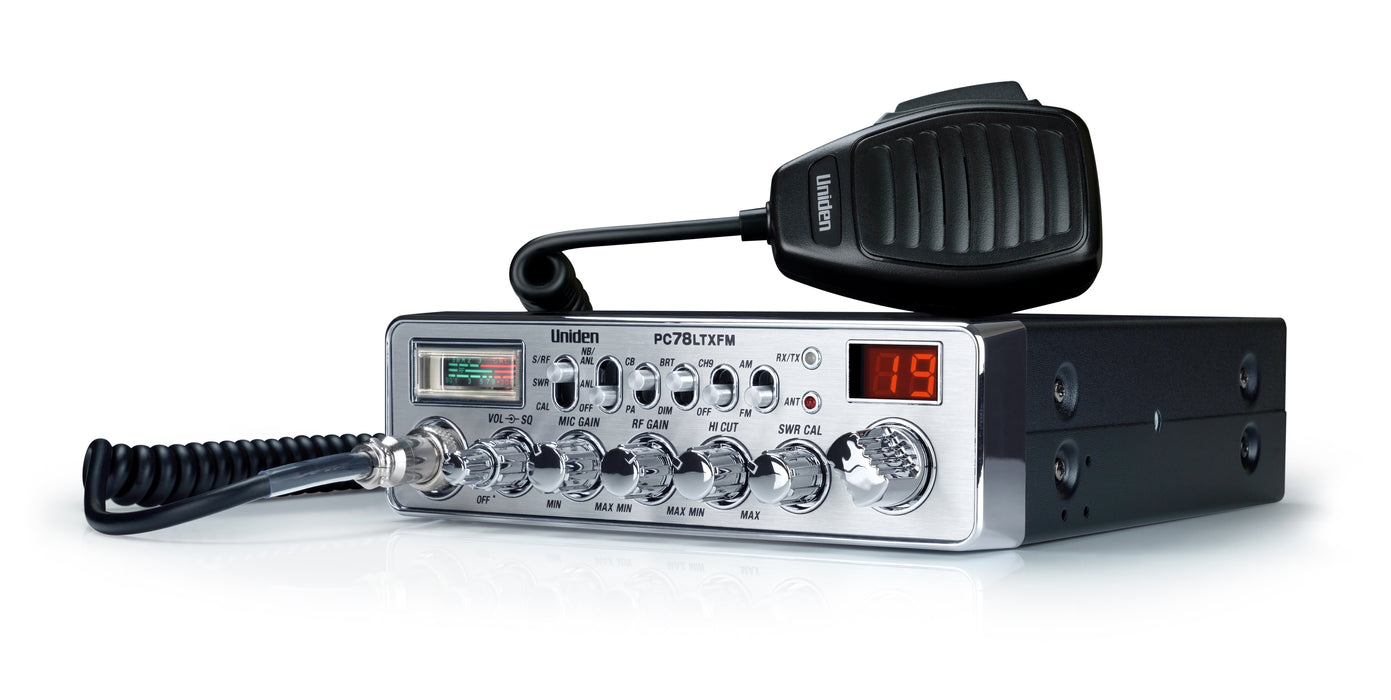
- Locate the squelch control knob: The squelch control knob is usually located on the front panel of your CB radio. It may be labeled as “SQL” or “Squelch”.
- Set the squelch control to the minimum level: Start by turning the squelch control knob counterclockwise or to the minimum level.
- Listen to the background noise: Tune your radio to an active channel where you can hear background noise, such as static or hissing sounds.
- Gradually increase the squelch control: Slowly turn the squelch control knob clockwise until the background noise just disappears. This ensures that the squelch level is set just above the noise threshold.
- Test for proper squelch setting: After adjusting the squelch control, have a friend or another CB radio user transmit a signal to your radio. The signal should come through clearly without any background noise or interference.
- Refine the squelch setting: If you still hear background noise or the signal is not clear, slightly adjust the squelch control knob until the noise is filtered out and you receive clear transmissions.
Finding the right squelch setting may require some trial and error, as it can vary depending on your location and atmospheric conditions. It’s important to strike the right balance between filtering out noise and being able to receive valid transmissions. By adjusting the squelch control, you can optimize the signal reception on your CB radio.
Next, we will explore the process of setting the RF gain on your CB radio.
Setting the RF Gain
The RF gain control on your CB radio allows you to adjust the radio’s receive sensitivity. It helps optimize the reception of weak signals while reducing the risk of receiving strong signals that may lead to distortion. Follow these steps to set the RF gain on your CB radio:
- Locate the RF gain control: The RF gain control is typically found on the front panel of your CB radio. It may be labeled as “RF Gain”.
- Set the RF gain to the default midpoint position: Start by setting the RF gain control to the midpoint or default position. This ensures a balanced setting, allowing for reliable reception in most situations.
- Test radio reception: Tune your radio to an active channel and listen for weak signals or distant transmissions. Pay attention to the clarity and strength of the received signals.
- Adjust the RF gain control: If the received signals are weak or difficult to understand, gradually increase the RF gain control in small increments. This will enhance the sensitivity of the radio and allow for better reception of weaker signals.
- Avoid overloading the receiver: If you encounter strong nearby signals that cause distortion or interference, reduce the RF gain control. This prevents the receiver from being overloaded and ensures clear and distortion-free reception.
- Experiment and fine-tune: Adjust the RF gain control until you achieve the desired reception quality. Every environment and situation may require different settings, so feel free to experiment and fine-tune the RF gain control accordingly.
Setting the RF gain control allows you to optimize your CB radio’s receive sensitivity for both weak and strong signals. By finding the right balance, you can ensure clear and reliable reception in various conditions.
Next, we will discuss the importance of calibrating the SWR meter on your CB radio.
Calibrating the SWR Meter
The Standing Wave Ratio (SWR) meter is a crucial tool for measuring the efficiency of your CB radio’s antenna system. Calibrating the SWR meter ensures that your antenna is properly tuned, minimizing signal loss and maximizing signal strength. Follow these steps to calibrate the SWR meter:
- Connect the SWR meter: Attach the SWR meter to your CB radio by connecting the coaxial cable from the antenna to the SWR meter’s “ANT” or “TX” port. Connect another coaxial cable from the SWR meter’s “SWR” or “CAL” port to the CB radio.
Calibrating the SWR meter is essential to ensure that your antenna system has optimal performance. A properly tuned antenna minimizes signal loss, maximizes signal strength, and helps prevent damage to the CB radio. By following these steps, you can ensure that your SWR meter is accurately calibrated, enabling you to fine-tune your CB radio’s antenna system for optimal performance.
Next, we will explore the process of tuning the antenna for optimal performance.
Tuning the Antenna
Tuning your CB radio antenna is a crucial step in maximizing its performance and ensuring optimal signal transmission and reception. Properly tuning the antenna helps minimize signal loss, improve range, and prevent damage to the radio. Follow these steps to tune your CB radio antenna:
- Measure the antenna length: Start by measuring the length of your antenna. Different antennas have different optimal lengths, so consult the user manual or manufacturer’s specifications for your specific antenna model. Ensure that the antenna is neither too short nor too long for the desired frequency range.
By following these steps, you can tune your CB radio antenna for optimal performance and ensure efficient signal transmission and reception. Always consult the user manual or manufacturer’s guidelines specific to your antenna model for any additional tuning instructions or recommendations.
Finally, let’s move on to the testing phase to ensure that your CB radio is working correctly.
Testing Your CB Radio
After tuning your CB radio and antenna, it’s important to perform a thorough test to ensure everything is working correctly. Testing your CB radio allows you to verify signal strength, audio quality, and overall performance. Follow these steps to test your CB radio:
- Choose a testing location: Find a suitable location away from obstructions and interference, such as buildings or power lines, that could affect signal strength.
- Tune to an active channel: Select an active channel, preferably a channel with known activity, to make testing easier and more effective.
By thoroughly testing your CB radio, you can identify any issues or areas for improvement. This allows you to make necessary adjustments or seek professional assistance to address any problems and ensure that your CB radio is operating at its best.
Now that you’ve tested your CB radio, you are ready to hit the road and enjoy clear and reliable communication with others on the Citizens Band. Safe travels and happy CB radio usage!
Conclusion
Congratulations! You have successfully learned how to tune your CB radio for optimal performance. By following the steps outlined in this article, you have gained the knowledge and skills to select the right antenna, install your CB radio correctly, and adjust essential settings like squelch control and RF gain. Additionally, you have mastered the process of calibrating the SWR meter and tuning your antenna for efficient signal transmission and reception.
Tuning your CB radio is essential to maximize its range, clarity, and overall performance. By investing the time and effort to properly tune your radio, you can greatly enhance your communication experience on the road. Clear and reliable communication with fellow drivers, friends, or emergency services becomes effortless, ensuring a safer and more enjoyable journey.
Remember to consult the user manual or manufacturer’s instructions specific to your CB radio model and antenna when conducting any tuning or installation procedures. Each model may have slight variations in the process, so it’s important to refer to the appropriate guidelines for your specific equipment.
Now that you have a well-tuned CB radio, make sure to continue monitoring for any changes in performance and regularly maintain your equipment. Clean the antenna, cables, and connections, and periodically recheck the SWR readings to ensure that your CB radio continues to operate optimally.
Enjoy the enhanced communication range and clarity delivered by your tuned CB radio. Whether you’re a truck driver, an off-road adventurer, or a commuter on long road trips, your CB radio will serve as a reliable tool for staying connected and informed while on the road.
Stay tuned in, stay connected, and have a great time exploring the world of CB radio!