Home>Devices & Equipment>Radio>How To Use Radio
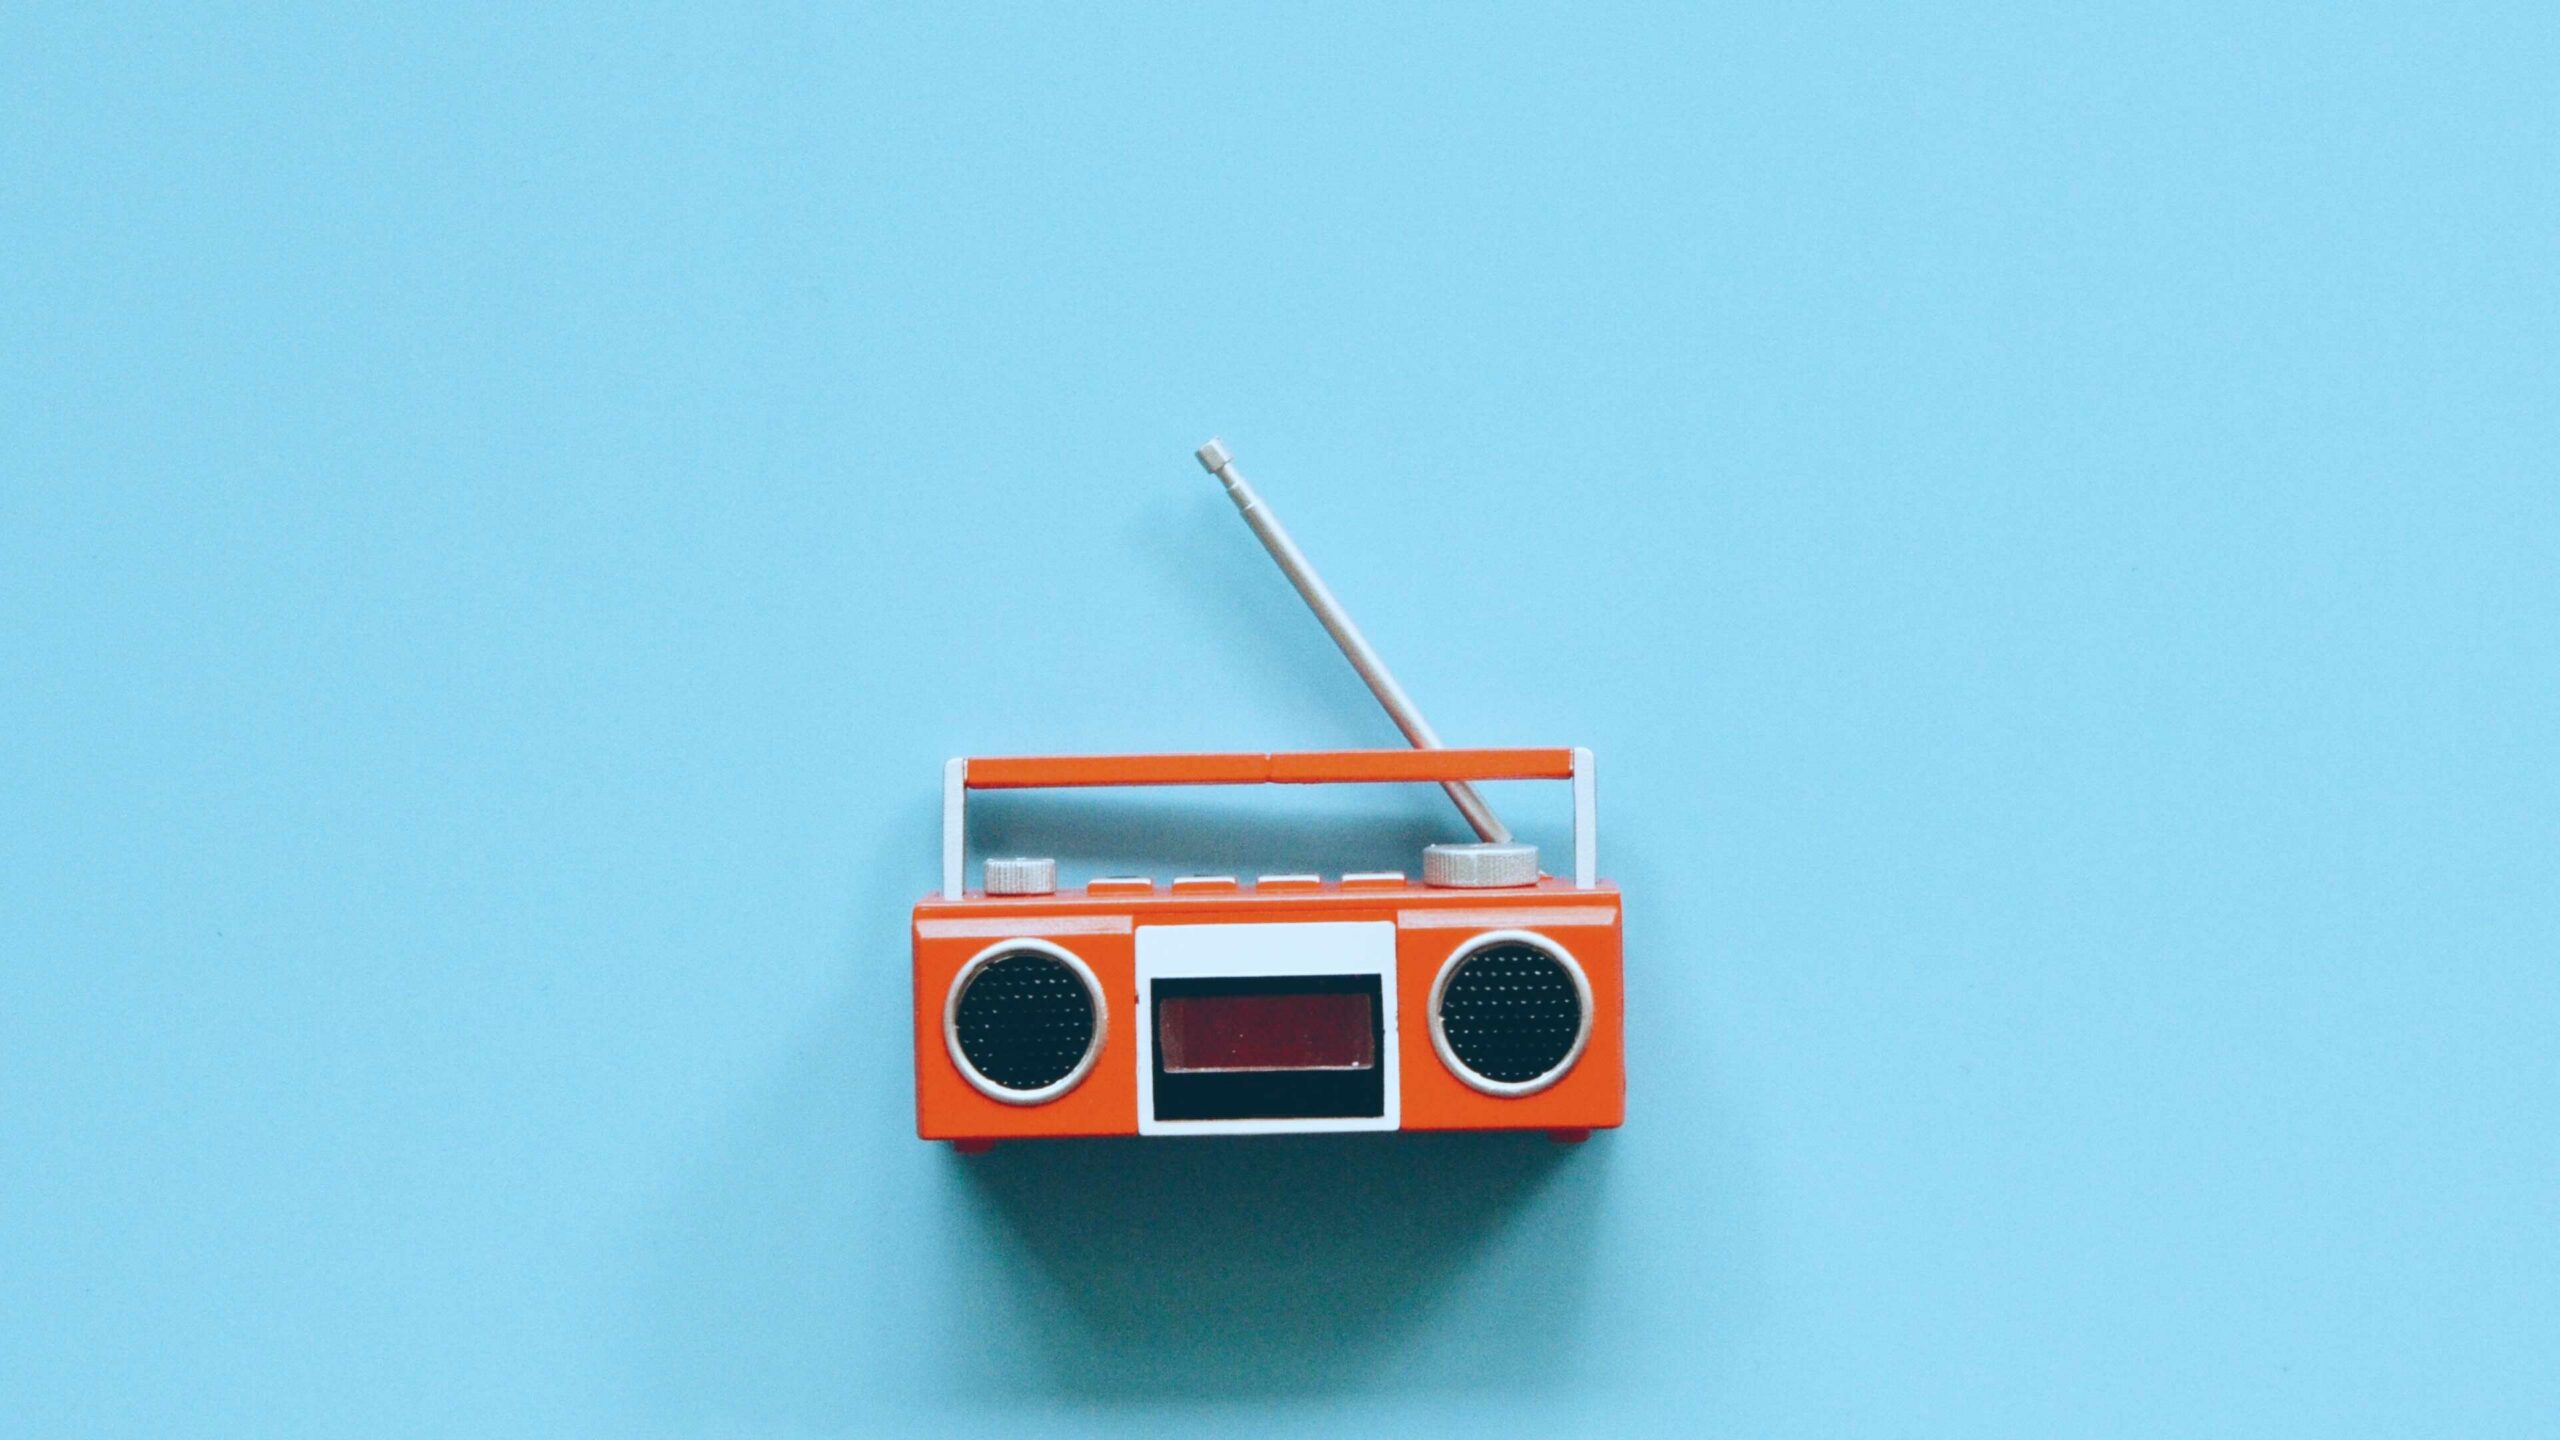

Radio
How To Use Radio
Modified: January 22, 2024
Learn how to effectively use radio and maximize its benefits. Discover tips, techniques, and strategies for utilizing radio as an essential communication tool.
(Many of the links in this article redirect to a specific reviewed product. Your purchase of these products through affiliate links helps to generate commission for AudioLover.com, at no extra cost. Learn more)
Table of Contents
Introduction
Welcome to the world of radio! From its humble beginnings to its modern iterations, radio has been a beloved medium that has kept people informed, entertained, and connected for decades. Whether you’re a radio enthusiast or a casual listener, understanding how to use a radio effectively can enhance your experience and allow you to fully enjoy the content it offers.
Radio technology has come a long way since its inception. Originally developed as a means of wireless communication, radio quickly evolved into a source of entertainment and information. Today, we have a wide range of radios available, from traditional analog models to modern digital devices with advanced features.
In this article, we will explore the basics of using a radio. We will cover everything from tuning and adjusting the volume to changing radio stations and utilizing different bands. We will also delve into using radio presets and taking advantage of additional functions such as clocks, alarms, and sleep timers. Additionally, we will address common troubleshooting issues that you may encounter along the way.
Whether you’re tuning in to your favorite music station, catching up on the latest news, or simply enjoying the company of talk radio hosts, knowing how to navigate your radio with ease will make your listening experience even more enjoyable.
So, let’s dive in and discover the wonderful world of radio technology, starting with the basics of tuning a radio.
Understanding Radio Technology
Before we delve into the practical aspects of using a radio, it’s helpful to have a basic understanding of how radio technology works. At its core, radio technology allows for the transmission of audio signals through electromagnetic waves.
When you turn on a radio, it receives these electromagnetic waves, which are transmitted by radio stations. These waves carry the audio signals that are broadcasted and allow you to listen to your favorite programs. The radio acts as a receiver, converting the electromagnetic waves back into sound.
Radio technology operates on different frequency bands, commonly known as the AM (Amplitude Modulation) and FM (Frequency Modulation) bands. These bands refer to the modulation methods used to encode the audio signals onto the radio waves.
The AM band is typically used for talk radio and news stations, while the FM band is used for music and higher-quality audio. AM signals are transmitted by varying the amplitude (strength) of the radio waves, while FM signals are transmitted by varying the frequency (pitch) of the waves.
In recent years, technology has also introduced digital radios, which offer enhanced sound quality, additional features, and the ability to receive digital broadcasts. Digital radio utilizes various standards, such as DAB (Digital Audio Broadcasting) and HD Radio, to transmit audio signals in a digital format.
Understanding the technology behind radio is important in order to make the most of your listening experience. By knowing the differences between AM and FM, and the advancements in digital radio technology, you can choose the right equipment and settings to suit your preferences.
Now that we’ve established the foundation of radio technology, let’s move on to the practical aspects of using a radio, starting with how to effectively tune your radio.
Tuning a Radio
Tuning a radio is the process of selecting and fine-tuning the frequency or station you wish to listen to. Whether you have an analog or digital radio, the basic principles of tuning remain the same.
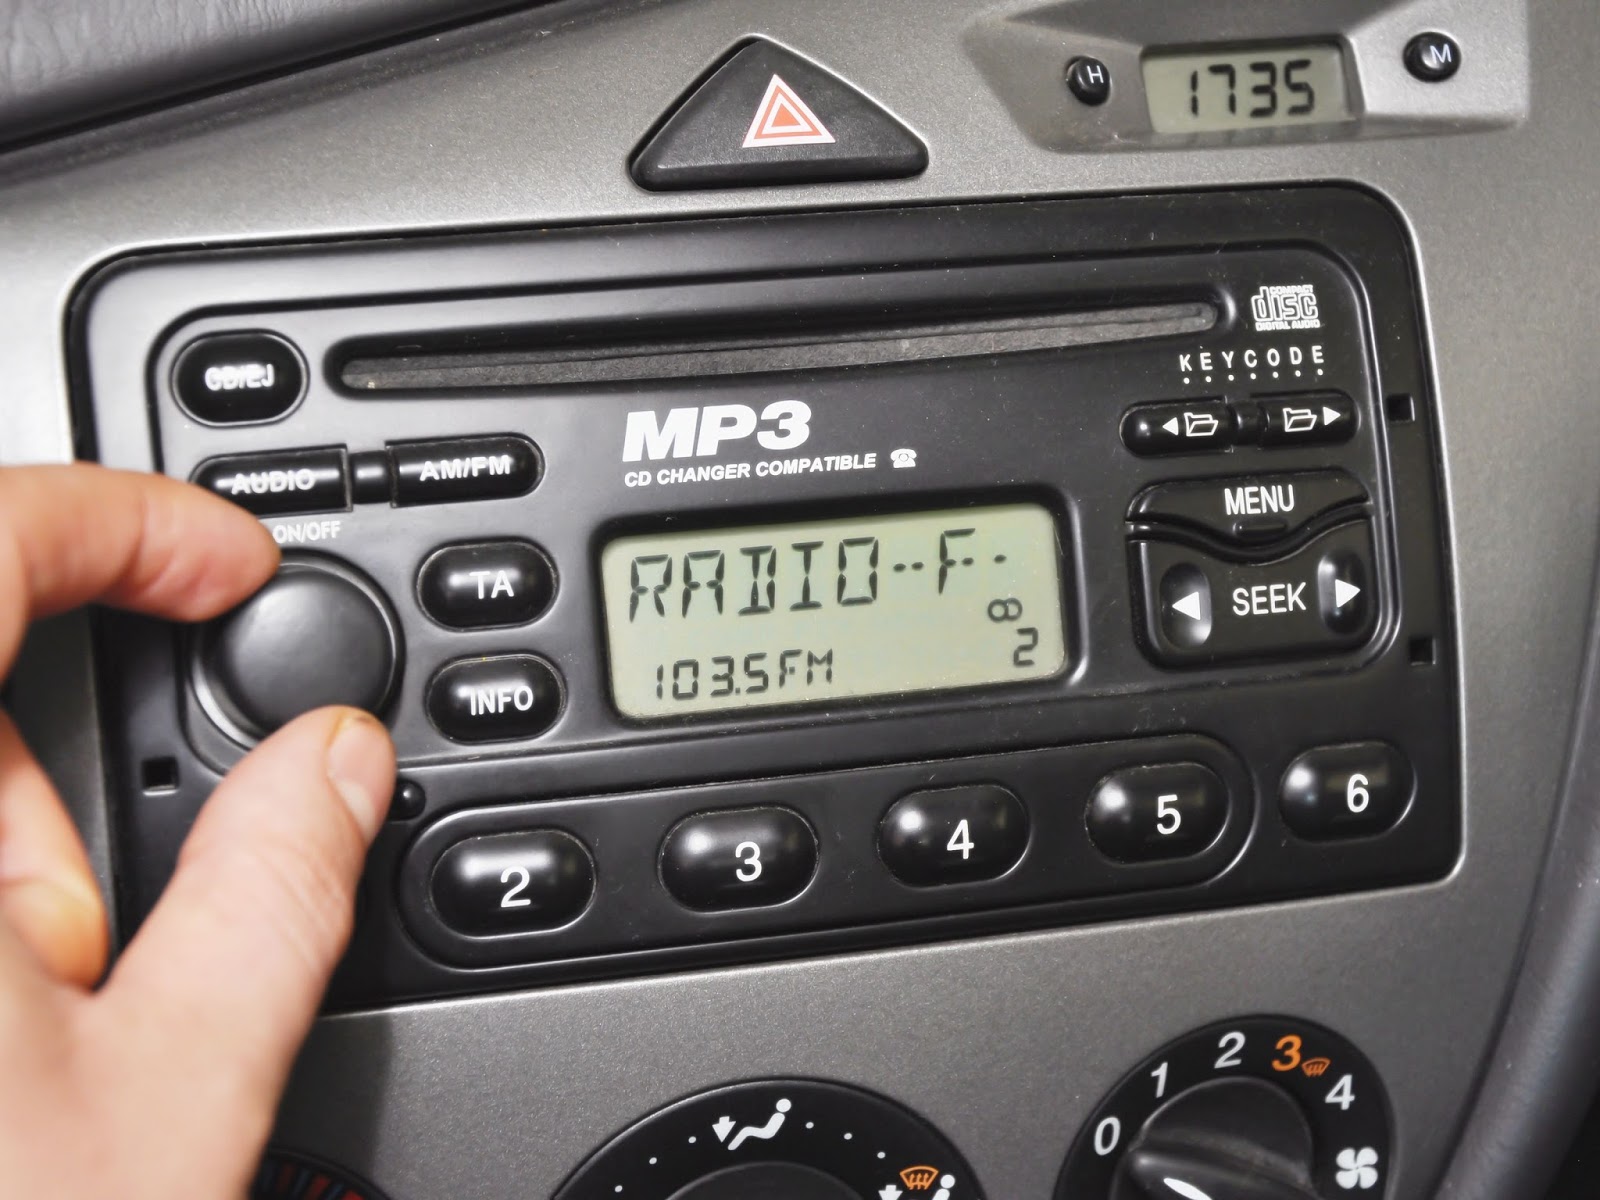
If you have an analog radio, tuning is usually done by turning a tuning knob or dial to adjust the frequency. The frequency is displayed on a scale marked with numbers or markings representing different stations. Tune the dial until you reach the desired station, and ensure the reception is clear and free from interference.
For digital radios, tuning is often done by pressing buttons or using a digital interface. These radios may display the station name or frequency on a screen, allowing for easy selection. Some digital radios also have the option to automatically search and store available stations, making the tuning process even simpler.
When tuning your radio, you may come across stations that are slightly off-frequency or have a weak signal. In such cases, fine-tuning the radio by adjusting the dial or using the digital interface can help improve reception and clarity.
It’s worth noting that in certain environments, such as near tall buildings or in remote areas, radio reception may be affected. Adjusting the position or orientation of the radio antenna can sometimes improve reception in such situations.
Additionally, some radios come equipped with features like automatic frequency control (AFC) or digital signal processing (DSP) that help maintain a stable and clear signal. These features can be especially useful when listening to weaker or distant stations.
By mastering the art of tuning your radio, you can easily navigate through the multitude of stations and find your preferred programming. Now that you know how to tune your radio, let’s move on to the next step: adjusting the volume.
Adjusting the Volume
One of the basic functions of any radio is the ability to adjust the volume. Whether you prefer to listen at a low, soothing level or crank up the volume for an immersive experience, knowing how to adjust the volume properly can greatly enhance your listening pleasure.
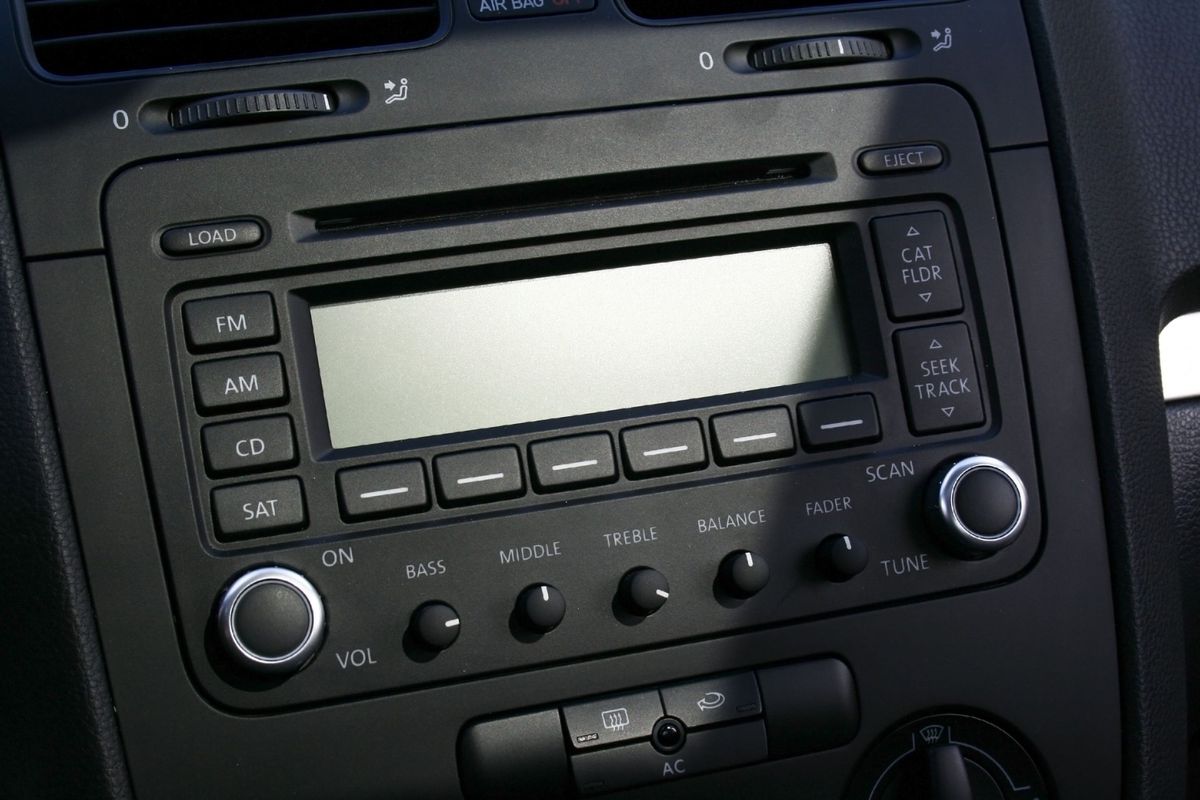
To adjust the volume on most radios, you’ll find a dedicated volume knob or buttons. Simply turn the knob clockwise to increase the volume or counterclockwise to decrease it. If your radio is digital, you may have up and down arrow buttons or a touch-sensitive slider to control the volume level.
As you adjust the volume, it’s important to remember your surroundings. Be mindful of your environment and considerate of those around you, especially if you’re using a portable radio or listening in a shared space. Find a volume level that is comfortable for you, while being respectful of others’ needs.
Keep in mind that the sound quality and volume level can also be influenced by external factors, such as the quality of the audio source or the acoustics of the room. Experiment with different volume levels to find the setting that delivers the best clarity and balance for your listening preferences.
Some radios may also have additional audio enhancement features, such as bass boost or treble control. These options allow you to fine-tune the audio output to suit your personal preferences. Explore your radio’s settings to see if these features are available and experiment with them to find your ideal sound profile.
By mastering the art of adjusting the volume, you can create an optimal listening experience that suits your individual preferences and ensures your enjoyment of the radio content. Now that you know how to control the volume, let’s move on to the next step: changing radio stations.
Changing Radio Stations
Changing radio stations allows you to explore a variety of content, from different music genres to diverse talk radio programs. Whether you’re seeking a change of pace or searching for your favorite station, knowing how to switch between stations is an essential skill for any radio user.
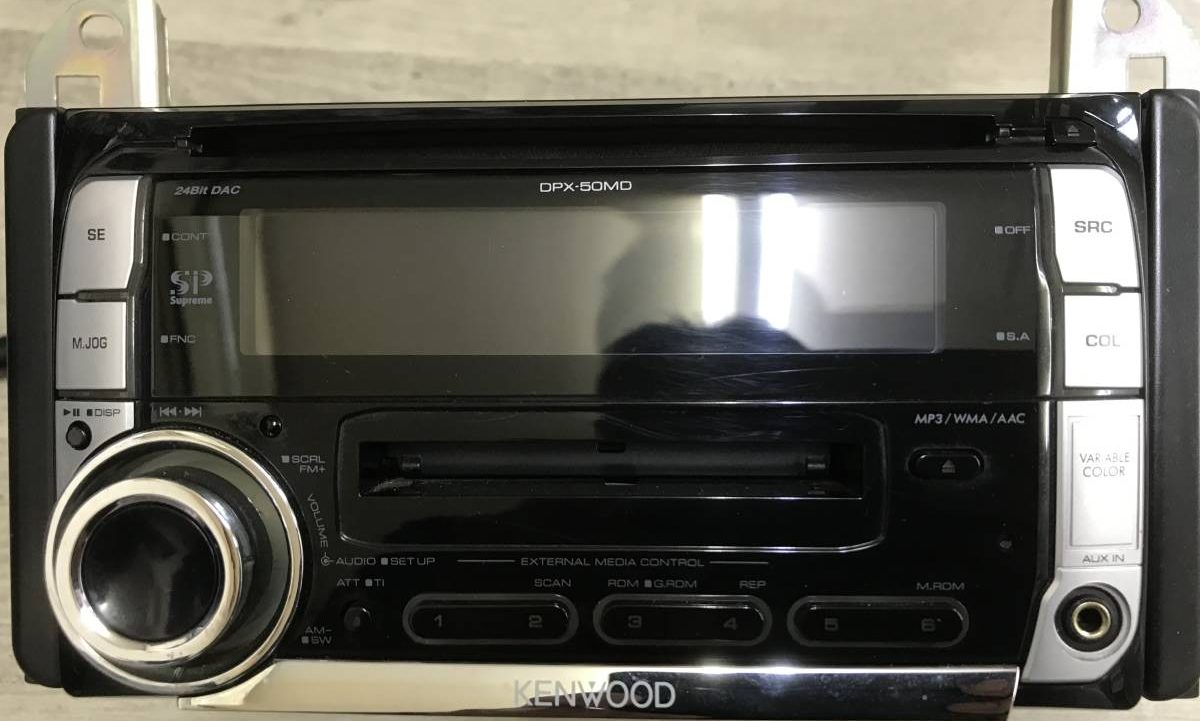
The process of changing radio stations varies depending on the type of radio you have. In most analog radios, you will typically find a station selector knob or buttons labeled with frequency numbers. To change stations, simply rotate the knob or press the corresponding buttons to tune in to the desired frequency.
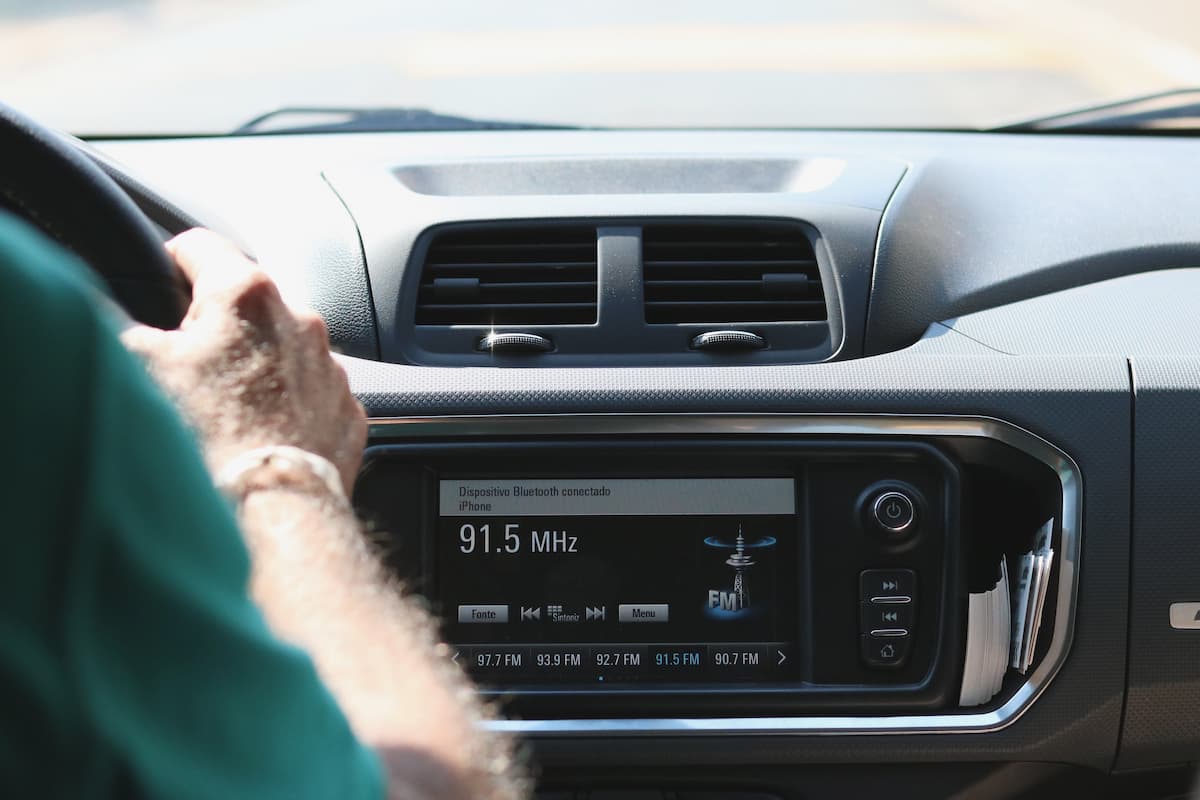
Digital radios make the task of changing stations even simpler, often featuring dedicated buttons or a digital interface to toggle between stations. The station names or frequency numbers are usually displayed on the screen, making it easier to identify and switch to your preferred station with just a few clicks.
Some radios also provide a scanning feature that automatically searches for available stations. This can be particularly useful when you’re in an unfamiliar area or want to discover new stations. Simply activate the scanning function, and the radio will cycle through the available frequencies until it finds a signal. Once it stops on a station of interest, you can choose to save it as a preset for quick access in the future.
Additionally, radios equipped with presets allow you to save your favorite stations for quick and convenient access. Preset buttons are typically located on the front panel or as part of the digital interface. Simply tune in to the desired station and press and hold the preset button to save it. This way, you can easily switch between your favorite stations without manually searching for each frequency.
By knowing how to change radio stations effectively, you can broaden your listening horizons and discover new content that aligns with your interests. So, grab your radio remote or turn that dial and explore the wide world of radio programming.
Now that you know how to change radio stations, let’s dive deeper into understanding the difference between AM and FM bands.
Using AM and FM Bands
When it comes to radio, two primary frequency bands dominate the airwaves: AM (Amplitude Modulation) and FM (Frequency Modulation). Each band offers a distinct listening experience, and understanding the differences between them can help you make informed choices when tuning in to your favorite stations.
The AM band, operating in the frequency range of 535 kHz to 1,700 kHz, is known for its strong signal propagation capabilities. AM signals are relatively unaffected by obstacles such as buildings or mountains, making them ideal for long-distance transmissions. AM radio is often associated with talk radio and news stations. It provides a clear broadcast of speech-based content and is a popular choice for news updates, sports commentary, and talk shows.
On the other hand, the FM band operates in the higher frequency range of 88 MHz to 108 MHz. FM signals offer better sound quality and clarity, making them ideal for music-based stations. FM radio provides a wider frequency response range, allowing for the transmission of a fuller range of audio frequencies. This makes FM radio a preferred choice for music lovers, as it can deliver high-fidelity sound with greater detail and dynamic range.
When tuning your radio, you’ll likely encounter both AM and FM stations. Analog radios usually have separate tuning dials or buttons for each band, making it easy to switch between them. Digital radios often have a mode selector that allows you to toggle between AM and FM.
It’s worth noting that some radios may also support additional bands, such as SW (Shortwave) or LW (Longwave), which offer even more diverse content from around the world. However, these bands are less common and may require specialized radios or antennas for optimal reception.
By exploring both the AM and FM bands, you can enjoy a diverse range of programming that caters to your personal preferences. Whether you’re craving talk radio or in the mood for some music, your radio has got you covered.
Now that you have a better understanding of the AM and FM bands, let’s move on to a handy feature: using radio presets.
Using Radio Presets
Radio presets are a convenient feature that allows you to save your favorite stations for quick and easy access. With just a press of a button, you can instantly tune in to your preferred stations without having to manually search for their frequencies. Using radio presets is a time-saving and user-friendly way to enjoy your favorite content.
Most radios, whether analog or digital, come equipped with preset buttons or memory slots specifically designed to store your favorite stations. Here’s how to use radio presets:
- Tune in to the desired station using the tuning knob or buttons on your radio.
- Press and hold the preset button you want to assign the station to. This could be a physical button on the front panel or a virtual button on a digital interface.
- The station is now saved to that preset button. You can do this for multiple stations, assigning each to a different preset button.
- To access a preset station, simply press the corresponding preset button. The radio will automatically tune in to that saved station.
Radio presets allow you to create a personal lineup of your frequently listened-to stations. This is especially handy when driving or multitasking, as you can swiftly switch between stations without taking your eyes off the road or getting distracted.
If your radio has a large number of preset options, you can organize them by genre, language, or any other category that suits your preferences. This way, you can easily locate and enjoy specific types of content without the hassle of manually searching for frequencies.
With digital radios, presets often offer additional functionality. Some radios allow you to assign custom names or labels to each preset, making it even easier to identify your favorite stations. Furthermore, advanced digital radios may have the ability to automatically update preset stations based on available signals, ensuring that your favorite stations are always up to date.
By utilizing radio presets, you can effortlessly navigate through your desired stations and create a personalized listening experience that caters to your preferences and interests. Now that you know how to use radio presets, let’s explore additional functionality available on some radios, such as clocks, alarms, and sleep timers.
Using Radio Functions (e.g., Clock, Alarm, Sleep Timer)
Modern radios often come with additional functions beyond basic tuning and volume controls. These extra features can enhance your overall radio experience and provide added convenience. Let’s explore some of the commonly found radio functions:
Clock:
Many radios have built-in clock functionality, allowing them to double as alarm clocks or display the current time. The clock display can be either analog or digital, depending on the radio type. It’s a handy feature that eliminates the need for a separate clock in your bedroom or kitchen.
Alarm:
Radio alarms are a popular feature for those who prefer waking up to their favorite stations. You can set your radio to wake you up to a specific station or have it gradually increase the volume to gently rouse you from sleep. Additionally, some radios offer dual alarms, so you can set different wake-up times for weekdays and weekends.
Sleep Timer:
For those who enjoy falling asleep to the soothing sounds of radio, the sleep timer feature is incredibly useful. It allows you to set a specific amount of time for the radio to play before automatically turning off. This feature ensures that you can drift off to sleep without worrying about leaving the radio on all night.
Additional Functions:
Depending on the model, radios may offer other functions such as snooze buttons, backlight adjustability, and even Bluetooth connectivity. These features can enhance convenience and connectivity, providing a seamless integration with other devices for a more versatile listening experience.
To access these functions, refer to your radio’s user manual for specific instructions. The controls for these features are often located on the radio’s front panel or accessible through the digital interface, making them easy to find and use.
By taking advantage of these additional radio functions, you can not only enjoy your favorite music and programs but also streamline your daily routines and make the most out of your radio’s capabilities.
Now that we’ve explored the various radio functions, let’s address common troubleshooting issues that you may encounter while using a radio.
Troubleshooting Common Radio Issues
While radios are generally reliable devices, you may occasionally encounter some common issues that can affect their performance. Here are a few troubleshooting steps to help you address these problems:
No Sound:
If your radio is powered on but there is no sound coming through the speakers, there are a few possible causes. First, ensure that the volume is turned up to an audible level. If that doesn’t resolve the issue, check the antenna connection to make sure it’s securely attached. Weak or loose antenna connections can result in poor reception and no sound. If you’re using an external antenna, try repositioning or adjusting it for better signal reception.
Poor Reception:
If your radio is experiencing poor reception or a weak signal, try adjusting the position or orientation of the antenna to improve signal strength. For an analog radio, rotating or moving the radio itself can sometimes help find a better signal. In the case of a digital radio, look for the Auto-Tune or Auto-Scan feature, which can automatically search for and lock onto available stations with stronger signals.
If you’re hearing static or interference during radio playback, it could be due to nearby electronics or electrical equipment. To reduce interference, move your radio away from other devices or sources of electromagnetic interference, such as televisions, mobile phones, or fluorescent lights. Additionally, try positioning the antenna away from any potential obstructions or metal objects that may interfere with the signal.
Power Issues:
If your radio doesn’t turn on or loses power intermittently, check the power source and ensure that the power cord is properly plugged in. If you’re using batteries, try replacing them with fresh ones. For radios with rechargeable batteries, ensure that they are fully charged. If the radio still doesn’t turn on, consult the user manual or contact customer support for further assistance.
If you’ve tried these troubleshooting steps and the issue persists, it may be a more significant problem with the radio itself. In such cases, it’s recommended to seek professional repair or contact the manufacturer for guidance.
By addressing common radio issues through troubleshooting techniques, you can often resolve minor problems and enjoy uninterrupted listening experiences. Now that we’ve covered troubleshooting, let’s wrap up our exploration of radio usage.
Conclusion
Radio has been a beloved form of entertainment and communication for decades, providing us with news, music, and talk shows that keep us informed, entertained, and connected. Understanding how to use a radio effectively can greatly enhance your listening experience and unlock the full potential of this timeless medium.
In this article, we discussed the basics of radio technology, including how it works using electromagnetic waves and the differences between the AM and FM bands. We explored key skills such as tuning the radio, adjusting the volume, and changing stations, as well as the convenience of using radio presets to quickly access your favorite stations.
We also examined additional functions that radios may offer, such as clocks, alarms, sleep timers, and various connectivity options. These features can further personalize your radio experience and integrate seamlessly into your daily routines.
Furthermore, we addressed common troubleshooting issues that you might encounter while using a radio, providing you with practical solutions to overcome them and enjoy uninterrupted listening.
Whether you’re a radio enthusiast or a casual listener, the knowledge and skills gained from this article will empower you to fully enjoy the world of radio with confidence. So, whether you’re tuning in for music, news, or a lively discussion, grab your radio and engage with the content that keeps you entertained and informed.
Remember, radio continues to evolve, with advancements in digital technology, internet radio streaming, and more. Stay curious and explore the ever-expanding variety of content and features offered by modern radios.
So, get ready to explore, discover, and connect with the captivating sounds and stories that radio has to offer. Happy listening!

