Home>Devices & Equipment>Radio>How To Reset Jeep Radio
Radio
How To Reset Jeep Radio
Published: November 10, 2023
Learn how to reset your Jeep radio and fix common issues. Step-by-step guide for troubleshooting and resetting your radio.
(Many of the links in this article redirect to a specific reviewed product. Your purchase of these products through affiliate links helps to generate commission for AudioLover.com, at no extra cost. Learn more)
Table of Contents
Introduction:
Welcome to our guide on how to reset a Jeep radio. If you’re experiencing issues with your Jeep’s radio, such as it not turning on, displaying an error message, or asking for a code, a reset may be the solution you need. Resetting the radio can help resolve software glitches and restore functionality.
Before we dive into the steps, it’s important to note that resetting the radio will not delete any saved presets or settings. However, it may reset any customized audio settings or Bluetooth pairings, so keep that in mind.
Resetting the radio is a relatively simple process that involves disconnecting and reconnecting the car battery. This action will force the radio to reboot, similar to restarting a computer. In some cases, you may also need to enter an unlock code to reactivate the radio after the reset.
Now, let’s get into the step-by-step process of resetting your Jeep radio and getting it back to optimal functionality.
Step 1: Gather Necessary Information:
Before you begin the process of resetting your Jeep radio, it’s important to gather some necessary information. This will ensure a smooth and successful reset. Here’s what you need to do:
- Locate the Radio Code: If your radio requires an unlock code after the reset, you’ll need to have this code on hand. The code is typically provided with the vehicle’s documentation or can be obtained from the dealership. If you don’t have the code, you may need to contact the dealership or the radio manufacturer to retrieve it.
- Identify the Radio Type: Different Jeep models may come with different radio systems. It’s important to identify the specific radio type in your vehicle to ensure you follow the correct reset process. The radio type can usually be found in the vehicle’s user manual or by checking the radio unit itself.
- Check for User Manuals or Online Resources: In addition to the radio code and radio type, it can be helpful to have the vehicle’s user manual or online resources readily available. These resources can provide additional information specific to your Jeep model and radio system, including any troubleshooting steps or unique reset instructions.
- Gather Necessary Tools: To disconnect and reconnect the car battery, you’ll need a few tools including a wrench or socket set. Make sure you have these tools on hand before starting the reset process.
By gathering this necessary information upfront, you’ll be well-prepared to proceed with the radio reset and increase the chances of a successful reset without any hiccups.
Step 2: Disconnect the Car Battery:
Once you’ve gathered the necessary information, you can proceed with disconnecting the car battery. This step removes power from the radio, essentially resetting its software. Follow these steps:
- Locate the Car Battery: The car battery is typically located in the engine bay or under the rear seat. Refer to your vehicle’s user manual or consult online resources to find the exact location.
- Put on Safety Gear: Before working on the car battery, ensure your safety by wearing safety gloves and goggles. This protects your hands and eyes from any potential hazards.
- Disconnect the Negative Terminal: Identify the negative terminal, usually marked with a minus (-) symbol or the letter “N.” Use a wrench or socket set to loosen the nut securing the negative cable to the battery terminal. Once loose, carefully remove the negative cable from the terminal.
- Secure the Negative Cable: After removing the negative cable, make sure it doesn’t come into contact with the battery or any other metal surfaces. You can secure it with a cable tie or wrap it with an insulating material to prevent accidental contact.
- Wait for 10-15 Minutes: Leave the car battery disconnected for at least 10-15 minutes. This allows any residual power to dissipate and ensures a complete reset.
By disconnecting the car battery, you’ve effectively cut off power to the radio and initiated the reset process. This step sets the stage for the next step, where you’ll reconnect the battery and reactivate the radio.
Step 3: Reconnect the Car Battery:
Now that the car battery has been disconnected for a sufficient amount of time, it’s time to reconnect it. Follow these steps to complete the process:
- Inspect the Battery Terminals: Before reconnecting the battery, inspect the terminals for any signs of corrosion or damage. If you notice any issues, it’s recommended to clean or replace the terminals as necessary.
- Reconnect the Negative Terminal: Take the negative cable that you previously disconnected and carefully place it back onto the negative battery terminal. Tighten the nut using a wrench or socket set to ensure a secure connection.
- Recheck Connections: Double-check the connections to ensure they are tight and secure. Loose connections can lead to electrical issues, so it’s important to verify everything is properly fastened.
- Close the Hood: Once the battery is reconnected and the connections are secure, close the hood of your Jeep.
With the battery reconnected, the radio will receive power once again, allowing it to initiate the reboot process. Keep in mind that the initial boot-up may take a few moments, so be patient.
Now that you’ve successfully reconnected the car battery, let’s move on to the next step where you’ll enter the radio unlock code if required.
Step 4: Enter the Radio Unlock Code:
After reconnecting the car battery, some Jeep radios may require an unlock code to activate them again. If you have the radio’s unlock code, follow these steps to enter it:
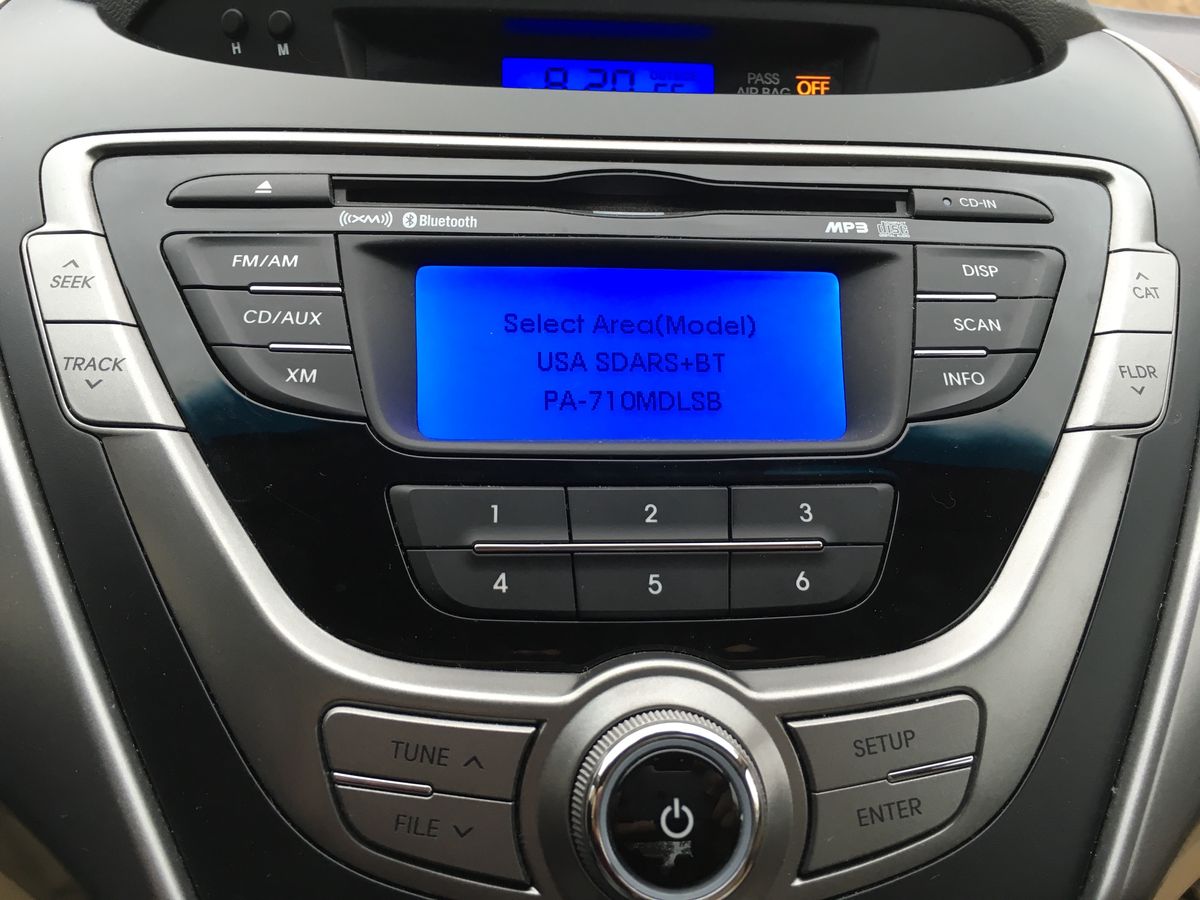
- Turn on the Radio: Once the battery is reconnected, turn on the car’s ignition and then turn on the radio. You should see a “Code” prompt or a blank screen with the word “Code.” This indicates that the radio is in the locked state and requires a code.
- Enter the Unlock Code: Use the radio’s preset buttons to enter the unlock code. Each digit of the code is typically entered using a separate preset button. For example, if the code is “1234,” you would press the preset button corresponding to the number 1, then the button for 2, and so on. Refer to your vehicle’s user manual for specific instructions on entering the unlock code.
- Confirm the Code: After entering the entire unlock code, press the “Enter” or “OK” button to confirm. If the code was entered correctly, the radio should unlock and return to normal operation.
- Radio Functionalities: Once the unlock code is accepted, test the radio’s functionalities such as AM/FM reception, CD playback, Bluetooth connectivity, and any other features. Ensure that everything is working as expected.
If you don’t have the unlock code or have trouble entering it, contact the dealership or the radio’s manufacturer for assistance. They will be able to provide the code or help troubleshoot any issues you may encounter.
With the unlock code entered, your Jeep radio should now be fully operational again. However, before we conclude, let’s move on to the final step to ensure that everything is working correctly.
Step 5: Test the Radio Functionality:
Now that you’ve reset your Jeep radio and entered the unlock code (if applicable), it’s time to test its functionality. Follow these steps to ensure everything is working correctly:
- Turn on the Radio: Start by turning on the car’s ignition and then turning on the radio. It should power up without any error messages or prompts for a code. If you see any issues, double-check the connections or consult the vehicle’s user manual for troubleshooting tips.
- Tune in to AM/FM Stations: Test the radio’s AM/FM reception by tuning in to different stations. Verify that you’re able to select and hear the stations clearly. If the reception is poor, check the antenna connection or consult a professional for further assistance.
- Play CDs or Media Devices: If your Jeep radio has a built-in CD player or supports external media devices, insert a CD or connect your media device to the radio. Make sure you’re able to play and control the audio successfully. If not, double-check the connections or consult the user manual for troubleshooting steps.
- Test Bluetooth Connectivity: If your radio has Bluetooth functionality, pair your mobile device with the radio to test the connectivity. Ensure you can make and receive calls, stream audio, and access other Bluetooth features without any issues. If there are connectivity problems, refer to the user manual or contact customer support for assistance.
- Verify Other Features: If your Jeep radio has additional features such as satellite radio, navigation, or voice commands, verify that they are functioning properly. Test each feature according to the user manual to ensure everything is working as expected.
By thoroughly testing the radio’s functionality, you can ensure that the reset process was successful and that all features are functioning correctly. If you notice any persistent issues or further complications, it may be necessary to consult a professional car audio technician for further diagnosis and assistance.
Congratulations! You have successfully reset your Jeep radio and verified its functionality. Enjoy your renewed radio experience while cruising in your Jeep!
Conclusion:
Resetting a Jeep radio can be a simple yet effective way to resolve software glitches and restore its functionality. By following the steps outlined in this guide, you can easily reset your Jeep radio and get it back to optimal performance. Here’s a recap of the steps:
- Gather the necessary information, including the radio code and identifying the radio type.
- Disconnect the car battery to cut off power to the radio.
- Reconnect the car battery after a few minutes to initiate the reboot process.
- Enter the radio unlock code, if required, to reactivate the radio.
- Test the radio’s functionality by tuning in to stations, playing CDs or media devices, and checking Bluetooth connectivity.
It’s important to remember that resetting the radio will not delete any saved presets or settings, but it may reset customized audio settings or Bluetooth pairings. If you encounter any issues during the reset process or have difficulties accessing the radio code, it’s recommended to reach out to the dealership or the radio manufacturer for assistance.
With these steps, you can effectively reset your Jeep radio and enjoy your favorite tunes, news updates, and other radio features once again. Remember to follow the specific instructions provided by your vehicle’s user manual or any additional resources available for your specific Jeep model and radio system.
Thank you for using our guide, and we hope that it has been helpful in resolving any issues with your Jeep radio. Drive safe and enjoy your newfound radio functionality!