Home>Devices & Equipment>Radio>How To Test Car Radio

Radio
How To Test Car Radio
Modified: January 22, 2024
Learn how to test your car radio and ensure it functions properly with our step-by-step guide. Troubleshoot radio issues and improve your driving experience.
(Many of the links in this article redirect to a specific reviewed product. Your purchase of these products through affiliate links helps to generate commission for AudioLover.com, at no extra cost. Learn more)
Table of Contents
Introduction
Welcome to the world of car radios! In this digital age, where streaming services and podcasts dominate the airwaves, it’s easy to overlook the importance of a good old-fashioned car radio. However, for many people, having a reliable and high-quality radio in their vehicle is still a top priority.
A car radio provides entertainment, news, and information during long drives or daily commutes. It allows you to tune into your favorite radio stations, enjoy your favorite music, catch up on the latest news, or even listen to talk shows and sports broadcasts. A car radio is like a trusted companion, keeping you company on the road.
But how do you know if your car radio is functioning properly? Is it delivering the best sound quality? Are you getting all the radio stations you want? These questions can be answered by conducting a thorough radio test.
In this article, we will guide you through the steps of testing your car radio to ensure optimal performance and enjoyment. Whether you are a car enthusiast or a casual driver, this guide will help you evaluate your car radio and troubleshoot any issues you may encounter.
Before we dive into the testing process, it’s important to note that different car radios have different features and functionalities. While the basic testing procedures remain the same, some steps may vary depending on the model and make of your car radio. Always consult your car’s manual or seek professional assistance if you are unsure about any aspect of the testing process.
Now, let’s get started with preparing for the test and ensuring that your car radio is ready to be put through its paces!
Preparing for the Test
Before we begin testing your car radio, it’s important to make sure that you have all the necessary tools and equipment. Here are a few things you will need:
- A set of basic hand tools, such as a screwdriver, pliers, and wire cutters.
- A multimeter to test voltage and continuity.
- A test CD/DVD or USB drive with audio files to check the player functionality.
- If possible, a known working car radio as a reference for comparison.
Once you have gathered these items, follow these steps to prepare for the test:
- Inspect the exterior of your car radio. Look for any visible damage, loose connections, or wiring issues. Make sure there are no obstructions, such as debris or stickers, on the radio’s antenna.
- Check the car’s battery voltage and ensure it is sufficient for the test. A weak battery can impact the performance of the radio.
- Disconnect the negative terminal of the car’s battery to avoid any electrical mishaps during the testing process. This step is crucial for your safety.
- If your car radio has a security code, ensure that you have it on hand. Some radios require a code to be entered after losing power, such as when disconnecting the battery.
- Refer to the manual or online resources for specific instructions on how to access the back of your car radio. This may involve removing panels or trim to expose the radio’s connections.
- If you are unfamiliar with the process, consider taking pictures or making notes of the connections before disconnecting anything. This will help you during the reinstallation process.
- Ensure that the radio’s fuse is in proper working condition. A blown fuse can cause the radio to malfunction or not power on at all.
By following these preparatory steps, you are setting a solid foundation for the testing process. Now that you are ready, let’s move on to the next step – testing the antenna connection.
Testing the Antenna Connection
The antenna connection is critical for receiving clear and uninterrupted radio signals. A loose or faulty antenna connection can result in poor reception or no reception at all. To test the antenna connection, follow these steps:
- Locate the antenna cable connected to the back of your car radio.
- If the antenna cable uses a plug, ensure that it is securely connected to the radio’s antenna input. If it uses a screw-on connector, make sure it is tightly screwed in.
- If the antenna cable is external (e.g. a visible antenna on the exterior of your vehicle), visually inspect it for any signs of damage or corrosion.
- If you suspect any issues with the antenna cable, disconnect it from the radio and inspect the connector for any wear or damage.
- Using your multimeter set to the continuity or resistance mode, test the continuity between the center conductor of the antenna cable and the radio’s antenna input.
- If there is no continuity or resistance reading, it indicates a problem with the antenna cable, and it may need to be replaced.
- If the antenna cable appears to be in good condition and has continuity, reconnect it securely to the radio.
Once you have tested and verified the antenna connection, move on to the next step – checking for voltage and ground.
Checking for Voltage and Ground
Ensuring a proper voltage and ground connection is essential for the functioning of your car radio. Incorrect or unstable electrical connections can result in erratic behavior or a complete failure of the radio. Follow these steps to check for voltage and ground:
- Reconnect the negative terminal of the car’s battery to restore power.
- Turn on the ignition to the accessory or run position. This will provide power to the car radio.
- Set your multimeter to the DC voltage mode and connect the red probe to the positive power wire of the car radio.
- Connect the black probe of the multimeter to a known good ground, such as a metal part of the car’s chassis.
- Observe the multimeter reading. It should ideally be around 12 volts, indicating a proper power supply to the radio.
- If the voltage reading is significantly lower or shows no voltage at all, you may have a wiring or power supply issue that needs to be addressed.
- Next, check the ground connection by moving the black probe of the multimeter to the ground wire or terminal of the car radio.
- Again, observe the multimeter reading. It should ideally show zero resistance or very low resistance, indicating a good ground connection.
- If the multimeter shows high resistance or an open circuit, it indicates a problem with the ground connection, which may require rechecking or repairing the wiring.
Checking for voltage and ground is crucial to ensure that your car radio receives proper power and operates smoothly. Once you have confirmed the voltage and ground connections, proceed to the next step – testing power and speaker connections.
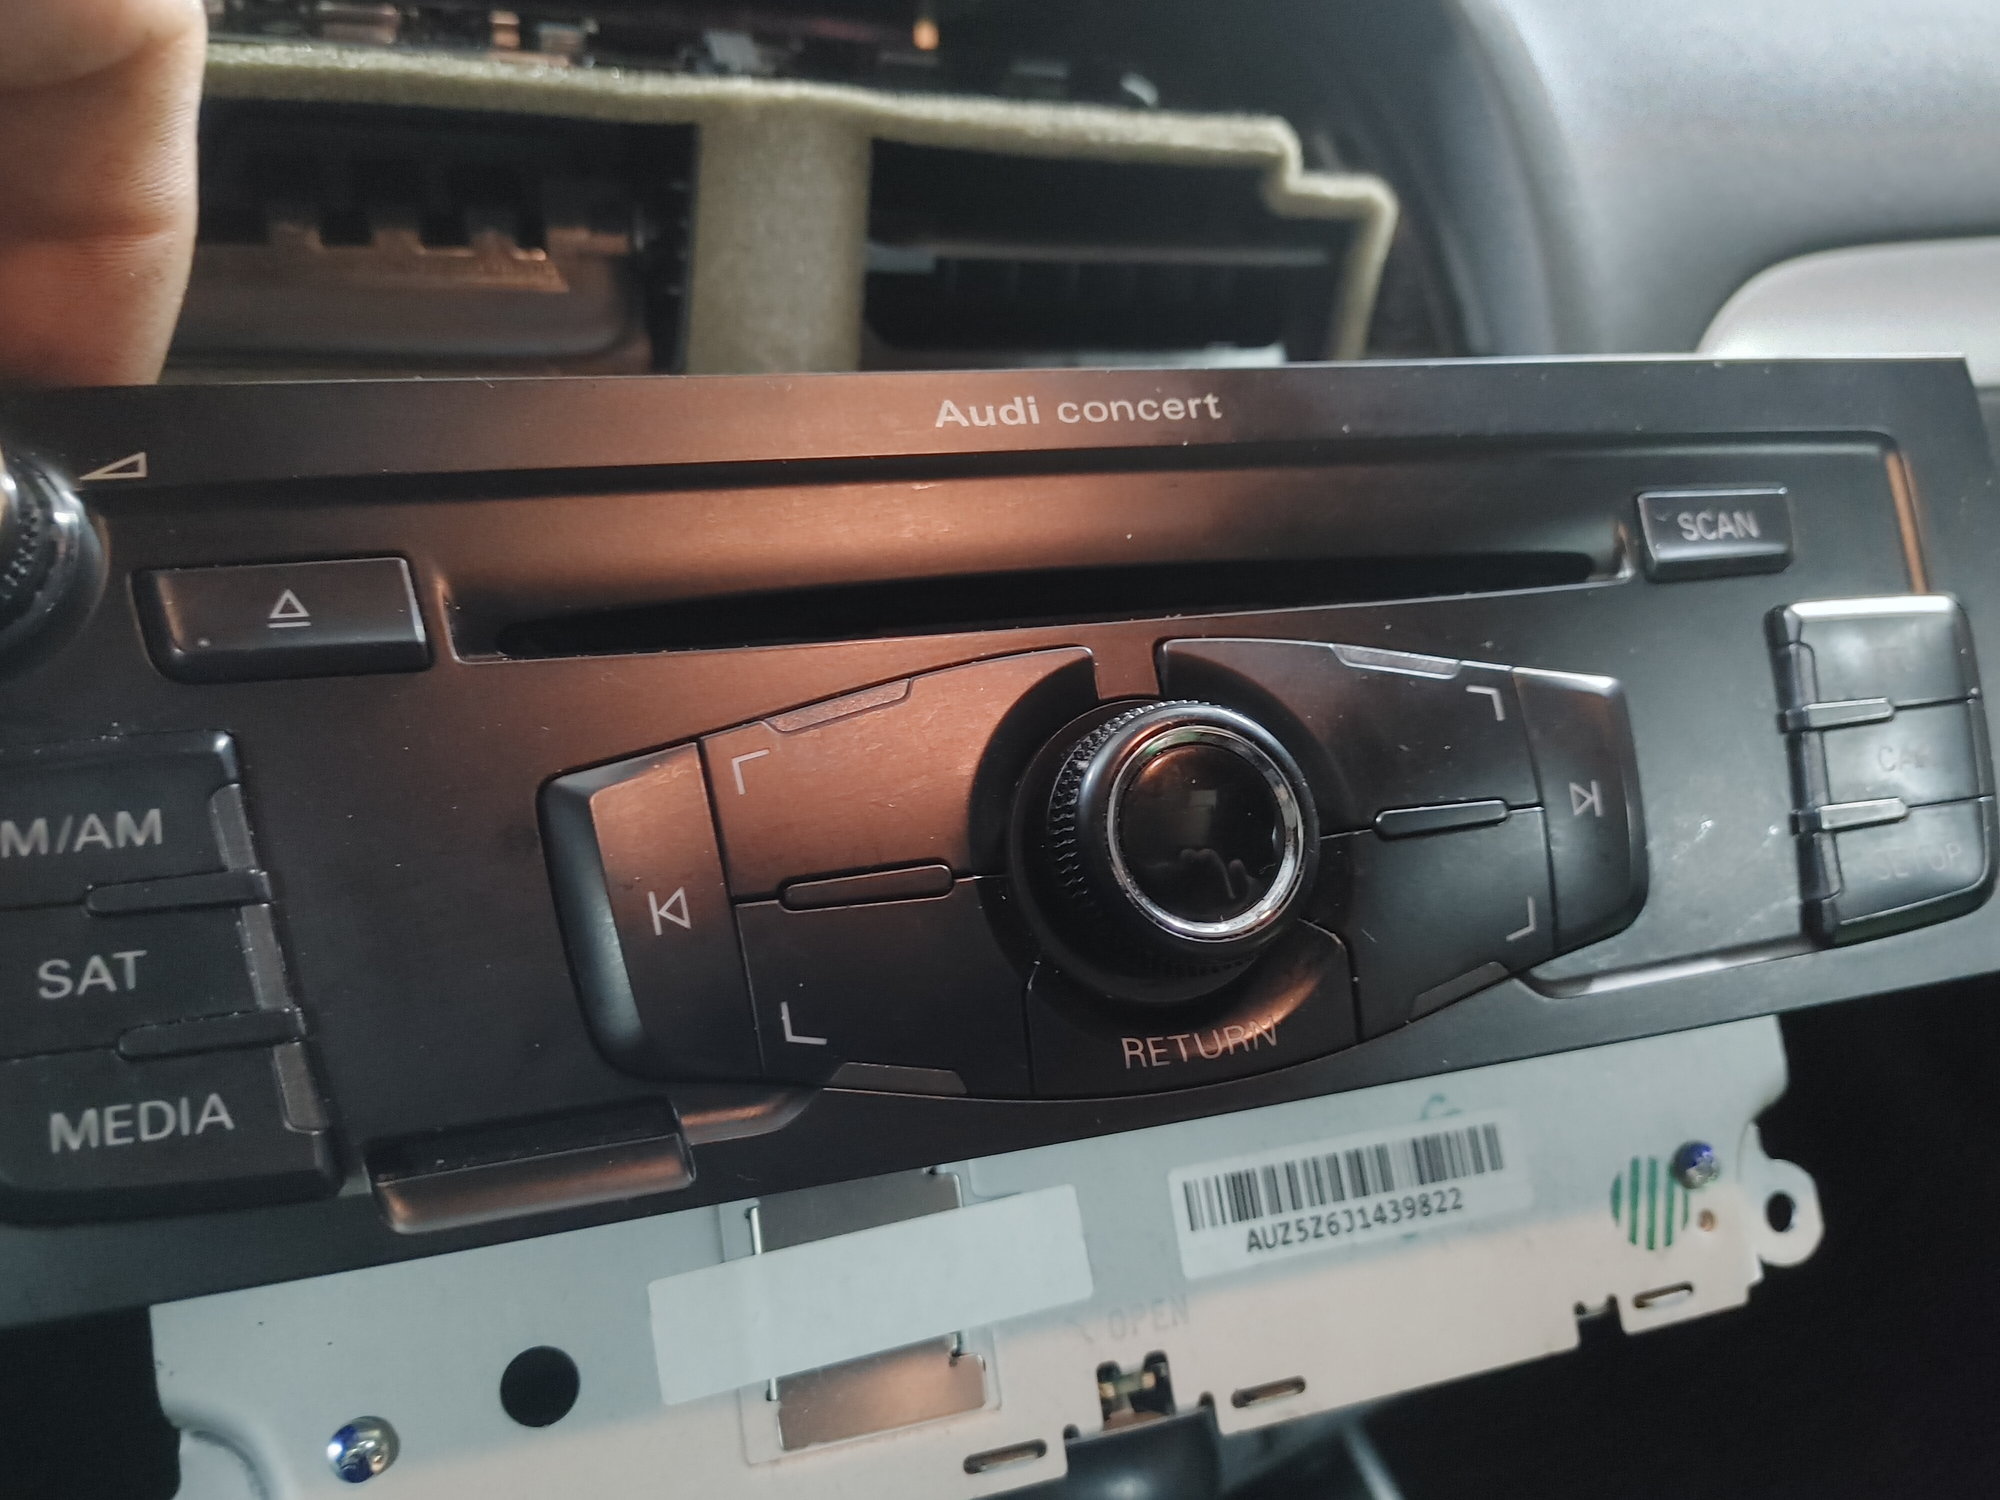
Testing Power and Speaker Connections
After confirming that the voltage and ground connections are functioning correctly, it’s time to test the power and speaker connections of your car radio. These connections are vital for delivering audio signals to the speakers and ensuring optimal sound quality. Follow these steps to test the power and speaker connections:
- Turn off the car’s ignition and disconnect the negative terminal of the battery for safety.
- Locate the power harness or wiring connected to the back of your car radio.
- Inspect the power harness for any loose or damaged wires. Ensure that all connections are secure and free from corrosion.
- If you notice any issues with the power harness, repair or replace it as necessary.
- Reconnect the power harness to the car radio, ensuring a snug and secure connection.
- Reconnect the negative terminal of the car’s battery to restore power.
- Turn on the car’s ignition and power on the car radio.
- Test the functionality of the car radio by adjusting the volume and checking for any distortion or abnormal sounds.
- If you notice any issues with the sound quality or if certain speakers are not working, you may need to examine the speaker connections.
- Inspect the speaker wiring connected to the car radio, ensuring that the positive and negative terminals are correctly aligned.
- If necessary, use a multimeter’s continuity or resistance mode to test the speaker connections for any open circuits or incorrect polarity.
- If any issues are detected, recheck and correct the connections or replace faulty wiring and speakers.
Testing the power and speaker connections is crucial to ensure that your car radio is properly delivering audio signals to the speakers. Once you have tested and verified these connections, move on to the next step – tuning and audio quality test.
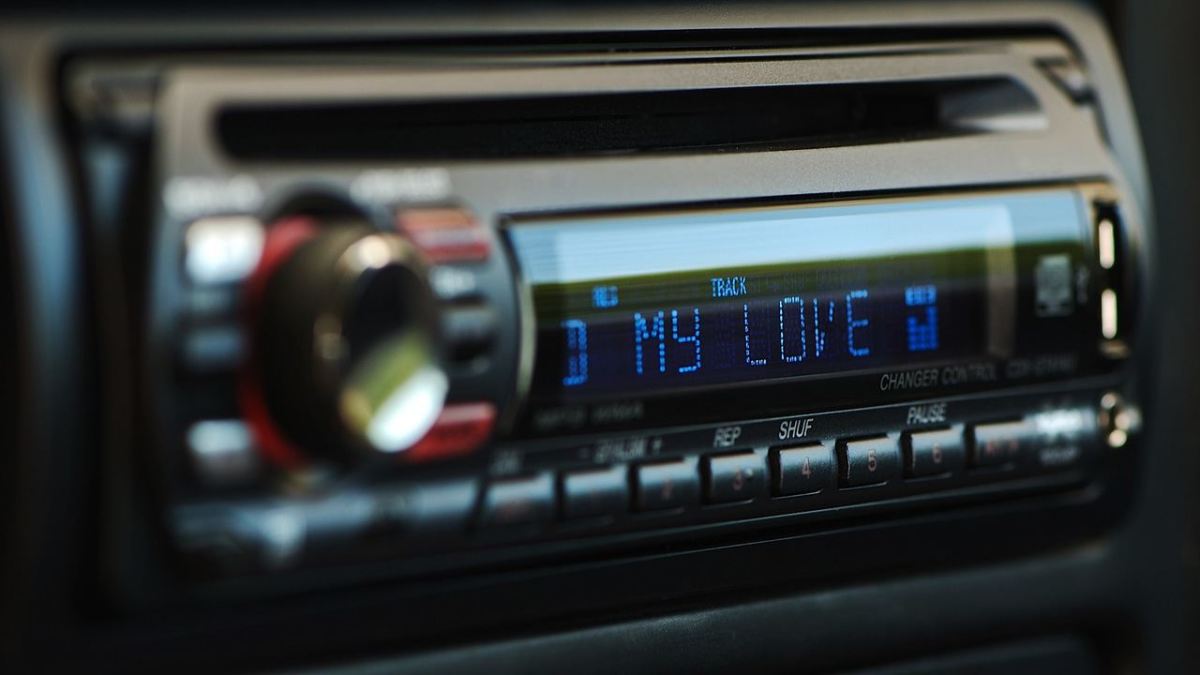
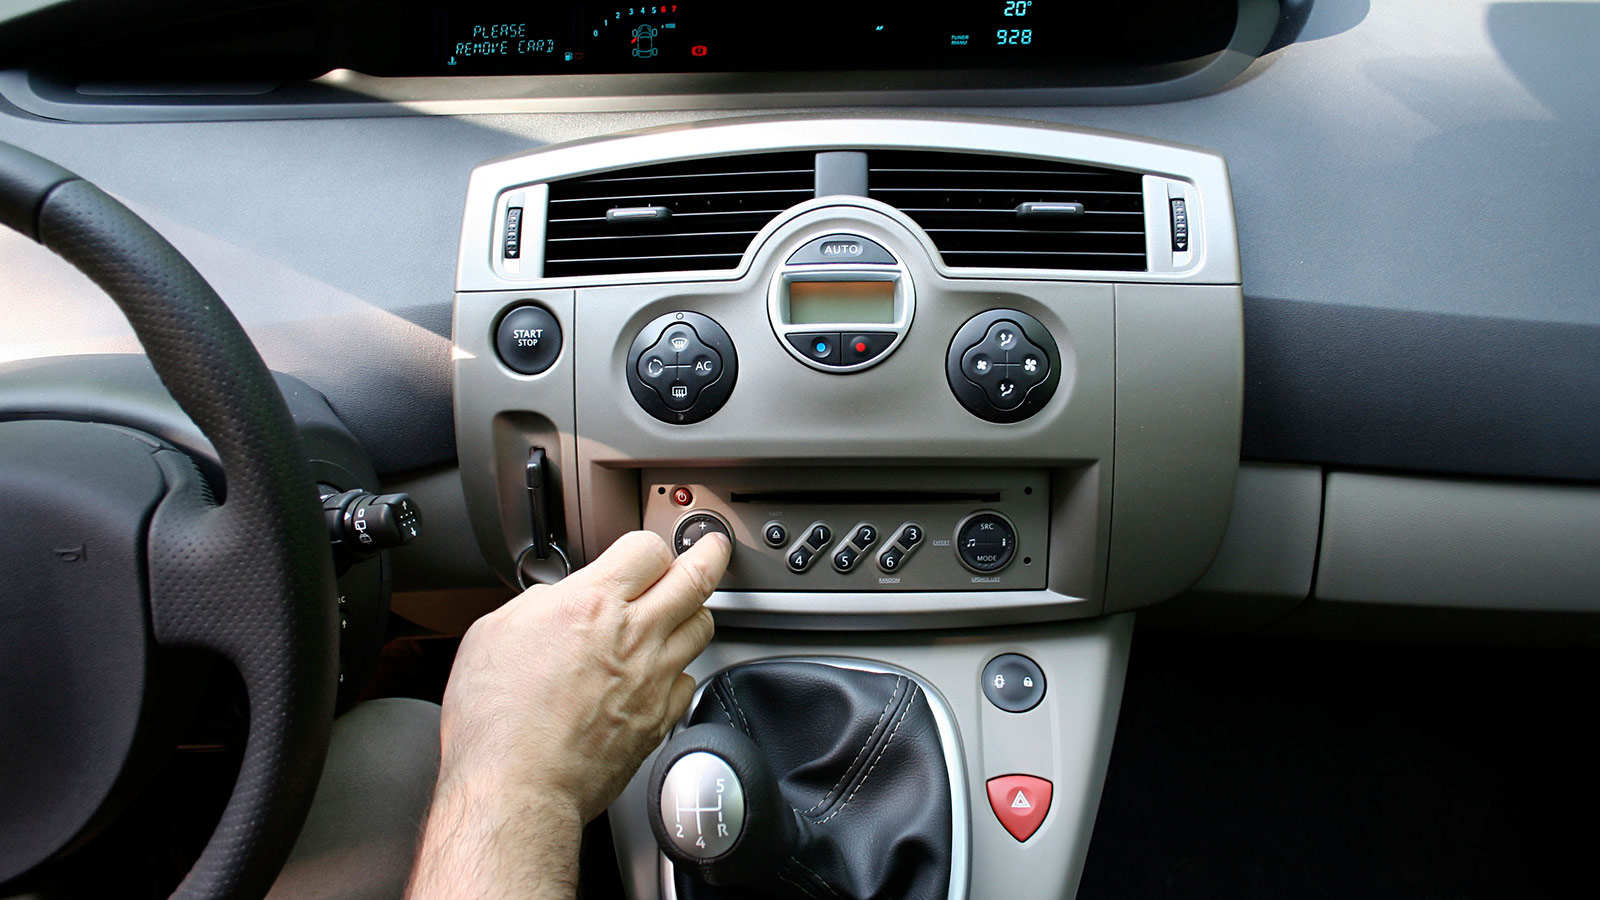
Tuning and Audio Quality Test
Now that you have verified the power and speaker connections, it’s time to tune your car radio and test the audio quality. Follow these steps to ensure optimal tuning and audio performance:
- Turn on your car radio and ensure that it is in the proper mode (AM, FM, CD, etc.) for testing.
- Start by tuning to a known local radio station. Slowly adjust the tuning dial or seek function to find the clearest and strongest signal.
- Listen to the audio quality of the station. Ensure that it is clear and free from distortion or interference.
- If you notice any issues with the audio quality, such as static, hissing, or poor reception, it may indicate a problem with the antenna or the radio’s tuning circuitry.
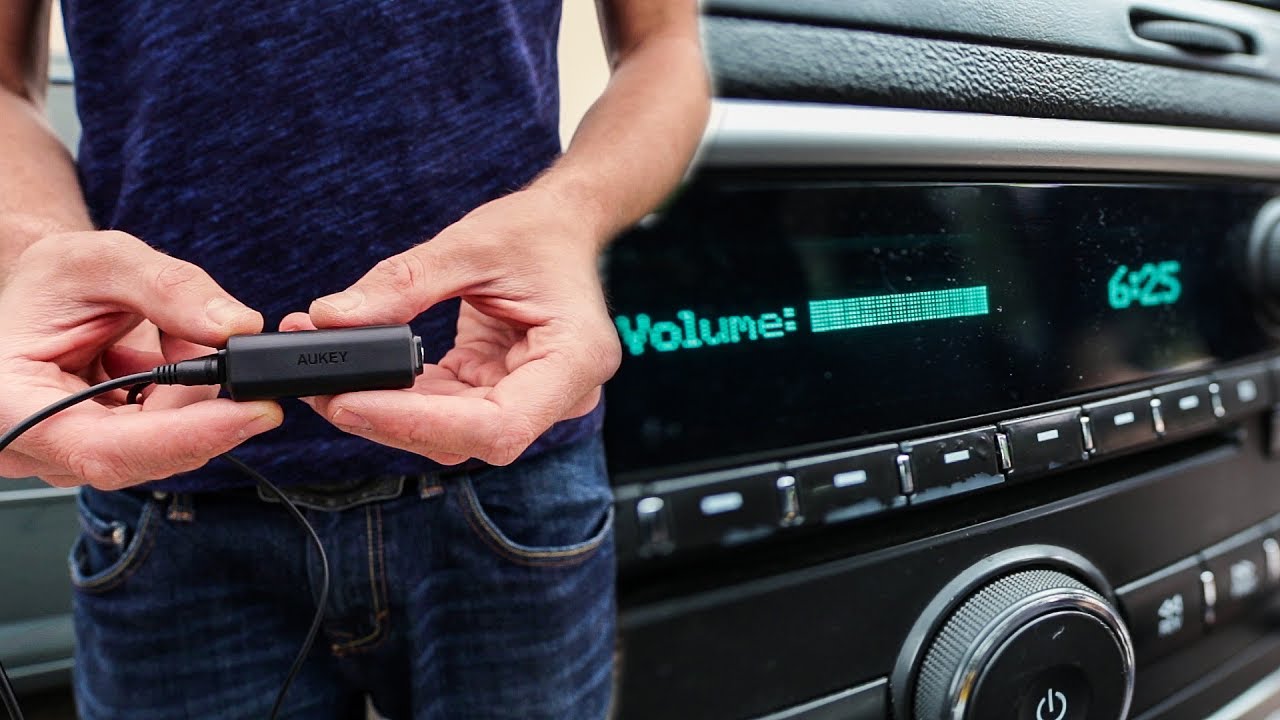
- Test the functionality of the volume, balance, and fade controls on your car radio. Ensure that these functions are working properly and that adjustments result in noticeable changes in audio output.
- If your car radio supports equalizer settings, experiment with different preset or custom equalizer settings to find the best audio quality for your preferences.
- Play a test CD, DVD, or audio files from a USB drive to evaluate the performance of the car radio’s CD/DVD player or auxiliary input. Ensure that the audio is clear and that the player functions as expected.
A thorough tuning and audio quality test will help you identify any issues with the radio’s reception, audio output, or control functions. If you encounter any problems during this test, refer to the troubleshooting section or consider seeking professional assistance to resolve the issue.
Now that you have tested the tuning and audio quality of your car radio, the next step is to check for AM/FM reception.
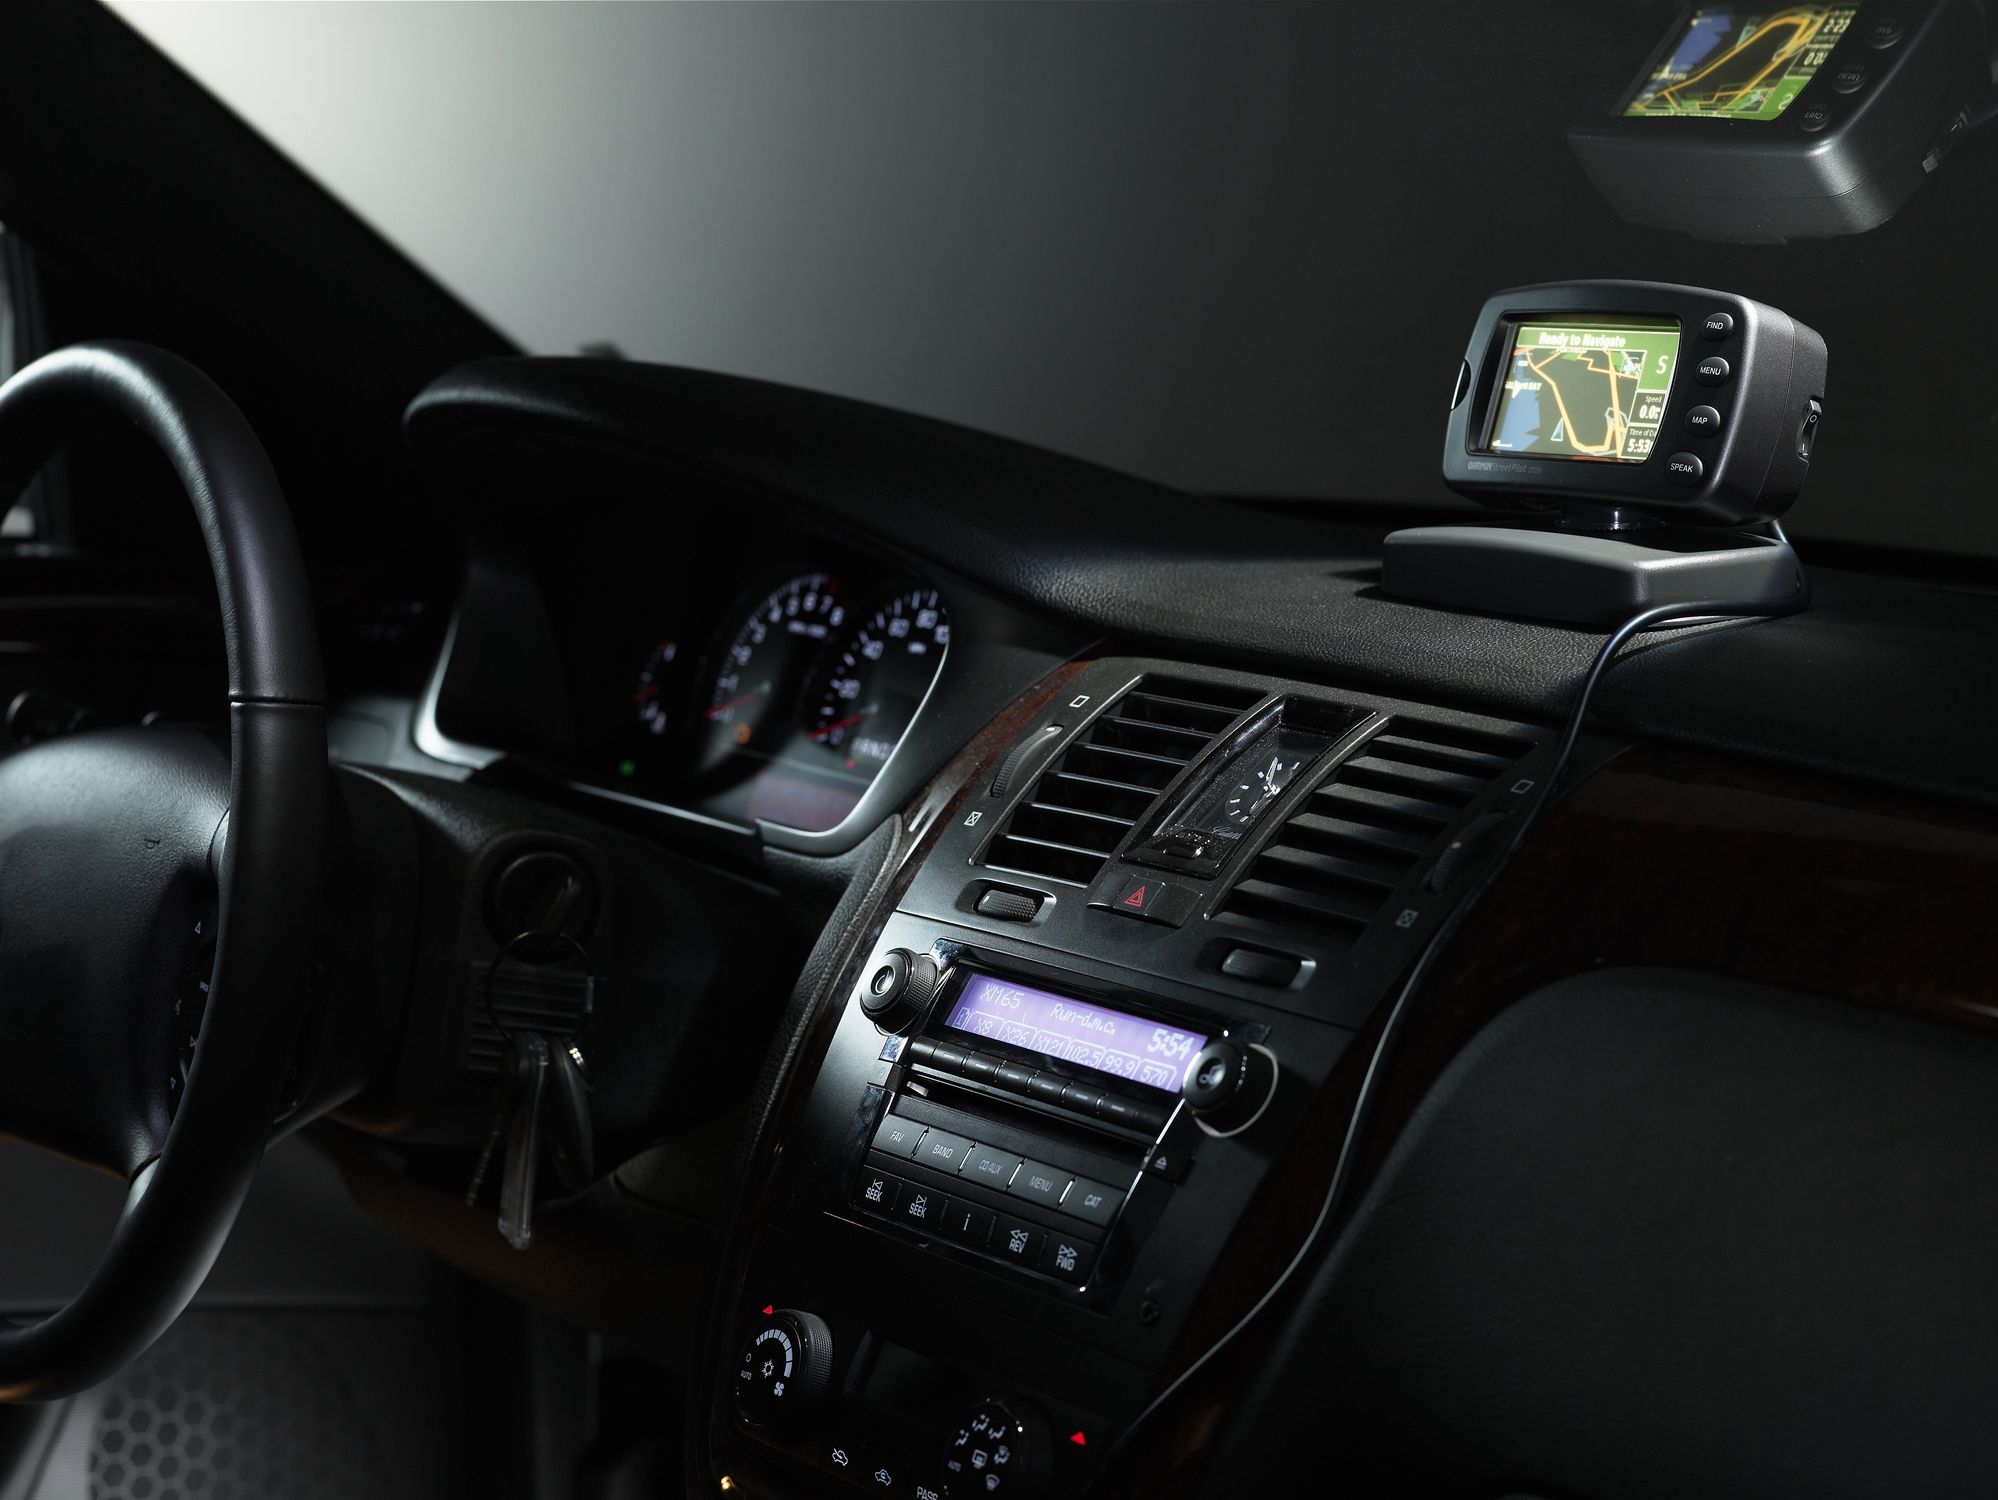
Checking for AM/FM Reception
Having good AM/FM reception is crucial for enjoying a wide range of radio stations and content. Follow these steps to check the AM/FM reception of your car radio:
- Tune your car radio to the AM band and try to find a local AM radio station.
- Listen to the audio quality and ensure that it is clear and free from excessive static or interference.
- If you encounter poor AM reception, it may be due to a weak antenna connection, a faulty antenna, or interference from nearby electrical equipment.
- Next, switch your car radio to the FM band and tune to a local FM radio station.
- Listen to the audio quality and ensure that it is clear, without any noticeable static or distortion.
- If you experience poor FM reception, it may indicate a problem with the antenna or its connection, as well as potential interference from nearby structures or other devices.
- If you notice issues with AM or FM reception, try adjusting the position of your car’s antenna or consider using an external antenna booster for improved signal strength.
Checking the AM/FM reception of your car radio allows you to assess its performance in capturing and delivering radio signals. If you encounter persistent issues with reception, it may be worth consulting a professional car audio technician for further diagnosis and potential solutions.
Now that you have tested the AM/FM reception, proceed to the next step – testing the CD/DVD player, if applicable.
Testing CD/DVD Player
If your car radio comes equipped with a CD/DVD player, it’s essential to ensure its proper functioning. Follow these steps to test the CD/DVD player of your car radio:
- Gather a few test CDs or DVDs with different types of audio tracks.
- Insert one of the test CDs into the CD/DVD slot of your car radio.
- Wait for the radio to read the disc and begin playback.
- Listen to the audio output and ensure that the sound is clear and free from distortion.
- Test the player’s navigation controls, such as play, pause, skip, and fast-forward. Ensure that these functions respond correctly.
- If your car radio supports DVD playback, insert a test DVD to verify that it plays smoothly and displays video content properly.
- Check if there are any issues with the disc loading and ejecting mechanism. Ensure that discs are securely held and easily ejected from the player.
- If you encounter any problems with the CD/DVD player, such as unreadable discs or playback errors, it may indicate a problem with the player’s mechanism or the laser lens. In such cases, professional assistance might be required.
Testing the CD/DVD player helps ensure that you can enjoy your favorite music or movies while on the road. If you encounter any issues during this test, refer to the troubleshooting section or seek the help of a car audio specialist for further evaluation and potential repairs.
Now that you have tested the CD/DVD player, let’s move on to the next section – troubleshooting common issues that may arise with your car radio.
Troubleshooting and Common Issues
While testing your car radio, you may come across certain issues or encounter unexpected behavior. Here are some common problems and troubleshooting tips to help you address them:
- No power: If your car radio doesn’t power on at all, check the power connections, fuses, and ensure that the battery is charged. If necessary, consult a professional for electrical diagnostics and repairs.
- Poor reception: If you experience weak or distorted reception, it may be due to antenna issues. Check the antenna connection, adjust its position, or consider using an external antenna booster.
- Audio distortion or poor sound quality: If you notice static, hissing, or distorted sound, check the speaker connections and wiring for any issues. You may also need to adjust equalizer settings or consult an audio specialist for further troubleshooting.
- CD/DVD reading errors: If the CD/DVD player has difficulty reading discs or displays error messages, ensure that the discs are clean and in proper format. If the problem persists, consider cleaning the laser lens or seeking professional assistance.
- Control malfunctions: In case of unresponsive buttons or controls, check for loose connections, dirt, or debris obstructing the control panel. Clean the controls gently and ensure proper electrical connectivity.
- Interference and static: Electrical interference from other devices, such as mobile phones or power cables, can affect radio reception. Try turning off or relocating these devices to minimize interference.
- Security code issues: If your car radio requires a security code and you’ve lost it, consult the manufacturer’s instructions or contact a dealership for assistance in retrieving or resetting the code.
If you encounter persisting issues with your car radio that you’re unable to resolve, it may be necessary to consult a car audio specialist or seek professional assistance to diagnose and fix the problem.
With troubleshooting in mind, it’s important to remember that prevention is key. Regular maintenance, proper installation, and avoiding exposure to extreme temperatures and moisture can help prolong the lifespan and performance of your car radio.
Now that you’re equipped with troubleshooting tips and have tested your car radio, you can now enjoy the best possible audio experience on your drives!
Safe travels and happy listening!
Conclusion
Testing your car radio is a crucial step to ensure that you are getting the best audio experience while on the road. By following the steps outlined in this guide, you can identify any issues, troubleshoot common problems, and optimize the performance of your car radio.
Starting with the preparation phase, checking the antenna connection, and verifying voltage and ground connections help lay the foundation for a successful test. Ensuring that power and speaker connections are secure and functioning properly contributes to delivering high-quality audio to your car’s speakers.
By conducting a thorough tuning and audio quality test, you can gauge the reception and sound output of your car radio, adjust settings, and fine-tune the audio for your preference. Testing the CD/DVD player, if applicable, allows you to enjoy your favorite music or movies during your drives.
Inevitably, you may encounter issues along the way. Troubleshooting common problems such as power issues, poor reception, audio distortion, and control malfunctions can help you address these challenges and seek further assistance if needed.
Remember to prioritize regular maintenance and take preventive measures to maintain the longevity and performance of your car radio. Keeping the connections clean, avoiding extreme temperatures, and following manufacturer recommendations can significantly contribute to the reliability of your car radio.
By applying the knowledge and steps provided in this guide, you can ensure that your car radio remains a reliable and enjoyable companion on your journeys.
So, buckle up, tune in to your favorite radio stations, and enjoy the ride with a perfectly functioning car radio!