Home>Devices & Equipment>Radio>How To Replace A Car Radio
Radio
How To Replace A Car Radio
Modified: January 22, 2024
Learn how to replace a car radio in just a few simple steps. Upgrade your audio system with our easy-to-follow guide and enjoy crystal-clear sound on the road.
(Many of the links in this article redirect to a specific reviewed product. Your purchase of these products through affiliate links helps to generate commission for AudioLover.com, at no extra cost. Learn more)
Table of Contents
Introduction
Welcome to our comprehensive guide on how to replace a car radio! Whether you’re looking to upgrade your existing radio system or simply need to replace a faulty one, knowing how to tackle this task yourself can save you time and money. With the right tools and a little bit of know-how, you’ll be able to enjoy your favorite tunes while cruising down the road in no time.
Replacing a car radio may seem like a daunting task, but rest assured, it can be relatively straightforward with the right guidance. In this article, we will walk you through the step-by-step process, providing you with all the information you need to successfully replace your car radio.
Before we dive into the details, it’s important to note that the specific process of replacing a car radio can vary depending on the make and model of your vehicle. Therefore, it’s crucial to consult your car’s user manual or research online for any specific instructions or precautions that may apply to your particular vehicle.
In this guide, we will cover the general steps involved in replacing a car radio, from gathering the necessary tools and materials, to removing the old radio and installing the new one. We will also provide troubleshooting tips to help you with any potential issues that may arise.
So, whether you’re a seasoned DIY enthusiast or a beginner looking to take on a new project, let’s dive in and learn how to replace a car radio!
Tools and materials needed
Before you begin the process of replacing a car radio, it’s important to gather the necessary tools and materials to ensure a smooth and successful installation. Here’s a list of items you’ll need:
- Wire stripper
- Socket wrench set
- Trim removal tool
- Screwdriver set
- Electrical tape
- Car radio installation kit (specific to your vehicle’s make and model)
- New car radio
- Wiring harness adapter (if required)
- Antenna adapter (if required)
The wire stripper is necessary to properly connect and secure the wiring harness. The socket wrench set will help you remove any necessary screws or bolts that are holding the old radio in place. A trim removal tool is essential for safely removing any decorative panels or trim pieces without causing damage to your vehicle’s interior.
A screwdriver set will come in handy for removing and attaching screws or clips throughout the installation process. Electrical tape is useful for securing any loose wire connections and protecting them from potential hazards.
It’s important to note that not all car radios are universal, so you will need a car radio installation kit specific to your vehicle’s make and model. This kit typically includes a mounting bracket, a faceplate, and any necessary adapters and connectors to ensure a proper fit.
Finally, you’ll need a new car radio that meets your desired specifications and suits your vehicle’s compatibility. Make sure to check the dimensions and features of the new radio to ensure it will fit properly into your car’s dashboard.
Depending on your vehicle, you may also need a wiring harness adapter and an antenna adapter. These adapters allow you to connect the new radio to your vehicle’s existing wiring and antenna system without having to cut or modify any wires.
Now that you have all the necessary tools and materials, you’re ready to move on to the next step: preparing for the replacement.
Preparing for the replacement
Before you begin the actual process of replacing the car radio, it’s important to take a few preparatory steps to ensure a smooth and successful installation. Here’s what you need to do:
- Read the car radio user manual: Familiarize yourself with the new car radio’s features and functions by reading the user manual. Understanding how the radio works will make the installation process easier.
- Gather the necessary documentation: Ensure you have any documentation related to your car’s wiring and existing radio system. This will come in handy if you encounter any compatibility or wiring issues.
- Disconnect the negative battery cable: To avoid any electrical accidents or possibly damaging the car’s electrical system, disconnect the negative battery cable. This will also prevent any accidental short circuits during the installation process.
- Prepare the workspace: Clear out any clutter in the area where you’ll be working and lay down a soft cloth or padding to protect the dashboard from scratches or damage.
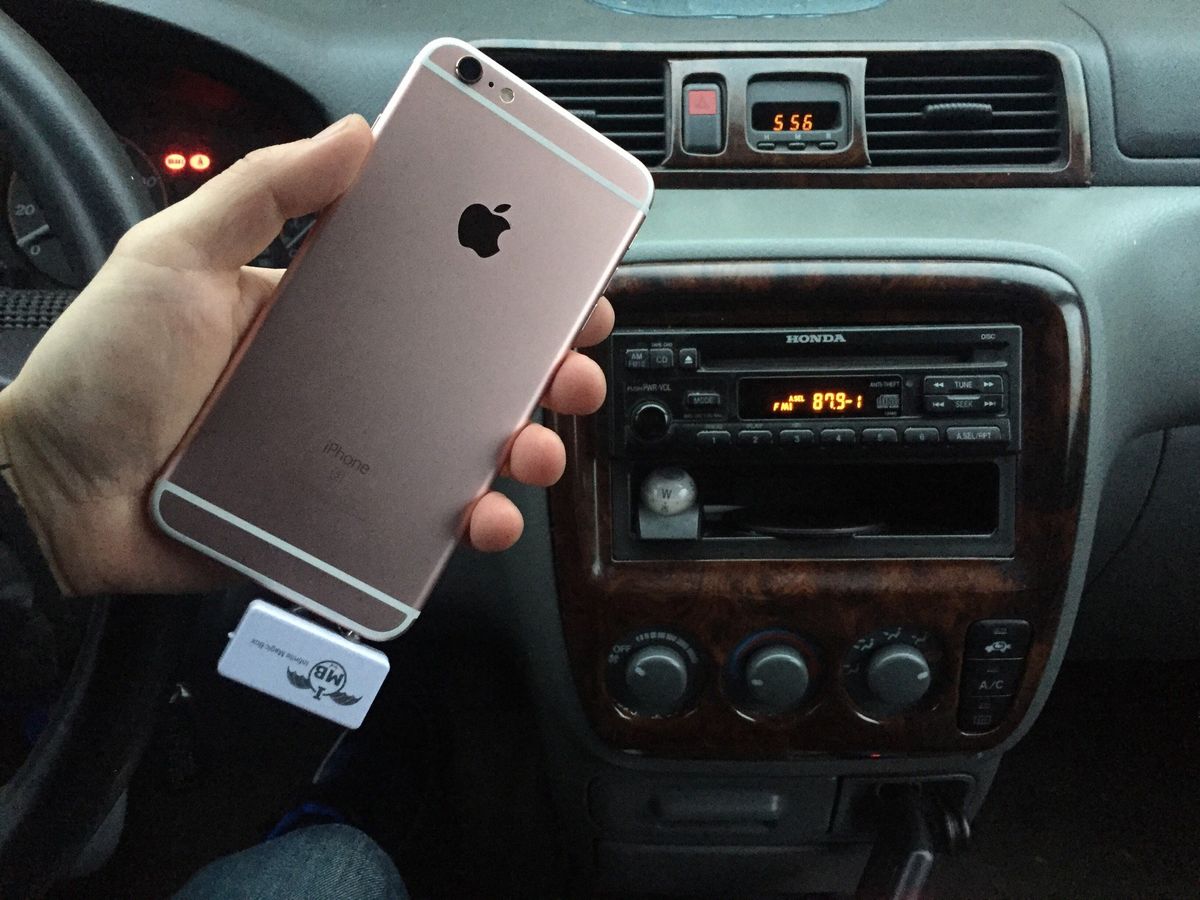
- Take pictures: Before removing the old radio, take pictures of the wiring connections and the mounting position. These pictures will serve as a reference when connecting the new radio.
By taking these preparatory steps, you’ll have a better understanding of the new radio, access to any important documentation and a clear workspace to work in. This will help streamline the installation process and reduce the chances of errors or complications.
Now that you’re fully prepared, it’s time to move on to the next step: removing the old car radio.
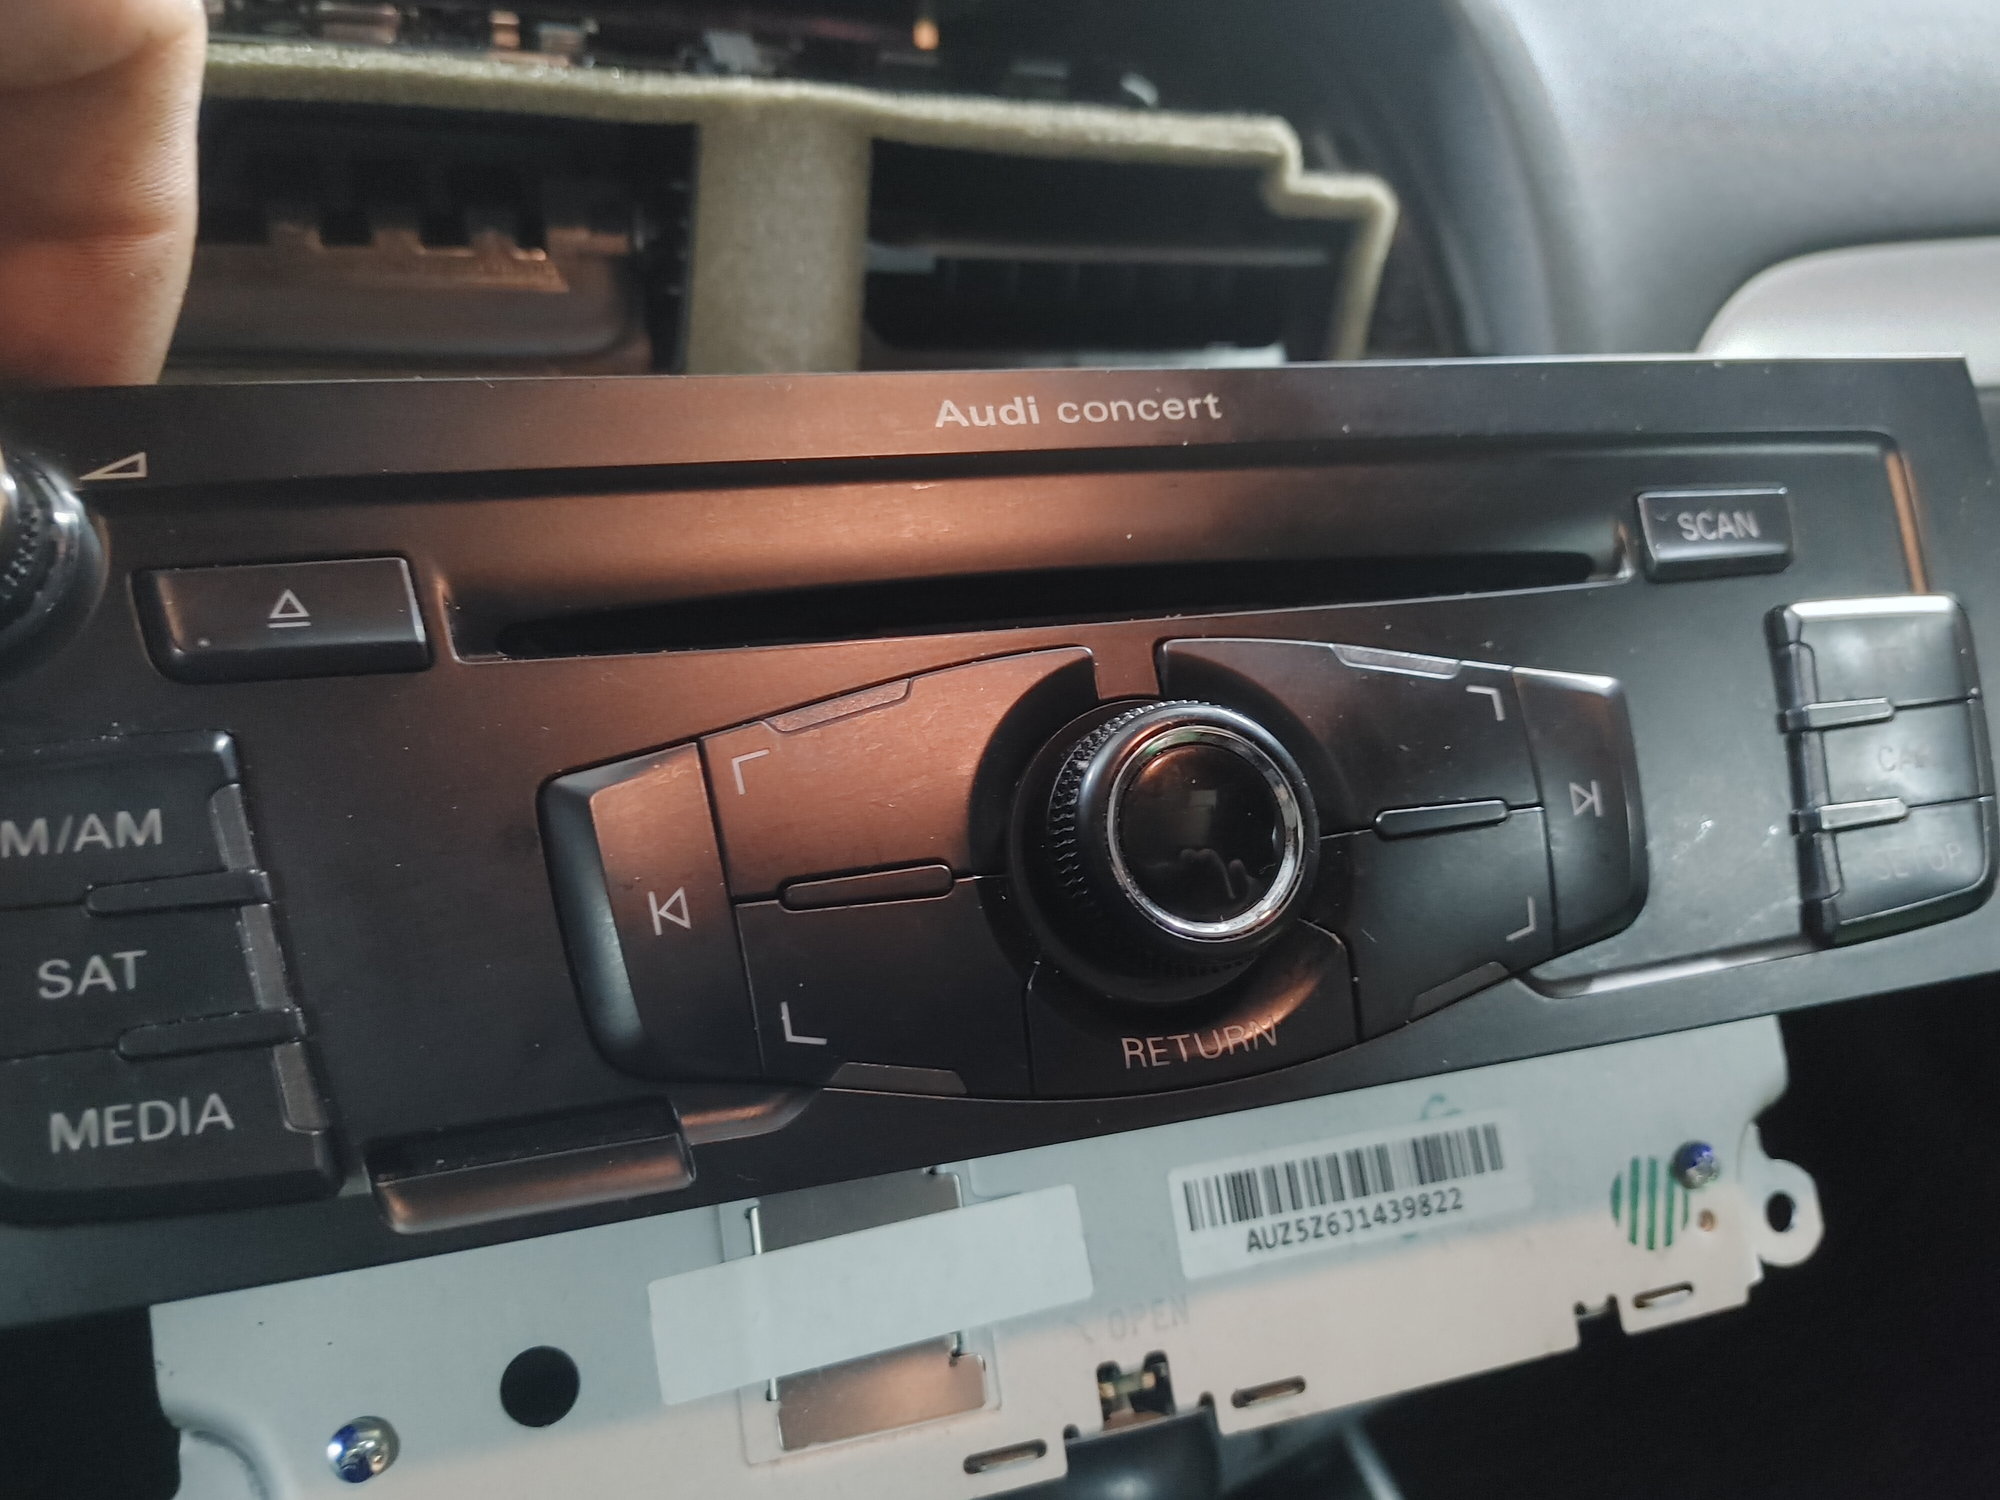
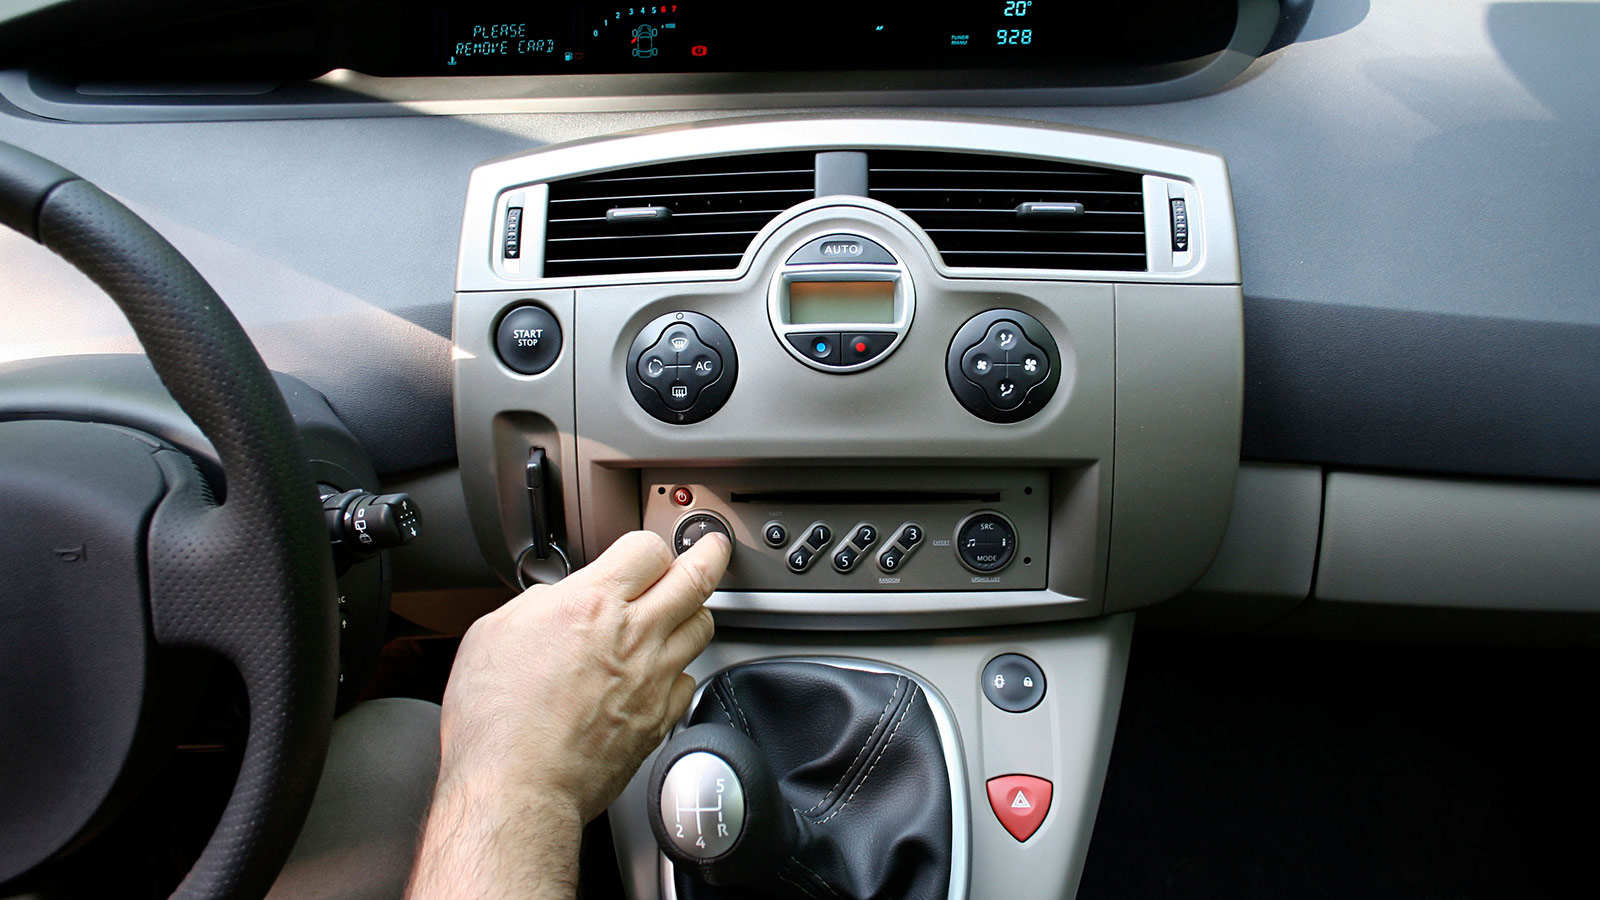
Removing the old car radio
Now that you’re fully prepared, it’s time to remove the old car radio. Here’s a step-by-step guide to help you:
- Locate the mounting screws: Use your trim removal tool or screwdriver to carefully remove any screws or bolts securing the old radio to the dashboard. These screws are typically found on the sides or under the radio.
- Remove trim panels: In some cases, there may be trim panels or bezels covering the radio. Use the trim removal tool to gently pry off these panels, being cautious not to damage them or the surrounding area.
- Detach the old radio: Once the mounting screws and trim panels have been removed, gently pull the old radio out of the dashboard. Be careful not to forcefully pull or tug on any wires connected to the radio.
- Unplug the wiring harness and antenna: Locate the wiring harness and antenna connected to the back of the old radio. Depending on the type of connector, you may need to press a release tab or gently wiggle the connector while pulling it to detach it from the radio.
- Remove any additional connectors: Some vehicles may have additional connectors, such as steering wheel control or Bluetooth microphone connectors, attached to the old radio. Disconnect these connectors as well.
Remember to refer to the pictures you took earlier to ensure you have a visual reference of the wiring connections before you remove them from the old radio. This will make it easier to install the new radio later on.
Once you have successfully removed the old car radio and disconnected all the necessary wiring, you’re ready to move on to the next step: connecting the wiring harness of the new car radio.
Disconnecting the wiring harness
With the old car radio removed, it’s time to disconnect the wiring harness. The wiring harness is a bundle of wires that connect the radio to the vehicle’s electrical system. Here’s how to proceed:
- Identify the wiring harness: Locate the wiring harness connected to the back of the old car radio. It will typically have a connector with multiple wires coming out of it.
- Inspect the connector: Take a close look at the connector to determine if it has a release tab, locking mechanism, or any other type of securing feature. This will vary depending on the make and model of your vehicle.
- Release the connector: If the connector has a release tab, press or slide it to unlock the connector. If there is a locking mechanism, follow the manufacturer’s instructions to unlock and release the connector. For connectors without any visible securing feature, gently wiggle and pull the connector to detach it from the radio.
- Disconnect any additional connectors: In some cases, there may be additional connectors attached to the wiring harness, such as steering wheel controls or Bluetooth microphone connectors. Disconnect these connectors following the same procedure as above.
- Secure loose wires: After disconnecting the wiring harness, you may notice loose wires. Use electrical tape or wire connectors to secure and protect them, preventing any accidental short circuits or damage.
It’s important to handle the wiring harness and connectors with care to avoid any damage or accidental disconnections. Taking note of the color-coded wires or using the documentation provided with your new car radio can also help ensure a proper connection during the installation process.
Now that the wiring harness is disconnected, you’re ready to proceed with the installation of the new car radio.
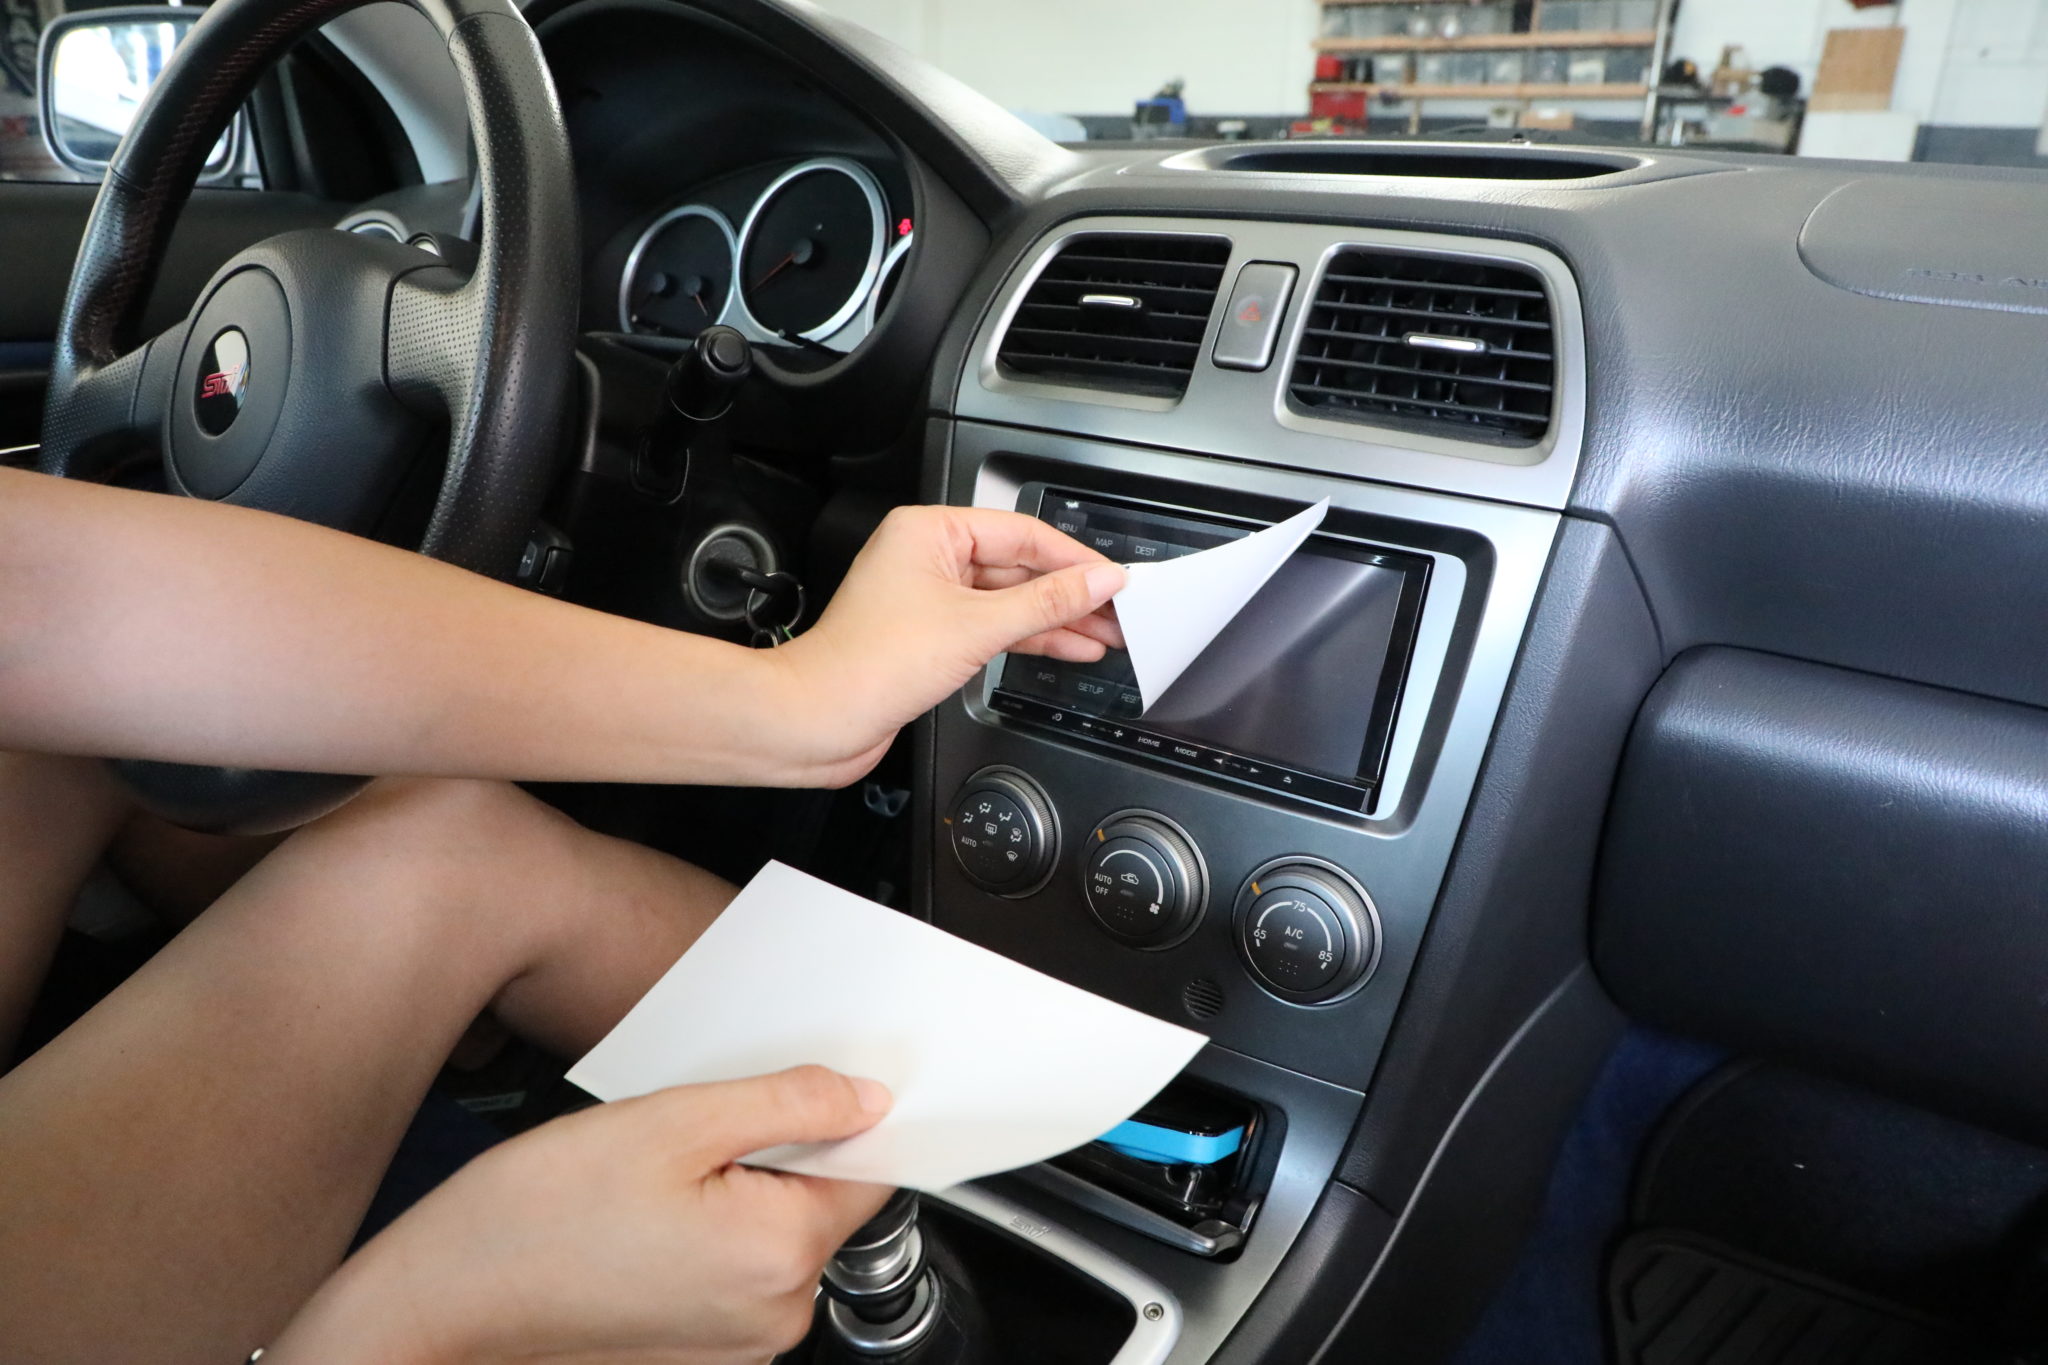
Installing the new car radio
With the old car radio removed and the wiring harness disconnected, it’s time to install the new car radio. Follow these steps to ensure a successful installation:
- Connect the wiring harness: Take the wiring harness that came with the new car radio and connect it to the corresponding wires in your vehicle. Match the wires based on their colors or follow the documentation provided with your new radio for proper connections. Use wire connectors or electrical tape to secure the connections and prevent any loose wires.
- Attach the antenna adapter (if required): If your new car radio requires an antenna adapter, connect it to the wiring harness. This adapter allows your new radio to receive radio signals properly.
- Mount the new car radio: Slide the new car radio into the dashboard, making sure it aligns with the mounting holes. Use the mounting screws or bolts provided with the new radio, tightening them enough to secure the radio in place but not overtightening to avoid damaging the radio or the dashboard.
- Replace trim panels: If you removed any trim panels or bezels during the old radio removal process, now is the time to reattach them. Carefully align the panels and press them into place until they snap or lock back into position.
- Reconnect the negative battery cable: Before testing the new car radio, reattach the negative battery cable that you previously disconnected. Ensure it is tightly secured to avoid any electrical issues.
Once you have completed these steps, your new car radio should be installed and ready for testing. However, it’s important to note that some vehicles may require additional steps or configuration, such as programming the radio or updating the vehicle’s software. Consult the user manual or research online specific to your vehicle if you encounter any difficulties during the installation process.
Now that the new car radio is installed, it’s time to move on to the next step: connecting the wiring harness.
Connecting the wiring harness
With the new car radio installed, it’s time to connect the wiring harness. Follow these steps to ensure a secure and proper connection:
- Locate the wiring harness connector: Identify the wiring harness connector that matches the one on the back of your new car radio.
- Insert the wiring harness connector: Gently align the connector with the corresponding port on the back of the new car radio. Carefully push the connector into place until it clicks or locks into position.
- Secure any additional connectors: If there are any additional connectors, such as those for steering wheel controls or a Bluetooth microphone, attach them to their respective ports on the car radio.
- Double-check the connections: Once all the connectors are attached, double-check that they are securely in place. Give them a light tug to ensure they are firmly connected.
It’s important to note that some vehicles may require additional wiring or adapters to connect the new car radio to the vehicle’s electrical system. If this is the case for your vehicle, consult the documentation that came with your new car radio or seek professional assistance to ensure the proper wiring and connections are made.
After connecting the wiring harness, you’re ready to move on to the next step: testing the new car radio.
Testing the new car radio
With the wiring harness connected, it’s time to test the functionality of the new car radio. Follow these steps to ensure everything is working as expected:
- Reattach the negative battery cable: Before testing the new car radio, reattach the negative battery cable that you previously disconnected. Ensure it is tightly secured to avoid any electrical issues.
- Turn on the car ignition: Start your car and turn on the car ignition to provide power to the new car radio.
- Adjust settings and test functions: Navigate through the menu options of the new car radio and make sure all the features and functions are working properly. Test the radio tuner, CD player (if applicable), Bluetooth connectivity, auxiliary input, and any other features specific to your new radio.
- Check audio quality: Play a song or tune in to a radio station to check the audio quality. Make sure the sound is clear and balanced.
- Test the speakers: Adjust the audio balance and fade settings to test each of the car speakers. Ensure that sound is coming from all the speakers and there are no issues with volume or distortion.
If at any point during the testing process you encounter problems, such as no audio or poor sound quality, double-check the wiring connections and ensure the speakers are properly connected. Additionally, make sure all settings on the new car radio are configured correctly.
If you have followed the installation instructions and all the functions of the new car radio are working properly, congratulations! You have successfully replaced your car radio.
However, if you encounter any difficulties or the new car radio is not functioning as expected, consult the user manual or seek professional assistance to troubleshoot and resolve the issue.
Now that you have tested the new car radio and verified its functionality, you can enjoy your favorite music and radio stations on the road with confidence!
Troubleshooting tips
While replacing a car radio can be a relatively straightforward process, sometimes issues or complications may arise. Here are some troubleshooting tips to help you overcome common challenges:
- No power or display: If your new car radio is not turning on or displaying any power, double-check the wiring connections and ensure that the wiring harness is securely attached. Also, verify that the negative battery cable is properly connected.
- Poor sound quality: If you are experiencing audio issues, such as distortion, weak sound, or one speaker not functioning, check the wiring connections to ensure they are securely connected. Additionally, verify that the audio settings on the new car radio are adjusted correctly.
- No reception: If you are having trouble receiving radio signals on your new car radio, ensure that the antenna adapter is properly connected. Check if the antenna wire is damaged or corroded, as this can impact reception.
- Incompatibility with steering wheel controls or other accessories: If the new car radio is not working with your vehicle’s steering wheel controls or other accessories, ensure that you have the correct adapters and connectors for compatibility. Some vehicles may require additional wiring or programming to enable these functions.
- Software or firmware updates: In some cases, the new car radio may require software or firmware updates to address any compatibility issues or to access certain features. Check the manufacturer’s website or contact their customer support for any available updates.
- Consult professional assistance: If you are unable to resolve the issues on your own, it may be beneficial to consult a professional car audio installer or seek assistance from the manufacturer’s customer support team. They have the expertise and knowledge to troubleshoot and resolve more complex problems.
Remember, troubleshooting may vary depending on the make and model of your vehicle and the specific new car radio you have installed. Be sure to consult the user manual or seek advice from professionals when necessary.
By following these troubleshooting tips, you can overcome common challenges and enjoy a smooth and successful car radio replacement.
Conclusion
Congratulations! You have completed the process of replacing your car radio. By following the steps outlined in this guide, you have successfully installed a new car radio and can now enjoy your favorite music and radio stations while driving.
Remember, the specific process may vary depending on the make and model of your vehicle, so always consult your car’s user manual or seek additional information for any specific instructions or precautions that may apply to your particular vehicle.
Replacing a car radio can be a rewarding DIY project that saves you time and money. It allows you to upgrade your audio system or replace a faulty radio while enjoying a higher level of convenience, functionality, and sound quality.
Throughout the process, we covered the tools and materials you’ll need, how to prepare for the replacement, removing the old car radio, disconnecting the wiring harness, installing the new car radio, connecting the wiring harness, testing the new car radio, and troubleshooting tips to overcome common issues.
Remember to always take your time, double-check your connections, and seek professional assistance if needed. Safety is a priority, so ensure the negative battery cable is disconnected before starting any work, and be cautious with electrical components.
We hope this guide has been helpful in assisting you with replacing your car radio. Enjoy your new audio experience and the pleasure of driving with your favorite tunes!