Home>Devices & Equipment>Subwoofer>How To Tune Subwoofer Box

Subwoofer
How To Tune Subwoofer Box
Modified: January 22, 2024
Learn how to tune your subwoofer box for optimal sound performance. Discover tips and techniques to achieve deep, powerful bass with your subwoofer.
(Many of the links in this article redirect to a specific reviewed product. Your purchase of these products through affiliate links helps to generate commission for AudioLover.com, at no extra cost. Learn more)
Table of Contents
Introduction
Welcome to the exciting world of subwoofers! These powerful audio components are designed to enhance the low-frequency response of your audio system, delivering deep bass that adds depth and impact to your music, movies, and gaming experiences. Whether you’re a dedicated audiophile or simply looking to upgrade your sound system, understanding how to tune your subwoofer box is essential for achieving optimal performance.
A subwoofer box, also known as an enclosure, plays a crucial role in maximizing the performance of your subwoofer. It provides a controlled environment for the subwoofer to operate in, allowing it to produce accurate and powerful bass output. However, simply hooking up a subwoofer to your audio system is not enough. To truly unleash its potential, you need to properly tune the subwoofer box to match the characteristics of your subwoofer and your listening environment.
In this article, we will guide you through the process of tuning a subwoofer box, helping you optimize its performance and achieve the best possible bass response. We’ll explore different types of subwoofer boxes, discuss how to choose the right box for your subwoofer, and provide step-by-step instructions on measuring and adjusting the box dimensions. We’ll also cover essential factors like box positioning, sealing, and damping, as well as the importance of testing and fine-tuning.
So, whether you’re a car audio enthusiast looking to upgrade your vehicle’s sound system or a home theater lover eager to take your movie nights to the next level, this article will equip you with the knowledge and techniques to tune your subwoofer box like a pro. Let’s dive in!
Types of Subwoofer Boxes
Subwoofer boxes come in various designs, each offering different benefits in terms of sound quality, efficiency, and space requirements. Understanding the different types will help you choose the right box for your specific needs. Let’s explore the most common types of subwoofer boxes:
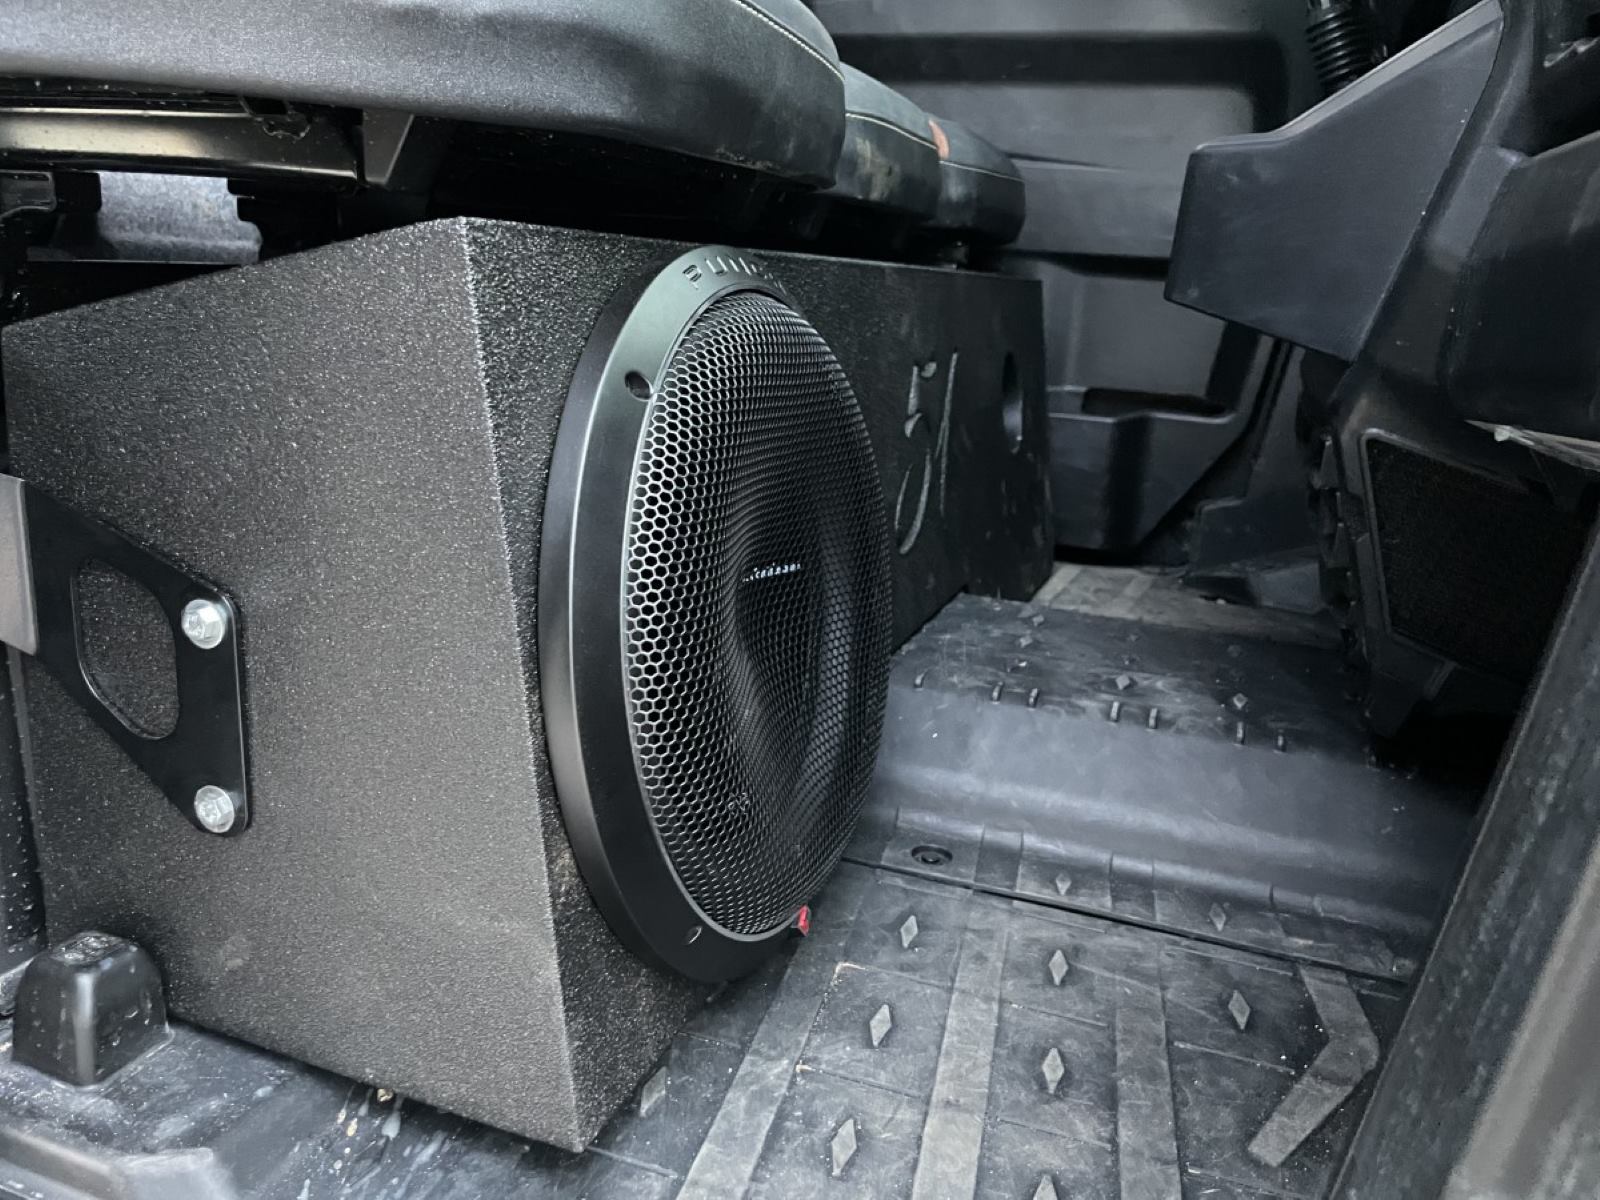
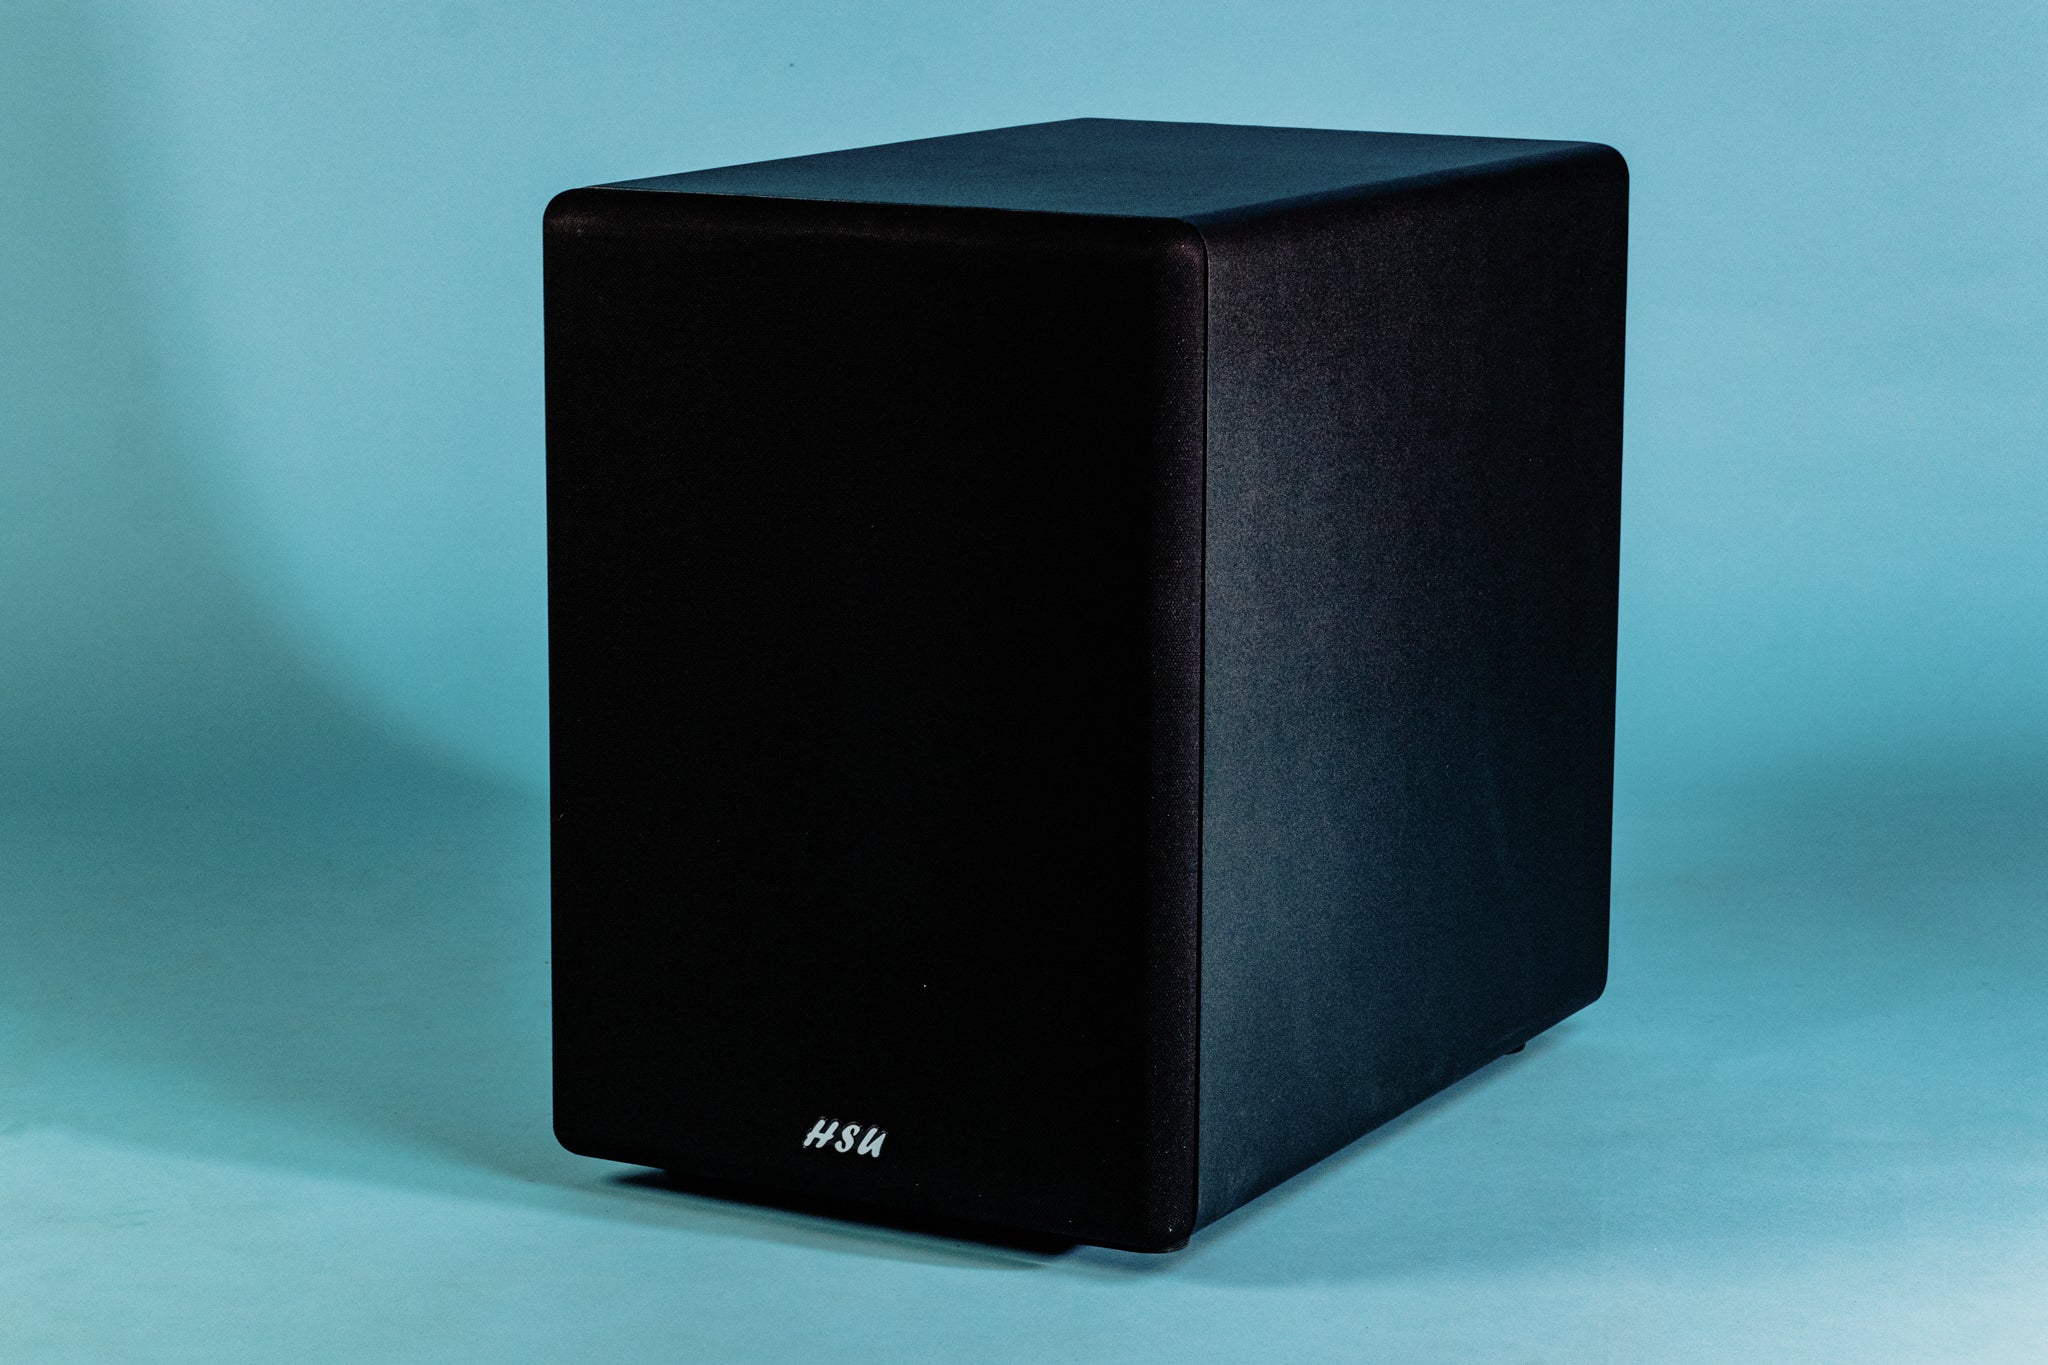
- Sealed Enclosure: Also known as a closed box or acoustic suspension box, a sealed enclosure is the simplest type of subwoofer box. It is a fully sealed box that traps air inside and provides a tight, controlled environment for the subwoofer. Sealed enclosures are known for their accurate and precise bass reproduction, making them ideal for music enthusiasts who prioritize tight and controlled bass response. Additionally, they are relatively compact and easy to build, making them suitable for both car audio and home theater applications.
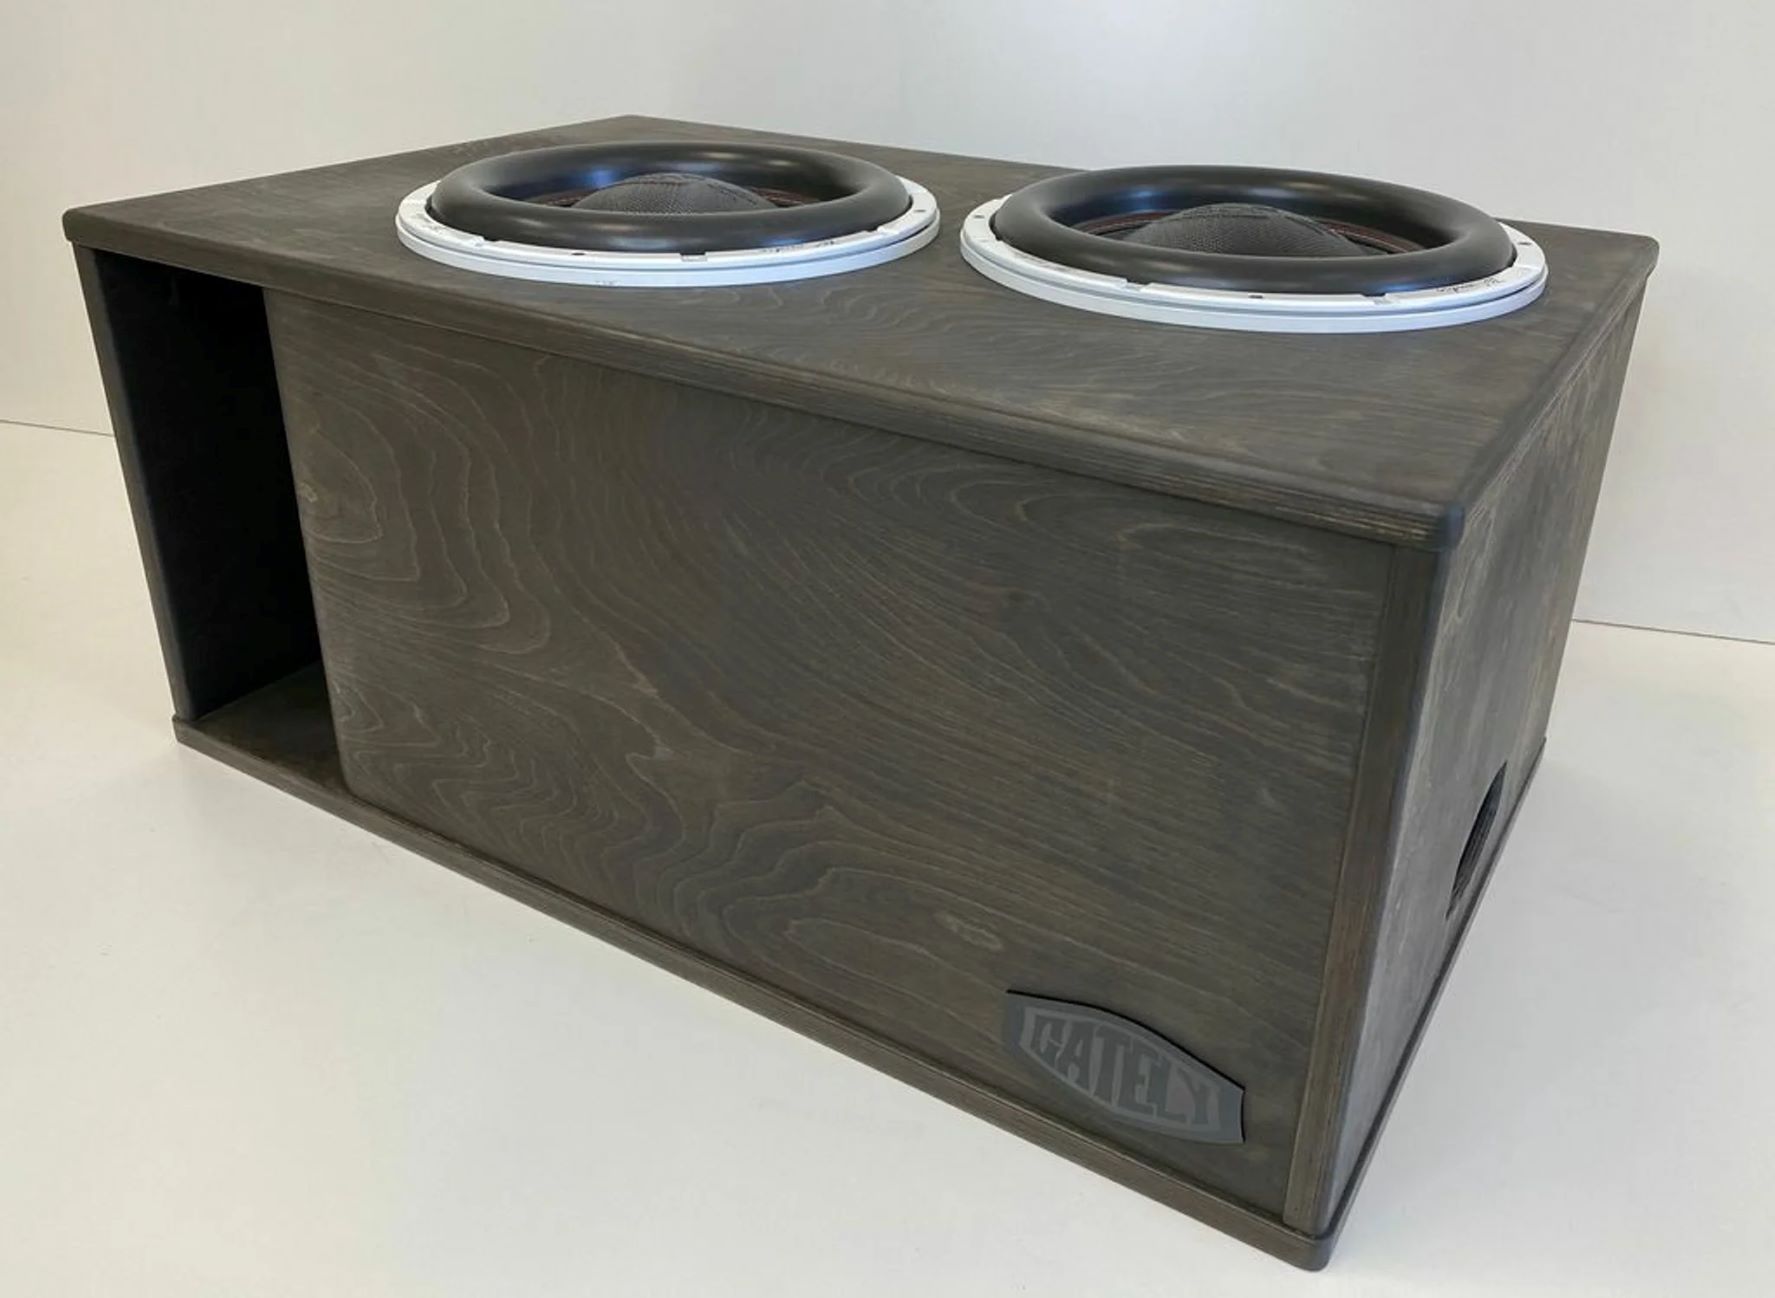
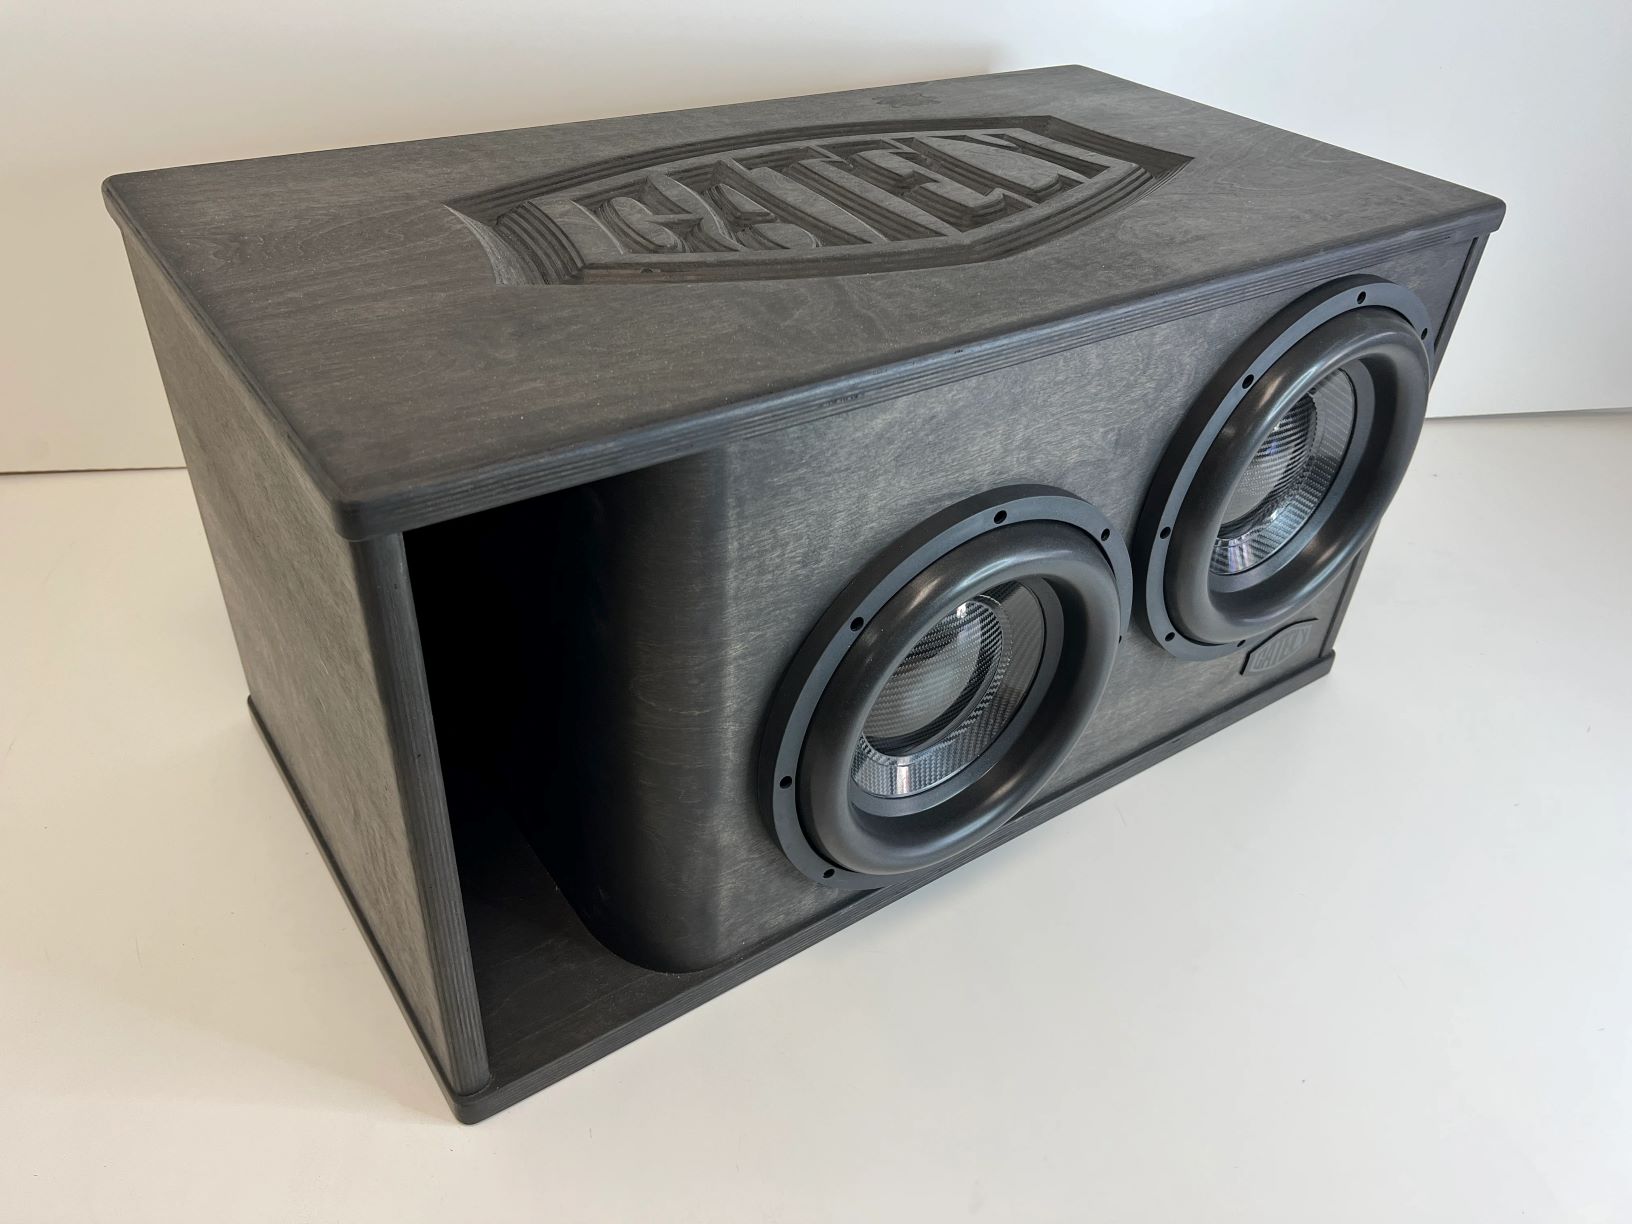
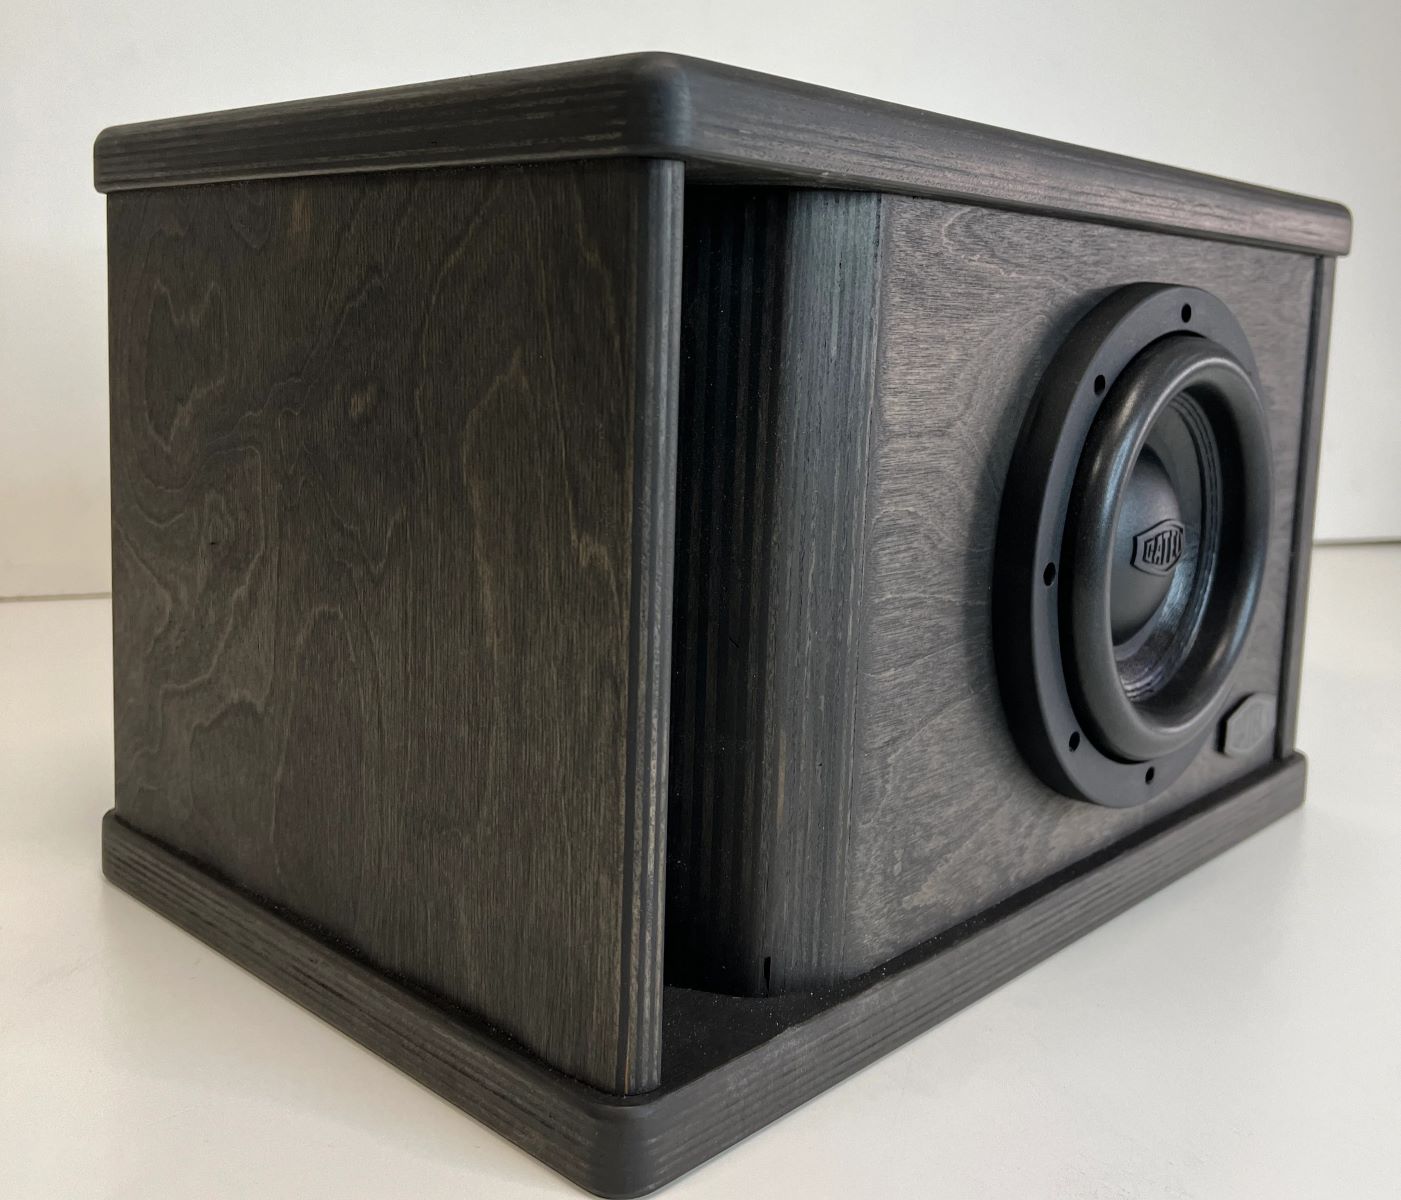
- Ported Enclosure: Also known as a vented box or bass reflex box, a ported enclosure features a hole or port that is tuned to a specific frequency. This port allows the air inside the box to escape, enhancing the low-frequency output and increasing overall efficiency. Ported enclosures are popular for their increased bass output and extension, making them a great choice for those seeking more powerful and boomy bass. However, they do require more space compared to sealed enclosures and may be more complex to design and build.
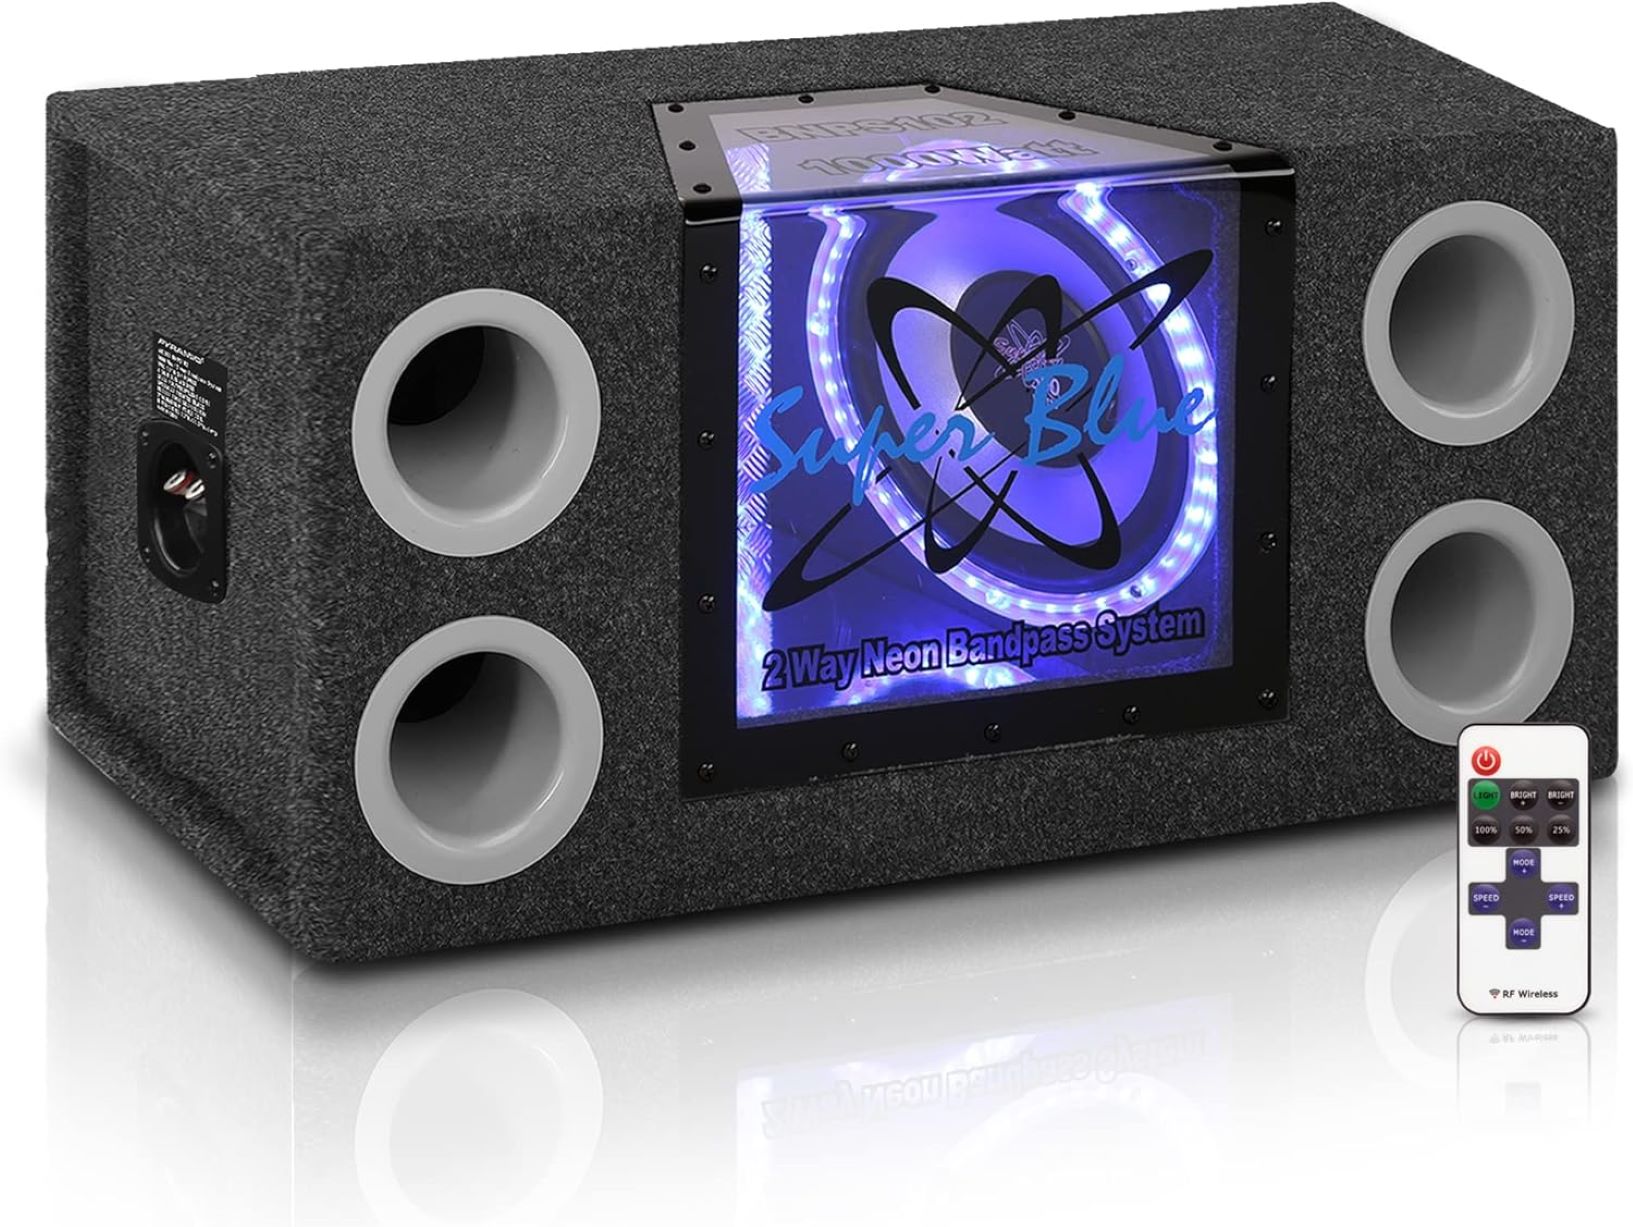
- Bandpass Enclosure: A bandpass enclosure is a specialized type of box that utilizes a combination of a sealed and ported enclosure. It consists of two chambers, with one chamber acting as a sealed enclosure and the other chamber containing a port for the low-frequency output. Bandpass enclosures are known for their high sound output and efficiency in a specific frequency range. They are often used in car audio systems, particularly for competitions or applications where high SPL (Sound Pressure Level) is desired.
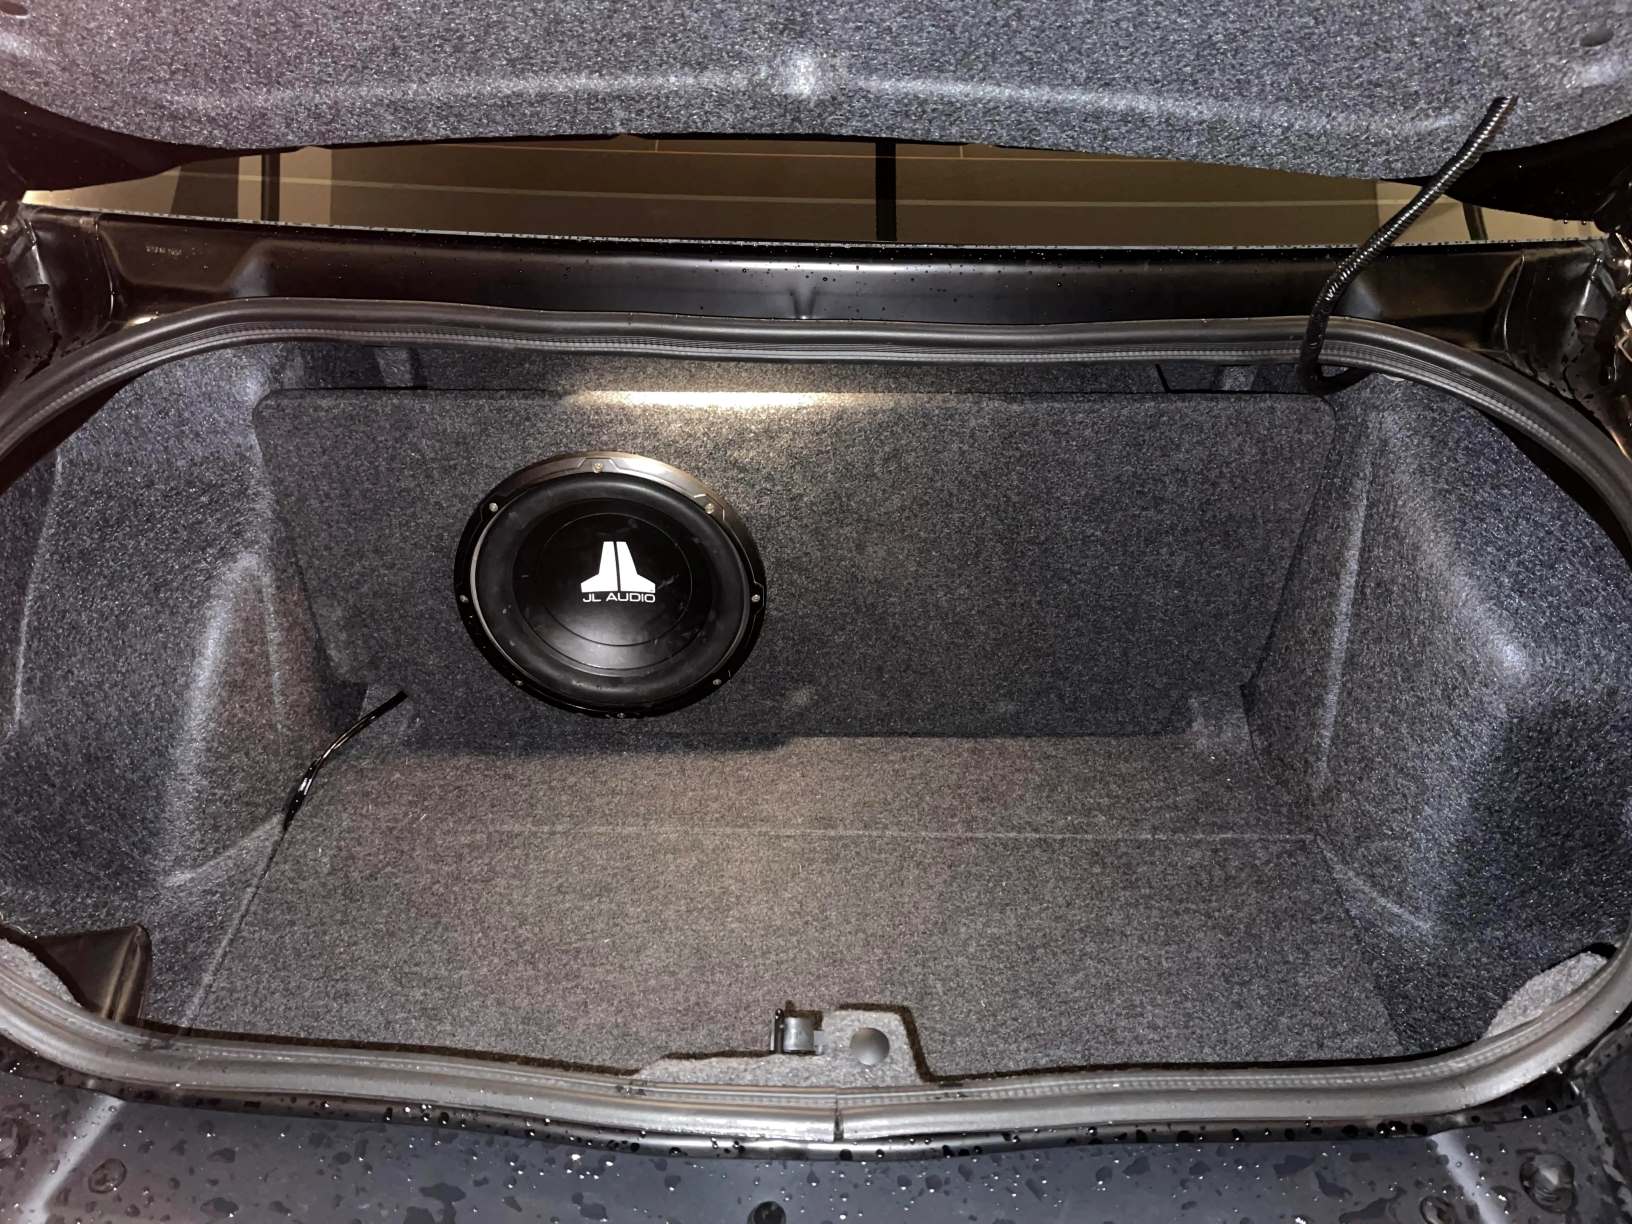
- Free Air Enclosure: Also known as infinite baffle or open-air enclosures, free air enclosures are designed to be mounted in a space without a sealed box. They utilize the trunk or rear deck of a vehicle, or the wall of a room, as the enclosure itself. Free air enclosures can provide good bass response and efficiency when properly installed in the appropriate space. However, they require careful consideration of the mounting location and compatibility with the subwoofer’s specifications.
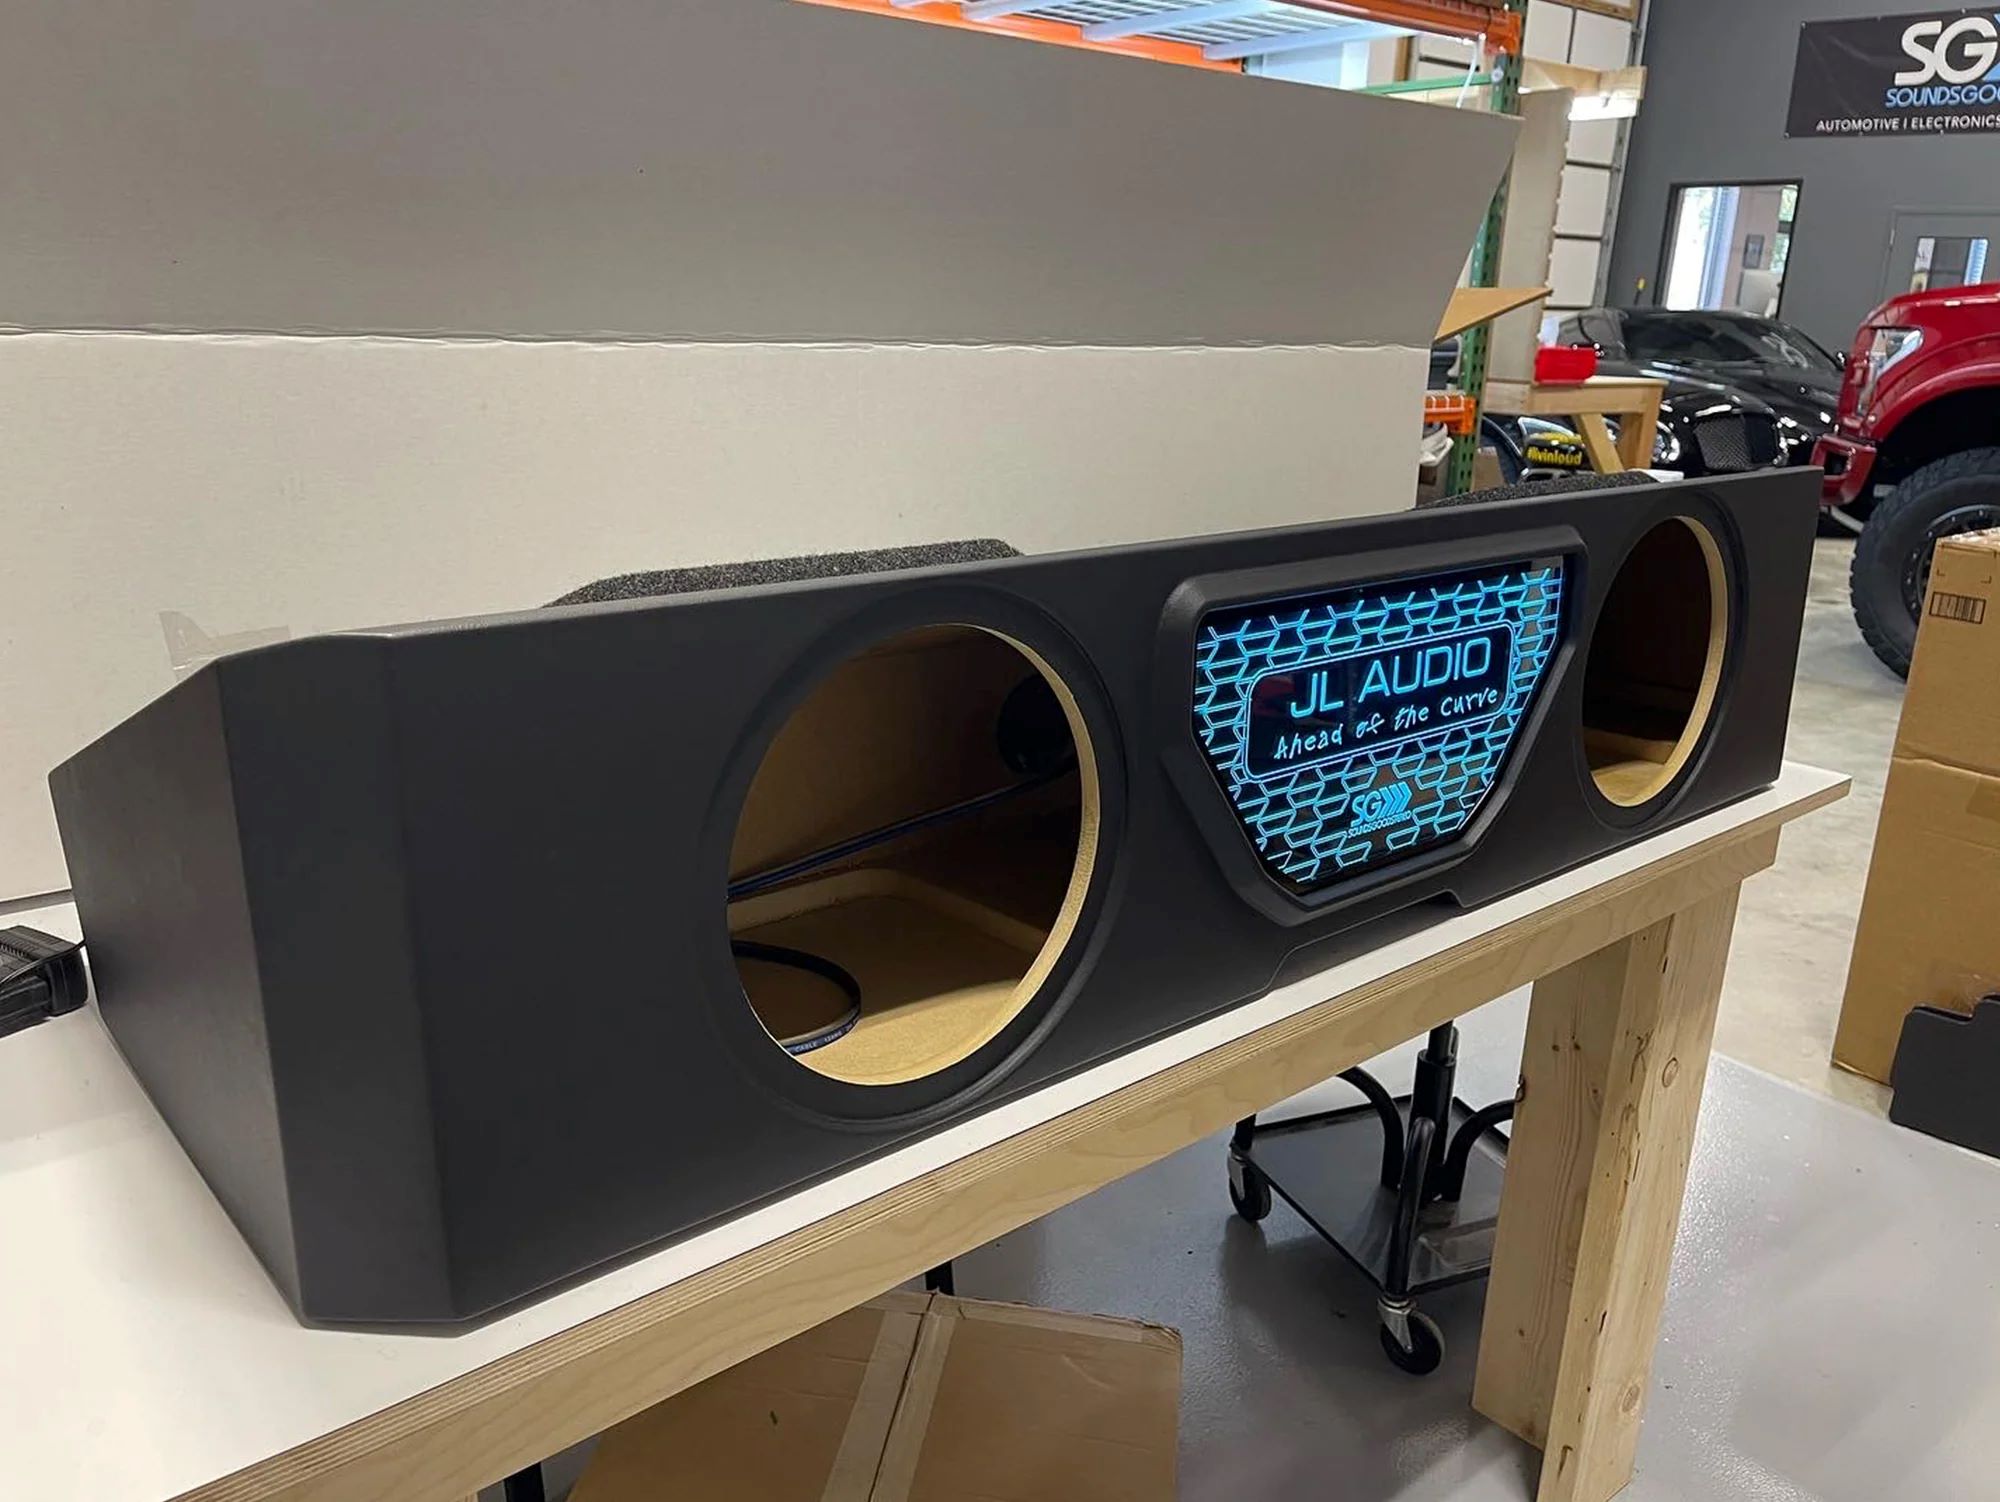
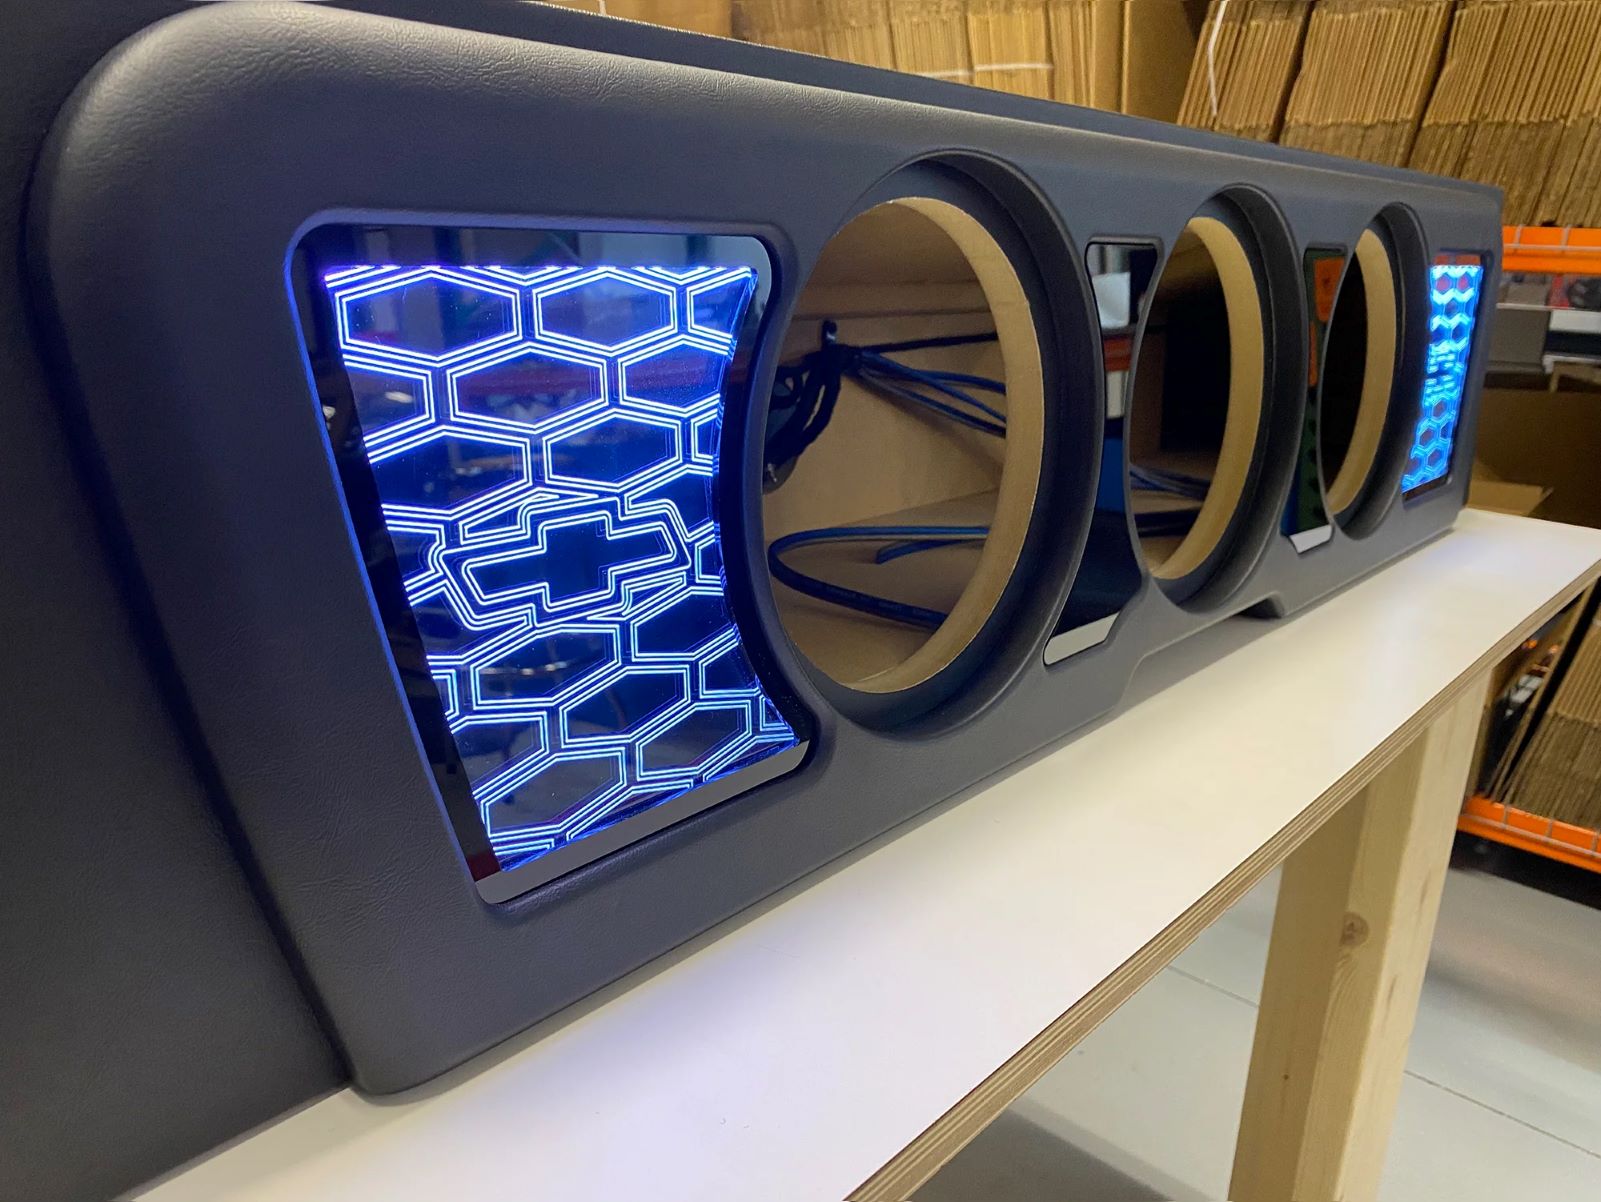
- Custom Enclosures: In addition to the standard types mentioned above, custom enclosures offer endless possibilities for those seeking a tailored audio experience. Custom enclosures can be designed to accommodate multiple subwoofers, unconventional shapes, or unique installation requirements. They are often constructed based on the specific needs and preferences of the user, providing flexibility in terms of sound quality, aesthetics, and space utilization.
Each type of subwoofer box has its own strengths and limitations. Considering factors such as the type of music you listen to, available space, and desired bass characteristics will help you determine the most suitable box type for your subwoofer. Remember, choosing the right box is crucial in achieving optimal performance and maximizing your listening enjoyment.
Choosing the Right Subwoofer Box
Choosing the right subwoofer box is essential for achieving the best possible sound quality and overall performance. Here are some key factors to consider when selecting a box for your subwoofer:
- Subwoofer Specifications: The first step is to understand the specifications of your subwoofer, including its power handling, sensitivity, and recommended enclosure type. These specifications will help you determine the type of box that will work best with your subwoofer.
- Box Type: Consider the characteristics you desire in your bass response. If you prefer tight and accurate bass, a sealed enclosure might be the best choice. If you want more booming and powerful bass, a ported or bandpass enclosure might be more suitable.
- Available Space: Measure the available space in your car or room where you plan to install the subwoofer box. Ensure that the box dimensions will fit comfortably in the designated location without obstructing other components or compromising the aesthetics of the space.
- Power Handling: Take into account the power handling capabilities of both your subwoofer and amplifier. The box should be able to handle the wattage output of your amplifier without any risk of damage or distortion.
- Enclosure Material: Consider the material used for constructing the box. MDF (Medium-Density Fiberboard) is a popular choice due to its durability, acoustic properties, and ease of construction. Other materials such as fiberglass or acrylic may be used for custom enclosures, offering unique design options.
- Listening Preferences: Think about your listening preferences and the type of music you enjoy. Different box types will have their own impact on the sound, so choose one that aligns with your preferred listening experience.
It’s important to note that the subwoofer box is a critical component that directly affects the performance of your subwoofer. A well-matched box will optimize the bass output and ensure proper power handling, resulting in clean and accurate bass reproduction. Therefore, taking the time to research and select the right subwoofer box is key to achieving the best possible sound quality.
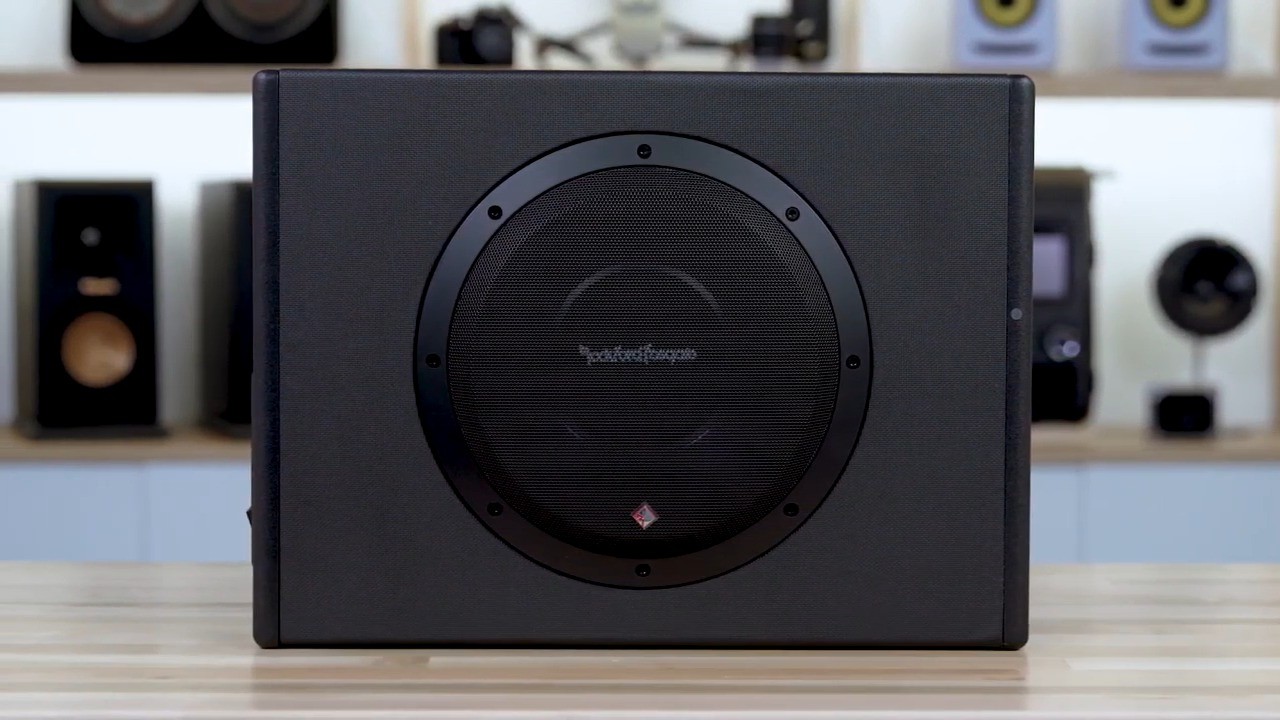
Once you’ve determined the type of box that suits your needs, you can either purchase a pre-made box that matches your subwoofer’s specifications or build a custom box yourself. If you choose to build a box, ensure you follow the manufacturer’s recommendations and construction guidelines to ensure optimal results.
Remember, the subwoofer box is an integral part of your audio system, and choosing the right one will provide a strong foundation for exceptional bass performance. Take your time, do your research, and make an informed decision to unlock the full potential of your subwoofer.
Measuring and Adjusting Subwoofer Box Dimensions
When it comes to tuning a subwoofer box, ensuring the correct dimensions is crucial for achieving optimal performance. Here are the steps to measure and adjust the dimensions of your subwoofer box:
- Refer to the Subwoofer’s Manufacturer: Start by consulting the specifications provided by the subwoofer manufacturer. They usually provide recommendations for the optimal box volume and dimensions for maximum performance. This information serves as a valuable starting point.
- Determine the Desired Box Volume: Depending on your preferences and the type of bass response you desire, you can decide on the box volume. Smaller volumes tend to result in tighter and more controlled bass, while larger volumes may provide more low-end extension.
- Calculate the Box Dimensions: Use a box calculator to determine the dimensions of the box based on the desired box volume. These calculators take into account the thickness of the material being used for the box and provide the internal dimensions. Ensure that the calculated dimensions fit within your available space.
- Account for Internal Components: Remember to account for the volume taken up by internal components such as braces and the subwoofer itself. Subtract their volumes from the total desired box volume to calculate the final dimensions.
- Consider the Shape of the Box: While rectangular boxes are the most common, you can also experiment with other shapes to further optimize the bass response. For example, tapered or irregularly shaped boxes can help reduce internal standing waves and improve overall performance.
- Construct the Box: Once you have the calculated dimensions, you can proceed to construct the box. Cut the panels according to the measurements and assemble them using appropriate adhesive or screws. Ensure airtightness by sealing any gaps or joints with silicone or wood glue.
- Test and Fine-tune: After constructing the box, it’s important to test the subwoofer’s performance and make any necessary adjustments. This can involve measuring the frequency response, adjusting the crossover settings, or making changes to the box dimensions, such as adding or removing internal bracing or damping materials.
Remember that the tuning process may involve some trial and error. It’s recommended to test and make incremental adjustments to the subwoofer box dimensions to achieve the desired sound quality. Additionally, experimenting with different tuning techniques, such as adjusting the port length for ported enclosures, can further refine the bass response.
Keep in mind that subwoofer box tuning is a balancing act. You want to achieve a box design that complements your subwoofer’s parameters and maximizes its efficiency while still meeting your desired sound preferences. Patience, attention to detail, and a willingness to make necessary adjustments will help you fine-tune the box to perfection.
Positioning the Subwoofer Box
Proper placement of the subwoofer box plays a crucial role in obtaining optimal bass performance and integration with the rest of your audio system. Here are some key considerations when positioning your subwoofer box:
- Room Acoustics: Take into account the unique characteristics of your room or vehicle interior. Factors such as room size, shape, and materials can greatly impact the bass response. Experiment with different placements to find the spot that provides the best bass balance and minimizes any undesirable room resonances.
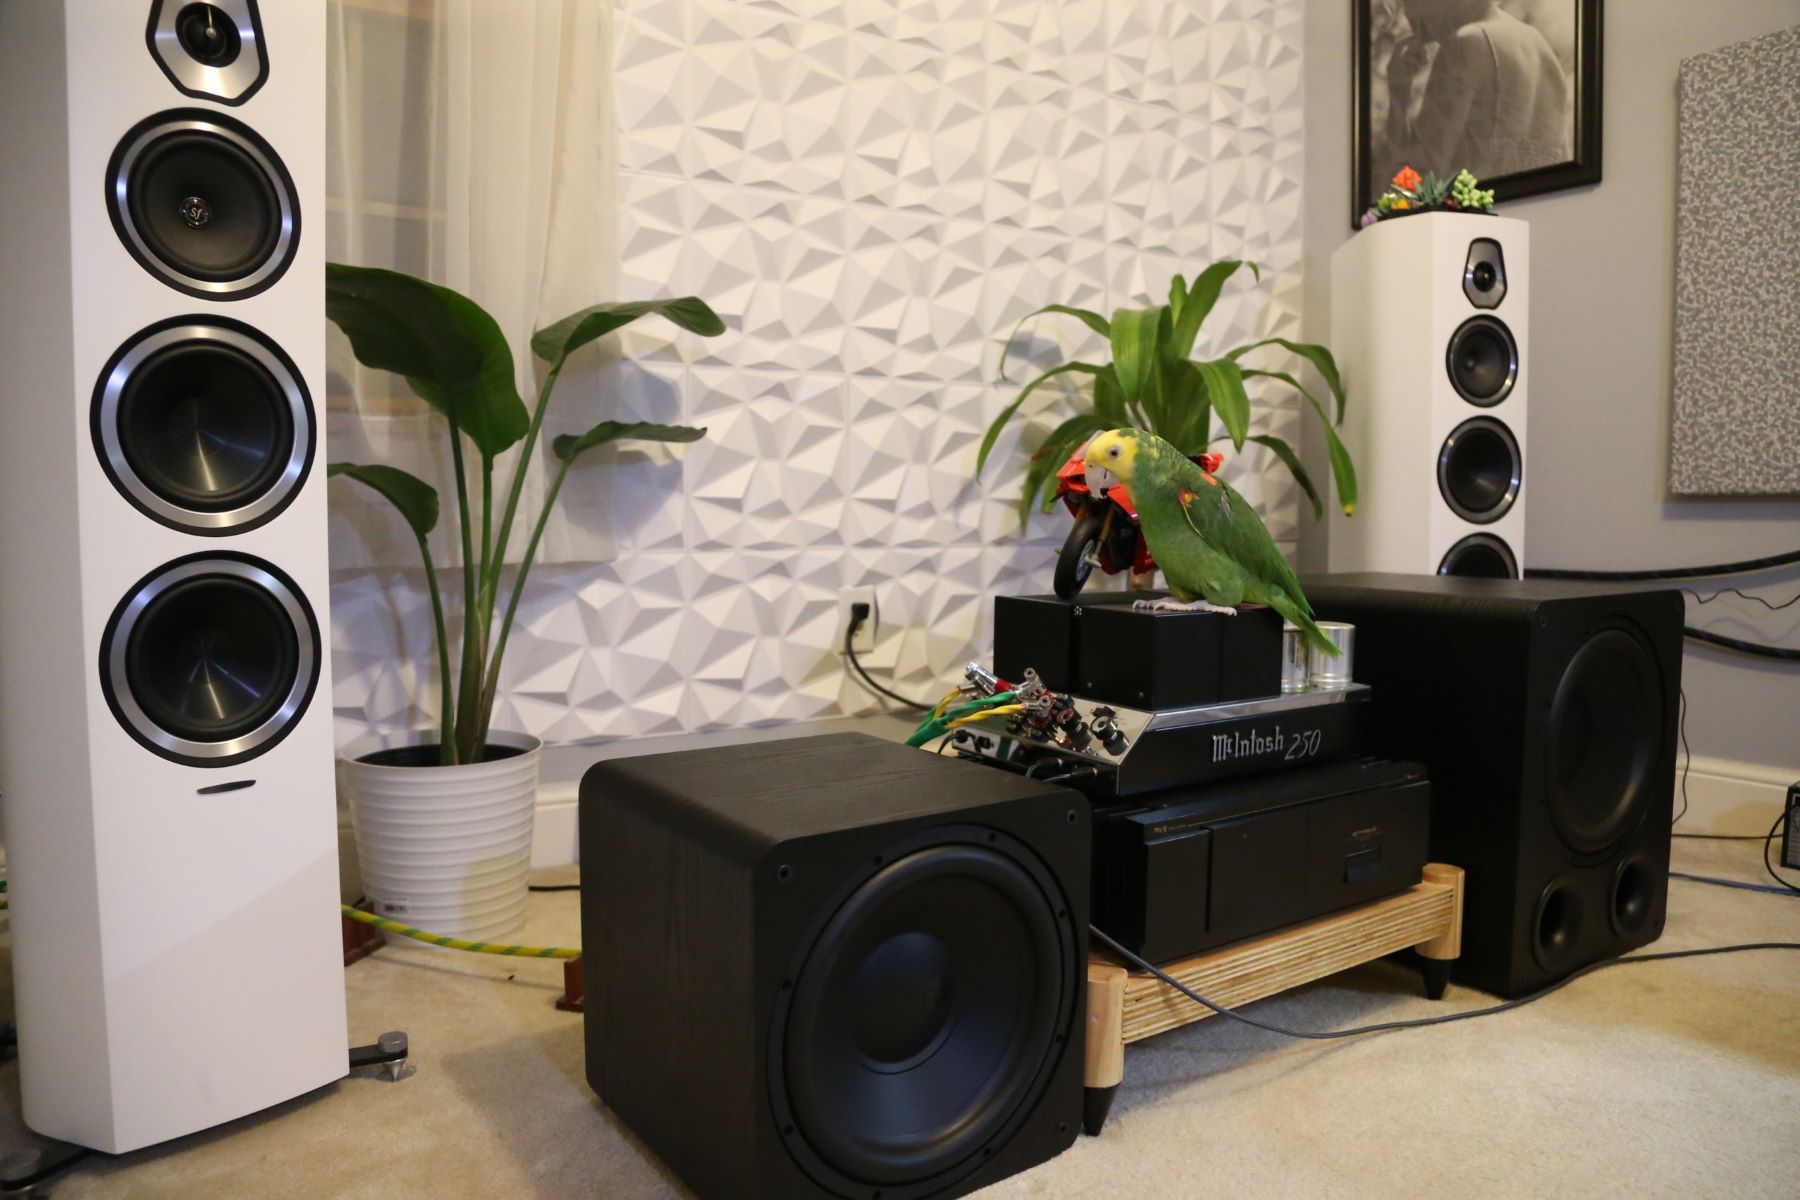
- Subwoofer-Listener Relationship: Consider the ideal positioning of the subwoofer relative to your listening area. Placing the subwoofer near the front of the room or near your main listening position often leads to better integration with the rest of the audio system. Experiment with subtle changes in subwoofer placement to find the sweet spot where the bass sounds even and balanced from your listening position.
- Corner Placement: Placing the subwoofer in a corner can often enhance the low-frequency output due to the boundary reinforcement effect. This can result in a more impactful and powerful bass response. However, be cautious as corner placement can also lead to excessive bass buildup and room modes, causing boomy or muddy bass. Experiment with different corner positions and utilize room measurements or testing tools to find the optimal corner placement for your specific room.
- Isolation and Decoupling: To minimize unwanted vibrations and resonances, it’s important to isolate the subwoofer box from any surfaces it sits on. Consider using isolation pads or decoupling devices to prevent the transmission of vibrations to the floor or other objects. This will help maintain the clarity and accuracy of the bass response.
- Subwoofer-System Integration: Aim to achieve a smooth integration between the subwoofer and the main speakers in your audio system. Experiment with the phase and crossover settings to ensure a seamless transition between the subwoofer and the main speakers. This will result in a cohesive and balanced sound across the entire frequency spectrum.
- Avoid Obstructions: Keep the subwoofer box free from obstructions that can interfere with the bass performance. Avoid placing the subwoofer too close to walls, furniture, or other large objects that can obstruct the sound waves and cause reflections or distortions. Allow some breathing space around the subwoofer to facilitate proper dispersion and prevent unwanted resonances.
Remember, achieving the best bass performance involves some experimentation and adjustment. Take the time to test and fine-tune the subwoofer box placement to optimize the bass response for your specific listening environment. Trust your ears and make adjustments based on the impact on overall sound quality.
By considering room acoustics, optimizing subwoofer-listener relationship, utilizing corner placement effectively, ensuring isolation and decoupling, achieving seamless integration, and avoiding obstructions, you can position your subwoofer box in a way that maximizes its potential and delivers a captivating and immersive bass experience.
Sealing and Damping the Subwoofer Box
Proper sealing and damping of the subwoofer box are critical steps in optimizing its performance and ensuring accurate bass reproduction. Here’s why sealing and damping are important, as well as some techniques to achieve them:
Sealing: Airtight sealing is crucial to prevent any air leaks from the subwoofer box. Proper sealing ensures that the subwoofer operates in a controlled environment, allowing it to produce accurate and impactful bass. Air leaks can lead to a loss of bass response and reduced overall performance. To achieve airtight sealing:
- Use Quality Materials: Use high-quality sealing materials, such as silicone caulk or wood glue, to seal all seams and joints of the subwoofer box. Apply the adhesive along the edges of the panels before fastening them together to ensure a tight seal.
- Eliminate Gaps: Inspect the subwoofer box for any gaps or openings. Fill them with the appropriate sealing material to prevent any air leakage. Pay special attention to corners, edges, and any areas where multiple panels meet.
- Reinforce Panels: If necessary, reinforce the panels of the subwoofer box with additional bracing or internal supports. This helps prevent any flexing or movement of the panels that can compromise the airtight seal.
Damping: Damping aims to reduce unwanted resonances and standing waves inside the subwoofer box. Internal reflections can cause distortions and peaks in the frequency response, negatively impacting the overall sound quality. Here are some damping techniques:
- Internal Damping Materials: Use sound-absorbing materials inside the subwoofer box to minimize internal reflections and resonances. Acoustic foam, fiberglass insulation, or specialized damping materials can be used to line the internal walls of the box. These materials absorb and dissipate internal sound energy, resulting in a cleaner and more controlled bass response.
- Bracing: Internal bracing can help reduce panel vibrations and improve the rigidity of the subwoofer box. Adding braces made of wood or MDF to strategic locations within the box helps minimize unwanted resonances and standing waves. Experiment with different bracing configurations to find the best results.
- Resonance Dampers: Another technique is to use resonance dampers, such as rubber grommets or neoprene washers, to decouple the subwoofer from the box. These dampers help absorb vibrations and isolate the subwoofer from the box, reducing any interference or resonances that can affect the bass response.
Sealing and damping the subwoofer box may require some experimentation to find the optimal combination of techniques for your specific setup. Monitor the performance of the subwoofer and make adjustments as necessary. Remember that achieving a well-sealed and properly damped subwoofer box will result in cleaner, more accurate bass reproduction with reduced distortion and resonances.
Take the time to carefully seal all seams and joints, fill any gaps, and apply internal damping materials and bracing where needed. With proper sealing and damping, you’ll unleash the full potential of your subwoofer and enjoy a more immersive and satisfying bass experience.
Testing and Fine-tuning the Subwoofer Box
Once you have constructed and properly sealed the subwoofer box, it’s time to test and fine-tune its performance to achieve the best possible bass output. Here are some steps to follow when testing and fine-tuning your subwoofer box:
- Frequency Response Measurement: Use a frequency response measurement tool, such as a sound level meter or specialized software, to measure and analyze the bass response of your subwoofer. This will provide valuable information about any peaks, dips, or resonances in the frequency spectrum.
- Adjusting the Crossover Settings: Ensure that the crossover settings between the subwoofer and other speakers in your audio system are properly configured. The crossover frequency determines at which point the subwoofer begins to handle the low frequencies. Fine-tune the crossover settings to achieve a smooth and seamless transition between the subwoofer and the main speakers.
- Positioning and Listening Tests: Experiment with different subwoofer placements within your listening environment. Move the subwoofer around the room and listen for any changes in bass response and overall sound quality. Make note of the positions that result in the most balanced and enjoyable bass performance.
- Subwoofer Phase Alignment: Adjusting the phase of the subwoofer ensures that it is in sync with the other speakers in your audio system. Oftentimes, a phase adjustment of 0 or 180 degrees is sufficient, but it may vary depending on your specific setup. Fine-tuning the phase can help improve the bass integration and overall coherence of the sound.
- Experiment with EQ and Room Correction: Use equalization or room correction tools to further refine the bass response. These tools can help compensate for any room resonances or deficiencies in the frequency response. Follow the instructions provided with the tool and adjust the settings based on your measurements and personal listening preferences.
- Listen and Make Small Adjustments: Take the time to carefully listen to music or movie content that represents the kind of material you will be regularly enjoying with the subwoofer. Pay attention to any specific frequencies that may sound overly boomy, muffled, or lacking presence. Make small adjustments to the subwoofer box settings, such as internal damping materials or crossover frequency, to address any identified issues.
It’s important to recognize that testing and fine-tuning the subwoofer box is not a one-time process. As you make adjustments, it’s crucial to listen carefully and carefully evaluate the impact on the sound quality. Take your time and be patient during the fine-tuning process, as it may involve multiple iterations to achieve the desired results.
Remember to document the changes you make and their outcomes, as this will help you keep track of the adjustments and better understand the influence of each change on the bass performance. The goal is to achieve a harmonious balance between the subwoofer, the room acoustics, and the rest of your audio system for an immersive and enjoyable listening experience.
By conducting frequency response measurements, adjusting crossover settings, experimenting with subwoofer placement, fine-tuning phase alignment, utilizing EQ and room correction, and carefully listening and making small adjustments, you’ll be able to optimize the performance of your subwoofer box and enjoy rich, detailed, and powerful bass that complements your audio system.
Troubleshooting Subwoofer Box Issues
While tuning a subwoofer box can greatly enhance your bass performance, you may encounter some common issues along the way. Here are some troubleshooting steps to help you address and overcome these issues:
- Lack of Bass: If you feel that your subwoofer is not producing enough bass, check the following:
- Ensure the subwoofer is receiving a proper power supply and is turned on.
- Verify that the subwoofer is properly connected to the audio system. Check the cables and connections for any loose or faulty connections.
- Check the crossover settings to make sure the subwoofer is receiving the appropriate frequency range from the main speakers.
- Double-check the positioning and placement of the subwoofer to ensure it’s in an optimal location for bass response.
- Boomy or Muddy Bass: If you’re experiencing boomy or muddy bass, consider the following troubleshooting steps:
- Check the subwoofer placement. If it’s too close to walls or corners, it can cause excessive bass buildup and resonance. Try adjusting the placement to find a better balance.
- Experiment with different crossover settings to find the optimal point where the subwoofer seamlessly integrates with the main speakers.
- Evaluate the internal damping of the subwoofer box. If it’s too dampened, it can result in a loss of impact and clarity. Conversely, if there’s insufficient damping, it can lead to excessive resonance. Adjust the damping materials accordingly.
- Unbalanced or Uneven Bass: If you notice an imbalance or unevenness in the bass response:
- Revisit the positioning of the subwoofer and make slight adjustments. Moving it around the room or trying different corners can help achieve better bass distribution.
- Verify that the subwoofer and main speakers are in phase with each other. If they are out of phase, it can result in cancellation or reinforcement of certain frequencies, leading to an unbalanced bass response.
- Consider using room correction software or equalization tools to help correct any room resonances and achieve a more even bass response.
- Distorted Bass: If you encounter distorted bass, follow these steps:
- Check the power supply and make sure the subwoofer is not being overdriven, as this can cause distortion. Adjust the volume level or gain setting accordingly.
- Inspect the subwoofer cone and surround for any damage or deformities that may be causing the distortion. If necessary, replace the subwoofer driver.
- Ensure the subwoofer is within its specified power handling capabilities. Using an amplifier that exceeds the subwoofer’s recommended wattage can lead to distortion and damage.
If you’ve tried these troubleshooting steps and are still experiencing issues, consider seeking expert advice from an audio professional or contacting the manufacturer for further assistance. They may be able to provide more specific guidance based on your subwoofer model and setup.
Remember that troubleshooting is an iterative process, and it may require some experimentation and adjustments to find the optimal solution. Be patient, take notes of the changes you make, and carefully listen to the impact on the sound quality to achieve the best possible bass performance from your subwoofer box.
Conclusion
Tuning your subwoofer box is a crucial step in unlocking its full potential and achieving optimal bass performance. By understanding the different types of subwoofer boxes, choosing the right one for your needs, measuring and adjusting its dimensions, positioning it effectively, sealing and damping it properly, and testing and fine-tuning its performance, you can transform your audio system with deep, impactful, and accurate bass.
Throughout the process, it’s important to trust your ears and make incremental adjustments based on your listening preferences. Take the time to experiment with different settings, placements, and damping materials until you achieve the desired balance of bass response. Remember that each room and audio system is unique, so what works for someone else may not work perfectly for you.
Regularly test and reevaluate the performance of your subwoofer box, as changes to your room acoustics or audio system components may necessitate further adjustments. Fine-tuning is an ongoing process that allows you to continuously optimize the bass performance and enjoy a truly immersive audio experience.
By following the guidelines provided in this article, troubleshooting any issues you encounter, and seeking guidance when needed, you’ll be able to master the art of subwoofer box tuning and create a sound system that delivers powerful and impactful bass reproduction.
So go ahead, dive deeper into the world of subwoofers, and explore the limitless possibilities of bass that can transform your music, movies, and gaming experiences. Boost your audio system and immerse yourself in the richness and depth of sound that only a tuned subwoofer box can provide. Enjoy your newfound audio journey!

