Home>Devices & Equipment>Subwoofer>How To Connect A Subwoofer To A Receiver Without Sub-Outlet

Subwoofer
How To Connect A Subwoofer To A Receiver Without Sub-Outlet
Modified: January 22, 2024
Learn how to connect a subwoofer to a receiver without a sub-outlet using simple and effective methods. Enhance your audio experience with this step-by-step guide.
(Many of the links in this article redirect to a specific reviewed product. Your purchase of these products through affiliate links helps to generate commission for AudioLover.com, at no extra cost. Learn more)
Table of Contents
- Introduction
- Understanding Subwoofers and Receivers
- Step 1: Checking the Back Panel of Your Receiver
- Step 2: Identifying Pre-Out or Line-Out Connections
- Step 3: Locating Speaker Wire Outputs
- Step 4: Connecting the Subwoofer Using Speaker Wire
- Step 5: Adjusting Subwoofer Settings on the Receiver
- Step 6: Testing the Connection
- Troubleshooting and Tips
- Conclusion
Introduction
Welcome to the world of deep, rumbling bass and immersive sound experience – the realm of subwoofers! Whether you’re a true audiophile or simply looking to enhance your home theater system, a subwoofer can take your audio setup to the next level.
Subwoofers are specialized speakers designed to reproduce low-frequency sounds, typically in the range of 20Hz to 200Hz. They add depth and power to audio by producing those deep bass tones that regular speakers struggle to reproduce. When connected correctly, a subwoofer can bring movies, music, and games to life, making you feel the thumping beats and the rumble of explosions as if you were right in the action.
However, connecting a subwoofer to a receiver can sometimes be a daunting task, especially if your receiver doesn’t have a dedicated subwoofer output. But fear not! In this guide, we will provide step-by-step instructions on how to connect a subwoofer to a receiver without a sub-outlet. So, let’s dive in and unlock the potential of your audio system!
Understanding Subwoofers and Receivers
Before we delve into the process of connecting a subwoofer to a receiver, it’s crucial to have a basic understanding of these two components.
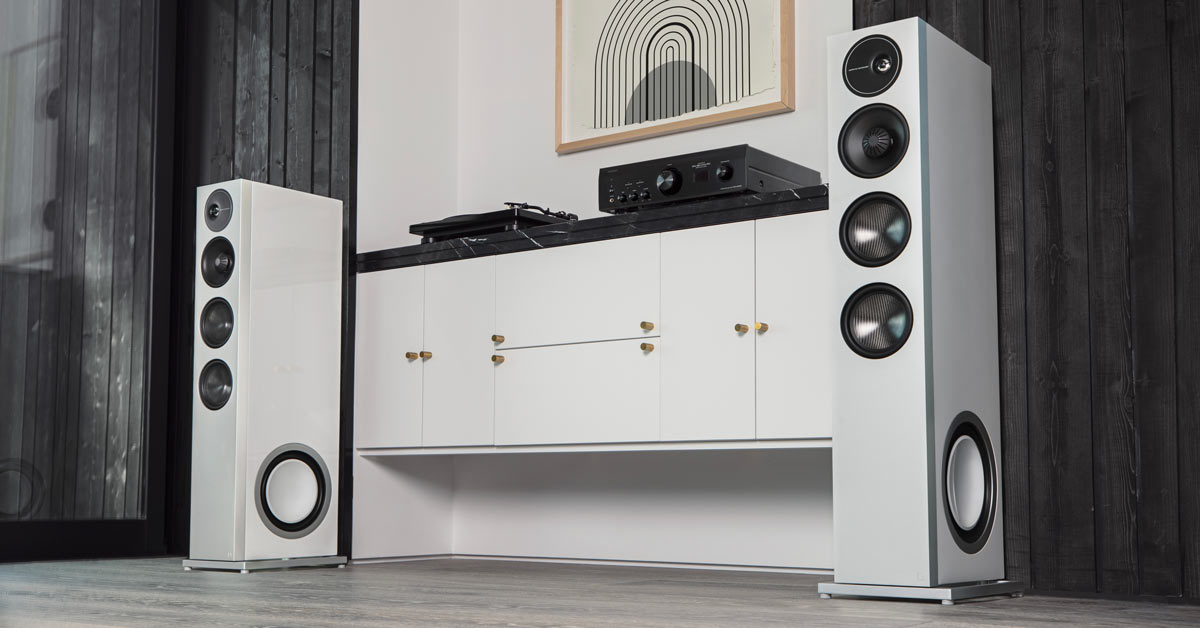
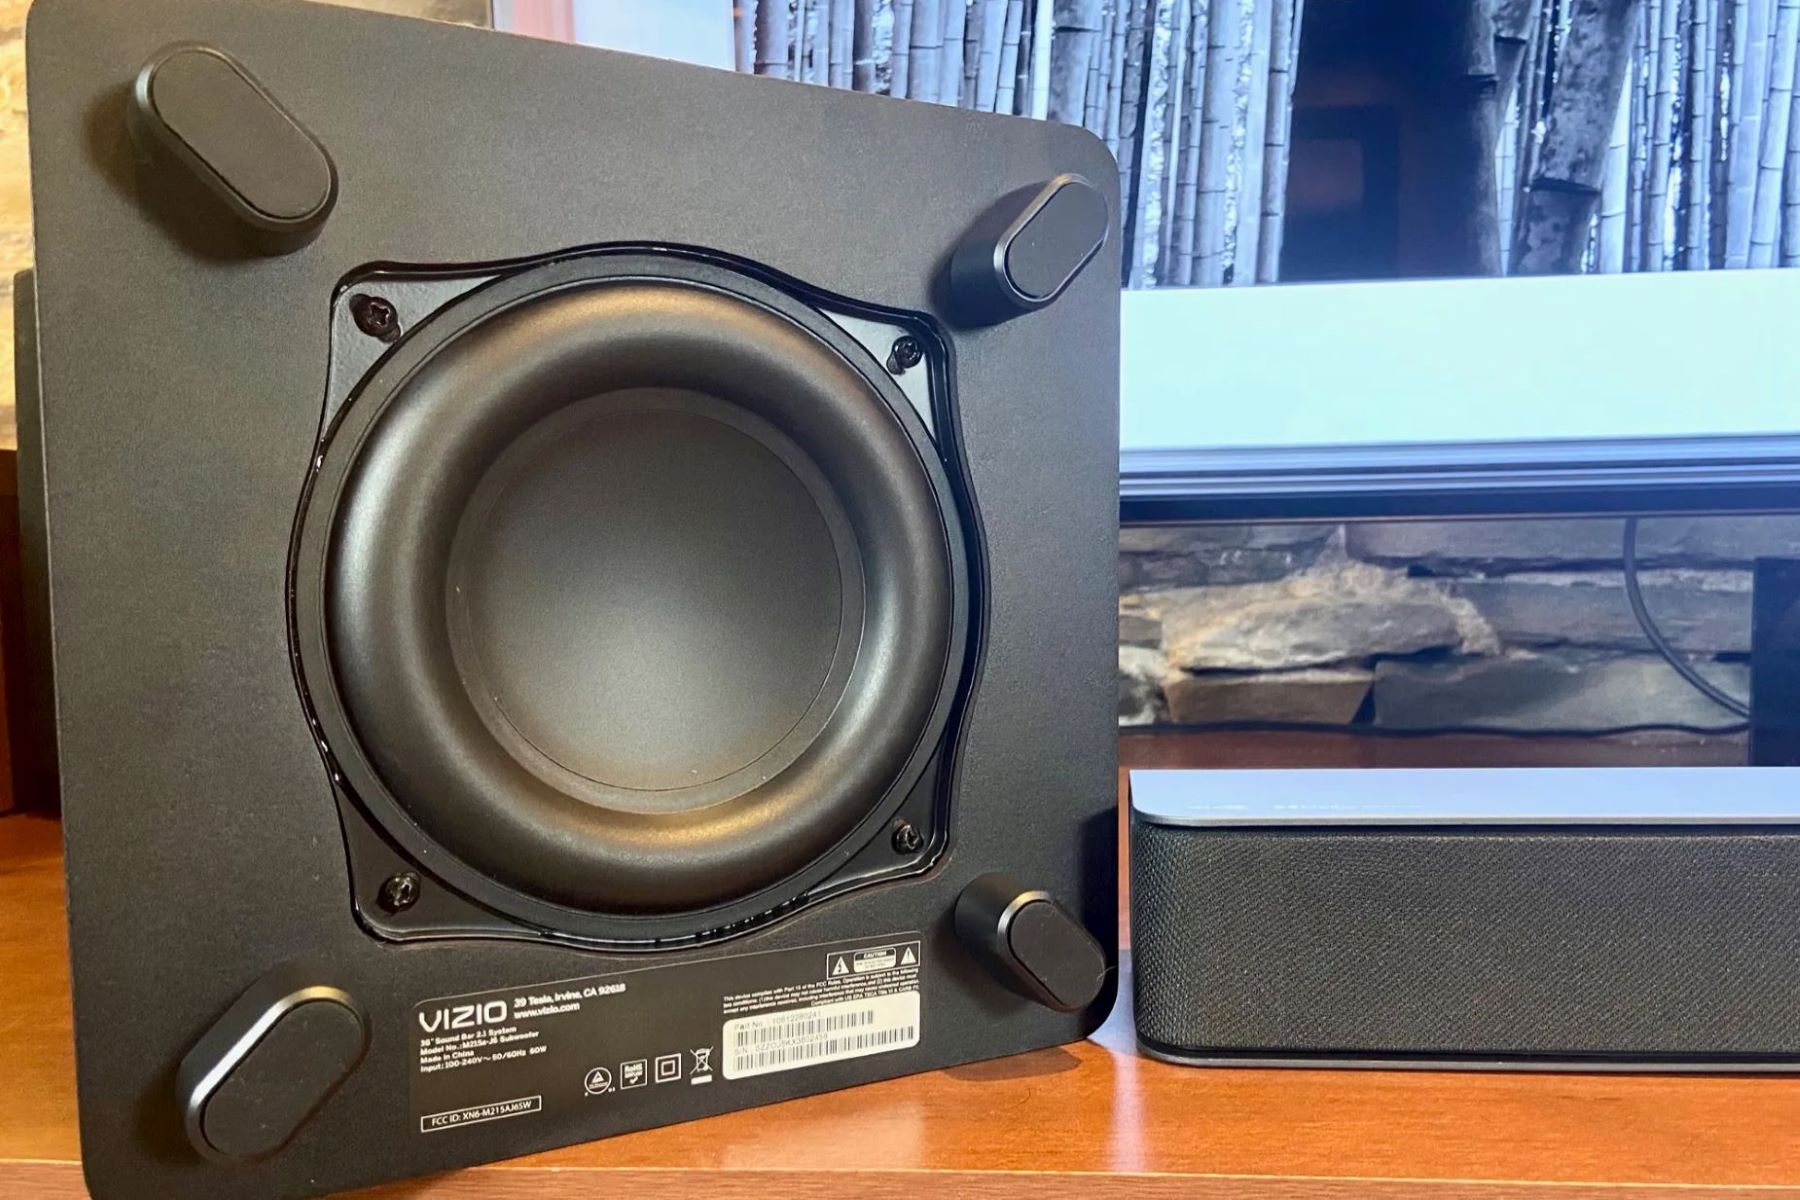
A subwoofer is a speaker that is specifically designed to reproduce low-frequency sounds, commonly referred to as bass. It is responsible for delivering the deep, rumbling tones that add impact and power to your audio experience. Subwoofers come in various sizes and configurations, including powered (with built-in amplifiers) and passive (requiring an external amplifier).
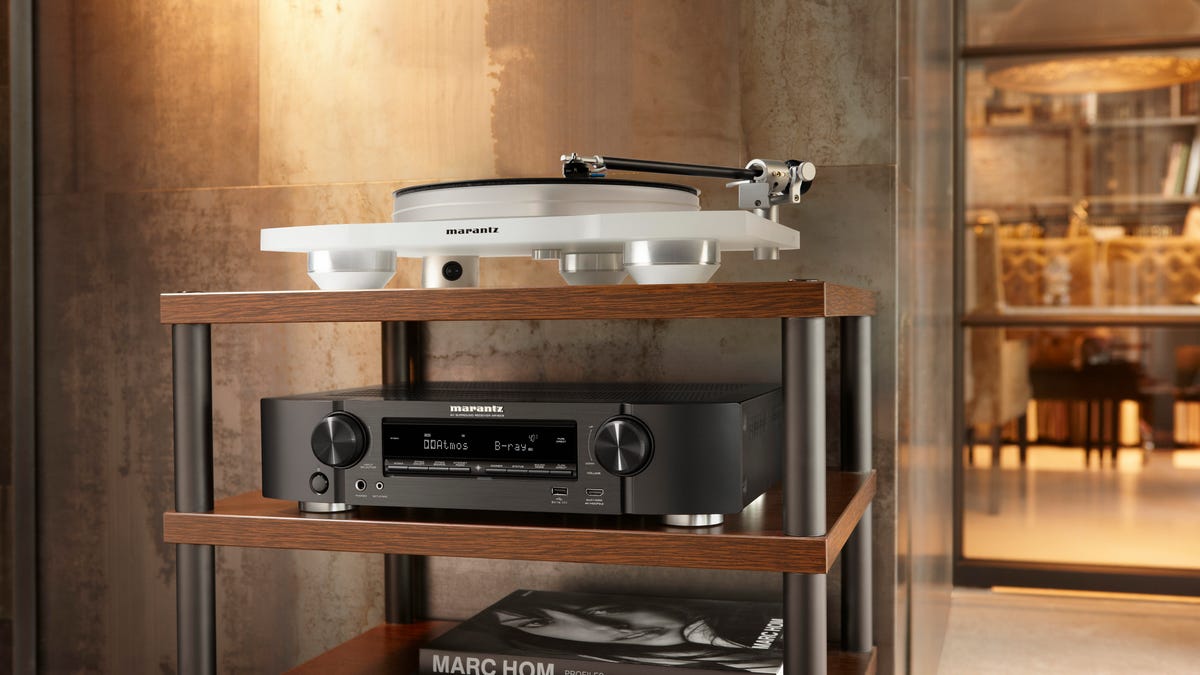
A receiver, also known as an AV receiver or audio/video receiver, is a device that acts as the central hub for your audio and video components. It receives signals from various sources, such as Blu-ray players, game consoles, and cable boxes, and amplifies and processes the audio signals to deliver them to your speakers. Receivers often come equipped with multiple audio channels for surround sound setups, and many also have a dedicated subwoofer output.
While having a dedicated subwoofer output on your receiver simplifies the connection process, not all receivers have this feature. In these cases, we need to find alternative methods to connect the subwoofer. This typically involves utilizing the pre-out or line-out connections and speaker wire outputs on the receiver.
Now that we have a general understanding of subwoofers and receivers, let’s proceed to the step-by-step process of connecting a subwoofer to a receiver without a sub-outlet.
Step 1: Checking the Back Panel of Your Receiver
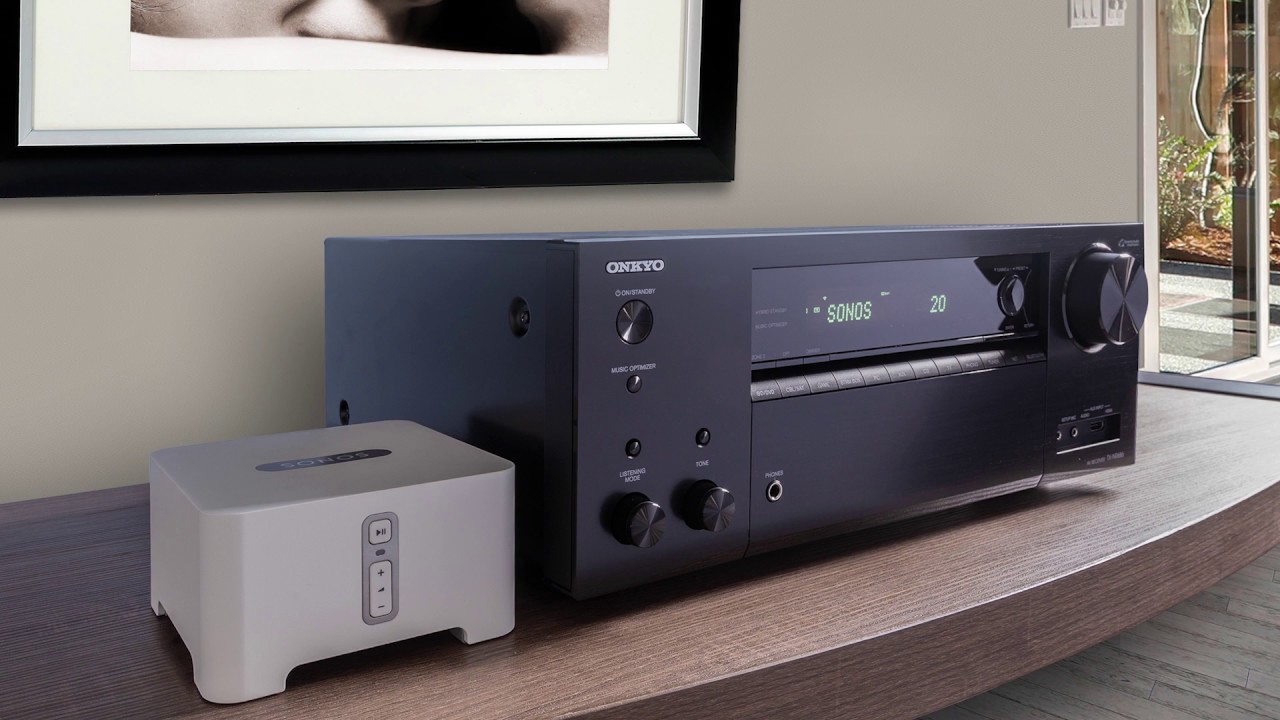
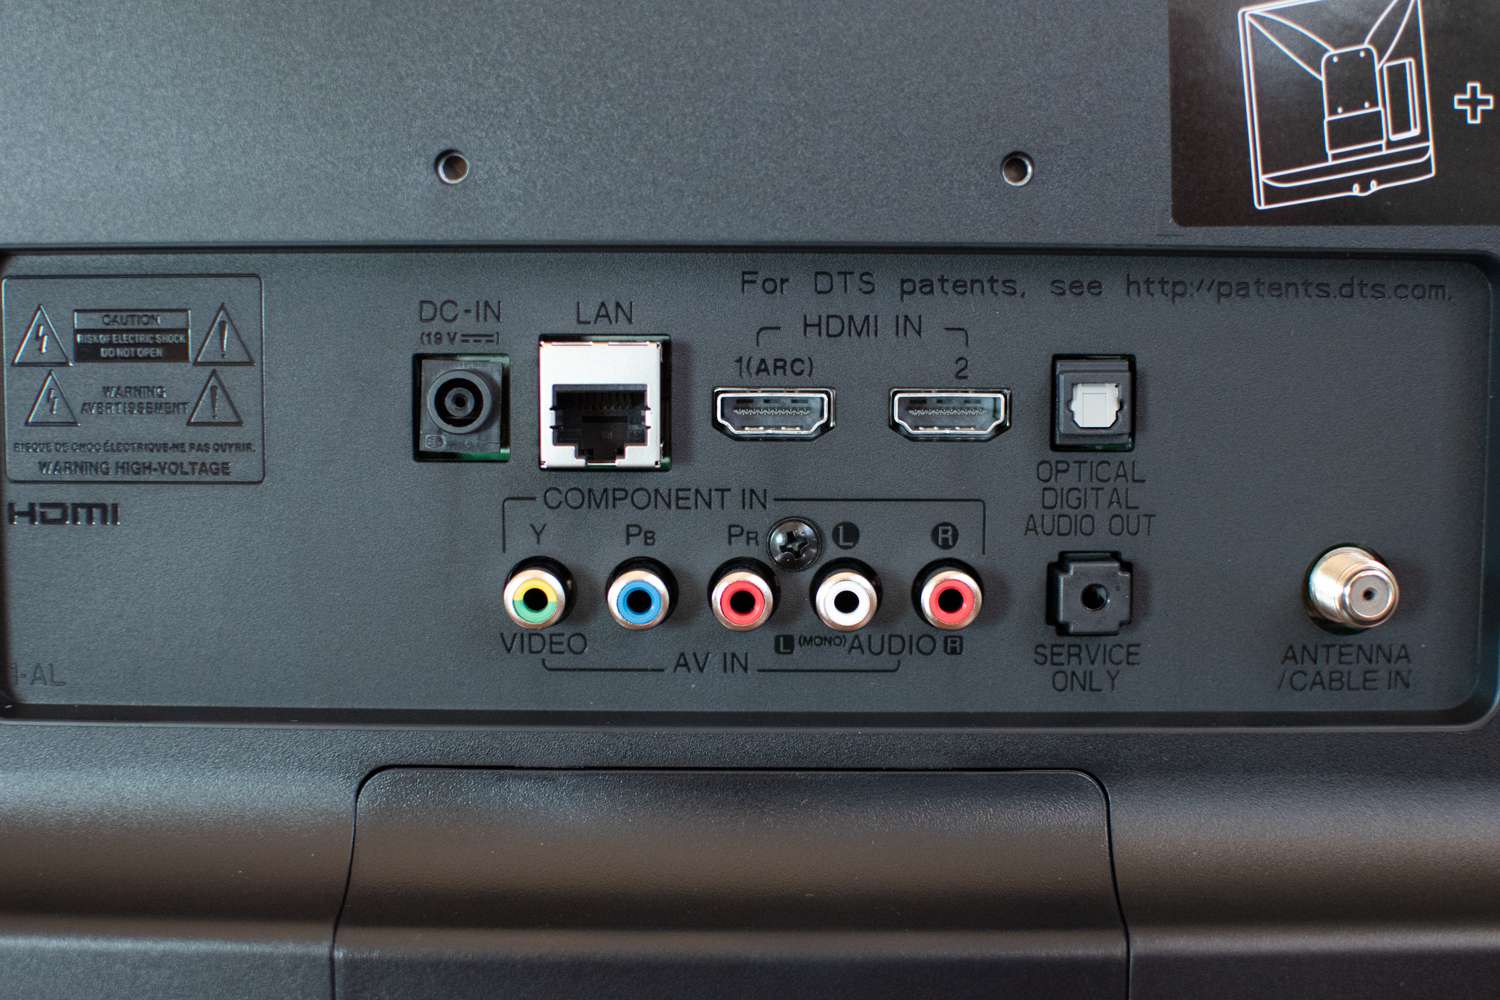
The first step in connecting your subwoofer to a receiver without a sub-outlet is to examine the back panel of your receiver. This is where you’ll find the various input and output connections.
Start by locating the speaker wire outputs on the back panel. These are typically color-coded and labeled as “Front,” “Rear,” or “Center.” They are used to connect your main speakers and surround sound speakers.
Next, look for any pre-out or line-out connections. These connections are often labeled as “Pre Out,” “Sub Out,” or “LFE Out.” However, in receivers without a dedicated subwoofer output, these connections might not be present. In such cases, we need to explore alternative options to connect the subwoofer.
If you find the pre-out or line-out connections, make a note of their type and format. Some receivers use RCA connections, which are identified by their red and white (or red and black) jacks. Others may use a dedicated subwoofer output with a single RCA or a balanced XLR connector.
If your receiver does not have any pre-out or line-out connections, don’t worry. There are still ways to connect the subwoofer, which we’ll explore in the following steps.
Once you have identified the various connections on the back panel of your receiver, it’s time to move on to step 2 and find the appropriate connection for your subwoofer.
Step 2: Identifying Pre-Out or Line-Out Connections
After checking the back panel of your receiver in step 1, your next task is to identify the pre-out or line-out connections. These connections will serve as the alternative method to connect your subwoofer.
If your receiver has pre-out or line-out connections, locate them on the back panel. These connections may be labeled as “Pre Out,” “Sub Out,” “LFE Out,” or something similar. They are typically RCA connections, featuring red and white (or red and black) jacks. Some receivers may also have a dedicated subwoofer output with a single RCA or balanced XLR connector.
Once you have found these connections, take note of their location and type. This information will be useful when connecting the subwoofer in the following steps.
If your receiver does not have any pre-out or line-out connections, don’t worry. There are still alternative ways to connect your subwoofer. Proceed to step 3, where we will explore other options using the speaker wire outputs on the receiver.
Remember, the goal is to find a suitable connection on your receiver that will allow you to feed the audio signal to your subwoofer. By identifying the pre-out or line-out connections, you are one step closer to achieving a successful subwoofer connection without a dedicated subwoofer output on your receiver.
Step 3: Locating Speaker Wire Outputs
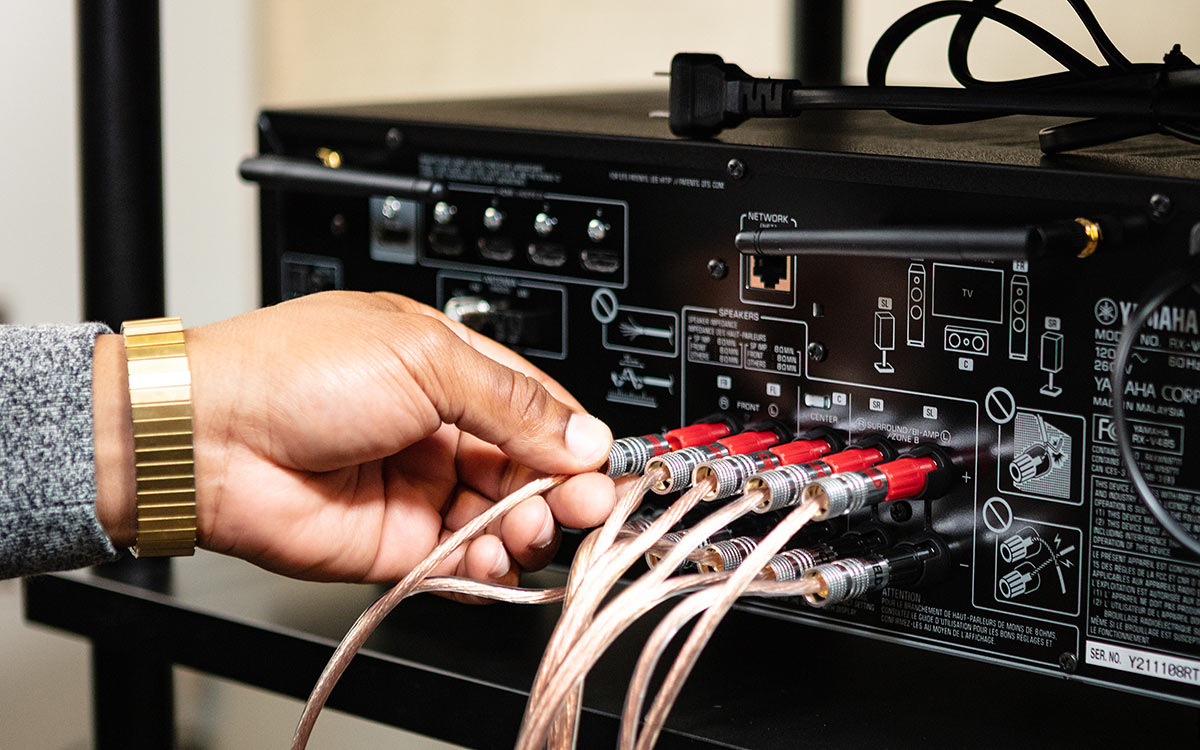
If your receiver does not have a dedicated subwoofer output or pre-out/line-out connections, the next step is to locate the speaker wire outputs on the back panel. These outputs are commonly used to connect regular speakers but can also be utilized to connect a subwoofer.
The speaker wire outputs are typically labeled as “Front,” “Rear,” or “Center.” They are color-coded to indicate the positive (+) and negative (-) terminals for each channel. The positive terminal is usually red or marked with a “+” symbol, while the negative terminal is black or marked with a “-” symbol.
Take a moment to identify the speaker wire outputs on your receiver’s back panel. Make sure to note the location and labeling for each channel.
Keep in mind that connecting a subwoofer through the speaker wire outputs requires some additional considerations. Since subwoofers require a dedicated low-frequency signal, we need to make sure to adjust the settings on both the receiver and the subwoofer to optimize the bass output.
With the speaker wire outputs identified, let’s move on to the next step where we will explore how to connect the subwoofer using speaker wire.
Note: If your receiver has both pre-out or line-out connections and speaker wire outputs, you can choose which method to use based on your preference. The speaker wire method is often preferred for those who want to maintain a seamless integration with their existing speaker setup, while pre-out or line-out connections may offer more precise control over the subwoofer’s bass levels.
Step 4: Connecting the Subwoofer Using Speaker Wire
Now that you have located the speaker wire outputs on your receiver’s back panel, it’s time to connect the subwoofer using speaker wire.
Start by determining the type of speaker wire connectors your subwoofer has. Common types include binding posts, spring clips, or banana plugs. If your subwoofer has binding posts, unscrew the caps or lift the tabs to expose the terminal holes. For spring clips, press down on the lever to open the clip. If you have banana plugs, insert them into the appropriate receptacles.
Next, strip the insulation from the end of the speaker wire, exposing about half an inch of bare wire. Twist the exposed wire strands to prevent fraying. If your subwoofer has binding posts, insert the bare wire into the appropriate terminal holes and secure them by either tightening the caps or closing the tabs. For spring clips, insert the wire into the opening and release the lever to secure it. If you have banana plugs, insert the stripped end into the plug and ensure a snug fit.
Now, locate the corresponding speaker wire outputs for the front or center channel on your receiver. Match the positive (+) and negative (-) terminals on the receiver’s speaker wire outputs with the corresponding terminals on the subwoofer. Connect the positive terminal on the receiver to the positive terminal on the subwoofer, and do the same for the negative terminals.
Repeat this process if you have multiple speaker wire outputs for other channels. However, connecting the subwoofer to the front channels is generally recommended for the best performance and bass response.
Once all the connections are made, ensure that the wires are securely fastened. Loose connections can result in poor audio quality or even damage to your equipment.
With the subwoofer now connected using speaker wire, move on to the next step to adjust the subwoofer settings on your receiver.
Step 5: Adjusting Subwoofer Settings on the Receiver
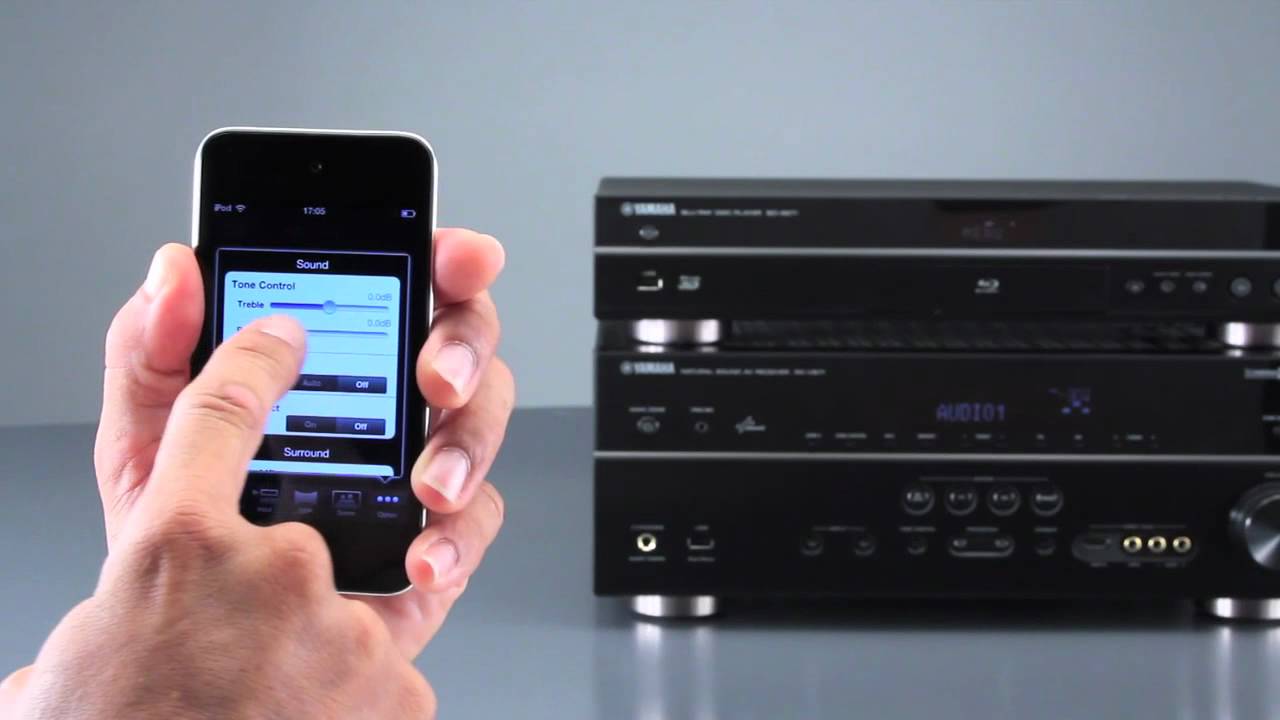
Now that the subwoofer is connected to your receiver, it’s time to adjust the subwoofer settings to ensure optimal performance and integration with your audio system.
On your receiver, navigate to the audio or speaker settings menu. Look for options related to subwoofer settings, such as “Subwoofer Level,” “Crossover Frequency,” or “Bass Management.”
First, set the subwoofer level or volume. This adjustment determines the amount of bass output from the subwoofer. Start with a moderate level and make further adjustments based on your personal preference.
Next, adjust the crossover frequency. This setting specifies the point at which the receiver redirects low-frequency sounds from the main speakers to the subwoofer. The ideal crossover frequency depends on the capabilities of your main speakers and the specifications of your subwoofer. A common starting point is around 80Hz, but you may need to experiment to find the best balance for your setup.
Additionally, some receivers offer advanced settings like phase adjustment and equalization. Phase adjustment ensures that the subwoofer’s sound waves align properly with the rest of the speakers in your system. Equalization settings enable fine-tuning of the subwoofer’s frequency response to match the acoustic characteristics of your room.
Take the time to explore these settings and make adjustments as necessary. Remember, every audio system is unique, so finding the right balance for your particular setup is crucial for achieving optimal sound quality.
Once you have adjusted the subwoofer settings, save the changes and exit the audio or speaker settings menu on your receiver.
With the subwoofer properly connected and adjusted, you’re ready to test the connection and enjoy an enhanced audio experience with deep, booming bass. Let’s proceed to the next step to ensure everything is working as expected.
Step 6: Testing the Connection
After connecting and adjusting the subwoofer on your receiver, it’s time to test the connection to ensure everything is working as expected.
Start by playing audio content that includes deep bass, such as a movie with explosive action scenes or a track with prominent low-frequency elements. As the audio plays, pay attention to the performance of the subwoofer. You should feel the impact and depth of the bass frequencies, enhancing the overall audio experience.
If you notice that the subwoofer is not producing sound, first check the physical connections to make sure everything is securely plugged in. Ensure that the receiver’s settings are correctly adjusted, including the subwoofer level and crossover frequency. Make any necessary adjustments and test again.
Additionally, consider checking the subwoofer’s power source to ensure it is receiving proper electricity. Make sure the subwoofer is powered on and any power indicators on the front or back panel are lit or flashing, depending on the model.
If you continue to experience issues, consult the user manual for your specific receiver and subwoofer to troubleshoot further. You can also reach out to the manufacturer’s customer support for assistance.
Keep in mind that room acoustics and placement can also affect the performance of your subwoofer. Experiment with different placement options to find the position that maximizes bass response and minimizes any unwanted resonances or reflections.
By testing the connection and ensuring proper functionality, you can enjoy the full benefits of your subwoofer and immerse yourself in a rich and dynamic audio experience.
Congratulations! You have successfully connected and tested your subwoofer to a receiver without a sub-outlet. Sit back, relax, and enjoy the deep, rumbling bass that takes your audio system to the next level!
Troubleshooting and Tips
While connecting a subwoofer to a receiver without a sub-outlet can be a straightforward process, you may encounter some challenges along the way. Here are a few troubleshooting tips to help you overcome common issues and optimize your subwoofer setup:
- No sound from the subwoofer: Double-check all connections and ensure the subwoofer is powered on. Verify that the receiver’s settings are properly adjusted, including the subwoofer level and crossover frequency.
- Weak or distorted bass: Adjust the subwoofer level and crossover frequency settings to find the right balance. Experiment with different placement options for the subwoofer to minimize room resonances and enhance bass response.
- Subwoofer overpowering the main speakers: If the bass is too heavy and overpowering, try lowering the subwoofer level and adjusting the crossover frequency settings. This will redistribute the bass response between the subwoofer and the main speakers.
- Consider adding a subwoofer isolation pad: These pads can help reduce vibrations and enhance the overall performance of your subwoofer. They are particularly useful if your subwoofer is placed on a hard surface.
- Upgrade your subwoofer cable: Using a high-quality subwoofer cable can minimize signal loss and interference, resulting in improved sound quality. Look for cables with proper shielding and connectors that provide a secure and reliable connection.
- Read the user manuals: If you’re facing specific issues with your receiver or subwoofer, refer to their respective user manuals for detailed troubleshooting steps and recommendations specific to your model.
Remember that every audio system is unique, and what works for one may not work exactly the same for another. Don’t hesitate to experiment with different settings, placements, and configurations to fine-tune your subwoofer setup and achieve the desired audio experience.
Lastly, enjoy the benefits of your newly connected subwoofer. Immerse yourself in the deep, thumping bass and elevate your audio experience to new heights!
Conclusion
Congratulations! You have successfully learned how to connect a subwoofer to a receiver without a dedicated sub-outlet. By utilizing alternative connections such as pre-out or line-out and speaker wire outputs, you can still enjoy the immersive and powerful bass that subwoofers provide.
Throughout this guide, we walked through the step-by-step process of connecting your subwoofer, identifying the appropriate connections on the back panel of your receiver, and adjusting the necessary settings for optimal performance. We also provided troubleshooting tips to help you overcome common issues and enhance your subwoofer setup.
Remember, the key is to ensure secure connections, properly adjust settings, and test the system to fine-tune the audio experience. Each audio system is unique, so don’t be afraid to experiment with different setups, placements, and configurations to find the combination that works best for you.
Now, sit back, relax, and indulge in the deep, rumbling bass that your subwoofer brings to movies, music, and games. Immerse yourself in a world of rich, balanced audio, and enjoy every sound with enhanced depth and impact.
Thank you for following this guide, and we hope it has helped you enhance your audio system with a connected subwoofer. Happy listening!