Home>Devices & Equipment>Turntable>How To Get Better Sound From Turntable
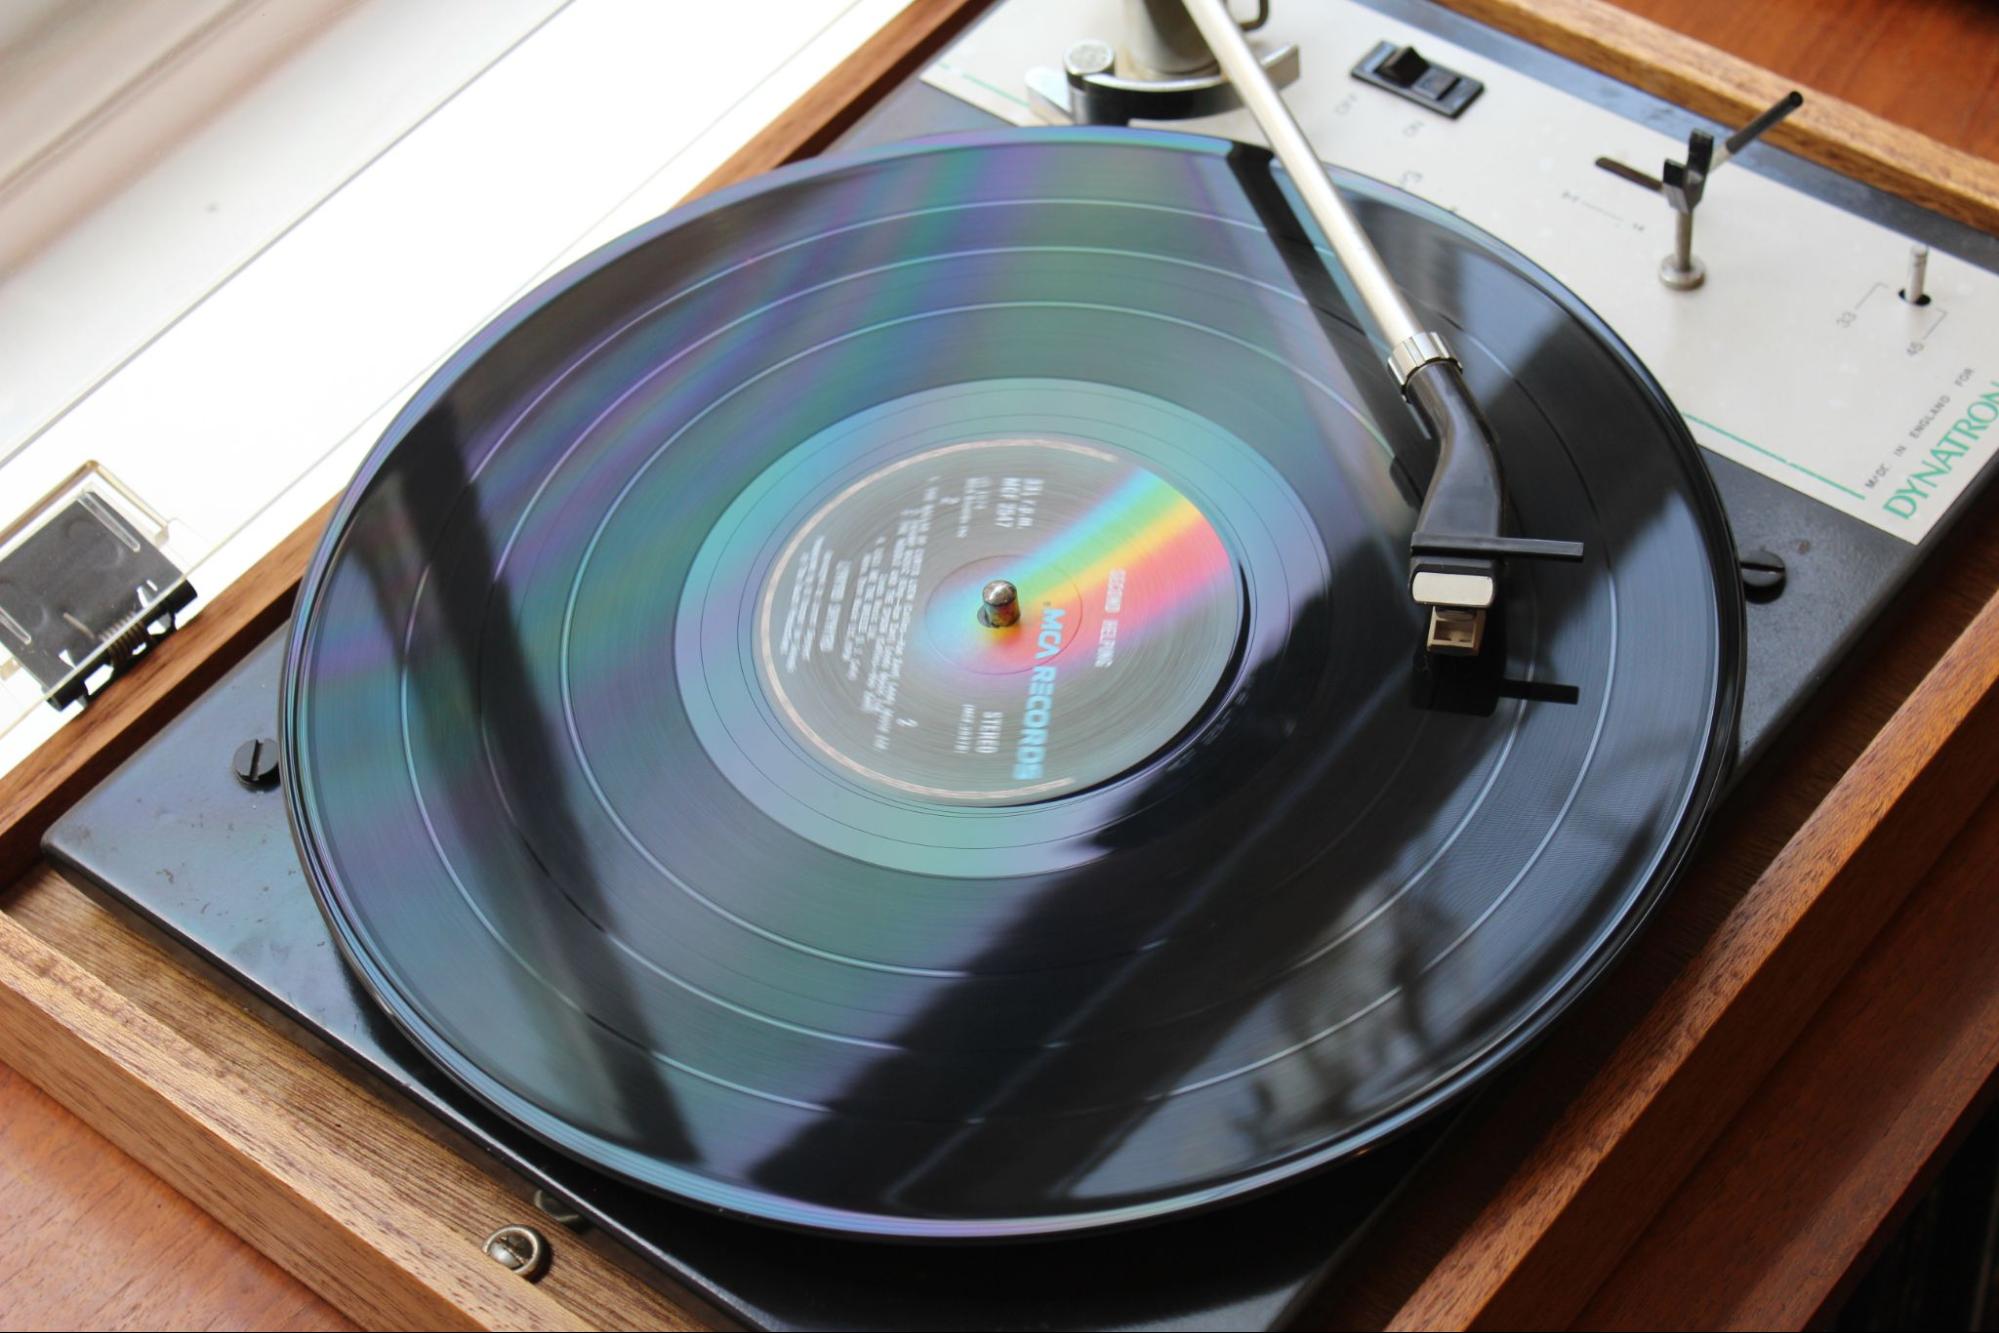

Turntable
How To Get Better Sound From Turntable
Modified: January 22, 2024
Improve the sound quality of your turntable with these expert tips and techniques. Enhance your listening experience and get the most out of your vinyl collection.
(Many of the links in this article redirect to a specific reviewed product. Your purchase of these products through affiliate links helps to generate commission for AudioLover.com, at no extra cost. Learn more)
Table of Contents
- Introduction
- Understanding the Basics of Turntables
- Setting up Your Turntable
- Choosing the Right Cartridge and Stylus
- Adjusting the Tracking Force and Anti-Skate
- Balancing the Tonearm
- Placing the Turntable in the Right Spot
- Reducing Vibrations and External Noise
- Cleaning and Maintaining Your Turntable
- Upgrading Your Turntable Setup
- Conclusion
Introduction
Welcome to the world of turntables! If you’re a music lover or an audio enthusiast, there’s nothing quite like the warm, rich sound of vinyl records playing on a quality turntable. While digital music has become the norm in recent years, the popularity of vinyl records has experienced a resurgence, driven by the desire for a more immersive and authentic music listening experience.
Whether you’re a seasoned vinyl collector or just starting your journey into the world of turntables, understanding how to optimize your setup can make a significant difference in the sound quality you achieve. In this article, we’ll explore various techniques and tips to help you get the best sound from your turntable.
From selecting the right cartridge and stylus to properly balancing the tonearm, we’ll cover all essential aspects of turntable setup and maintenance. We’ll also discuss how to minimize external noise and vibrations that can affect sound quality. Additionally, we’ll touch on some upgrade options to take your turntable setup to the next level.
So, whether you’re looking to enhance your existing setup or starting from scratch, let’s dive in and learn how to get the most out of your turntable. Get ready to experience the pure delight of vinyl records like never before!
Understanding the Basics of Turntables
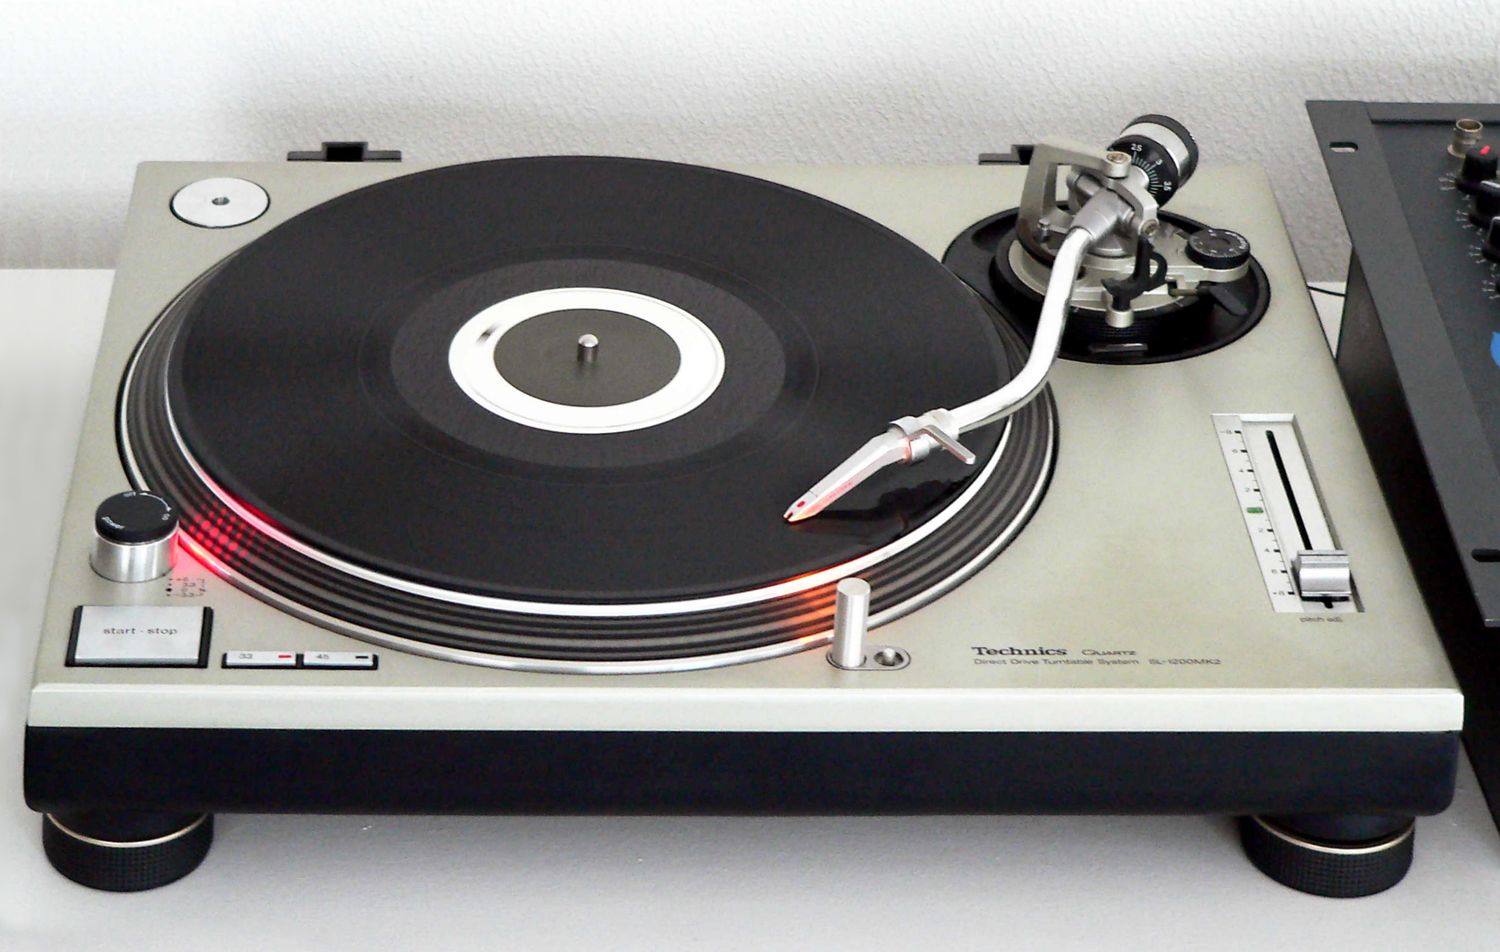
Before delving into the finer details of optimizing your turntable setup, it’s crucial to have a good understanding of how turntables work. At its core, a turntable is a device that plays vinyl records by rotating them at a precise speed while a stylus reads the grooves of the record.
One of the key components of a turntable is the cartridge, which houses the stylus. The stylus, also known as the needle, is responsible for tracking the record’s grooves and converting the vibrations into electrical signals that are then amplified and converted into sound.
Another critical component is the tonearm, which houses the cartridge and allows it to glide across the record’s surface. The tonearm needs to be properly balanced and adjusted to ensure accurate tracking, minimizing distortions and excessive wear on the record and stylus.
The turntable platter is where the vinyl record sits and rotates. It’s essential to keep the platter clean and free from dust or debris, as any imperfection can affect the sound quality and potentially damage the record.
The motor is the driving force behind the turntable, responsible for maintaining a consistent rotational speed. There are two main types of motors found in turntables: belt-driven and direct-drive. Belt-driven turntables are generally preferred for their lower noise levels, while direct-drive turntables offer more precise speed control.
Understanding these basic components and how they interact with each other is crucial for optimizing your turntable setup. From the cartridge and stylus to the tonearm and platter, every element plays a role in delivering the best sound quality from your vinyl records.
Setting up Your Turntable
Properly setting up your turntable is essential for achieving optimal sound quality. Here are some steps to follow when setting up your turntable:
- Placement: Find a sturdy and level surface for your turntable. Avoid placing it too close to speakers or other sources of vibrations, as this can impact playback quality.
- Leveling: Use a spirit level to ensure that your turntable is perfectly level. Uneven positioning can cause tracking issues and affect sound reproduction.
- Connectivity: Connect your turntable to a phono preamp or a receiver with a phono input. If your turntable has a built-in preamp, you can connect it directly to a line-level input.
- Grounding: If your turntable has a grounding wire, connect it to a grounding post on your amplifier or receiver. This helps eliminate unwanted hum and electrical noise.
- Belt and Platter: If you have a belt-driven turntable, ensure that the belt is properly attached to the motor pulley and the platter. Make any necessary adjustments to ensure proper tension.
- Tracking Force and Anti-Skate: Set the tracking force and anti-skate mechanisms according to the specifications provided by your cartridge manufacturer. This ensures that the stylus tracks the record accurately and minimizes wear and distortion.
- Tonearm Balance: Use the tonearm balance mechanism to achieve proper balance. The tonearm should be parallel to the platter when floating. Adjust the counterweight as necessary to achieve balance.
- Platter Mat: Consider using a quality platter mat to dampen resonances and improve sound quality. Replace any worn or damaged mats.
- Cartridge Alignment: Align your cartridge using a protractor tool to ensure proper stylus alignment with the grooves of the record. This helps optimize sound quality and reduces wear on the stylus and record.
Following these steps will help ensure that your turntable is properly set up for optimal performance. Taking the time to carefully adjust and align each component will result in improved sound quality and a more enjoyable vinyl listening experience.
Choosing the Right Cartridge and Stylus
The cartridge and stylus are key elements in your turntable setup that directly affect the sound quality and overall performance. Here are some factors to consider when choosing the right cartridge and stylus:
- Type of Cartridge: There are two main types of cartridges: moving magnet (MM) and moving coil (MC). MM cartridges are more common and typically less expensive, while MC cartridges offer higher fidelity but tend to be pricier.
- Sound Signature: Cartridges have different sound characteristics. Some may emphasize warmth and smoothness, while others prioritize detail and accuracy. Consider your personal preferences and the type of music you listen to when selecting a cartridge.
- Tracking Ability: Look for a cartridge with good tracking ability, meaning it can accurately navigate the record’s grooves without skipping or causing excessive wear on the stylus and record.
- Stylus Shape: Stylus shapes include elliptical, conical, and microline. Each shape affects the way the stylus tracks the record and how it interacts with the grooves. Elliptical and microline shapes generally offer better tracking and fidelity compared to conical.
- Replacement Options: Consider the availability and cost of stylus replacements for the cartridge you choose. Styluses eventually wear out and will need to be replaced to maintain optimal sound quality.
- Budget: Set a budget for your cartridge and stylus, taking into account the level of sound quality you desire. While it’s tempting to splurge on high-end cartridges, there are excellent options available at various price points.
It’s important to do research, read reviews, and even listen to cartridge and stylus combinations whenever possible. Consulting with audio experts or seeking advice from experienced vinyl enthusiasts can also be helpful in making an informed decision.
Ultimately, choosing the right cartridge and stylus for your turntable setup will greatly impact the overall sound quality and your listening enjoyment. Take your time, consider your preferences and budget, and select a combination that best matches your desired audio experience.
Adjusting the Tracking Force and Anti-Skate
The tracking force and anti-skate settings on your turntable are crucial for achieving optimal sound quality and preserving the longevity of your stylus and records. Here’s a step-by-step guide on how to adjust these settings:
- Refer to the manufacturer’s recommendations: Consult the user manual or the manufacturer’s website for the recommended tracking force range for your specific cartridge.
- Set the counterweight: Start by setting the counterweight at the zero or neutral position. Then, turn the counterweight to the recommended tracking force mark. The tracking force is typically measured in grams.
- Calibrate the tonearm: Make sure the tonearm is fully balanced and floating before proceeding. This is achieved by adjusting the counterweight and dialing in the correct tracking force.
- Engage the anti-skate mechanism: The anti-skate mechanism balances the tracking force and prevents the tonearm from dragging too heavily on one side. Set the anti-skate level to match the tracking force.
- Fine-tune the settings: Play a test record and listen for any distortion, skating, or imbalances in the sound. Make small adjustments to the tracking force and anti-skate until you achieve optimal playback quality.
- Repeat the process: It’s important to periodically check and readjust the tracking force and anti-skate settings. Over time, the stylus can wear down or the settings may shift, affecting the performance of your turntable.
Properly adjusting the tracking force and anti-skate ensures that the stylus accurately reads the record’s grooves, minimizing distortion and excessive wear. It also helps maintain proper channel balance and reduces the likelihood of the stylus skipping or causing damage to the record surface.
Remember to handle the tonearm and stylus with care when making these adjustments. Any abrupt movements or mishandling can lead to irreparable damage to your equipment. If you’re unsure about adjusting these settings, seek assistance from an experienced technician or turntable specialist.
By taking the time to calibrate the tracking force and anti-skate, you’ll reap the rewards of improved sound quality, extended stylus and record life, and a more enjoyable listening experience overall.
Balancing the Tonearm
Properly balancing the tonearm of your turntable is crucial for accurate tracking and preventing unnecessary wear on your stylus and records. Balancing the tonearm ensures that it hovers parallel to the record surface and applies the correct amount of pressure to the stylus. Here’s a step-by-step guide on how to balance the tonearm:
- Reset the counterweight: Start by resetting the counterweight to the zero or neutral position. This allows you to begin the balancing process from a neutral starting point.
- Float the tonearm: Lift the tonearm and position it so that it hovers parallel to the record surface. The tonearm should neither be angled up nor pointing downwards.
- Adjust the counterweight: Slowly rotate the counterweight until the tonearm hovers parallel to the record surface. The goal is to achieve perfect balance, where the tonearm stays in place when released.
- Set the tracking force: Refer to the manufacturer’s recommendations for the optimal tracking force for your cartridge. Once the tonearm is balanced, adjust the counterweight until it aligns with the recommended tracking force on the tonearm scale.
- Lock the counterweight: Once you’ve set the correct tracking force, lock the counterweight in place to prevent it from shifting during playback.
Remember to handle the tonearm with care and make gentle adjustments when balancing. Avoid any sudden movements that could potentially damage the stylus or the tonearm mechanism.
It’s important to note that proper tonearm balance may require periodic adjustments, especially if you change cartridges or stylus types. Changes in weight or alignment can affect the balance, so it’s essential to recalibrate whenever necessary to maintain optimal performance.
Balancing the tonearm ensures that your stylus tracks accurately and applies the appropriate pressure to the record grooves. This not only improves sound quality by reducing distortion but also helps extend the life of your stylus and records.
If you’re uncertain about balancing the tonearm, don’t hesitate to seek assistance from an experienced technician or turntable specialist. They can provide guidance and ensure that your tonearm is properly balanced for the best possible performance.
Placing the Turntable in the Right Spot
The placement of your turntable can significantly impact its performance and the quality of the sound reproduction. Here are some considerations for placing your turntable in the right spot:
- Stability: Ensure that the surface on which your turntable sits is stable and level. A sturdy platform helps minimize vibrations that can negatively affect sound quality.
- Vibration control: Avoid placing your turntable near speakers or other sources of vibrations, such as subwoofers or HVAC units. Vibrations can interfere with the delicate tracking of the stylus on the record and result in distorted sound.
- Isolation: Use isolation components like turntable mats, isolation platforms, or vibration-absorbing feet to reduce the transfer of vibrations from the surrounding environment to the turntable.
- Avoid direct sunlight: Keep your turntable away from direct sunlight to prevent warping or damage to the records. Excessive heat can also impact the performance of the turntable motor and other components.
- Temperature and humidity: Maintain a stable temperature and humidity level in the room where your turntable is placed. Extreme temperature fluctuations and high humidity can negatively affect the performance and longevity of your turntable.
- Electromagnetic interference: Keep your turntable away from sources of electromagnetic interference, such as computer monitors, Wi-Fi routers, or other electronic devices. These can introduce noise and distortion into the audio signal.
- Distance from speakers: Position your turntable a reasonable distance away from speakers to minimize the potential for acoustic feedback. The vibrations from the speakers can cause the stylus to skip or create unwanted resonance in the sound.
- Dust and dirt: Keep your turntable in a clean environment, away from dusty areas. Regularly dust the surface of the turntable and use a dust cover when not in use to protect it from debris that can affect playback quality.
By following these guidelines, you can create an optimal listening environment for your turntable. Taking the time to find the right spot and minimize potential disturbances will help maximize the performance and enjoyment of your vinyl records.
Experiment with different placement options and listen for any improvements or changes in sound quality. Remember, small adjustments in turntable placement can make a big difference in the overall listening experience.
Reducing Vibrations and External Noise
Vibrations and external noise can have a significant impact on the sound quality of your turntable. To optimize your listening experience, it’s important to minimize these disturbances. Here are some tips for reducing vibrations and external noise:
- Isolation: Use isolation components, such as isolation platforms or vibration-absorbing feet, to decouple your turntable from its surroundings. These help minimize vibrations from reaching the turntable and affecting playback quality.
- Placement: Place your turntable on a stable surface, away from sources of potential vibrations. Avoid placing it directly on top of speakers or near other electronic devices that generate vibrations.
- Turntable mat: Use a high-quality turntable mat that helps dampen vibrations and resonance. A thick mat made of materials like rubber or cork can assist in reducing external noise interference.
- Turntable feet: Consider upgrading the stock feet of your turntable to vibration-dampening feet. These specialized feet can help absorb vibrations and provide better stability.
- Record cleaning: Clean your records regularly to minimize surface noise caused by dust and debris. A clean record allows for better stylus tracking and reduces unwanted noise during playback.
- Use a record weight: A record weight placed on top of the record can help improve tracking and reduce resonance. It adds extra stability to the record and can enhance the overall sound quality.
- Insulate against external noise: Consider placing your turntable in a cabinet or utilizing acoustic panels to help isolate it from external noise sources, such as traffic or loud household appliances.
- Avoid static electricity: Static electricity can attract dust particles and affect the performance of your turntable. Use an anti-static brush or a record cleaning machine to remove static buildup on both the record and stylus.
- Grounding: Ensure that your turntable is properly grounded to minimize electrical hum and interference. Consult your turntable’s manual for proper grounding instructions.
By implementing these measures, you can significantly reduce vibrations and external noise, resulting in improved sound clarity and a more immersive listening experience. Experiment with different techniques and find the combination that works best for your specific setup.
Remember to always handle your turntable and records with care to avoid unnecessary vibrations and damage. Regular maintenance, cleaning, and careful handling will further enhance the performance of your turntable and contribute to a more enjoyable vinyl listening experience.
Cleaning and Maintaining Your Turntable
Maintaining a clean and well-maintained turntable is essential for optimal performance and longevity. Regular cleaning and maintenance not only improve the sound quality but also prevent damage to your records and components. Here are some tips on how to clean and maintain your turntable:
- Dust regularly: Use a soft, lint-free cloth to gently dust the surface of your turntable, including the plinth, platter, tonearm, and dust cover. Regular dusting helps prevent debris buildup that can affect sound quality.
- Clean the stylus: The stylus should be cleaned regularly to remove accumulated dust and debris. Use a stylus brush or a specially designed stylus cleaning brush to gently brush the stylus from back to front.
- Keep the record mat clean: Clean the record mat periodically to remove dust and residue. Use a soft brush or a mild cleaning solution designed for turntable mats, following the manufacturer’s instructions.
- Clean the record: Prior to playing a record, give it a thorough cleaning using a record cleaning brush or a record cleaning machine. Use a cleaning solution recommended for vinyl records to remove dust and particles that can cause unwanted noise and damage the stylus.
- Replace worn or damaged parts: Regularly inspect your turntable for any signs of wear or damage. Check the condition of the stylus, cartridge, drive belt (if applicable), and other components. Replace any parts that are worn out or damaged to maintain optimal performance.
- Store records properly: Store your records in a clean and dry environment. Use anti-static record sleeves to prevent static buildup and potential damage to the vinyl surface.
- Check and adjust cartridge alignment: Over time, cartridge alignment can shift, affecting sound quality. Use a cartridge alignment tool to check and readjust if necessary. Proper alignment ensures optimal tracking and reduces wear on the stylus and records.
- Protect the turntable: When not in use, keep your turntable covered with a dust cover to prevent dust and debris from settling on the components. If your turntable didn’t come with a dust cover, consider investing in one or use a cloth cover to keep it protected.
By incorporating these cleaning and maintenance practices into your routine, you can prolong the life of your turntable, preserve your records, and ensure consistent sound quality. Regular maintenance not only enhances the performance of your turntable but also contributes to a more enjoyable and rewarding vinyl listening experience.
Remember to always handle your turntable and records with care. Gentle cleaning and regular maintenance will go a long way in preserving the integrity of your setup and maximizing your enjoyment of vinyl records.
Upgrading Your Turntable Setup
If you’re looking to take your turntable setup to the next level, there are several upgrade options to consider. Upgrading certain components can significantly improve sound quality and enhance your overall listening experience. Here are some areas to focus on when upgrading your turntable setup:
- Cartridge and Stylus: Consider upgrading to a higher-quality cartridge and stylus. A better cartridge can provide improved tracking, greater detail, and enhanced dynamics, resulting in a more engaging sound reproduction.
- Tonearm: Upgrading to a higher-quality tonearm can offer better tracking precision and reduce resonance. Look for tonearms made from materials like carbon fiber or aluminum, which provide improved rigidity and minimize vibrations.
- Phono Preamp: If your turntable has a built-in phono preamp, consider upgrading to an external phono preamp. This can provide better amplification and more advanced equalization options, resulting in enhanced sound quality.
- Platter: Upgrading to a heavier or more inert platter can reduce vibrations and resonance. Look for platters made from materials like acrylic or aluminum, which offer better stability and improved rotational consistency.
- Isolation: Invest in high-quality isolation components, such as isolation platforms or vibration-dampening feet, to further minimize vibrations and external noise interference.
- Upgrade your cables: Consider upgrading your interconnect cables and phono cables to higher-quality options. Cables made with superior materials and construction can minimize signal loss and improve overall fidelity.
- Power supply: Upgrade to a high-quality power supply for your turntable. A stable and clean power source can improve motor performance and reduce potential electrical noise interference.
- External Speed Control: Some turntables offer external speed control options that provide greater precision and stability. Upgrading to an external speed controller can result in more accurate playback and consistent speed.
- Record cleaning machine: Consider investing in a record cleaning machine, which offers a more thorough and efficient cleaning process. This can help remove deep-seated dirt and grime from your records, improving sound quality and preserving their condition.
When upgrading your turntable setup, it’s essential to consider the compatibility of the components and their synergistic effect on the overall system. Research, read reviews, and consider seeking advice from experienced audio professionals to ensure that you make informed upgrade choices.
Remember that upgrading your turntable setup can be a gradual process, and you can start with one component at a time. Each upgrade can bring noticeable improvements to your listening experience, allowing you to fully immerse yourself in the world of vinyl records.
Conclusion
Congratulations! You’ve now learned valuable insights on how to get better sound from your turntable. By understanding the basics of turntables, setting up your turntable correctly, choosing the right cartridge and stylus, adjusting the tracking force and anti-skate, balancing the tonearm, placing the turntable in the right spot, reducing vibrations and external noise, cleaning and maintaining your turntable, and even upgrading your setup, you can unlock the full potential of your vinyl listening experience.
Remember, taking the time to properly set up and maintain your turntable will greatly enhance the sound quality of your records. Each adjustment and upgrade can make a noticeable difference in the overall performance, accuracy, and enjoyment of your vinyl collection.
So, whether you’re a seasoned vinyl enthusiast or just beginning your journey into the world of turntables, embrace the process and continue to explore and refine your setup. Engage in continuous learning, experiment with different techniques, and trust your ears to guide you towards the best possible sound.
Let the warm tones, rich dynamics, and immersive experience of vinyl records transport you to a world of musical bliss. Sit back, relax, and enjoy the pure pleasure of a well-optimized turntable setup, as you discover the magic that makes vinyl records timeless.

