Home>Production & Technology>Surround Sound>How To Get Surround Sound From Cinemablaster Studio
Surround Sound
How To Get Surround Sound From Cinemablaster Studio
Modified: January 22, 2024
Learn how to achieve surround sound experience at home with Cinemablaster Studio. Discover tips, tricks, and techniques to enhance your audio for an immersive entertainment system.
(Many of the links in this article redirect to a specific reviewed product. Your purchase of these products through affiliate links helps to generate commission for AudioLover.com, at no extra cost. Learn more)
Table of Contents
Introduction
Welcome to the fascinating world of surround sound! Whether you’re a movie enthusiast, a music lover, or a gaming aficionado, a surround sound system can greatly enhance your audio experience. With the right equipment and setup, you can immerse yourself in a three-dimensional soundscape that brings your entertainment to life.
In this article, we will dive into the Cinemablaster Studio, a popular surround sound system that delivers exceptional audio quality and an immersive listening experience. We’ll discuss the requirements for setting up surround sound, the steps to set up the Cinemablaster Studio, and how to optimize the audio settings to achieve the best possible sound output. Whether you’re a beginner or have some experience with audio systems, this article will serve as a comprehensive guide to help you get the most out of your Cinemablaster Studio.
But before we jump into the setup process, let’s briefly understand what surround sound is and why it’s worth investing in.
Surround sound refers to a audio reproduction technique that creates the illusion of sound coming from different directions. Unlike traditional stereo sound, which is limited to two channels (left and right), surround sound system utilizes multiple speakers strategically placed around the room to create a more immersive and realistic audio experience. By delivering sound from all directions – front, back, sides – surround sound provides a sense of depth and spatiality that enhances the overall listening experience.
Now, you might be wondering why surround sound is worth the investment. Well, the answer lies in the fact that the audio is an integral part of our entertainment experience. Whether we’re watching a movie or playing a video game, the audio plays a crucial role in creating a sense of realism and immersing us in the world of the content we’re consuming. With surround sound, you can hear the footsteps approaching from behind in a horror movie, feel the thrill of a car chase as it pans from left to right, or be transported to the concert hall with the rich and enveloping sound of a symphony orchestra.
So, if you’re ready to take your audio experience to the next level, let’s dive in and explore how to set up your Cinemablaster Studio for an exceptional surround sound experience.
Requirements for Surround Sound Setup
Before diving into the setup process, it’s important to ensure you have the necessary requirements for a successful surround sound setup. Here are the key components you’ll need:
- Surround Sound Receiver: This is the central hub of your surround sound system. It receives audio signals from your sources (such as a Blu-ray player or gaming console) and distributes them to the appropriate speakers. Look for a receiver that supports the desired audio formats, such as Dolby Digital or DTS.
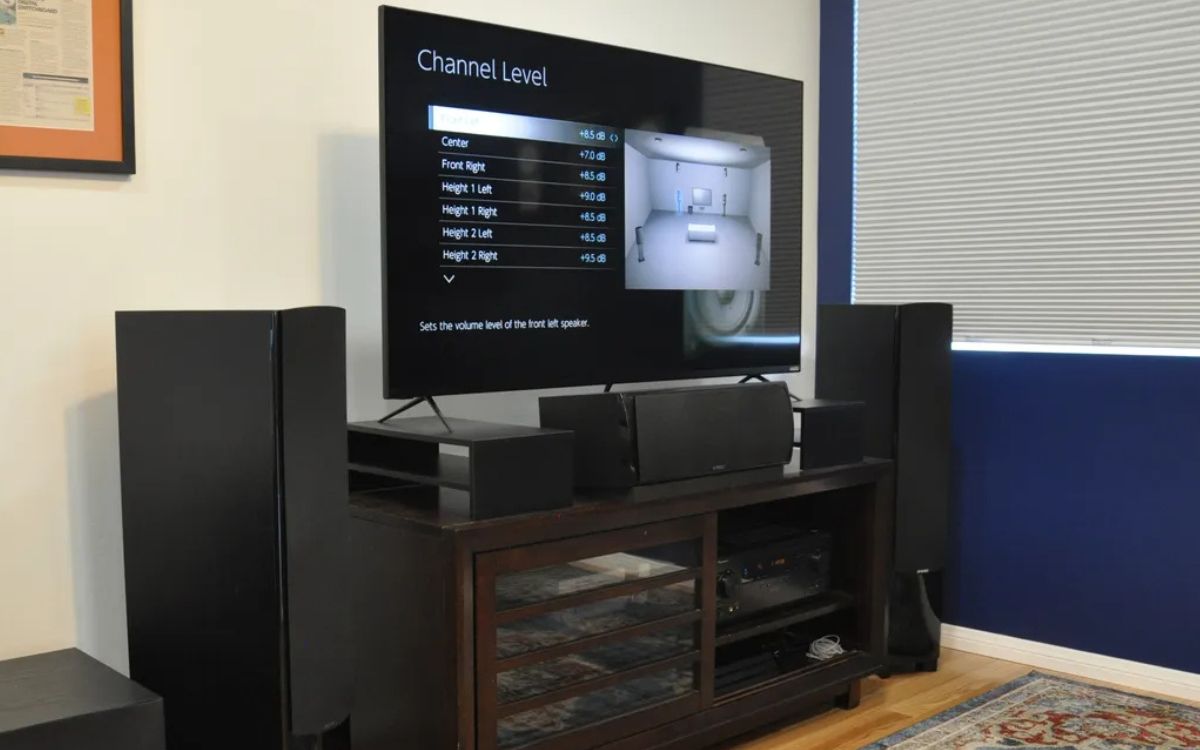
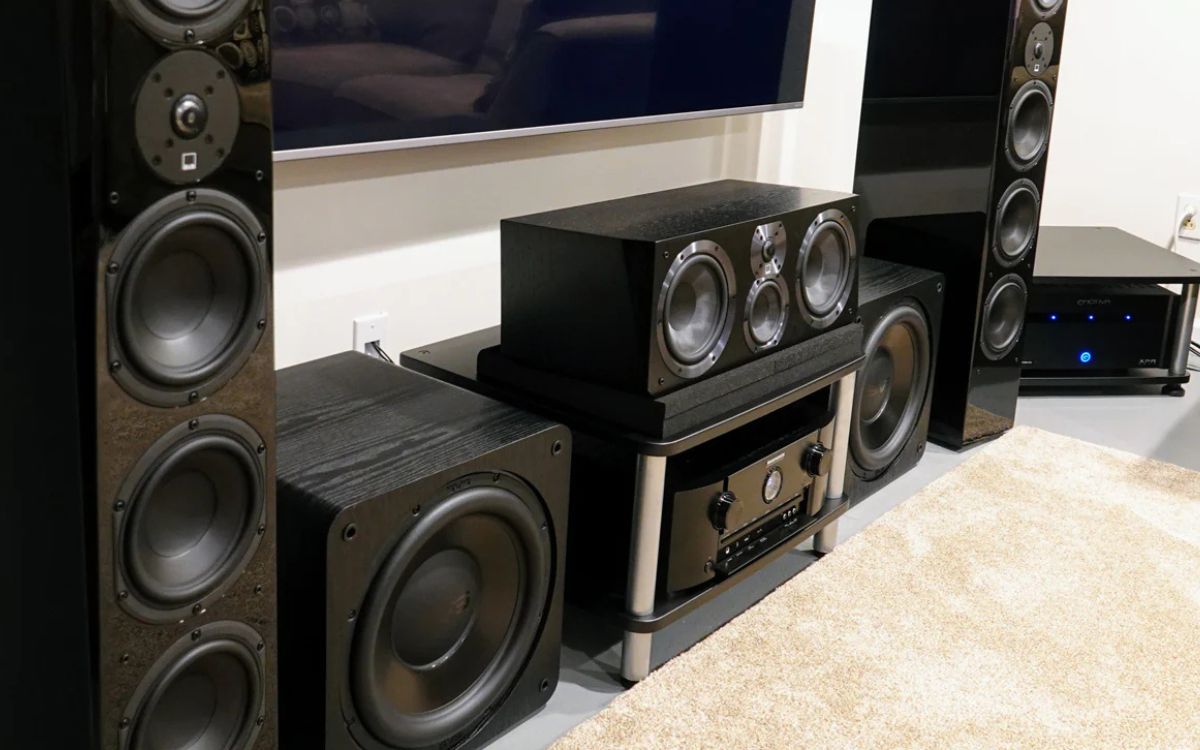
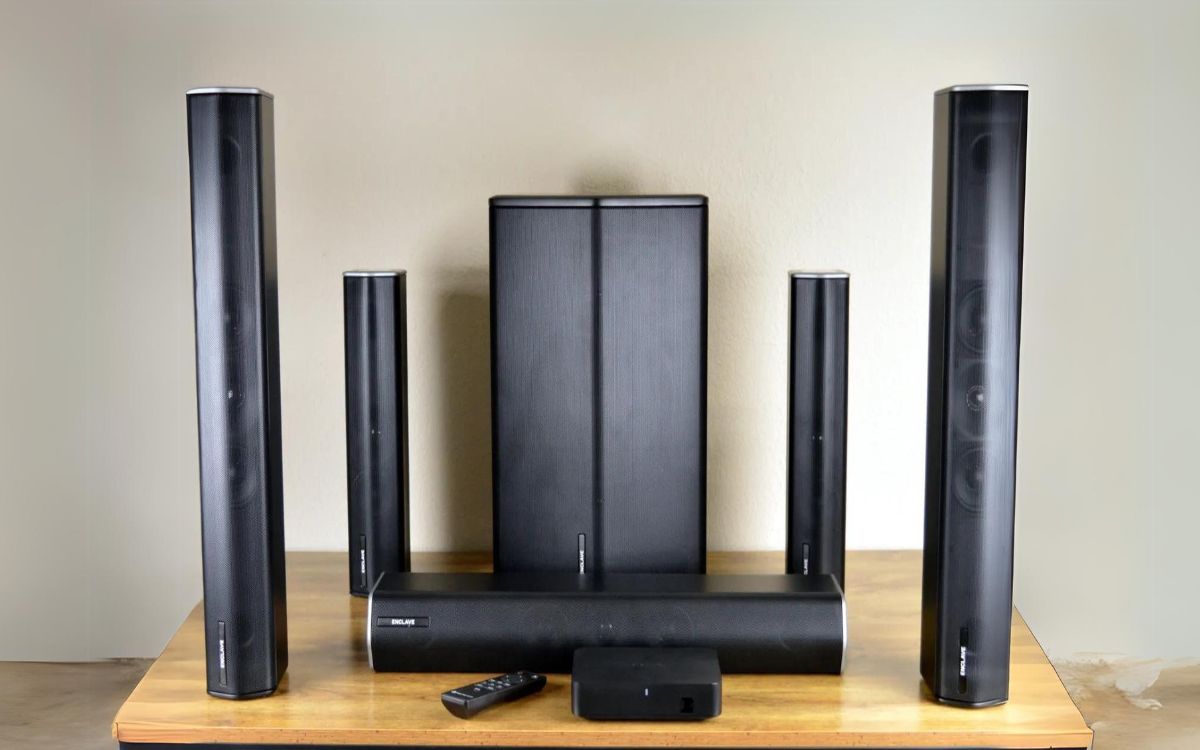
- Speakers: To achieve true surround sound, you’ll need a minimum of five speakers: front left, front center, front right, rear left, and rear right. These speakers help create the spatial audio experience. Additionally, you may want to consider a subwoofer for deep bass reproduction, known as a 5.1 setup. If you have space and budget, you can opt for a 7.1 or higher setup for even more immersive sound.
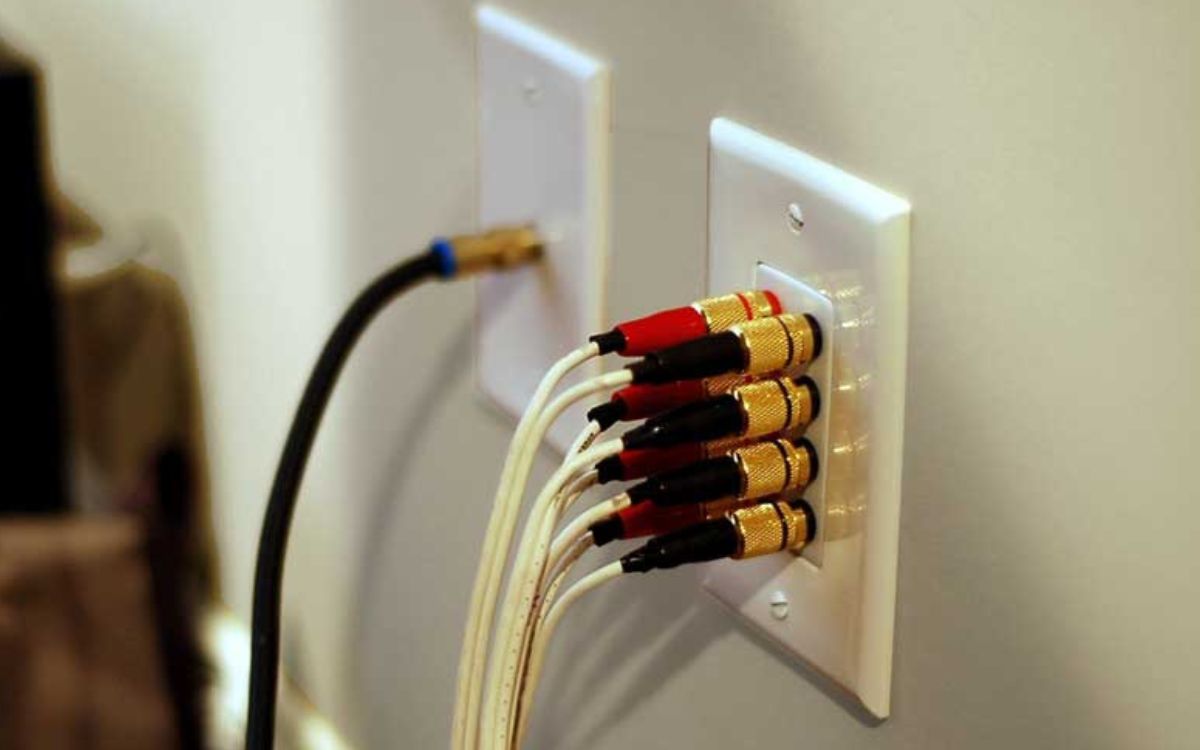
- Speaker Cables: High-quality speaker cables are essential for connecting your speakers to the surround sound receiver. Make sure to use cables of appropriate lengths and thickness to avoid signal loss or degradation.
- Audio Source(s): You’ll need audio sources, such as a Blu-ray player, gaming console, or media streaming device, to play movies, games, or music with surround sound. Ensure they are compatible with the surround sound formats supported by your receiver.
- HDMI (or Optical) Cables: These cables transmit audio signals from your audio sources to the surround sound receiver. HDMI cables are preferable as they carry both audio and video signals, but optical cables can also be used for audio-only connections.
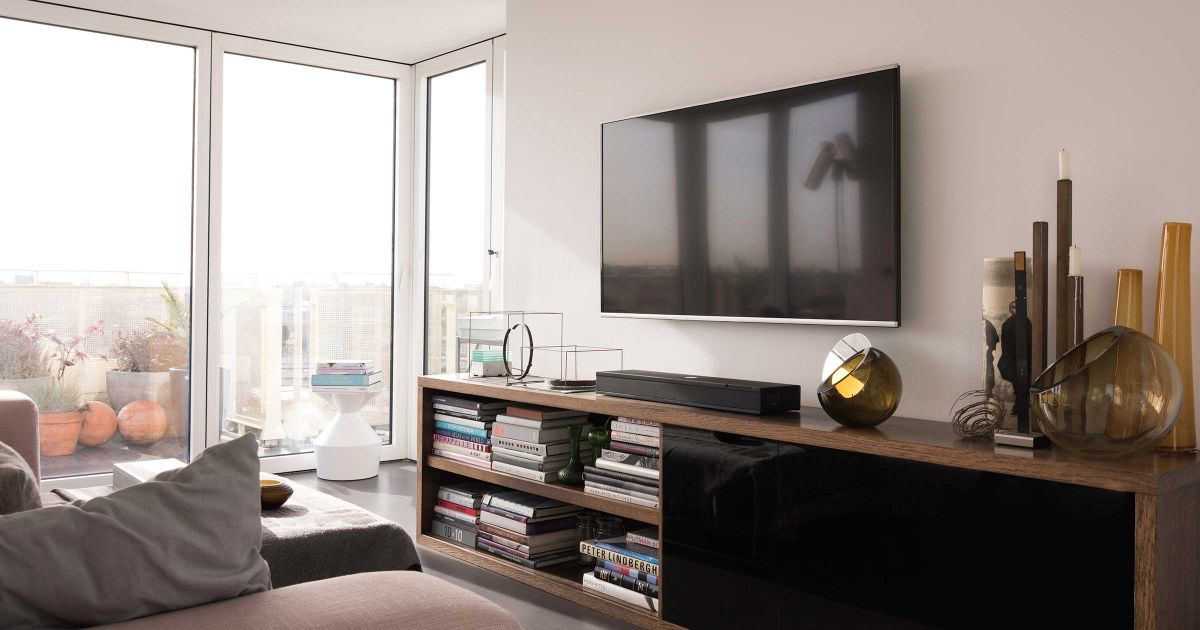
- TV or Projector: To complete your surround sound setup, you’ll need a TV or projector to display the video content. Make sure your TV or projector has the necessary audio output options to connect to your surround sound receiver.
- Room Layout: Consider the layout of your room while setting up the speakers. A balanced speaker placement can enhance the surround sound experience. Additionally, factors such as the size and shape of the room, furniture placement, and acoustics may affect the audio performance.
Keep in mind that the specific requirements may vary depending on the brand and model of your surround sound system. It’s always recommended to consult the user manual or manufacturer’s website for detailed information regarding the requirements and specifications of your particular system.
Once you have gathered all the necessary components, you’re ready to proceed with setting up your Cinemablaster Studio for an exceptional surround sound experience.
Setting Up the Cinemablaster Studio
Now that you have all the required components, it’s time to set up your Cinemablaster Studio for an immersive surround sound experience. Follow these steps to get started:
- Select an Ideal Location: Choose the room where you want to set up your Cinemablaster Studio. Consider factors such as the size of the room, furniture arrangement, and acoustics. Ideally, the room should be free from excessive background noise and have enough space to accommodate the speakers and seating area.
- Position the Front Speakers: Start by placing the front left, front center, and front right speakers in the front of the room, near the TV or projection screen. The front center speaker should be placed above or below the display, at ear level when seated.
- Position the Rear Speakers: Next, position the rear left and rear right speakers at the back of the room, facing towards the front of the room. These speakers should be placed slightly above ear level when seated, preferably mounted on the walls or placed on speaker stands.
- Position the Subwoofer: If you have a subwoofer, place it near the front speakers. The subwoofer is responsible for reproducing deep bass frequencies, so experiment with different placements to find the spot that provides the best bass response. Avoid placing it in a corner or against a wall, as it can cause boomy or muddy bass.
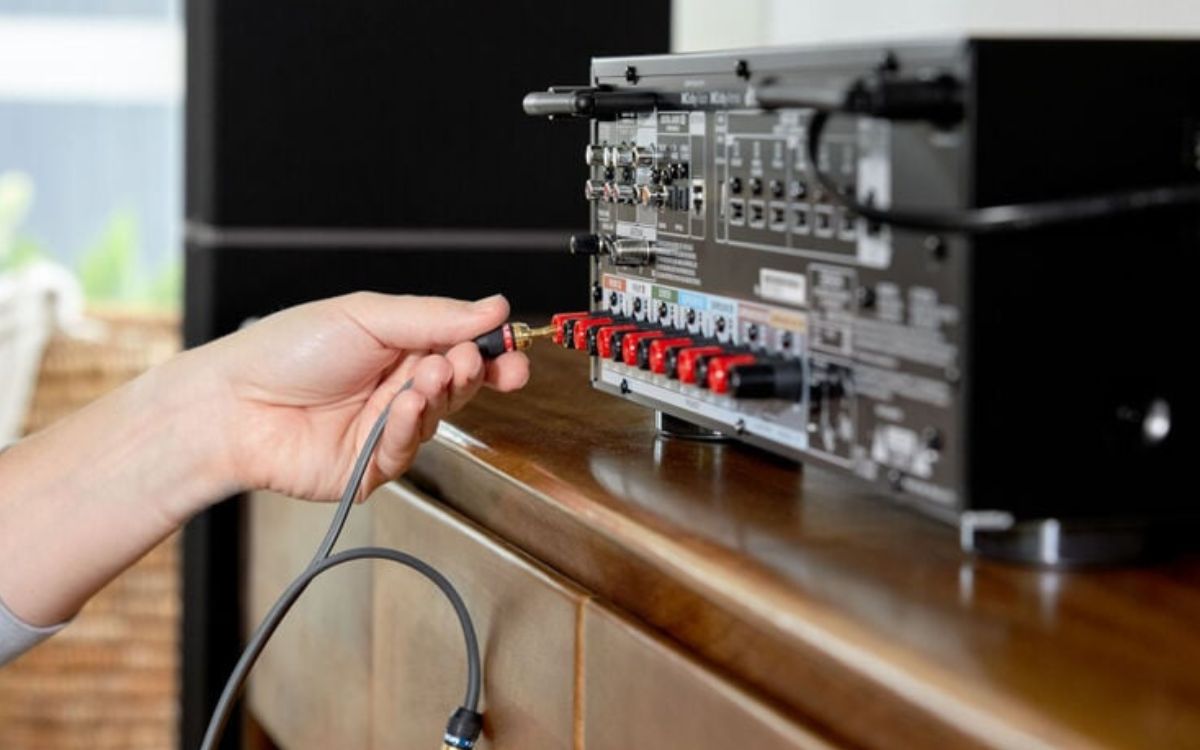
- Connect the Speakers: Use the speaker cables to connect each speaker to the appropriate terminals on the surround sound receiver. Make sure to connect the positive (+) and negative (-) terminals correctly to ensure proper audio reproduction.
- Connect the Audio Sources: Use HDMI or optical cables to connect your audio sources, such as a Blu-ray player or gaming console, to the corresponding inputs on the surround sound receiver. If you have multiple sources, use HDMI switches or AV receivers with multiple HDMI inputs.
- Connect the Surround Sound Receiver: Connect the surround sound receiver to your TV or projector using HDMI or audio output cables. This will allow the video to pass through the receiver to your display while the audio is processed by the surround sound system.
- Power On and Configure: Once all the connections are made, power on the surround sound system and your audio sources. Use the on-screen display or the receiver’s remote control to access the audio settings and configure them according to your preferences. Make sure to select the appropriate surround sound mode, such as Dolby Digital or DTS, for the content you’re playing.
That’s it! You have now successfully set up your Cinemablaster Studio. However, keep in mind that the setup process may vary slightly depending on the specific model and features of your surround sound system. Refer to the user manual or manufacturer’s instructions for more detailed guidance specific to your Cinemablaster Studio.
With your Cinemablaster Studio all set up, you’re ready to enjoy an immersive and captivating surround sound experience. In the next section, we will explore how to optimize the audio settings for the best sound output.
Connecting the Speakers
Now that you have positioned your speakers, it’s time to connect them to your Cinemablaster Studio. Follow these steps to ensure a proper connection:
- Identify Speaker Terminals: Look for the speaker terminals on your surround sound receiver. These terminals are usually labeled as “Front Left,” “Front Right,” “Front Center,” “Rear Left,” “Rear Right,” and “Subwoofer.” Make sure you correctly identify the corresponding terminals for each speaker.
- Strip the Speaker Wires: Strip about half an inch of insulation from the ends of your speaker wires. This will expose the metallic wire for proper connection.
- Connect the Front Speakers: Starting with the front left speaker, insert the bare wire into the corresponding “Front Left” terminal on the receiver. Twist the terminal cap or use any clamping mechanisms to secure the wire in place. Repeat this process for the front center and front right speakers, connecting them to their respective terminals.
- Connect the Rear Speakers: Move on to the rear speakers. Connect the rear left speaker wire to the “Rear Left” terminal on the receiver and secure it. Repeat this step for the rear right speaker, ensuring proper connection to the “Rear Right” terminal.
- Connect the Subwoofer: If you have a subwoofer as part of your setup, locate the “Subwoofer” output on the receiver. Insert the subwoofer cable into the corresponding terminal and fasten it securely. If your subwoofer has a wireless connection option, follow the manufacturer’s instructions to establish the wireless connection with your receiver.
- Double-Check Connections: Once all the speakers and subwoofer are connected, double-check the connections to ensure they are secure and properly seated. Loose connections can result in sound distortion or no sound output.
It’s important to note that some speakers may use alternative connection methods, such as binding posts or spring clips, instead of basic wire insertion terminals. In such cases, follow the manufacturer’s instructions for the specific speaker model.
Additionally, pay attention to the polarity of the speaker wires. The positive (+) terminal on the receiver should be connected to the corresponding positive terminal on the speaker, and the negative (-) terminals should be connected likewise. Connecting speakers with reversed polarity can affect audio accuracy and phase coherence.
Once you have successfully connected all the speakers, you are one step closer to enjoying immersive surround sound. In the next section, we will explore how to configure the audio settings of your Cinemablaster Studio for optimal sound performance.
Configuring the Audio Settings
Now that your speakers are connected, it’s time to optimize the audio settings of your Cinemablaster Studio for the best sound performance. Follow these steps to configure the audio settings:
- Select the Audio Output: Access the settings menu on your surround sound receiver and navigate to the audio output section. Ensure that the audio output is set to “Surround Sound” or your desired surround sound mode. This will ensure that the receiver decodes and distributes the audio signals to the appropriate speakers.
- Choose the Surround Sound Mode: Depending on the type of content you’re playing, you may have different surround sound modes available, such as Dolby Digital, DTS, or Pro Logic. Select the appropriate surround sound mode to match the audio format of the content. For example, select Dolby Digital for movies with Dolby Digital audio tracks.
- Adjust Speaker Levels: Use the receiver’s built-in speaker level calibration tool or manual adjustments to balance the volume levels of each speaker. This ensures that sound effects and dialogue are well-balanced across all speakers. Follow the instructions provided in your receiver’s user manual to calibrate the speaker levels properly.
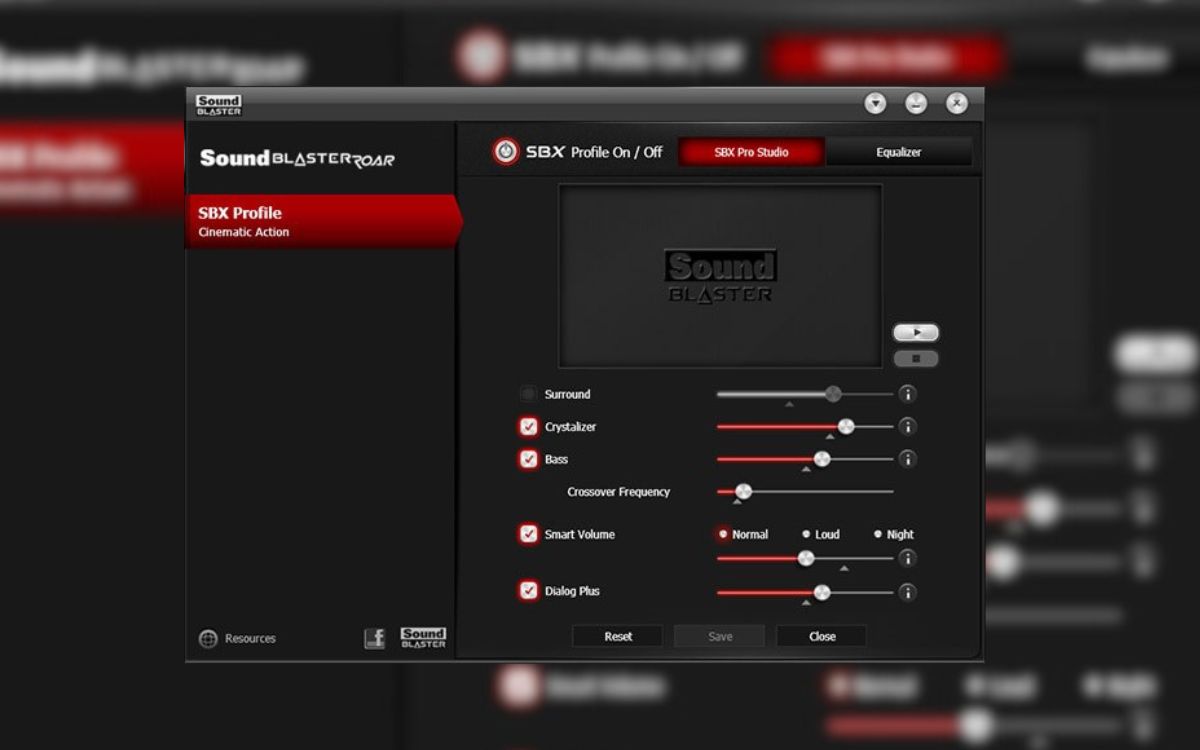
- Customize Equalizer Settings: Most surround sound receivers offer equalizer settings that allow you to adjust the audio frequencies to your preference. Experiment with the equalizer settings to enhance the audio clarity and overall sound quality. You can boost or attenuate certain frequency ranges like bass, midrange, and treble to achieve your desired sound signature.
- Enable Sound Modes: Some receivers offer specialized sound modes or audio enhancements for specific types of content, such as movie modes, music modes, or gaming modes. These modes optimize the audio settings based on the type of content being played. Explore these options and enable the appropriate sound mode based on your preferences and the content you’re enjoying.
- Test Surround Sound: Use the built-in test tones or external surround sound test videos to ensure that each speaker is playing sound correctly and from the correct direction. Make sure the sound is balanced and accurate as it pans from one speaker to another. Adjust any speaker positioning or settings if necessary.
- Save and Fine-Tune: Once you have configured the audio settings to your satisfaction, save the settings within the receiver’s menu system. However, don’t be afraid to fine-tune the settings further based on your listening preferences and the specific room acoustics. Remember, every room is different, and the audio settings that work well for one space may not be optimal for another.
Take some time to experiment with different settings and audio modes to find the combination that suits your preferences. Regularly revisit and adjust the audio settings as needed to optimize your surround sound experience.
With the audio settings properly configured, you’re now ready to immerse yourself in the captivating surround sound of your Cinemablaster Studio. In the next section, we will discuss some troubleshooting tips to help you overcome common issues and ensure a seamless audio experience.
Testing the Surround Sound
Once you have set up and configured your Cinemablaster Studio, it’s important to test the surround sound system to ensure everything is functioning as expected. Follow these steps to test the surround sound:
- Source Material: Choose a source material that is known for its surround sound capabilities. This could be a movie with a Dolby Digital or DTS audio track, a video game with immersive audio effects, or a music album mixed in surround sound.
- Playback Device: Use a supported playback device, such as a Blu-ray player or gaming console, to play the chosen source material. Ensure that the audio output settings on the playback device are correctly configured to output in surround sound.
- Calibration Discs or Test Videos: Consider using calibration discs or surround sound test videos that are specifically designed to evaluate surround sound performance. These discs or videos provide test tones and audio effects that are perfect for testing each channel of your surround sound setup.
- Speaker Placement and Sound Positioning: Pay attention to the sound positioning as the audio plays through the various speakers. You should be able to hear specific sounds or effects coming from the corresponding speakers. For example, dialogue should sound clear and centered from the front center speaker, while ambient noises or surround effects should emanate from the rear speakers.
- Bass Response: Pay attention to the bass response of your subwoofer. It should deliver deep and impactful low-frequency sounds without distortion. The bass should be balanced and integrated with the rest of the audio, adding depth and immersion to the overall sound experience.
- Dialogue Clarity: Ensure that dialogue is clear and intelligible, especially from the center speaker. Adjust the volume levels or fine-tune the equalizer settings if you notice any issues with dialogue clarity.
- Balanced Sound: Listen for a balanced sound across all speakers. The audio should feel consistent and seamless as it transitions between different channels. If any speaker is noticeably louder or softer than others, adjust the speaker levels accordingly to achieve a balanced soundstage.
- Sound Effects and Immersion: Evaluate the ability of your surround sound system to create an immersive experience. The sound effects should feel enveloping, placing you in the middle of the action and enhancing your overall entertainment experience.
If you encounter any issues during the testing process, refer back to the user manual or troubleshooting guide provided by the manufacturer for assistance. Common issues may include incorrect speaker wiring, mismatched audio settings, or improper placement of speakers.
By thoroughly testing the surround sound system, you can ensure that each speaker is functioning properly and that you’re getting the most out of your Cinemablaster Studio. Once you’re satisfied with the surround sound performance, you’re ready to enjoy a truly immersive audio experience.
Troubleshooting Tips
While setting up and configuring your Cinemablaster Studio, you may encounter some common issues that can affect your surround sound experience. Here are some troubleshooting tips to help you address these issues:
- No Sound: If you’re not hearing any sound from your speakers, check the following:
- Ensure that all the connections between the speakers and the receiver are secure.
- Check that the audio source is properly connected and playing audio.
- Verify that the volume on both the receiver and the playback device is turned up.
- Imbalanced Sound: If the sound coming from the speakers is unbalanced or uneven, try the following:
- Use the receiver’s built-in speaker level calibration tool or adjust the speaker levels manually to balance the sound output.
- Check for any obstructions that may be blocking the speakers, affecting the sound distribution.
- Intermittent Sound: If the sound occasionally cuts out or becomes intermittent, try these steps:
- Inspect all the speaker cables for any damage or loose connections. Replace or resecure the cables if necessary.
- Check for any electrical interference from nearby devices. Keep audio and power cables separated to minimize interference.
- Ensure that your receiver is not overheating. Make sure it’s well-ventilated and not placed in a confined space.
- Poor Audio Quality: If you’re experiencing poor audio quality, follow these suggestions:
- Check the audio settings on your receiver. Make sure you have selected the correct surround sound mode and audio format for the content you’re playing.
- Ensure that your audio sources are providing high-quality audio signals. Poor-quality sources may result in degraded sound.
- Experiment with the equalizer settings to fine-tune the audio frequencies and improve overall sound quality.
- Lack of Bass: If you feel that the bass is lacking or not impactful, try the following:
- Check the subwoofer placement. Adjust the position to find the sweet spot that provides the best bass response.
- Verify that the subwoofer is powered on and connected correctly to the surround sound receiver or amplifier.
- Adjust the subwoofer’s volume level or low-frequency effects (LFE) level in the audio settings to increase the bass output.
If you are still experiencing issues despite trying the troubleshooting steps above, refer to the user manual for further guidance or contact the customer support of your Cinemablaster Studio. They will be able to provide more specific troubleshooting advice based on your particular setup.
Remember that troubleshooting may require a bit of patience and experimentation. With some adjustments and fine-tuning, you can overcome common issues and enjoy a seamless and immersive surround sound experience with your Cinemablaster Studio.
Conclusion
Congratulations! You have successfully set up and configured your Cinemablaster Studio, and now you can fully appreciate the immersive and captivating surround sound experience it offers. By following the steps outlined in this article, you have positioned your speakers correctly, connected them to your surround sound receiver, adjusted the audio settings, and tested the surround sound performance. You have also learned some troubleshooting tips to address common issues that may arise.
With your Cinemablaster Studio, you can now enjoy a heightened audio experience while watching movies, playing games, or listening to music. The spatial audio, detailed sound effects, and enveloping soundstage will transport you into the heart of the action and create a sense of realism that enhances your overall entertainment experience.
Remember, it’s important to periodically revisit and fine-tune your audio settings to maintain optimal performance and adapt to different types of content. As you continue to explore and enjoy your surround sound system, feel free to experiment with different settings, sound modes, and equalizer adjustments to suit your personal preferences.
Should you encounter any issues along the way, refer back to this article and the troubleshooting tips provided. Don’t hesitate to reach out to the manufacturer’s customer support for further assistance. They have the expertise to help you overcome any challenges and make the most of your Cinemablaster Studio.
Now, sit back, relax, and immerse yourself in a world of stunning surround sound. Let the Cinemablaster Studio transport you to new dimensions of audio enjoyment as you indulge in your favorite movies, games, and music.
Happy listening!