Home>Production & Technology>Surround Sound>How To Get 5.1 Surround Sound From PC
Surround Sound
How To Get 5.1 Surround Sound From PC
Modified: January 22, 2024
Learn how to get 5.1 surround sound from your PC and immerse yourself in the ultimate audio experience. Discover the best methods and equipment for achieving high-quality surround sound.
(Many of the links in this article redirect to a specific reviewed product. Your purchase of these products through affiliate links helps to generate commission for AudioLover.com, at no extra cost. Learn more)
Table of Contents
Introduction
Welcome to the world of immersive audio with 5.1 surround sound! Whether you’re a movie enthusiast or a gaming aficionado, having a high-quality surround sound system can greatly enhance your entertainment experience on your PC. With 5.1 surround sound, you’ll feel like you’re in the midst of the action, with sounds coming from all directions.
In this article, we’ll guide you through the process of getting 5.1 surround sound from your PC. We’ll discuss the basics of surround sound, check your PC’s compatibility, help you choose the right sound card, guide you through the installation process, teach you how to connect your speakers, configure the sound settings, and test the setup. We’ll also address common troubleshooting issues you may encounter along the way.
So, if you’re ready to take your sound experience to the next level, let’s dive in and explore the world of 5.1 surround sound for your PC!
Understanding 5.1 Surround Sound
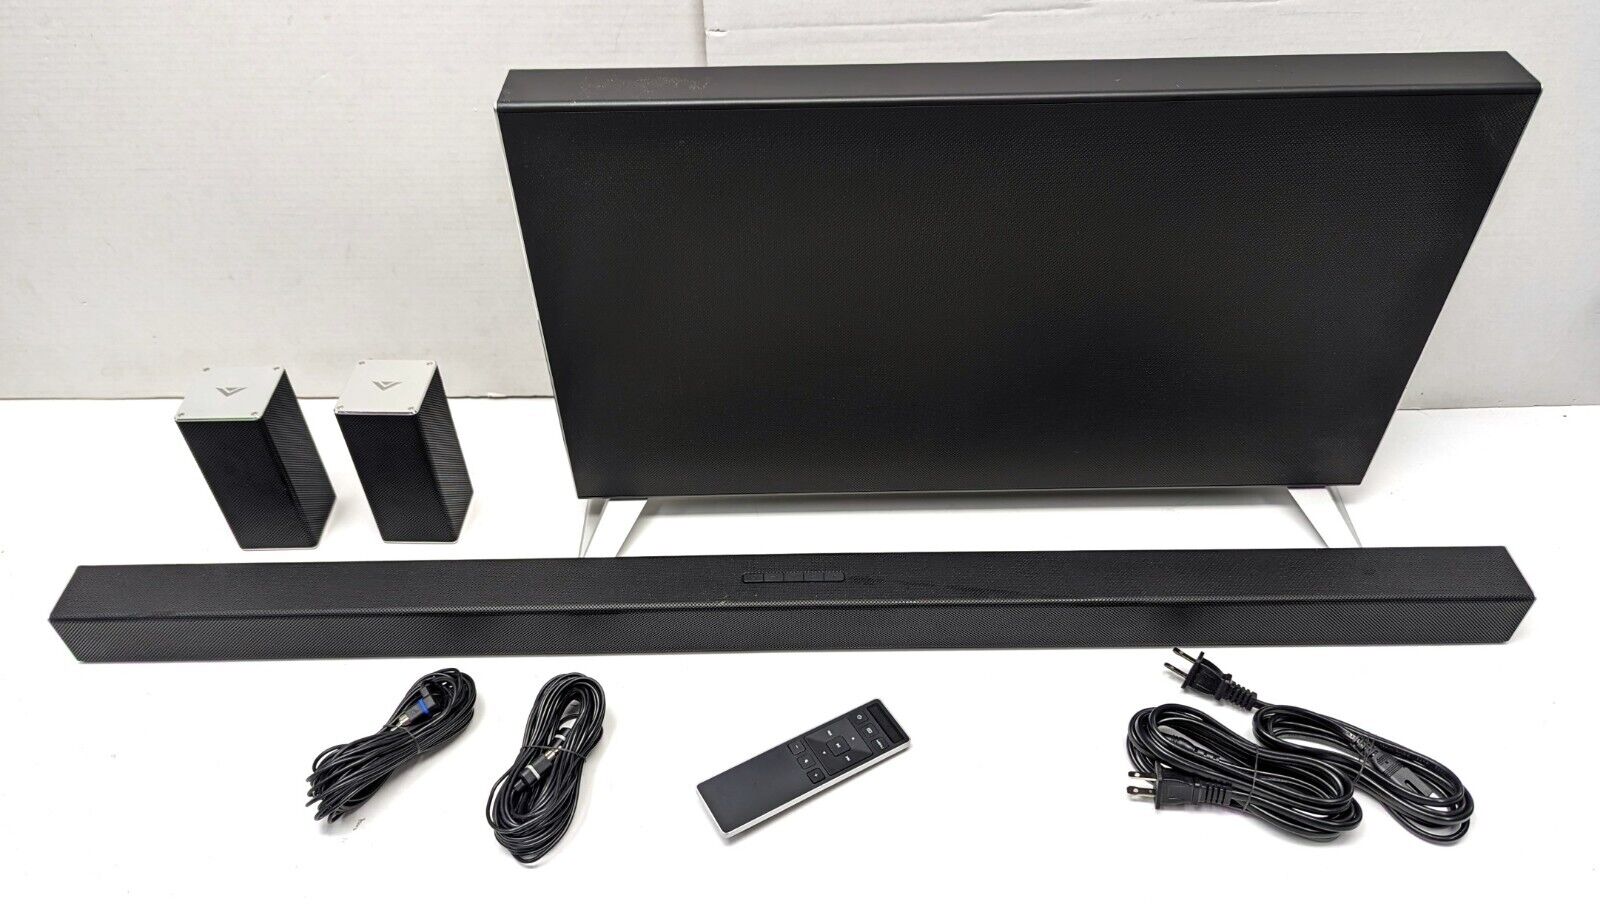
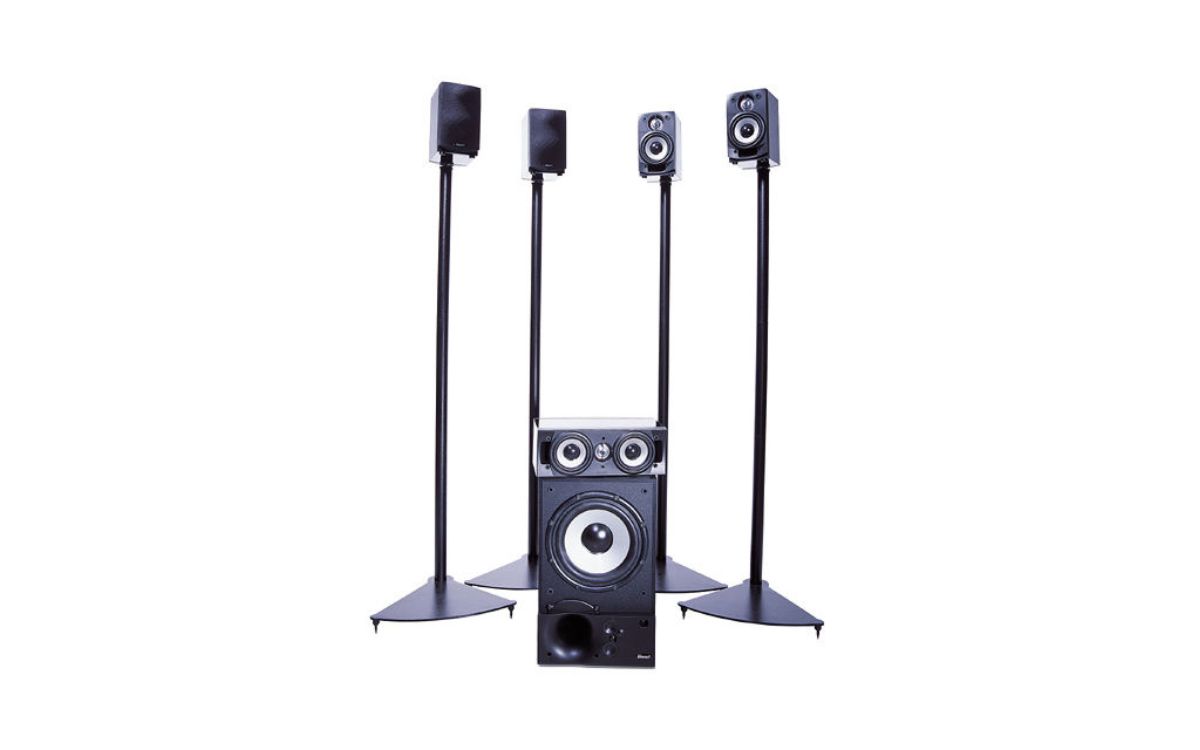
Before we delve into the technical aspects of setting up 5.1 surround sound on your PC, let’s take a moment to understand what it actually means. 5.1 surround sound refers to a multi-channel audio system that provides an immersive audio experience. The “5.1” denotes the number of audio channels involved in the setup. It consists of five main speakers – front left, front center, front right, rear left, and rear right – and one subwoofer for low-frequency sounds.
This configuration allows for a spatial sound experience, where different audio elements are directed to specific speakers to simulate directionality and depth. When combined with compatible media, such as movies or games encoded in surround sound formats like Dolby Digital or DTS, the immersion factor is greatly enhanced.
The front three speakers – the left, center, and right speakers – are responsible for delivering most of the audio, including dialogue and other sounds coming from the front of the scene. The rear left and rear right speakers create a sense of envelopment, providing ambient sounds and effects that make you feel like you’re in the middle of the action. The subwoofer handles the low-frequency sounds, adding depth and impact to explosions, deep bass notes, and rumbling effects.
Having a 5.1 surround sound system can make a significant difference in your viewing or gaming experience. It allows for a more realistic and engaging audio environment, enhancing the overall enjoyment and immersion of the content you’re consuming.
Now that you have a better understanding of what exactly 5.1 surround sound entails, let’s move on to the next step: checking your PC’s compatibility.
Checking your PC’s Compatibility
Before you embark on setting up 5.1 surround sound on your PC, it’s crucial to ensure that your computer is compatible with this audio setup. Here are a few steps to check your PC’s compatibility:
- Check your audio outputs: Look for color-coded audio jacks on the back of your computer. A 5.1 surround sound system requires at least three audio ports: front speaker out, rear speaker out, and center/subwoofer out. These ports are typically color-coded as green, black, and orange, respectively.
- Verify your sound card: Open the Device Manager on your PC (you can do this by right-clicking on the Start button and selecting Device Manager). Look for the “Sound, video and game controllers” category. If you have a dedicated sound card installed, it should be listed here. If you’re using the integrated audio from your motherboard, it will typically be labeled as “Realtek HD Audio” or something similar.
- Check the specifications: Look up the specifications of your sound card to determine if it supports 5.1 surround sound. You can usually find this information on the manufacturer’s website or by checking the documentation that came with your PC or sound card. Ensure that your sound card has the necessary number of audio outputs to accommodate a 5.1 surround sound setup.
- Software support: Check if your media player, game, or application supports 5.1 surround sound. Some applications may require additional configurations or plugins to enable surround sound playback.
If your PC meets the requirements mentioned above, congratulations! You’re ready to proceed with setting up 5.1 surround sound. However, if your PC doesn’t meet the requirements, don’t worry. There are still options available to you, such as upgrading your sound card or using USB-based external audio devices that support surround sound.
Now that you’ve verified your PC’s compatibility, it’s time to move on to the next step: choosing the right sound card for your 5.1 surround sound setup.
Choosing the Right Sound Card
When it comes to setting up 5.1 surround sound on your PC, having a capable sound card is crucial. The sound card acts as the interface between your computer and the audio system, ensuring high-quality audio playback and processing. Here are some factors to consider when choosing the right sound card for your 5.1 surround sound setup:
- Number of audio outputs: Make sure the sound card has the necessary number of audio outputs to support a 5.1 surround sound system. Look for sound cards that offer three audio outputs – front, rear, and center/subwoofer – typically color-coded as green, black, and orange, respectively.
- Audio format support: Check if the sound card supports popular surround sound formats such as Dolby Digital or DTS. This will ensure compatibility with a wide range of media and games encoded in these formats.
- Audio quality: Look for sound cards that provide high-quality audio playback and low signal-to-noise ratio (SNR) for clear and accurate sound reproduction. Higher-quality sound cards often offer better audio fidelity and a more immersive listening experience.
- Compatibility with your PC: Ensure that the sound card is compatible with your PC’s operating system. Most sound cards are designed to work with Windows-based systems, but some also offer compatibility with macOS or Linux.
- Additional features: Consider any additional features that may enhance your audio experience, such as headphone amplifiers, virtual surround sound, or advanced audio processing technologies.
Research different sound card options, read reviews, and compare specifications to find the best sound card that fits your needs and budget. Popular sound card brands include Creative, ASUS, and Sound Blaster, among others.
It’s worth noting that many modern motherboards come equipped with integrated sound cards that support 5.1 surround sound. If your motherboard’s integrated audio meets your requirements, you may not need to purchase a separate sound card.
Once you’ve chosen the right sound card, you’re ready to move on to the next step: installing the sound card into your PC.
Installing the Sound Card
Installing a sound card is a relatively straightforward process. Follow these steps to install your new sound card into your PC:
- Prepare your PC: Power down your computer and unplug it from the power source. Carefully open the case to access the motherboard and available expansion slots.
- Locate the available expansion slot: Identify an available PCI or PCIe slot on your motherboard. These slots are typically white or black and are used for adding expansion cards.
- Remove the metal slot cover: If there is a metal cover blocking the expansion slot, remove it by unscrewing the screw holding it in place. Keep the screw, as you will need it later.
- Align the sound card: Take your sound card and align it with the slot, making sure the golden edge connectors are facing towards the slot.
- Insert the sound card: Gently but firmly push the sound card into the slot until it is fully seated. Apply even pressure on both sides to ensure proper insertion.
- Screw in the sound card: Use the screw you removed earlier to secure the sound card to the case. This will keep it in place and prevent any movement.
- Close the case: Carefully close the computer case and reattach any screws or fasteners that were previously removed.
Once the sound card is securely installed, you can proceed to connect your speakers and configure the sound settings, which we’ll cover in the next sections.
It’s important to note that some sound cards may require additional power connections, such as a 4-pin Molex connector or a SATA power connector. Refer to the manufacturer’s instructions for any specific power requirements and connect the necessary cables accordingly.
Congratulations! You have successfully installed your new sound card. Now, let’s move on to connecting your speakers.
Connecting the Speakers
Now that you have installed your sound card, it’s time to connect your speakers to complete the 5.1 surround sound setup. Follow these steps to connect your speakers:
- Identify the audio jacks: Locate the audio jacks on the back of your sound card. Typically, there will be three color-coded jacks – green, black, and orange – corresponding to the front, rear, and center/subwoofer speakers. Refer to the documentation that came with your sound card for precise labeling.
- Connect the front speakers: Plug in the cables from your front left and front right speakers into the green audio jack on the sound card.
- Connect the rear speakers: Connect the cables from your rear left and rear right speakers into the black audio jack on the sound card.
- Connect the center/subwoofer speaker: Plug in the cable from your center/subwoofer speaker into the orange audio jack on the sound card.
- Connect the subwoofer: If your subwoofer has a separate input, connect it to the subwoofer output on the sound card. If it is integrated with the center speaker, ensure that the cable from the center/subwoofer speaker is connected securely to the audio jack.
Depending on the speakers you have, the connections may vary. Some speakers may use RCA connectors, while others may have optical or HDMI connections. Make sure to use the appropriate cables and adapters for your specific setup.
Once all the speakers and the subwoofer are connected, double-check that each cable is securely plugged in. Ensure that the connections are tight and that there are no loose or damaged cables.
Congratulations! You have successfully connected your speakers for the 5.1 surround sound system. The next step is to configure the sound settings, which we’ll cover in the following section.
Configuring the Sound Settings
After connecting your speakers, it’s important to configure the sound settings on your PC to ensure optimal audio performance. Here’s how you can do it:
- Open the Sound settings: Right-click on the volume icon in the taskbar and select “Open Sound settings” or “Playback devices.” Alternatively, you can access the Sound settings through the Control Panel or the Settings app in Windows.
- Select the sound card: In the Sound settings window, navigate to the “Playback” tab and select your sound card from the list of available devices. It will typically have a name that corresponds to the sound card manufacturer or model.
- Configure the speaker setup: Click on the “Configure” button to open the Speaker Setup wizard. Follow the on-screen instructions to specify the speaker setup as 5.1 surround sound. Make sure to place the speakers correctly on the virtual representation to match their physical placement in your room.
- Adjust the audio levels: Return to the “Playback” tab and select the speaker configuration you just set up. Click on the “Properties” button and go to the “Levels” tab. Adjust the volume levels for each speaker to your preference. You can also enable enhancements or virtual surround sound options if available.
- Test the speakers: Go to the “Advanced” tab in the sound card properties and click on the “Test” button to ensure that each speaker is producing sound properly. Follow the instructions to play test tones through each speaker individually and verify that the audio is correctly routed.
- Apply settings and test: Once you’re satisfied with the configuration, click “Apply” and then “OK” to save the changes and exit the Sound settings. Test your setup by playing a surround sound test file or a movie/game with surround sound to confirm that the audio is being outputted correctly from each speaker.
Remember that some applications or media players may have their own audio settings that you may need to configure separately. Check the settings within the specific application or player to ensure surround sound output is enabled and configured correctly.
By properly configuring the sound settings, you can unleash the full potential of your 5.1 surround sound system and enjoy an immersive audio experience.
Now that your sound settings are configured and your speakers are ready to go, let’s move on to the next step: testing the surround sound setup.
Testing the Surround Sound Setup
Once you have set up and configured your 5.1 surround sound system, it’s essential to test it to ensure that each speaker is working correctly and that the audio is properly distributed. Here’s how you can test your surround sound setup:
- Surround sound test files: Look for surround sound test files available online or on calibration discs. These files contain audio signals specifically designed to test each speaker individually. Play the test files and listen carefully to ensure that each speaker is producing the intended sound. Make sure the sound is coming from the correct speaker in accordance with its placement.
- Surround sound movies or games: Play a movie or game that is known for its surround sound capabilities. Look for content encoded in Dolby Digital or DTS formats, as they offer immersive surround sound experiences. During playback, pay attention to the audio effects and dialogue to verify that the sound is coming from the appropriate speakers, creating a realistic and immersive soundstage.
- Audio positioning test: Play media with audio that pans from left to right or front to back. This could be a video game with moving objects or a surround sound demo video. Listen for smooth and accurate sound movement across the speakers, confirming that the directional audio is properly localized.
- Volume balance: Adjust the volume levels for each speaker to achieve a balanced sound. Listen to various audio sources to ensure that the volume levels are consistent across all speakers.
While testing, double-check the connections of your speakers to ensure that they are securely plugged into the correct audio jacks. Any loose connections could result in a diminished surround sound experience.
If you encounter any issues during the testing process, refer to the troubleshooting section below for common problems and potential solutions.
By thoroughly testing your surround sound setup, you can identify any issues and fine-tune the settings to ensure optimal audio performance. Take the time to experiment with different media and content to fully appreciate the immersive experience that 5.1 surround sound offers.
Now that you have tested your setup, let’s address common troubleshooting issues in the next section.
Troubleshooting Common Issues
Setting up and configuring a 5.1 surround sound system on your PC can sometimes come with its fair share of challenges. Here are some common issues that you may encounter and suggestions for troubleshooting them:
- No sound from certain speakers: If you’re not getting sound from specific speakers, check the connections to ensure they are securely plugged into the correct audio jacks. Confirm that the speaker wires are not damaged or loose. Additionally, verify that the sound settings are correctly configured for a 5.1 surround sound setup.
- Inconsistent audio levels: If you notice that the volume levels differ between speakers, access the sound settings and make sure the levels for each speaker are balanced. Adjust the levels accordingly until you achieve a balanced sound output.
- Weird or distorted sound: If you experience unusual or distorted sound, ensure that all cables are connected properly and that there are no loose or damaged connections. Check the audio settings within your media player or application to ensure compatibility with 5.1 surround sound formats.
- No surround sound effect: If you’re not experiencing the desired surround sound effect, confirm that your media is encoded in a surround sound format. Some media players require specific audio settings to enable surround sound playback. Double-check your sound card settings and make sure the speaker configuration is set to 5.1 surround sound.
- No audio at all: If you’re not getting any audio output, ensure that your speakers are powered on and the volume is turned up. Check that the cables are connected properly to both the speakers and the sound card. Update your sound card drivers, as outdated drivers can often cause audio issues.
If you continue to experience issues, consult the documentation that came with your sound card or contact the manufacturer’s support for further assistance.
Remember, troubleshooting audio issues may require some trial and error. Stay patient and systematically go through the possible solutions until you find the resolution.
With these troubleshooting tips in mind, you should be able to overcome common issues and enjoy the immersive audio experience that 5.1 surround sound offers.
Now that we’ve covered troubleshooting, let’s wrap up the article in the next section.
Conclusion
Congratulations on successfully setting up and configuring 5.1 surround sound on your PC! By following the steps outlined in this guide, you’ve taken your audio experience to new heights, immersing yourself in a captivating surround sound environment.
We started by understanding the basics of 5.1 surround sound and its impact on your entertainment experience. We then checked your PC’s compatibility and helped you choose the right sound card for your setup. With the sound card installed, we guided you through connecting your speakers and configuring the sound settings to optimize audio performance.
Testing the surround sound setup allowed you to verify the functionality of each speaker and ensure that the audio was distributed correctly. And in the event of any issues, our troubleshooting tips provided solutions to common problems that you may encounter along the way.
Now, you can enjoy a truly immersive audio experience while watching movies, playing games, or listening to music on your PC. Feel the power of surround sound as sounds come alive from all directions, creating a captivating audio environment that enhances your entertainment enjoyment.
Remember, as you continue to explore and utilize your 5.1 surround sound setup, don’t hesitate to experiment with different media, adjust settings, and fine-tune your audio preferences to suit your personal preferences.
Thank you for joining us on this journey into the world of 5.1 surround sound for your PC. We hope this guide has been informative and helpful in enhancing your audio experience. So go ahead, sit back, relax, and immerse yourself in the incredible world of surround sound on your PC!