Home>Devices & Equipment>Turntable>How To Record From USB Turntable Using Audacity
Turntable
How To Record From USB Turntable Using Audacity
Published: January 18, 2024
Learn how to record music from a USB turntable using Audacity. Follow our step-by-step guide and unleash the potential of your turntable.
(Many of the links in this article redirect to a specific reviewed product. Your purchase of these products through affiliate links helps to generate commission for AudioLover.com, at no extra cost. Learn more)
Table of Contents
- Introduction
- Equipment Needed
- Setting Up the USB Turntable
- Downloading and Installing Audacity
- Configuring Audacity Preferences
- Connecting the USB Turntable to Audacity
- Selecting the Recording Device
- Adjusting Recording Levels
- Selecting the Recording Format
- Recording from the USB Turntable
- Saving and Exporting the Recorded File
- Troubleshooting Tips
- Conclusion
Introduction
Turntables have long been a favorite among music enthusiasts, offering a classic and immersive way to enjoy vinyl records. With the advent of technology, USB turntables have become increasingly popular, allowing users to not only listen to their vinyl collection but also convert them into digital audio files. This opens up a world of possibilities, including the ability to store, share, and enjoy your favorite records in a digital format.
In this article, we will explore the process of recording from a USB turntable using Audacity, a popular and user-friendly audio editing software. Whether you are a vinyl enthusiast looking to digitize your collection or someone interested in exploring the world of vinyl records, this guide will provide you with the knowledge and confidence to get started.
We will begin by discussing the equipment needed to facilitate the recording process. Next, we will guide you through the setup of your USB turntable and the installation of Audacity. We will then delve into the configuration of Audacity preferences and explain how to connect your USB turntable to the software. Once the setup is complete, we will walk you through the steps of recording from your USB turntable, adjusting recording levels, and selecting the appropriate recording format. Finally, we will cover the saving and exporting of your recorded files and provide troubleshooting tips to help you overcome any potential challenges along the way.
Whether you are a seasoned vinyl collector or new to the realm of USB turntables, this article will serve as your comprehensive guide to recording from a USB turntable using Audacity. So, dust off your vinyl collection, get ready to embark on an audio adventure, and let’s dive into the world of USB turntable recording with Audacity.
Equipment Needed
Before diving into the process of recording from a USB turntable using Audacity, it’s important to ensure that you have all the necessary equipment. Here’s a list of items you’ll need to get started:
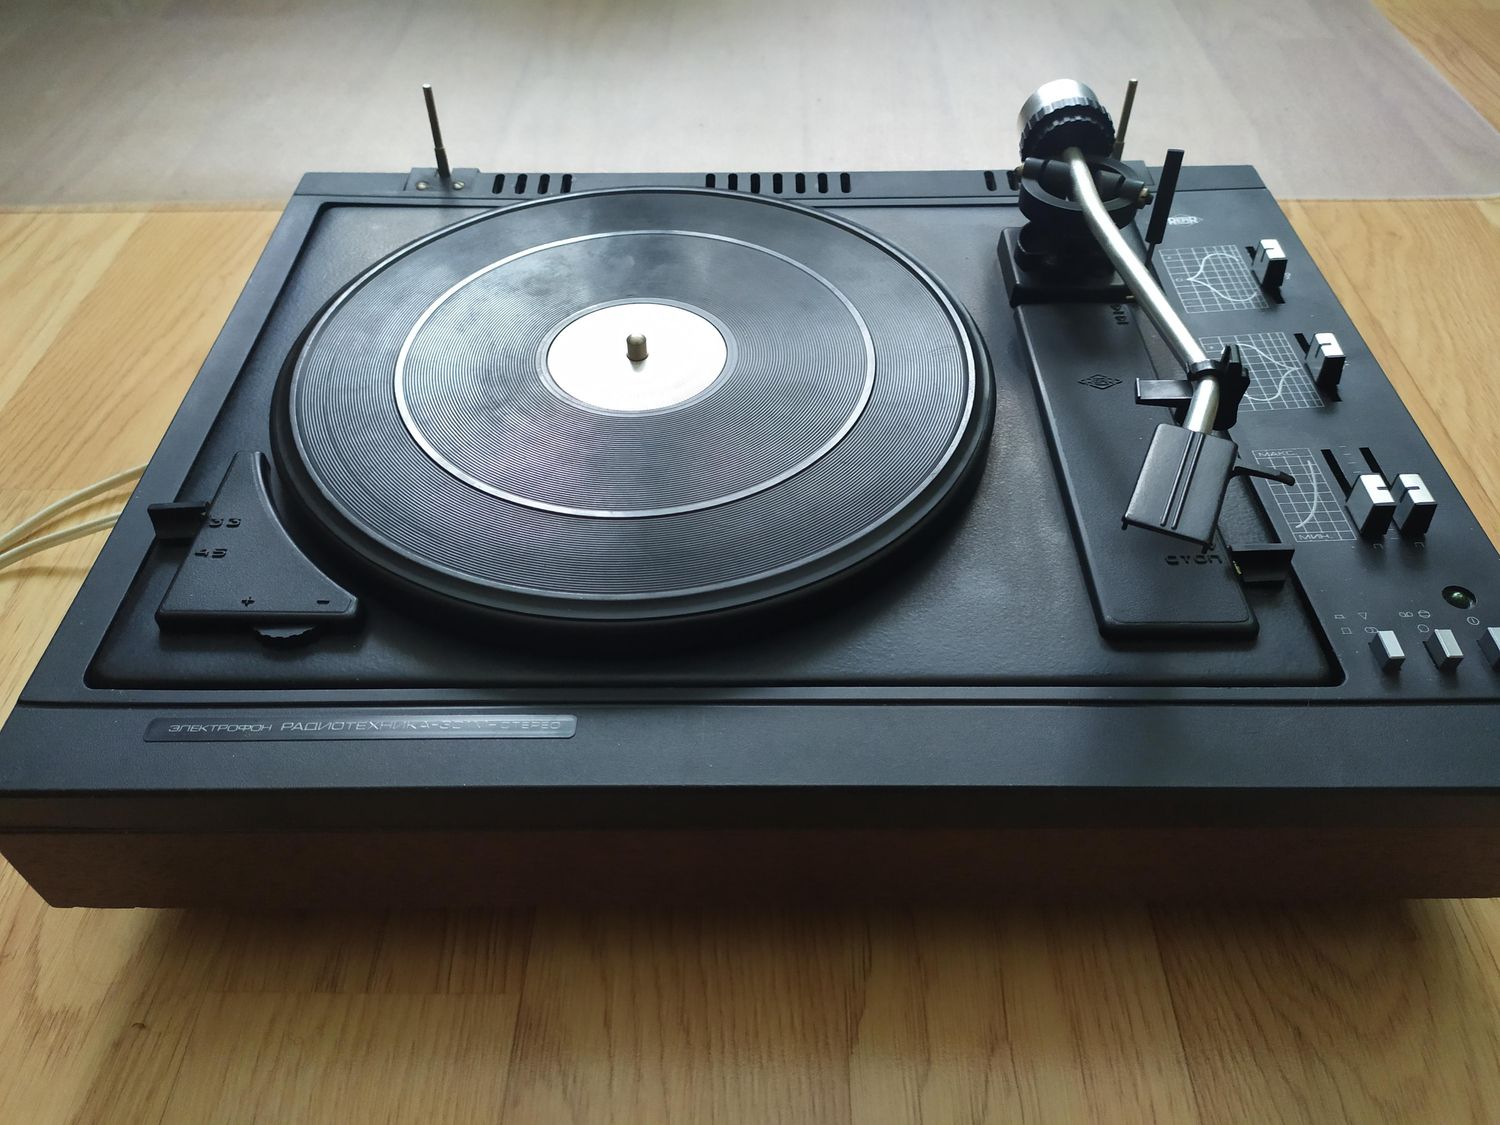
- A USB turntable: This will serve as the primary device for playing and converting your vinyl records into digital audio files. There are various USB turntable models available on the market, so choose one that fits your budget and offers the features you desire.
- A computer: You will need a computer to run the Audacity software and manage your recorded files. Make sure your computer meets the minimum system requirements for Audacity to ensure smooth operation.
- An audio interface (optional): Depending on the USB turntable you choose, you may need an audio interface to connect the turntable to your computer. Some USB turntables have built-in audio interfaces, eliminating the need for an external one.
- A USB cable: This cable will be used to connect your USB turntable to your computer. Ensure that it is compatible with both devices and has a sufficient length to allow for comfortable placement.
- A set of speakers or headphones: In order to listen to your records and monitor the audio while recording, you’ll need a reliable set of speakers or headphones. Choose a pair that delivers high-quality sound reproduction.
- A vinyl record cleaning kit (optional): To ensure the best possible sound quality when recording, it’s advisable to clean your vinyl records using a specialized cleaning kit. This will help remove any dust or debris that may affect playback.
Once you have gathered all the necessary equipment, you’re ready to move on to the next steps, which involve setting up your USB turntable and installing Audacity on your computer. It’s important to have everything in place to ensure a seamless and efficient recording process. So, double-check your equipment and make sure you’re ready to embark on your USB turntable recording journey.
Setting Up the USB Turntable
Setting up your USB turntable correctly is crucial for achieving high-quality recordings. Follow these steps to ensure a smooth setup process:
- Choose a suitable location: Find a stable and vibration-free location for your USB turntable. Avoid placing it near speakers or other sources of vibration that could affect the playback and recording quality.
- Connect the power source (if applicable): If your USB turntable requires external power, make sure to connect it to a power outlet using the provided power cable.
- Connect the USB cable: Take the USB cable and connect one end to the USB port on your turntable. Then, connect the other end of the cable to an available USB port on your computer.
- Connect the audio interface (if necessary): If your USB turntable requires an audio interface, connect it to the turntable and ensure that it is properly plugged into your computer’s USB port, if it is not already built into the turntable itself.
- Set the turntable’s speed: Most USB turntables feature a switch or button to select the appropriate speed for your vinyl records, usually 33 1/3 or 45 RPM. Make sure the switch is set to the correct speed according to the record you want to play.
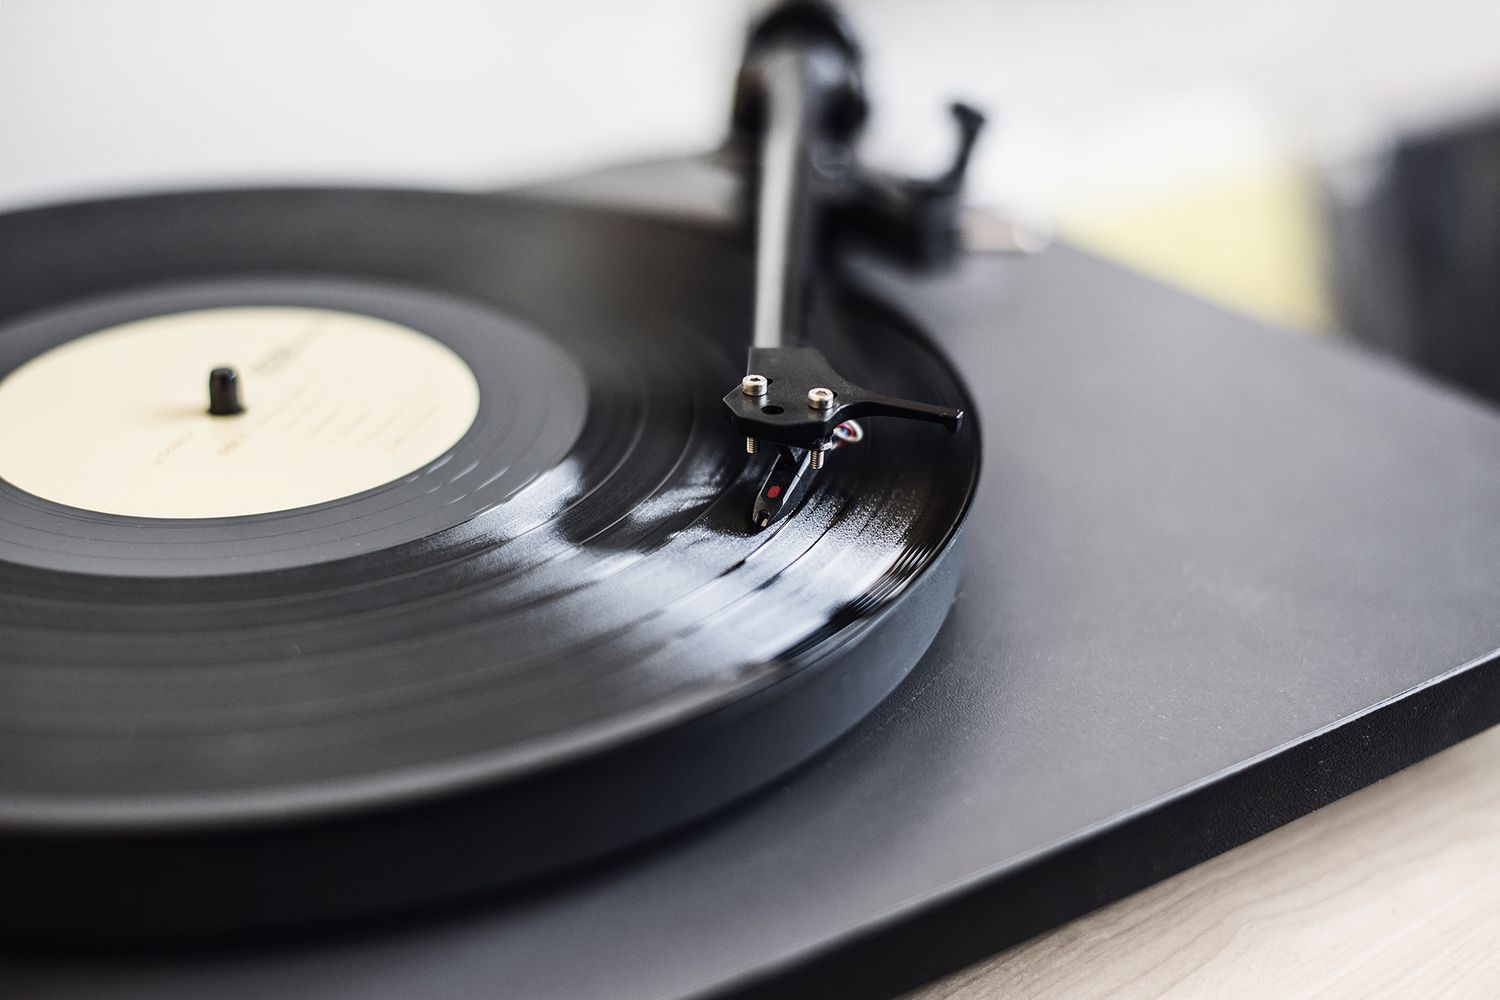
- Prepare the record: Place the desired vinyl record on the turntable’s platter, ensuring it sits securely and evenly. Use a record clamp or mat if necessary to reduce any vibrations or slippage during playback. Avoid touching the record surface with your bare hands to prevent transferring oils or dirt onto it.
- Adjust the tonearm: Gently lift the tonearm and move it over the desired starting grooves of the record. Use the cueing lever to lower the needle onto the record, being careful not to drop it abruptly.
- Check the tracking force and anti-skating: Consult the user manual of your USB turntable to set the appropriate tracking force and anti-skating settings. This ensures optimal tracking of the needle on the record and helps prevent distortion or skipping.
- Test the setup: Play a record and listen carefully to ensure proper playback and sound quality. If you notice any issues, such as distortion or skipping, double-check the setup steps and make necessary adjustments.
Once you have successfully set up your USB turntable, you are now ready to proceed with the installation of Audacity and configuration of the software. Getting the hardware setup right will lay a solid foundation for capturing high-fidelity audio from your vinyl records using Audacity in the next steps.
Downloading and Installing Audacity
Audacity is a powerful and free audio editing software that will allow you to record and edit your audio files. Here’s a step-by-step guide to downloading and installing Audacity on your computer:
- Visit the official Audacity website: Go to the Audacity website at www.audacityteam.org.
- Navigate to the Downloads page: From the website’s homepage, click on the “Downloads” tab located at the top of the page.
- Choose your operating system: Scroll down the Downloads page until you find the section that corresponds to your operating system (Windows, macOS, or Linux).
- Select the appropriate installer: Click on the download link for the installer file compatible with your operating system. This will initiate the download process.
- Run the installer: Once the download is complete, locate the installer file on your computer and double-click on it to run the installer.
- Follow the installation prompts: The installer will guide you through the installation process. Follow the on-screen prompts to choose the installation location, agree to the terms and conditions, and complete the installation.
- Launch Audacity: After the installation is complete, you can launch Audacity by locating the program icon in your applications folder or by double-clicking the desktop shortcut icon if created during the installation.
- Configure project settings: When you first launch Audacity, you may be prompted to configure your project settings, such as the sample rate and default audio device. Adjust these settings according to your preferences and audio setup.
Congratulations! You have successfully downloaded and installed Audacity on your computer. Now it’s time to configure Audacity preferences and prepare it for recording from your USB turntable. In the next section, we will cover the necessary configurations to ensure optimal recording quality and performance.
Configuring Audacity Preferences
Before you start recording from your USB turntable, it’s important to configure the preferences in Audacity to ensure optimal recording quality and performance. Here are the steps to configure Audacity preferences:
- Open Audacity: Launch Audacity on your computer.
- Access Preferences: Click on the “Edit” tab in the menu bar at the top of the Audacity window, and then select “Preferences” from the drop-down menu. This will open the Preferences window.
- Set the audio input device: In the “Devices” section of the Preferences window, select your USB turntable from the drop-down menu next to “Recording Device” or “Audio Host.” This will ensure that Audacity recognizes your USB turntable as the input device for recording.
- Adjust the recording channels: If your USB turntable offers stereo recording capabilities, select “2 (stereo)” in the “Recording Channels” drop-down menu. If it only supports mono recording, choose “1 (mono).”
- Set the sample rate and bit depth: In the “Quality” section, adjust the sample rate and bit depth settings based on your preferences. Higher sample rates and bit depths generally result in better audio quality but also larger file sizes.
- Configure the recording timer: If you want to set a specific duration for your recordings, go to the “Recording” section and enable the “Record Timer” option. Set the desired duration in hours, minutes, and seconds.
- Apply other preferences (optional): Explore the other preferences available in Audacity and adjust them to suit your specific needs. For example, you can change the default audio format, set keyboard shortcuts, or enable or disable certain features.
- Click OK to save the changes: Once you have configured the preferences according to your requirements, click the “OK” button to save the changes and close the Preferences window.
By configuring Audacity preferences, you have prepared the software to work seamlessly with your USB turntable and optimized the recording settings. In the next section, we will discuss how to connect your USB turntable to Audacity and select the appropriate recording device.
Connecting the USB Turntable to Audacity
Now that you’ve configured the preferences in Audacity, it’s time to connect your USB turntable to the software. Here’s how to do it:
- Ensure your USB turntable is powered on and properly connected to your computer via the USB cable.
- Launch Audacity on your computer if it’s not already open.
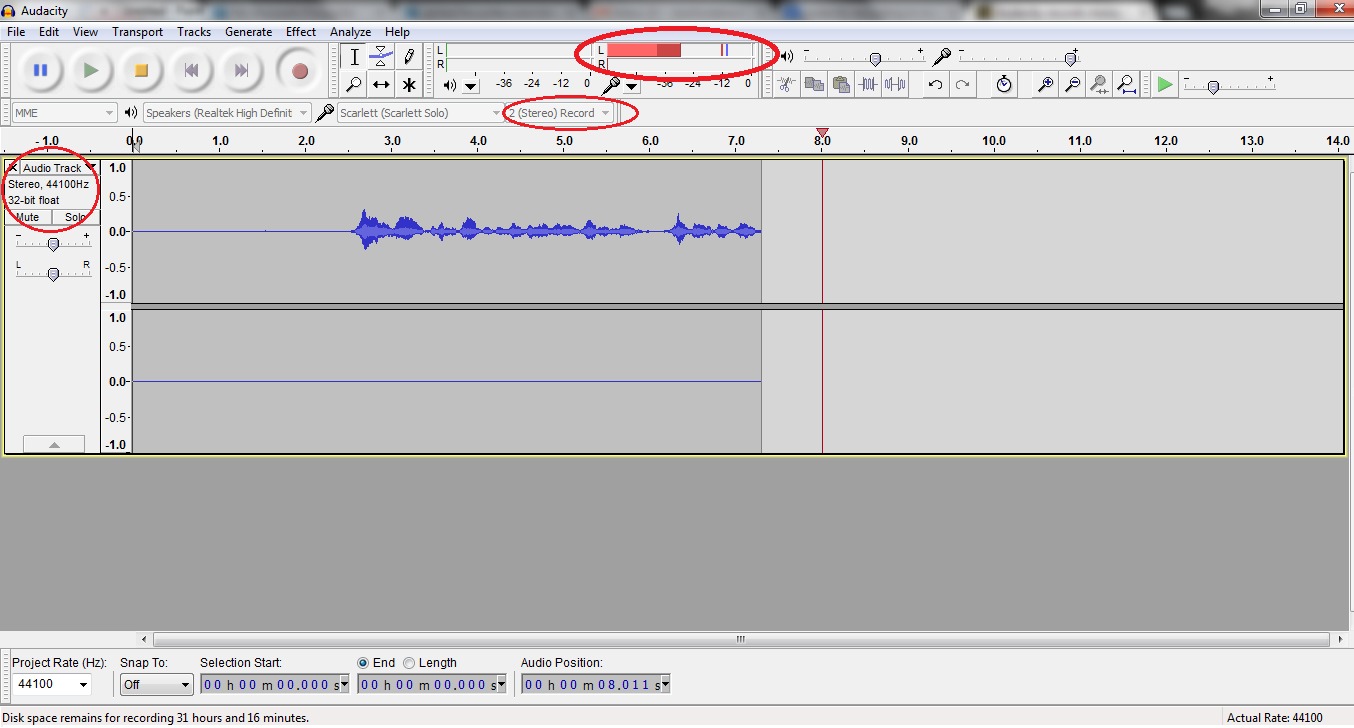
- In Audacity, click on the drop-down menu next to the microphone icon in the upper-left corner of the window. This will display the available recording devices.
- Select your USB turntable from the list of recording devices. It should be labeled with the name or model of your USB turntable.
- Once you’ve selected the USB turntable, you will see the input level meter in Audacity responding to the audio signal from the turntable. This confirms that Audacity is properly receiving the audio input from your USB turntable.
- If you don’t see the input level meter moving or if you’ve selected the wrong recording device, go back to the preferences (under the “Edit” tab) and double-check that you’ve selected the correct device. You may need to scroll through the list of devices to find it.
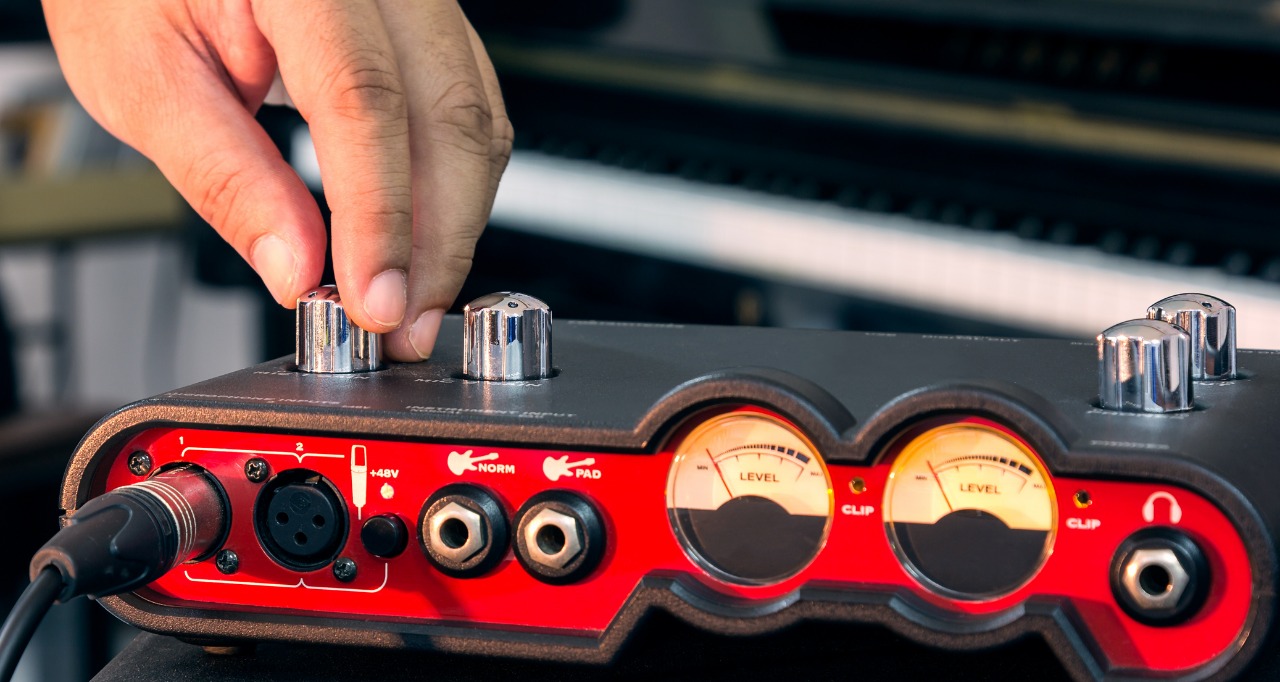
- Adjust the input level: While your USB turntable is playing a record, monitor the input level meter in Audacity. Make sure the levels are not too low or too high. Aim for a strong signal without clipping or distortion. Adjust the input level using the controls on your USB turntable or the software if available.
Once your USB turntable is connected and recognized by Audacity, and you have adjusted the input levels, you are ready to start recording your vinyl records. In the next section, we will discuss the steps to select the appropriate recording format and make adjustments to recording levels in Audacity.
Selecting the Recording Device
Before you start recording from your USB turntable in Audacity, it’s essential to select the correct recording device. This ensures that Audacity captures the audio input from your USB turntable accurately. Here’s how you can do it:
- Open Audacity on your computer and ensure your USB turntable is properly connected.
- Click on the drop-down menu next to the microphone icon in the upper-left corner of the Audacity window. This displays the available recording devices.
- Select your USB turntable from the list of recording devices. It should be labeled with the name or model of your USB turntable.
- You may also need to choose the recording channels. If your USB turntable supports stereo recording, select “2 (stereo)” from the drop-down menu. If it only supports mono recording, choose “1 (mono).”
- After selecting the appropriate recording device, you will see the input level meter in Audacity responding to the audio signal from the turntable. This confirms that Audacity has recognized and is properly receiving the audio input from your USB turntable.
- If you don’t see the input level meter moving or if you’ve selected the wrong recording device, go back to the preferences (under the “Edit” tab) and double-check that you’ve chosen the correct device. You may need to scroll through the list of devices to find it.
By selecting the correct recording device in Audacity, you are ensuring that the software is ready to capture the audio from your USB turntable. This is a critical step before starting the recording process. In the next section, we will discuss how to adjust the recording levels to achieve optimal sound quality.
Adjusting Recording Levels
To achieve optimal sound quality when recording from your USB turntable in Audacity, it’s important to properly adjust the recording levels. This ensures that the audio signal is strong enough without clipping or distortion. Follow these steps to adjust the recording levels in Audacity:
- Start playing a record on your USB turntable to generate an audio signal.
- Observe the input level meter in Audacity, which displays the volume level of the audio signal from your USB turntable. You can find it in the middle of the Audacity window, next to the microphone icon.
- Aim for a strong audio signal that stays within the optimal range. If the input level meter is consistently in the yellow or red zone, it indicates that the signal is too loud and may result in distortion or clipping.
- If the input level is too low and barely reaching the green zone, the recording may sound weak and require amplification in post-processing.
- Adjust the recording levels on your USB turntable or in Audacity (if available) to achieve a balanced and strong audio signal. Consult the user manual of your USB turntable for specific instructions on adjusting the recording levels.
- If you are adjusting the levels in Audacity, locate the slider next to the microphone icon and use it to increase or decrease the recording level.
- As you make adjustments, keep monitoring the input level meter to ensure that the audio signal remains within the optimal range.
- Make subtle adjustments until you find the best recording level that captures the nuances of the music while avoiding clipping or distortion.
Properly adjusting the recording levels is crucial for obtaining high-quality recordings from your USB turntable. Take the time to experiment and find the optimal balance that results in clear and balanced audio. In the next section, we will discuss the recording format options available in Audacity.
Selecting the Recording Format
When recording from your USB turntable in Audacity, you have the option to choose the recording format that best suits your needs. The recording format determines the file type and quality of the recorded audio. Here’s how you can select the recording format in Audacity:
- Open Audacity on your computer and ensure your USB turntable is connected and properly set up.
- In the lower-left corner of the Audacity window, you’ll find a dropdown menu labeled “Project Rate (Hz)”. This menu displays the available sample rates for your recording.
- Select the appropriate sample rate for your recording. The sample rate determines the number of samples taken per second and affects the audio quality. Higher sample rates generally result in better quality but also larger file sizes.
- In the “File” menu at the top of the Audacity window, click on “Preferences”. This will open the Preferences window.
- In the Preferences window, navigate to the “Quality” section. Here, you can choose the desired bit depth for your recording. Higher bit depths provide better audio resolution but also result in larger file sizes.
- Choose the audio format for your recording. Audacity supports a variety of formats such as WAV, AIFF, FLAC, and MP3. Select the format that best suits your needs in terms of compatibility and file size.
- Once you have adjusted the sample rate, bit depth, and audio format settings, click “OK” to save the changes in the Preferences window.
By selecting the appropriate recording format in Audacity, you can ensure that your recorded audio files meet your desired specifications. Keep in mind that higher quality settings may result in larger file sizes, so consider the available storage space and intended usage when making your selections. In the next section, we will cover the actual recording process in Audacity.
Recording from the USB Turntable
Now that you have set up your USB turntable and configured Audacity, you are ready to start recording your vinyl records. Follow these steps to begin the recording process:
- Ensure your USB turntable is connected to your computer and properly set up.
- In Audacity, click on the red circular “Record” button at the top of the window to initiate the recording. Alternatively, you can go to the “Transport” menu and select “Record” from the dropdown.
- As the record plays, you will see the audio waveform being displayed in Audacity. This visual representation allows you to monitor the progress and quality of the recording.
- Listen carefully to the audio while the recording is in progress. If you notice any issues such as distortion, skipping, or excessive noise, you may need to adjust the recording levels or the positioning of the tonearm on your USB turntable.
- After the desired section of the record has been recorded, click on the square “Stop” button in Audacity to end the recording. You can also use the “Transport” menu and select “Stop” from the dropdown.
- If you wish to record additional sections or tracks, repeat the recording process by starting a new recording in Audacity.
Once you have completed the recording process, you can proceed to save and export your recorded audio files. Remember to save your project in Audacity’s native format (.aup) if you plan to make further edits or modifications. Additionally, you can export your recordings in various formats such as WAV, MP3, or FLAC depending on your requirements.
Recording from your USB turntable using Audacity allows you to preserve and enjoy your vinyl collection in a digital format. Whether you want to transfer your records to your digital music library or simply store them as backup copies, Audacity provides a convenient and user-friendly solution.
In the next section, we will provide some troubleshooting tips to help you overcome any potential challenges you may encounter during the recording process.
Saving and Exporting the Recorded File
After successfully recording your audio from the USB turntable in Audacity, it’s time to save and export the recorded file in your desired format. Here’s how you can do it:
- Click on the “File” menu at the top of the Audacity window and select “Save Project” if you want to save the recording as an Audacity project file (.aup). This allows you to preserve all the editing and modifications you’ve made.
- Choose a location on your computer where you want to save the project file, and give it a meaningful name that reflects the recording.
- If you want to export the recording in a different audio format (such as WAV or MP3), select the “File” menu again and this time choose “Export” followed by the desired format.
- Audacity will prompt you to choose the location where you want to save the exported audio file. Browse to the desired location and give the file a descriptive name.
- Depending on the selected format, you may have additional options to set the audio quality, compression settings, and metadata. Adjust these settings as desired.
- Click “Save” to export the recorded file. Audacity will start processing the audio and create the exported file in the specified format and location.
Once the file has been saved or exported, you can access it from the designated location on your computer. You can now enjoy your recorded audio or utilize it in various ways, such as adding it to your digital music library, sharing it with others, or even burning it onto a CD. Remember to keep a backup of the recorded file to avoid any accidental loss or damage.
Congratulations! You’ve successfully saved and exported the recorded file from your USB turntable using Audacity. In the next section, we will provide some troubleshooting tips to help you overcome potential challenges during the recording process.
Troubleshooting Tips
While recording from a USB turntable using Audacity can be a straightforward process, you may encounter some challenges along the way. Here are some troubleshooting tips to help you overcome common issues:
- No audio signal: If you’re not seeing any movement in the input level meter or if Audacity is not recognizing your USB turntable, double-check the connections. Ensure that the USB cable is securely connected and that the turntable is powered on.
- Low or distorted audio: If your recording is coming out too soft or distorted, check the recording levels. Make sure the levels are neither too low nor too high to avoid distortion or clipping. Adjust the levels using the controls on your USB turntable or in Audacity.
- Skipping or distorted playback: If you’re experiencing playback issues with your USB turntable, inspect the condition of your vinyl records. Clean them thoroughly to remove any dust or debris that may be causing skips or distortion. Additionally, ensure that the tonearm is properly aligned and that the stylus is in good condition.
- Buffer underruns: Buffer underruns can result in audio dropouts or interruptions during recording. To minimize this issue, close unnecessary applications running in the background to free up system resources. You can also increase the buffer size in the Audacity preferences to provide more time for the computer to process the audio.
- Compatibility issues: Audacity is compatible with various operating systems, but sometimes conflicts may occur with other software or plugins. Make sure you’re using the latest version of Audacity and check for any updates or conflicts with other software on your computer.
- File format issues: If you’re having trouble playing or importing the recorded file into other applications, ensure that you’ve chosen a compatible file format. Common formats like WAV or MP3 are supported by most media players and editing software.
- USB turntable issues: If you encounter persistent issues with your USB turntable, consult the user manual for troubleshooting advice specific to your model. You may also want to contact the manufacturer’s support team for further assistance.
By following these troubleshooting tips, you can overcome common challenges and ensure a smooth recording experience with your USB turntable and Audacity. Remember, patience and attention to detail are key to achieving high-quality recordings.
Conclusion
Recording from a USB turntable using Audacity provides a seamless way to digitize your vinyl record collection and enjoy them in a digital format. By following the steps outlined in this guide, you can preserve the authenticity and sound quality of your vinyl records while benefiting from the convenience and flexibility of digital audio.
We started by discussing the necessary equipment needed for the recording process, including a USB turntable, computer, USB cable, speakers or headphones, and optional accessories like an audio interface and vinyl record cleaning kit. Once you have gathered the equipment, we guided you through the setup of the USB turntable and the installation of Audacity.
Configuring Audacity preferences was the next step, ensuring that you selected the appropriate recording device, adjusted the recording levels, and chose the desired recording format. With these preferences set, you were ready to connect your USB turntable to Audacity and begin recording your vinyl records.
We covered the essentials of recording, including starting and stopping the recording process and monitoring the input levels. After recording, we discussed the steps to save and export your recorded files in various audio formats, allowing you to enjoy and share your digitized vinyl records as desired.
Lastly, we provided troubleshooting tips to help you overcome any challenges you may encounter during the recording process. Whether it’s missing audio signal, low or distorted audio, or compatibility issues, these tips will assist you in troubleshooting and resolving common problems.
Recording from a USB turntable using Audacity is a rewarding experience that combines the best of both analog and digital audio worlds. It allows you to preserve the vintage charm and warm sound of vinyl records while providing the convenience and accessibility of digital audio. So, dust off your vinyl collection, connect your USB turntable, and start creating digital memories of your favorite records with Audacity.