Home>Devices & Equipment>Turntable>What Hor Adjustment In Sony Biotracer Turntable
Turntable
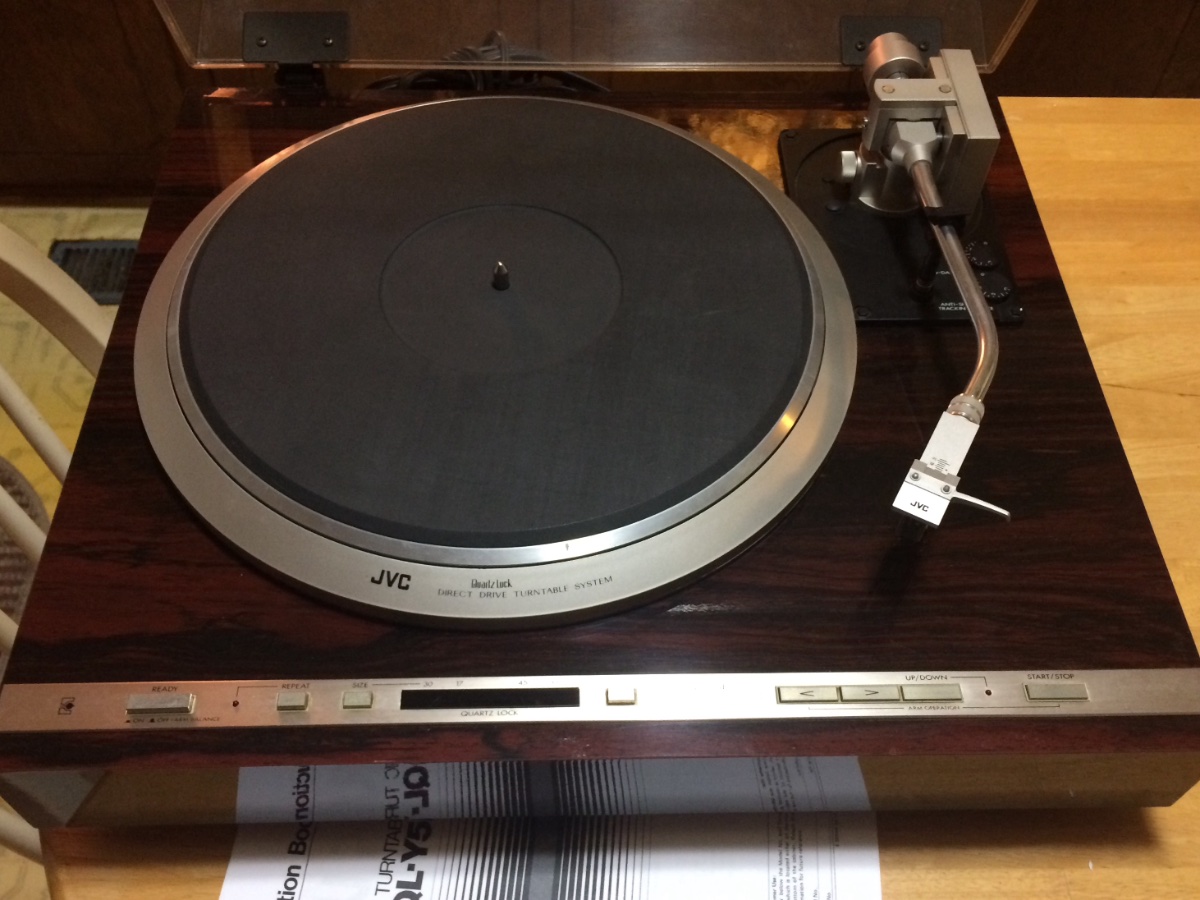
What Hor Adjustment In Sony Biotracer Turntable
Published: January 18, 2024
Discover the perfect hor adjustment for your Sony Biotracer turntable. Enhance your vinyl listening experience with precise turntable tuning.
(Many of the links in this article redirect to a specific reviewed product. Your purchase of these products through affiliate links helps to generate commission for AudioLover.com, at no extra cost. Learn more)
Table of Contents
Introduction
Welcome to the world of turntables, where music is not just heard but experienced. Vinyl records have made a remarkable comeback in recent years, with music enthusiasts rediscovering the warm and rich sound that only analog formats can deliver. Among the array of turntables available in the market, one brand stands out for its exceptional quality and innovation – Sony Biotracer.
Sony Biotracer turntables are renowned for their precision, reliability, and superior sound reproduction. These turntables are designed to provide an immersive vinyl listening experience, capturing every nuance and detail of your favorite records. One of the key features that sets Sony Biotracer turntables apart is the ability to adjust the horizontal (hor) alignment of the tonearm.
In this article, we will delve into the world of hor adjustment in Sony Biotracer turntables. We will explore the importance of this adjustment, common issues that can arise, and provide helpful tips for properly adjusting the hor alignment to optimize your listening experience.
Overview of Sony Biotracer Turntable
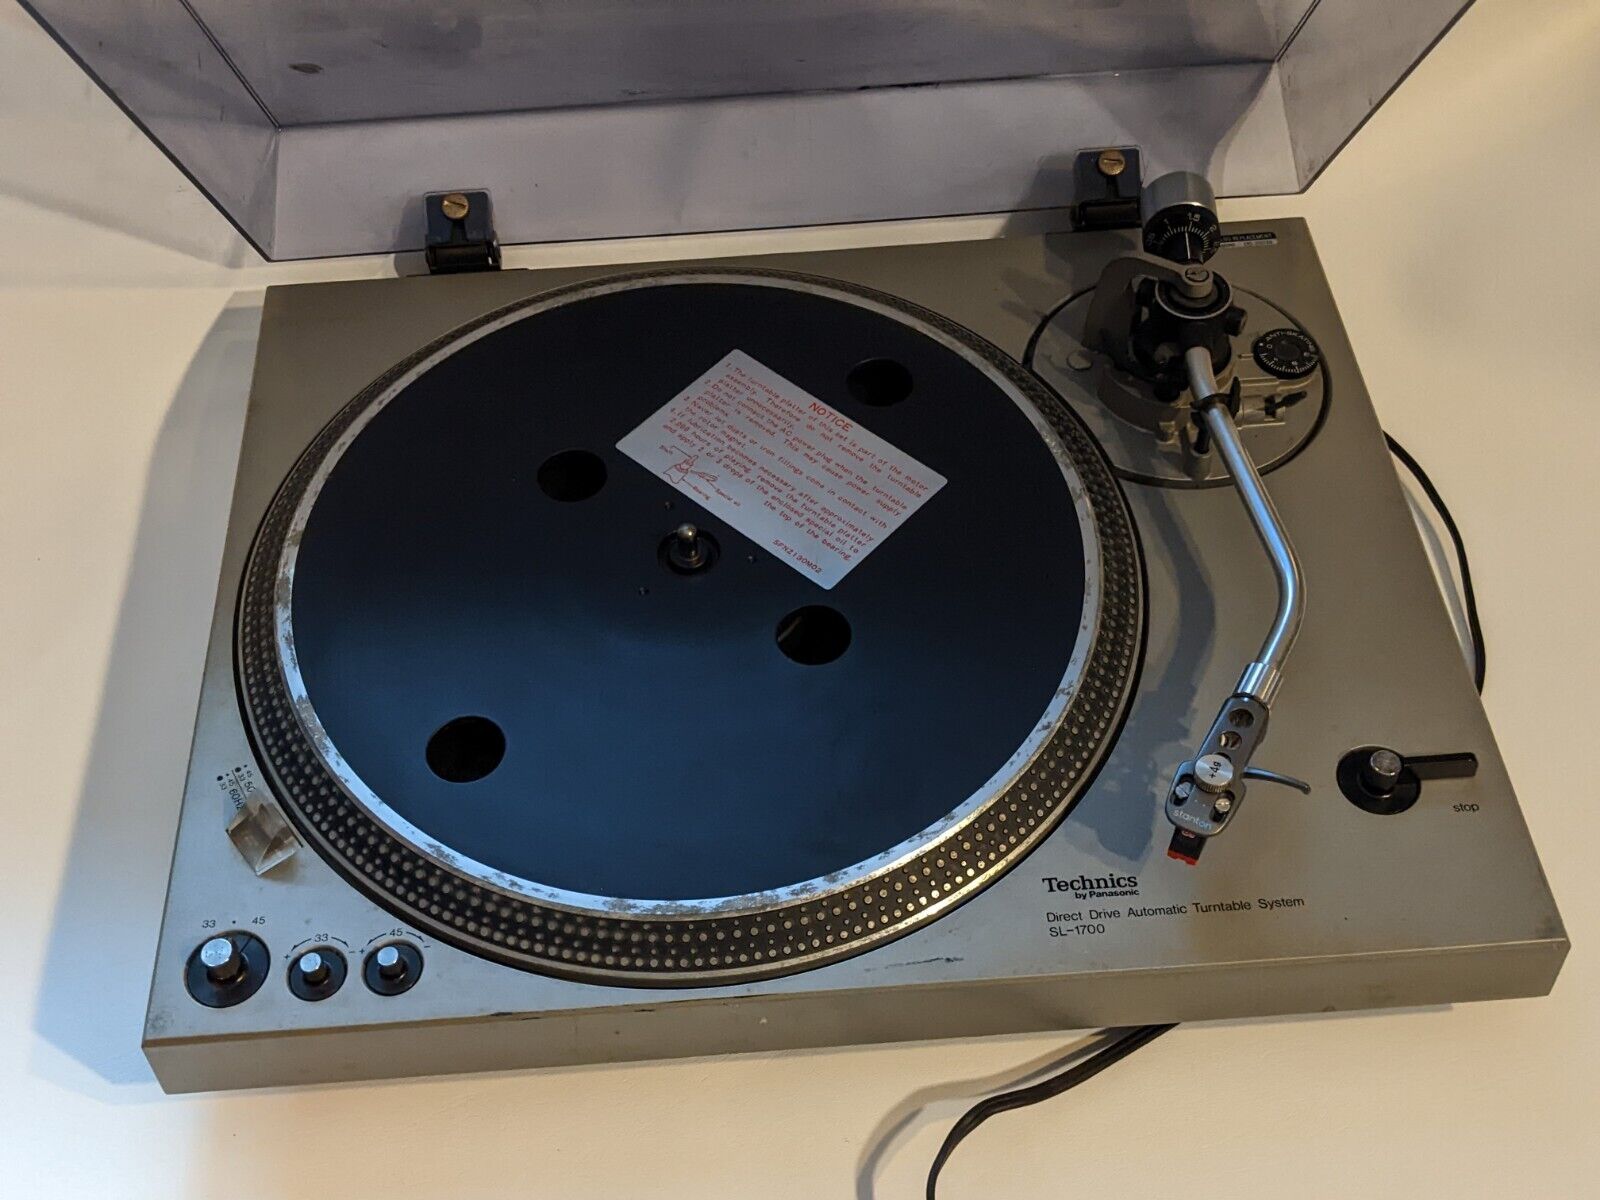
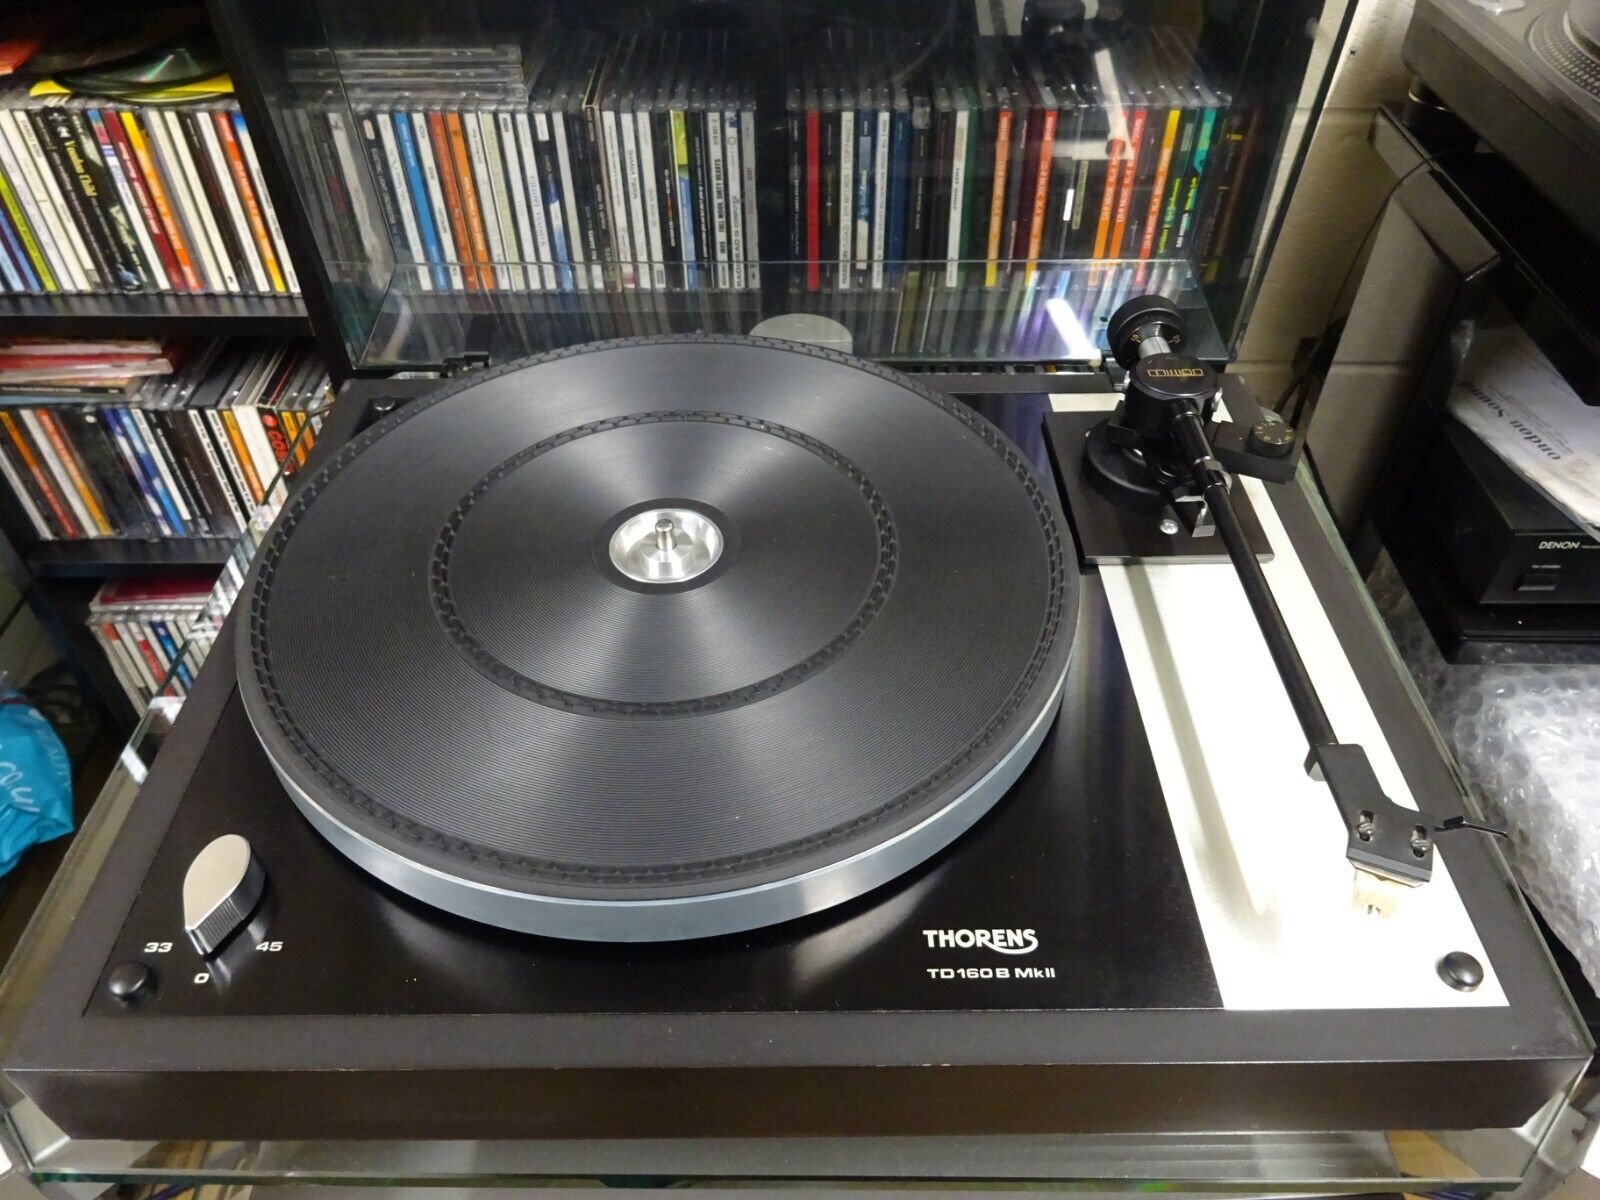
The Sony Biotracer turntable series embodies years of expertise and technological advancements in vinyl playback. These turntables feature a sleek and modern design, with a sturdy construction that ensures stability and minimizes unwanted vibrations. The precision-engineered components, such as the high-torque motor and high-quality tonearm, guarantee accurate tracking and playback.
One standout feature of the Sony Biotracer turntables is the integrated Biotracer technology. This innovative technology utilizes a built-in microcomputer to analyze the groove structure of the vinyl record in real-time. It then adjusts the horizontal alignment of the tonearm, also known as the hor adjustment, to ensure the optimum tracking of the stylus along the record grooves. This sophisticated system enhances the accuracy and fidelity of the sound reproduction, capturing the true essence of the music.
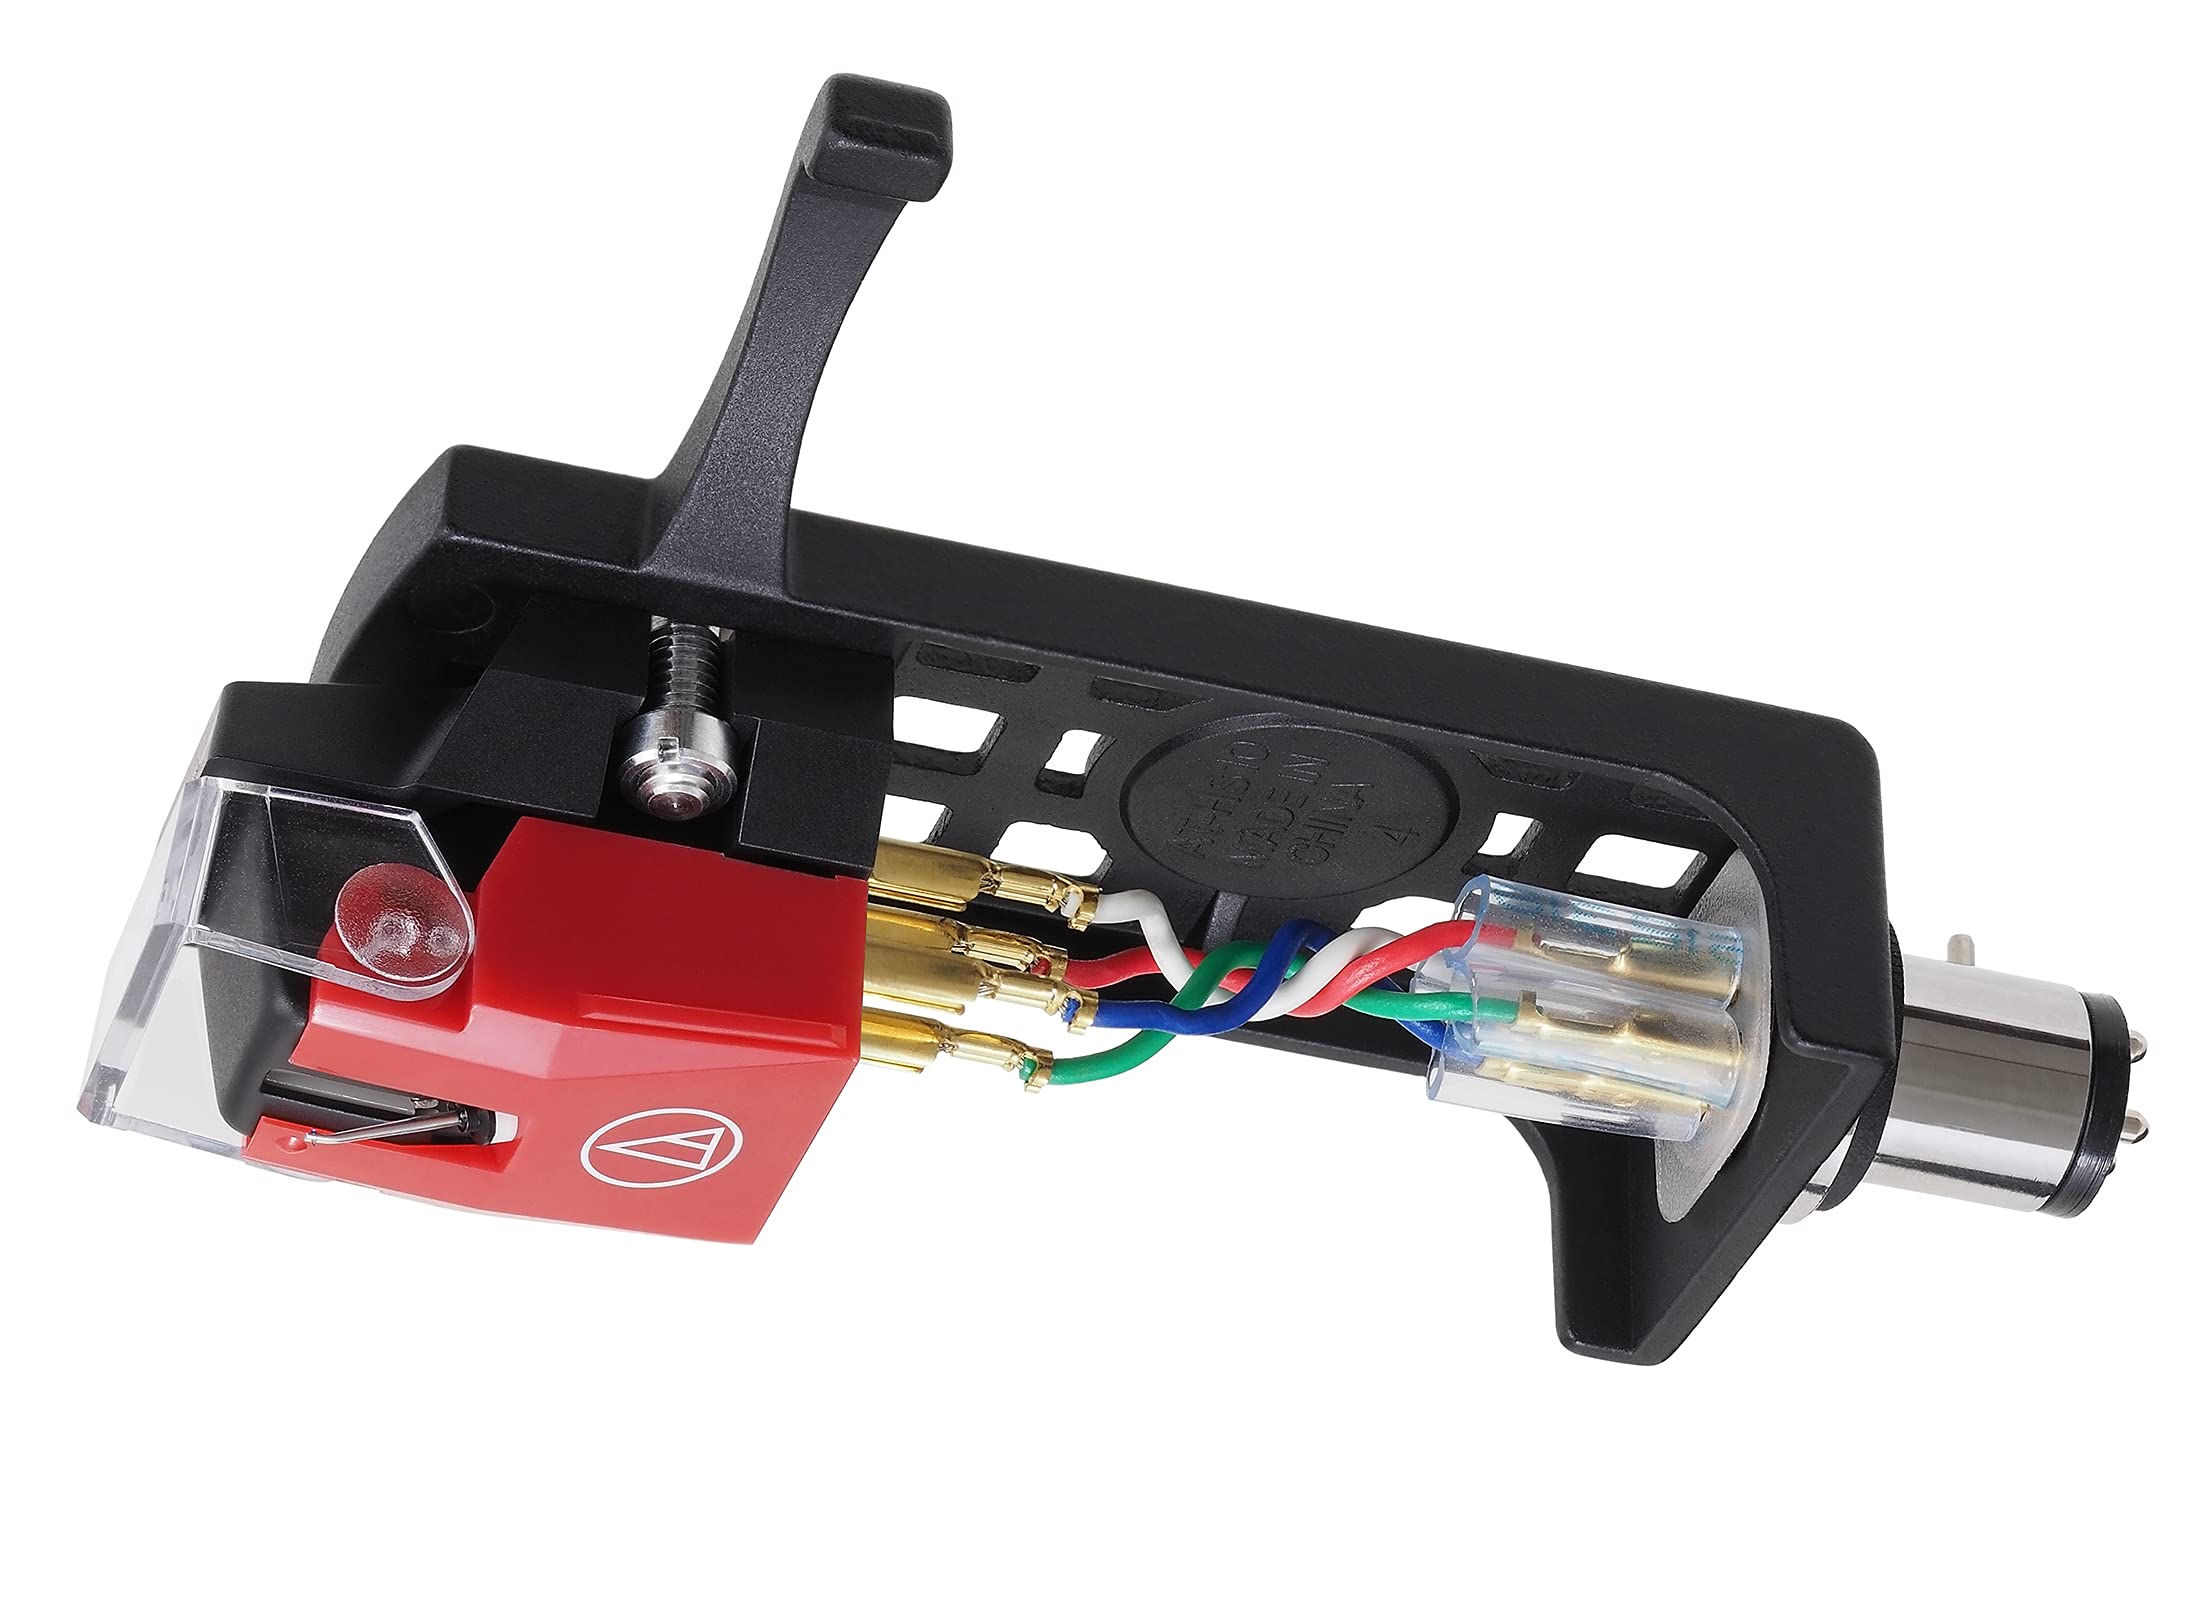
Additionally, the Sony Biotracer turntables are equipped with a high-quality cartridge, which is the component responsible for converting the mechanical movement of the stylus into electrical signals. The included cartridge is carefully selected to deliver exceptional audio performance, producing clear and detailed sound with minimal distortion.
Moreover, Sony Biotracer turntables offer various playback options to suit different preferences and setups. They usually include a built-in phono preamp, allowing you to connect the turntable directly to speakers or a receiver without the need for an external preamp. Some models also offer USB connectivity, enabling you to digitize your vinyl collection by directly recording the audio to your computer.
Overall, Sony Biotracer turntables are a testament to Sony’s commitment to delivering the highest-quality audio equipment. Whether you are an avid vinyl collector or a casual listener, these turntables provide an exceptional vinyl playback experience that will impress even the most discerning audiophiles.
Understanding the Hor Adjustment
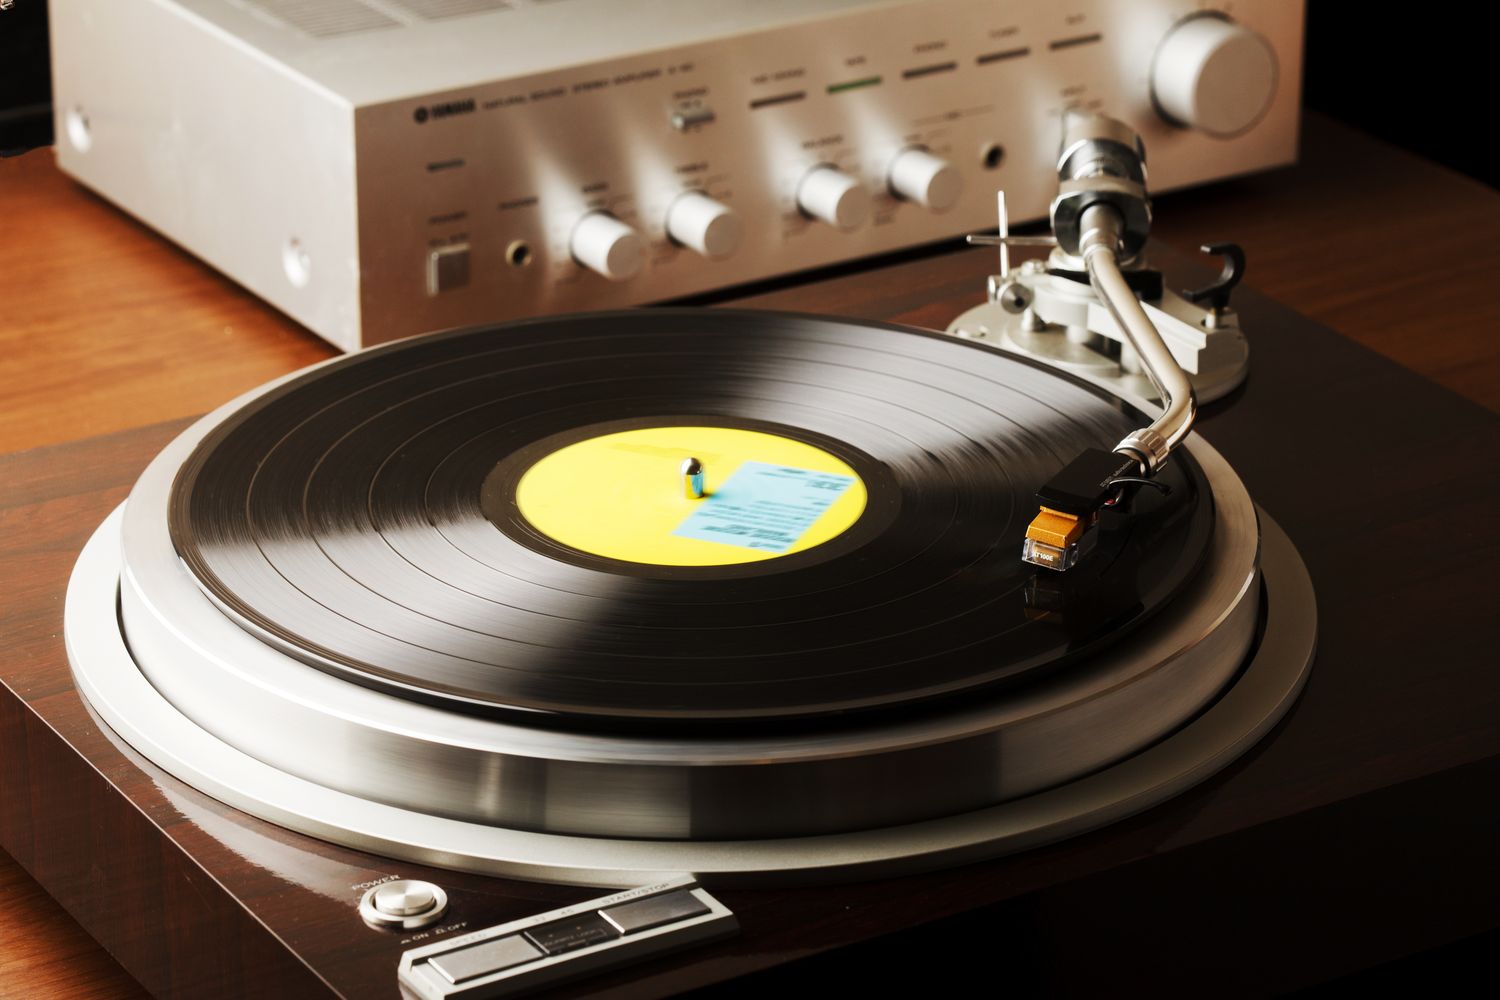
The hor adjustment in Sony Biotracer turntables refers to the horizontal alignment of the tonearm. It is the fine-tuning process that ensures that the stylus, the needle at the end of the tonearm, tracks the record grooves accurately. Proper hor alignment plays a pivotal role in achieving optimal sound quality, minimizing distortion, and reducing wear and tear on both the stylus and the vinyl record.
When setting up a Sony Biotracer turntable, it is essential to adjust the hor to match the characteristics of the specific vinyl record being played. This adjustment allows the stylus to maintain a consistent and precise angle while tracking the grooves. An incorrect hor alignment can result in tracking errors, skipping, imbalanced sound, and overall degradation of audio quality.
It is important to note that hor adjustment is not a one-size-fits-all setting. Different vinyl records may have variations in groove characteristics, such as depth, width, and curvature. Therefore, it is necessary to make slight adjustments to the hor to ensure that the stylus tracks the grooves with optimal precision and minimal distortion.
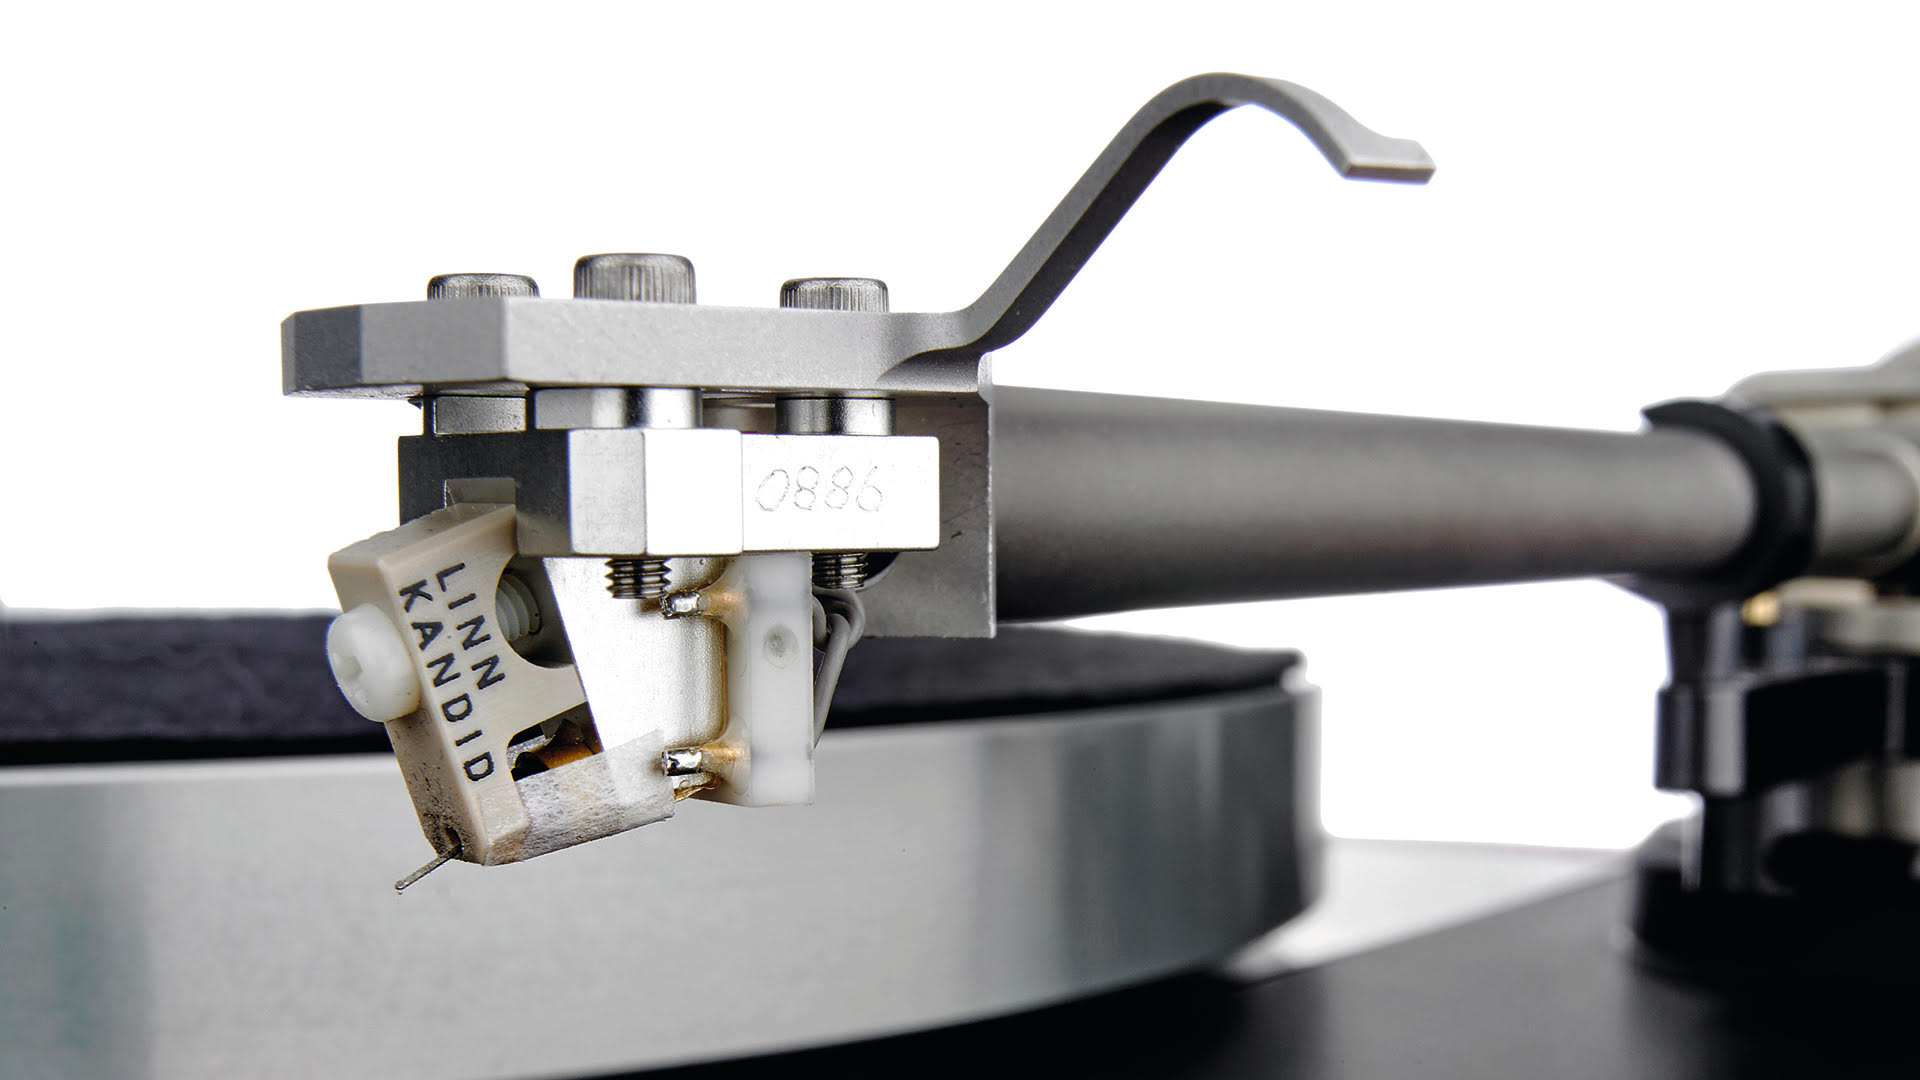
The hor adjustment can be achieved by adjusting the counterweight and anti-skate settings on the turntable. The counterweight is used to balance the tonearm and set the tracking force, while the anti-skate mechanism helps to counteract the inward force exerted on the stylus due to the groove curvature.
It is important to follow the manufacturer’s instructions for adjusting the hor on your specific Sony Biotracer turntable model. These instructions will guide you through the proper use of the counterweight and anti-skate mechanisms to achieve the desired hor alignment.
Additionally, it is recommended to use a stylus tracking force gauge, also known as a stylus force gauge, to accurately measure the tracking force exerted on the vinyl record. This can help ensure that the hor adjustment is within the recommended range and prevent excessive wear on the stylus and vinyl records.
By understanding and properly adjusting the hor on your Sony Biotracer turntable, you can optimize the playback performance and enjoy the full potential of your vinyl records.
Importance of Hor Adjustment in Sony Biotracer Turntable
The hor adjustment in Sony Biotracer turntables plays a crucial role in ensuring the accurate tracking of the stylus along the record grooves. This adjustment is essential for maintaining optimal sound quality, prolonging the lifespan of both the stylus and the vinyl records, and preserving the integrity of the audio playback.
One of the primary reasons for adjusting the hor is to minimize tracking errors. When the hor alignment is incorrect, the stylus may not stay precisely in the record groove, leading to skipping or jumping of the stylus across the surface. This not only disrupts the listening experience but also causes unnecessary wear on the stylus and the vinyl record. By achieving proper hor alignment, the stylus will track the grooves accurately, resulting in smooth and uninterrupted playback.
In addition to reducing tracking errors, the hor adjustment also helps to minimize distortion. When the stylus is not aligned properly, it may encounter resistance or uneven contact with the record grooves. This can result in distorted sound reproduction, with certain frequencies being emphasized or attenuated. By fine-tuning the hor alignment, you can ensure that the stylus maintains consistent contact with the grooves, resulting in a more faithful and balanced audio playback.
Proper hor alignment is also important for preserving the lifespan of both the stylus and the vinyl records. Inaccurate hor alignment can cause excessive wear on the stylus tip, leading to a shorter lifespan and diminished playback performance. Moreover, when the stylus does not track the grooves accurately, it can cause undue stress on the record, leading to potential groove damage and deterioration of the vinyl material. By maintaining proper hor alignment, you can prolong the life of your stylus and preserve the condition of your vinyl collection.
Furthermore, achieving the correct hor alignment ensures optimal playback performance and maximizes the potential of your Sony Biotracer turntable. With proper hor adjustment, you can experience the full depth, clarity, and dynamics of your vinyl records. The music will come alive, with accurate instrument separation, natural tonality, and a sense of depth and space that digital formats often struggle to replicate.
To summarize, the hor adjustment in Sony Biotracer turntables is crucial for achieving accurate tracking, minimizing distortion, preserving the lifespan of the stylus and the vinyl records, and maximizing the overall playback performance. By taking the time to fine-tune the hor alignment, you can ensure a superior vinyl listening experience that truly captures the essence of the music.
Troubleshooting Common Hor Adjustment Issues
While the hor adjustment in Sony Biotracer turntables is designed to provide accurate tracking and optimal sound quality, there are some common issues that can arise. Here are a few troubleshooting steps to help address these issues:
1. Skipping or Jumping:
If your turntable is skipping or jumping during playback, it could be a sign of improper hor alignment. Check the hor adjustment and ensure that the stylus is tracking the grooves consistently. Make small adjustments to the counterweight and anti-skate settings to achieve better hor alignment and reduce tracking errors.
2. Imbalanced Sound:
If you notice imbalanced sound from your turntable, with certain frequencies overpowering others, it could indicate an issue with hor alignment. Ensure that the stylus is making even contact with the record grooves. Adjust the counterweight and anti-skate settings to achieve proper hor alignment and restore balanced sound reproduction.
3. Audible Distortion:
If you hear distortion in the audio playback, it could be due to improper hor alignment. Check the stylus tracking force and adjust it to the manufacturer’s recommended range. Additionally, verify that the anti-skate mechanism is properly set to counteract inward force on the stylus. Fine-tuning the hor adjustment can help minimize distortion and improve the overall sound quality.
4. Uneven Wear on Stylus or Records:
If you notice uneven wear on the stylus tip or the vinyl records, it could indicate an issue with hor alignment. Check the tracking force and ensure that it is within the recommended range. Make small adjustments to the counterweight and anti-skate settings to achieve proper hor alignment and reduce unnecessary wear on the stylus and records.
5. Inconsistent Tracking:
If the tracking performance of your turntable is inconsistent, with the stylus losing contact with the grooves intermittently, it could be due to hor alignment issues. Double-check the counterweight, anti-skate, and hor adjustment settings to ensure that the tonearm is properly balanced and aligned. By achieving accurate hor alignment, you can improve the tracking consistency of your turntable.
If you encounter any of these issues and are unsure how to resolve them, it is advisable to consult the user manual or reach out to Sony customer support for further assistance. Additionally, seeking guidance from experienced turntable technicians can provide valuable insights and help address hor adjustment issues more effectively.
By troubleshooting common hor adjustment issues, you can overcome any challenges that may arise and ensure optimal performance and sound quality from your Sony Biotracer turntable.
Tips for Properly Adjusting the Hor on Sony Biotracer Turntable
Properly adjusting the hor on your Sony Biotracer turntable is essential for achieving optimal sound quality and a superior vinyl listening experience. Here are some helpful tips to guide you through the hor adjustment process:
1. Follow the Manufacturer’s Instructions:
Refer to the user manual provided by Sony for your specific Biotracer turntable model. The manual will provide step-by-step instructions on how to adjust the hor using the counterweight and anti-skate mechanisms. It is important to follow these instructions carefully to ensure proper alignment.
2. Use a Stylus Tracking Force Gauge:
Invest in a stylus tracking force gauge, also known as a stylus force gauge, to accurately measure the downward force exerted by the stylus on the record. This will help you determine the optimal tracking force range recommended by Sony for your specific turntable model.
3. Experiment with Different Settings:
Perform small, incremental adjustments to the counterweight and anti-skate settings while observing the playback performance. Take your time to find the optimal hor alignment that provides smooth tracking and accurate reproduction of the music.
4. Check for Balance:
Ensure that the tonearm is balanced horizontally. To do this, gently lift the tonearm and observe if it remains parallel to the platter. If it tilts to one side, make small adjustments to the counterweight until the tonearm remains level.
5. Fine-tune the Anti-Skate:
The anti-skate mechanism helps counteract the inward force applied to the stylus due to the groove curvature. Fine-tune the anti-skate setting to ensure that the stylus maintains proper alignment while tracking the grooves. This will help minimize distortion and improve overall tracking performance.
6. Take Note of Record Variations:
Keep in mind that different vinyl records may have variations in groove depth, width, and curvature. Adjust the hor accordingly to accommodate these variations and ensure accurate tracking across different records in your collection.
7. Regularly Clean the Stylus:
Clean the stylus regularly to remove any accumulated dust or debris, as this can affect tracking performance. Use a stylus brush or a specialized stylus cleaning solution to gently clean the stylus tip.
8. Seek Professional Help:
If you are unsure about adjusting the hor on your Sony Biotracer turntable, consider seeking assistance from experienced turntable technicians. They can provide professional guidance and ensure that your hor alignment is correctly set.
By following these tips, you can properly adjust the hor on your Sony Biotracer turntable and optimize the tracking performance, sound quality, and longevity of your vinyl records.
Conclusion
The hor adjustment is a critical aspect of optimizing the performance of your Sony Biotracer turntable. By properly aligning the tonearm and stylus, you can ensure accurate tracking, minimize distortion, and enhance overall sound quality. The hor adjustment process involves fine-tuning the counterweight, anti-skate, and other settings to match the specific characteristics of your vinyl records.
With Sony Biotracer turntables, you can experience the true magic of vinyl playback, immersing yourself in the warmth and richness of analog sound. The integrated Biotracer technology further enhances the hor alignment, ensuring precise tracking and faithful audio reproduction. Whether you are a seasoned audiophile or a casual vinyl enthusiast, the hor adjustment in Sony Biotracer turntables allows you to unleash the full potential of your vinyl collection.
However, it’s important to remember that hor adjustment is not a one-time event. As you acquire new vinyl records, each with its own groove characteristics, you may need to make slight adjustments to the hor to achieve optimal playback. Regular maintenance, such as cleaning the stylus and checking the hor alignment, will help maintain the performance of your turntable over time.
We hope that this article has provided you with a comprehensive understanding of the hor adjustment in Sony Biotracer turntables. By following the provided tips and troubleshooting common issues, you can ensure that your turntable consistently delivers the best possible sound quality and maintains the longevity of your vinyl records.
Remember, the hor adjustment process may require some trial and error, and it’s essential to be patient and attentive to achieve the desired results. As you dive into the world of vinyl playback, embrace the unique experience it offers and enjoy the music in its purest form with your Sony Biotracer turntable.