Home>Events & Info>Ballet>How To Do A Ballet Bun On A Child

Ballet
How To Do A Ballet Bun On A Child
Modified: January 22, 2024
Learn how to create a beautiful ballet bun on a child's hair with our step-by-step guide. Perfect for ballet recitals and performances.
(Many of the links in this article redirect to a specific reviewed product. Your purchase of these products through affiliate links helps to generate commission for AudioLover.com, at no extra cost. Learn more)
Table of Contents
Introduction
Creating a ballet bun is an essential skill for any aspiring young dancer. Not only does it provide a sleek and professional look, but it also keeps the hair securely in place throughout a dance class or performance. In this article, we will guide you through the step-by-step process of creating a ballet bun on a child.
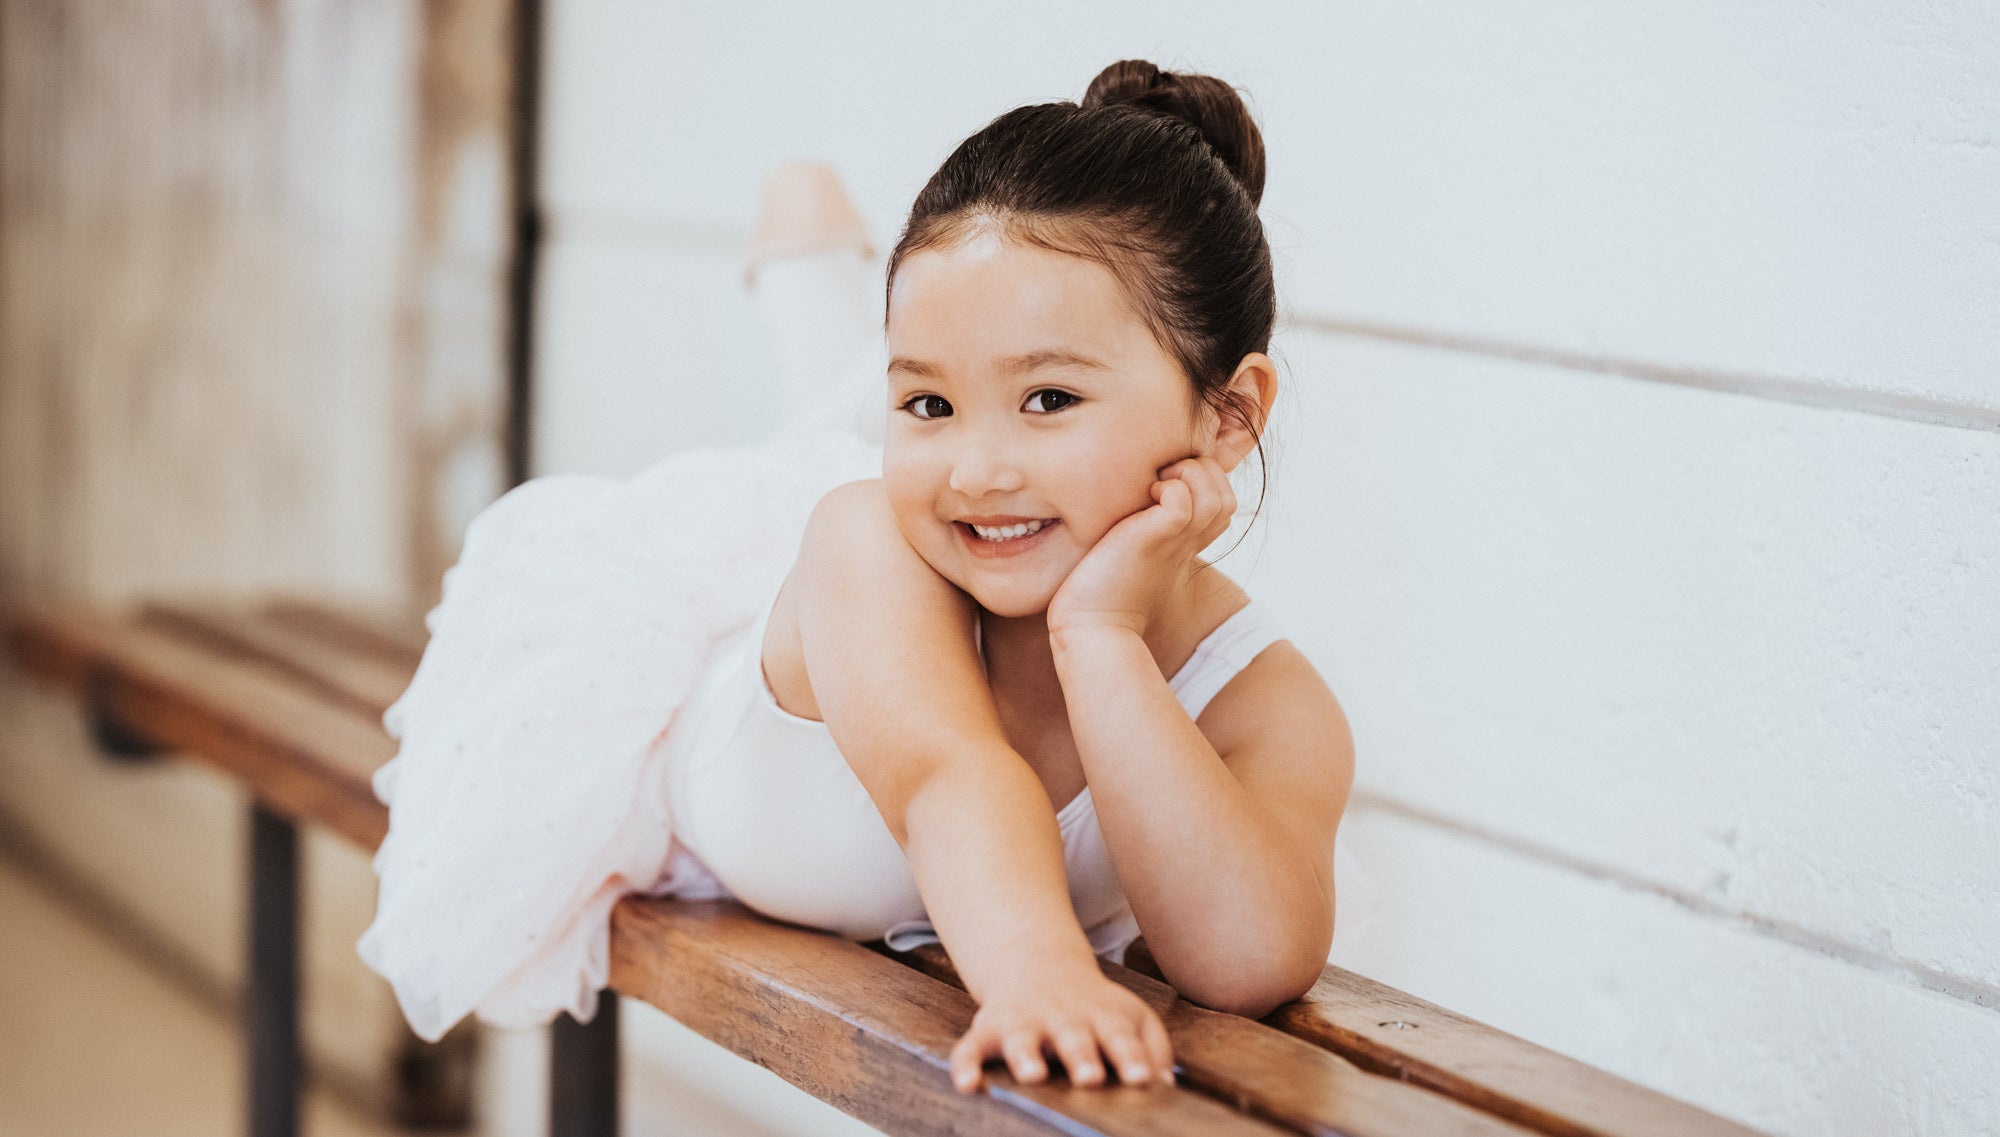
A ballet bun is a classic hairstyle that involves twisting and coiling the hair into a neat and tidy bun at the back of the head. It is essential for maintaining a polished appearance and preventing hair distractions during ballet movements. The bun should be tight enough to stay in place during vigorous dance routines but comfortable enough for the dancer to move freely. With the right technique and a few supplies, you can easily create a beautiful ballet bun for your child.
Whether you are a ballet student, a dance teacher, or a parent helping your child prepare for a dance class or performance, mastering the skill of creating a ballet bun is important. Not only will it showcase your attention to detail and professionalism, but it will also ensure that the dancer can focus solely on their technique without any hair distractions.
In the following steps, we will discuss the supplies you’ll need and guide you through the process of creating a perfect ballet bun on a child. So let’s get started!
Step 1: Gather Supplies
Before you begin creating a ballet bun on a child, it’s important to gather all the necessary supplies. Having everything prepared in advance will make the process smoother and more efficient. Here are the essential supplies you will need:
- Elastic hair ties: Choose hair ties that are strong and durable to secure the bun tightly in place.
- Hairbrush: Make sure to have a brush with soft bristles to gently comb and smooth out the hair.
- Bobby pins: These will be used to hold the bun in place and secure any loose hairs.
- Hairspray or hair gel (optional): Using a small amount of hairspray or hair gel can help control flyaways and keep the bun looking sleek.
- Hairnet or hair donut (optional): If you want to create a fuller and more voluminous bun, you can use a hairnet or a hair donut to add extra padding.
- Decorative hair accessories (optional): If desired, you can add decorative hair accessories such as bows, ribbons, or flower clips to embellish the ballet bun.
Ensure that all the supplies are clean and in good condition before beginning. Having everything conveniently within reach will save you time and frustration during the process. Once you have gathered all the necessary supplies, you are ready to move on to the next step.
Step 2: Brush the Hair
Before you can create a ballet bun on a child, it’s important to start with clean, dry, and tangle-free hair. Begin by gently brushing the child’s hair to remove any knots or tangles. Use a brush with soft bristles to avoid causing discomfort or breakage.
Start at the ends of the hair and work your way up towards the roots, using slow and gentle strokes. This will minimize pulling and reduce the risk of damaging the hair. If the child’s hair is particularly thick or prone to tangling, you can spray a detangling solution or apply a small amount of leave-in conditioner to make brushing easier.
It’s crucial to ensure that the hair is brushed completely smooth and free of any knots or tangles. This will make the subsequent steps of creating the ballet bun much easier and ensure a neater final result.
While brushing, pay attention to any stubborn flyaways or frizz. Use a little hairspray, hair gel, or water to tame these flyaways and create a sleeker look. However, be careful not to use too much product, as it can make the hair stiff and difficult to work with.
Brushing the hair thoroughly not only helps in creating a neat and polished ballet bun but also promotes healthy hair care practices. By removing tangles and evenly distributing natural sebum, you’re helping to maintain the overall health and condition of the hair.
Once you have brushed the child’s hair so that it is sleek and tangle-free, you are now ready to move on to the next step of creating the ballet bun.
Step 3: Secure a Ponytail
Now that the hair is brushed and tangle-free, it’s time to secure a ponytail. Gather all the hair together at the crown of the head or just above the nape of the neck, depending on your preference and the child’s hair length. Use your hand or a comb to smooth out any bumps or unevenness.
Hold the gathered hair firmly in place with one hand while using the other hand to secure it with an elastic hair tie. Make sure the hair tie is tight enough to hold the ponytail securely, but not so tight that it causes discomfort or pain. It’s important to ensure that the elastic is not pulling or tugging on the child’s hair, as this can lead to unnecessary breakage.
If the child has particularly fine or slippery hair, you can use an additional hair tie to create a double ponytail. Simply divide the hair into two equal sections and secure each section individually with a hair tie. This will provide extra support and prevent the ponytail from slipping or coming loose during the ballet class or performance.
While securing the ponytail, make sure to maintain the desired height and positioning. A ballet bun can be placed either high on the head for a more classic look or slightly lower for added comfort. Consider the child’s hair length and personal preference when determining the placement of the ponytail.
Once the ponytail is securely in place, check for any loose hairs or bumps. Use the comb or your fingers to smooth out any imperfections, ensuring that the hair is neat and evenly gathered. The ponytail sets the foundation for the ballet bun, so it’s important to take your time and make sure it is well-secured and positioned properly.
With the ponytail secured, you’re ready to move on to the next step and start transforming it into a beautiful ballet bun.
Step 4: Twist the Ponytail
Now that you have secured a ponytail, it’s time to start transforming it into a ballet bun. Begin by holding the ponytail firmly with one hand and use the other hand to start twisting the hair clockwise or counterclockwise, depending on your preference.
As you twist the ponytail, make sure to keep it tight and close to the scalp. This will create a sleek and polished look for the ballet bun. Continue twisting until the entire length of the ponytail is twisted from the base to the ends.
If the child has longer hair, the twisted ponytail may start to loosen or unravel towards the ends. To prevent this, you can secure the ends of the twisted hair with another elastic hair tie. This will help keep the twist in place and maintain the shape of the bun.
While twisting, you can also use your fingers to smooth out any bumps or unevenness. This will ensure that the twisted ponytail is neat and uniform, ready for the next step.
It’s important to note that the direction of the twist can vary depending on personal preference and the desired style of the ballet bun. Some dancers may prefer a clockwise twist, while others may opt for a counterclockwise twist. Experiment with both directions and choose the one that creates a bun shape that you find most visually appealing.
Once the ponytail is fully twisted, it’s time to move on to the next step and start coiling the twisted hair to create the ballet bun.
Step 5: Coil the Ponytail
With the ponytail twisted, it’s time to coil it around the base to create the ballet bun. Hold the twisted ponytail with one hand, ensuring that it stays tightly twisted, and use the other hand to start coiling it around the base of the ponytail.
As you coil the hair, make sure to keep it close to the head and avoid any gaps or loose sections. The tighter the coiling, the more secure and polished the ballet bun will appear. Continue coiling the twisted ponytail around the base until you reach the end of the hair.
While coiling, you can use your fingers or the end of a comb to guide the hair and help create a neat and even coil. The goal is to wrap the entire length of the twisted hair around the base, hiding the elastic hair tie and creating a compact bun.
If the child has longer hair and there is excess hair remaining after coiling, continue wrapping it around the bun until the ends are tucked underneath. Use bobby pins to secure any loose ends and keep the bun in place.
It’s important to maintain control and tension as you coil the ponytail to ensure a secure and well-formed ballet bun. Take your time and adjust the coiling to achieve the desired shape and fullness.
Once the twisted ponytail is fully coiled and secured in place, the ballet bun is starting to take shape. However, the process doesn’t end here. The next step involves securing the bun and making any necessary adjustments before finalizing the look.
Step 6: Secure the Bun
Now that you have coiled the ponytail into a ballet bun, it’s time to secure it to ensure it stays in place throughout the dance class or performance. Begin by taking a few bobby pins and inserting them into the bun to anchor it to the head.
Start by positioning the bobby pins vertically and push them through the outer edges of the bun, securing it to the scalp. Make sure the bobby pins are inserted deep enough to hold the bun firmly but not too tight to cause discomfort for the child.
If the child has particularly thick or heavy hair, you may need to use a few extra bobby pins to provide additional support. Insert them strategically around the bun, focusing on the areas where the hair feels looser or less secure.
While inserting the bobby pins, you can use your other hand to hold the bun in place and ensure it stays centered and symmetrical. Take a moment to step back and check the bun from different angles to ensure it appears even and well-balanced.
When inserting the bobby pins, it’s important to hide them within the bun to create a seamless and polished look. Make sure they are not visible from the front or sides of the bun. You can hide the bobby pins by inserting them in such a way that they go through the bun and then loop back into the bun, securing any loose sections of hair along the way.
If necessary, you can also use additional elastic hair ties, hairnet, or hair donut to further secure the bun. Simply place the hairnet or donut around the bun and tuck any loose ends underneath. This will provide extra stability and help maintain the shape of the ballet bun.
With the bun securely fastened, take a moment to gently pat the bun to ensure it is smooth and free of bumps or gaps. Use your fingers to adjust any loose hairs or sections, tucking them into the bun or securing them with bobby pins if needed.
Once the bun is firmly secured and any adjustments are made, you’re one step closer to completing the perfect ballet bun. The next step involves tidying up any loose hairs for a polished and professional look.
Step 7: Tidy Up Loose Hairs
After securing the ballet bun, it’s time to tidy up any loose hairs to achieve a polished and neat appearance. Use a comb or your fingers to carefully smooth out any flyaways or stray hairs that may have escaped during the bun-making process.
If there are any small sections of hair sticking out, you can gently tuck them back into the bun and secure them with bobby pins. Alternatively, you can use a small amount of hairspray or hair gel to tame and control the loose hairs, ensuring they blend seamlessly into the bun.
For a sleeker and more finished look, you can use a soft bristle brush or a clean mascara wand (specifically designated for hair) to gently brush the hair around the bun. This will help to smooth out any remaining frizz or baby hairs, creating a polished and elegant ballet bun.
Take a few moments to step back and examine the bun from different angles, ensuring that it appears smooth, symmetrical, and free of any stray hairs. Adjust and fix any imperfections as needed until the bun looks tidy and professional.
Remember, the ballet bun should be comfortable for the child to wear and allow for ease of movement during dance. Make sure the bun is not too tight or pulling on the hair, as this can cause discomfort or headaches.
By tidying up the loose hairs, you not only enhance the overall look of the ballet bun but also present a clean and polished appearance for the dancer. With the bun now looking sleek and refined, you can consider adding decorative hair accessories to personalize the look, if desired.
Step 8: Add Hair Accessories (optional)
In this final step, you have the option to add hair accessories to embellish the ballet bun and add a touch of personal style. While hair accessories are not essential for the ballet bun, they can be a fun and creative way to enhance the overall look.
There are various types of hair accessories that you can choose from, depending on your preferences and the child’s style. Some common options include bows, ribbons, flower clips, or sparkly hairpins. Make sure to select accessories that are lightweight and securely attach to the hair to prevent them from falling out during dance movements.
If you decide to use hair accessories, carefully place them around the bun, considering their size, shape, and color. You can position them in a symmetrical pattern or arrange them in a way that complements the child’s outfit or the theme of the performance.
When adding hair accessories, be mindful of their placement so that they do not interfere with the dancer’s movements or distract from the overall appearance. Make sure they are securely attached to avoid any mishaps during the performance.
It’s important to keep in mind that the main focus of the ballet bun is to present a professional and uniform look. Therefore, if you choose to add hair accessories, ensure that they enhance the overall aesthetic while maintaining the elegance and simplicity of the ballet bun.
Once you have added the desired hair accessories, take a final moment to ensure that the ballet bun looks balanced and visually appealing. Adjust as needed, and then step back to admire the finished result.
Remember, hair accessories are optional and should be selected based on personal preference and the appropriate guidelines set by the dance academy or performance. Whether you choose to add accessories or keep the ballet bun minimalistic, the most important aspect is that the bun is secure and allows the dancer to focus on their movements with confidence.
Congratulations! You have successfully completed all the steps to create a beautiful ballet bun on a child. With practice and patience, you will become more proficient in achieving the perfect ballet bun every time.
Now, it’s time to let your little dancer shine on stage with their stunning ballet bun!
Conclusion
Creating a ballet bun on a child is a skill that is not only practical but also adds to the overall professionalism and aesthetic of a dancer. By following the step-by-step process outlined in this article, you can achieve a beautiful and secure ballet bun for your child.
From gathering the necessary supplies to securing the bun and adding optional hair accessories, each step plays a crucial role in achieving the perfect ballet bun. Remember to brush the hair thoroughly, secure a ponytail, twist and coil the hair, and ensure the bun is tightly secured with bobby pins. Tidy up any loose hairs and, if desired, add hair accessories to showcase the child’s personal style.
Creating a ballet bun not only enhances the dancer’s appearance but also promotes a sense of discipline and attention to detail. It allows the child to focus solely on their dance movements without any hair distractions.
Practice is key in achieving the perfect ballet bun. The more you practice and refine your technique, the easier it will become to create a secure and polished bun. Take the time to experiment with different styles and techniques until you find the one that works best for your child’s hair type and length.
Remember to ensure that the bun is comfortable for the child to wear and allows for freedom of movement. Avoid pulling the hair too tightly or using excessive amounts of product, as this can cause discomfort or damage to the hair.
By mastering the art of creating a ballet bun, you are giving your child the opportunity to showcase their talent and dedication with confidence and poise. So put on some music, gather your supplies, and have fun creating that perfect ballet bun for your little dancer.
With a beautifully crafted ballet bun, your child is ready to step onto the dance floor and shine. Embrace the artistry and grace of ballet, and let the ballet bun be the finishing touch that completes the picture of a passionate and skilled young dancer.

