Home>Events & Info>Ballet>How To Do A Ballet French Twist
Ballet
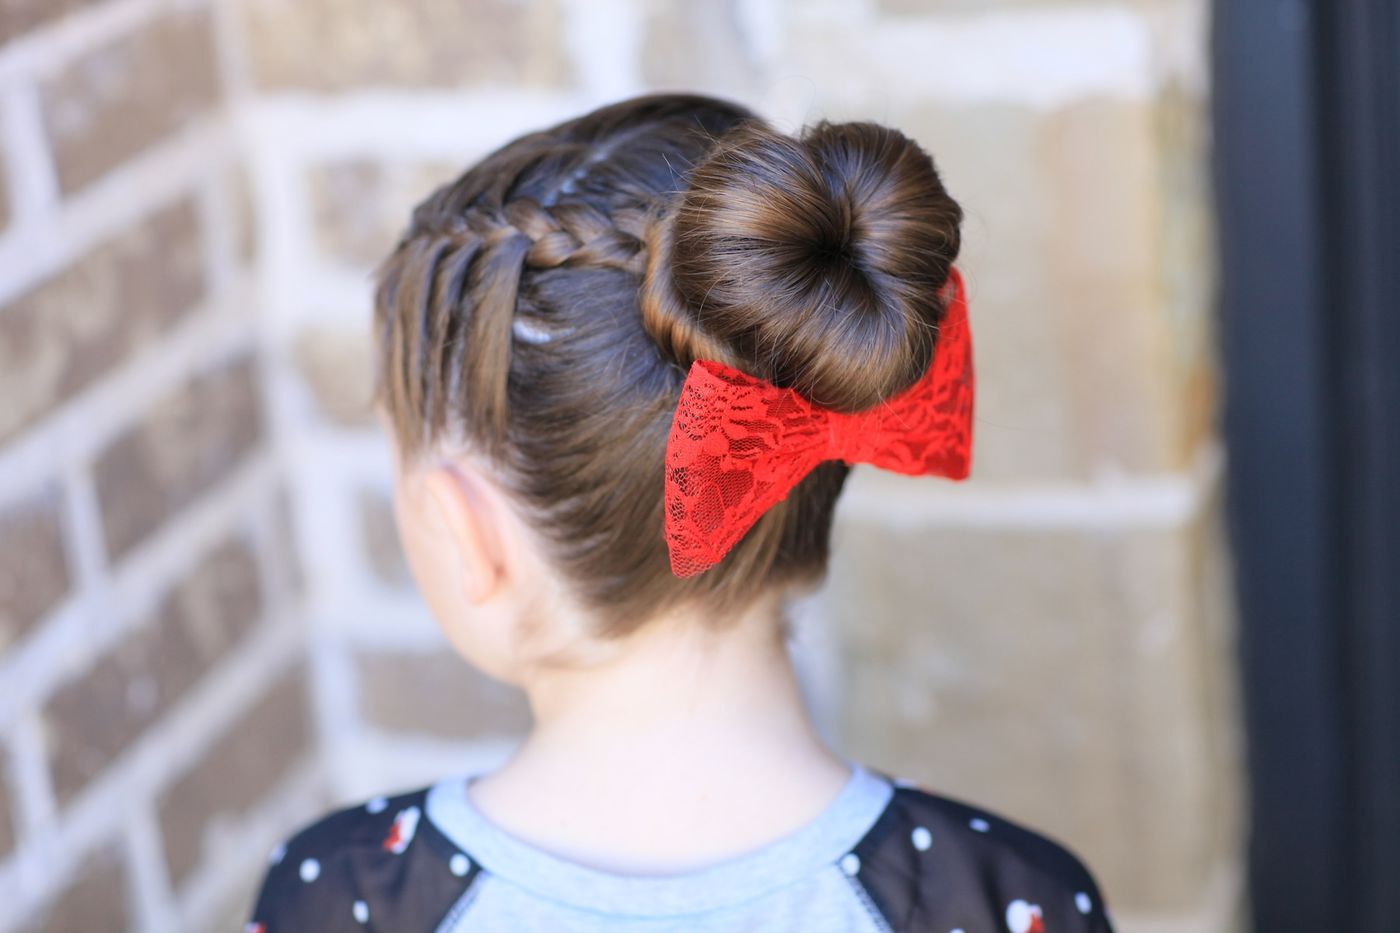
How To Do A Ballet French Twist
Modified: January 22, 2024
Learn how to create a graceful ballet French twist hairstyle with our step-by-step guide. Perfect for a elegant and polished look.
(Many of the links in this article redirect to a specific reviewed product. Your purchase of these products through affiliate links helps to generate commission for AudioLover.com, at no extra cost. Learn more)
Table of Contents
Introduction
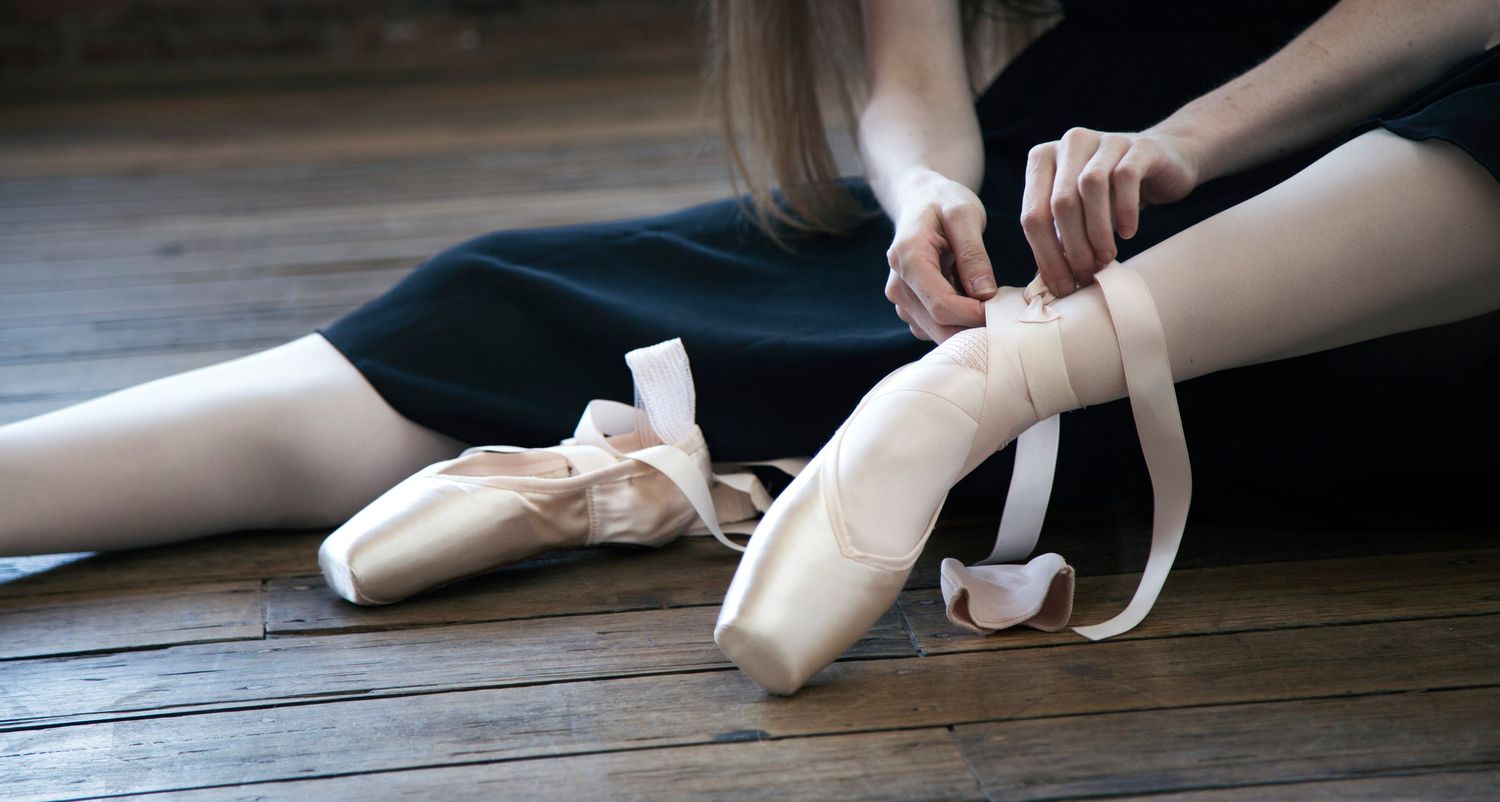
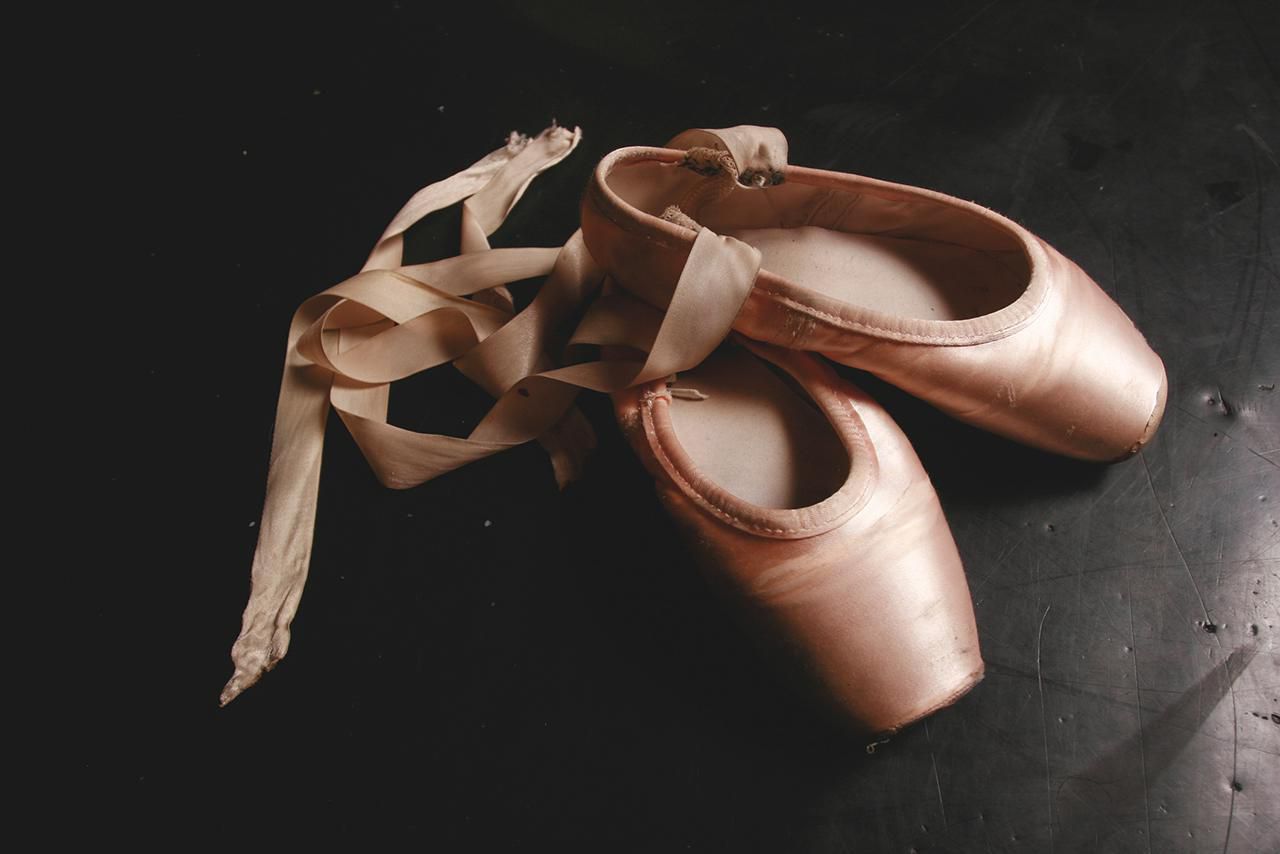
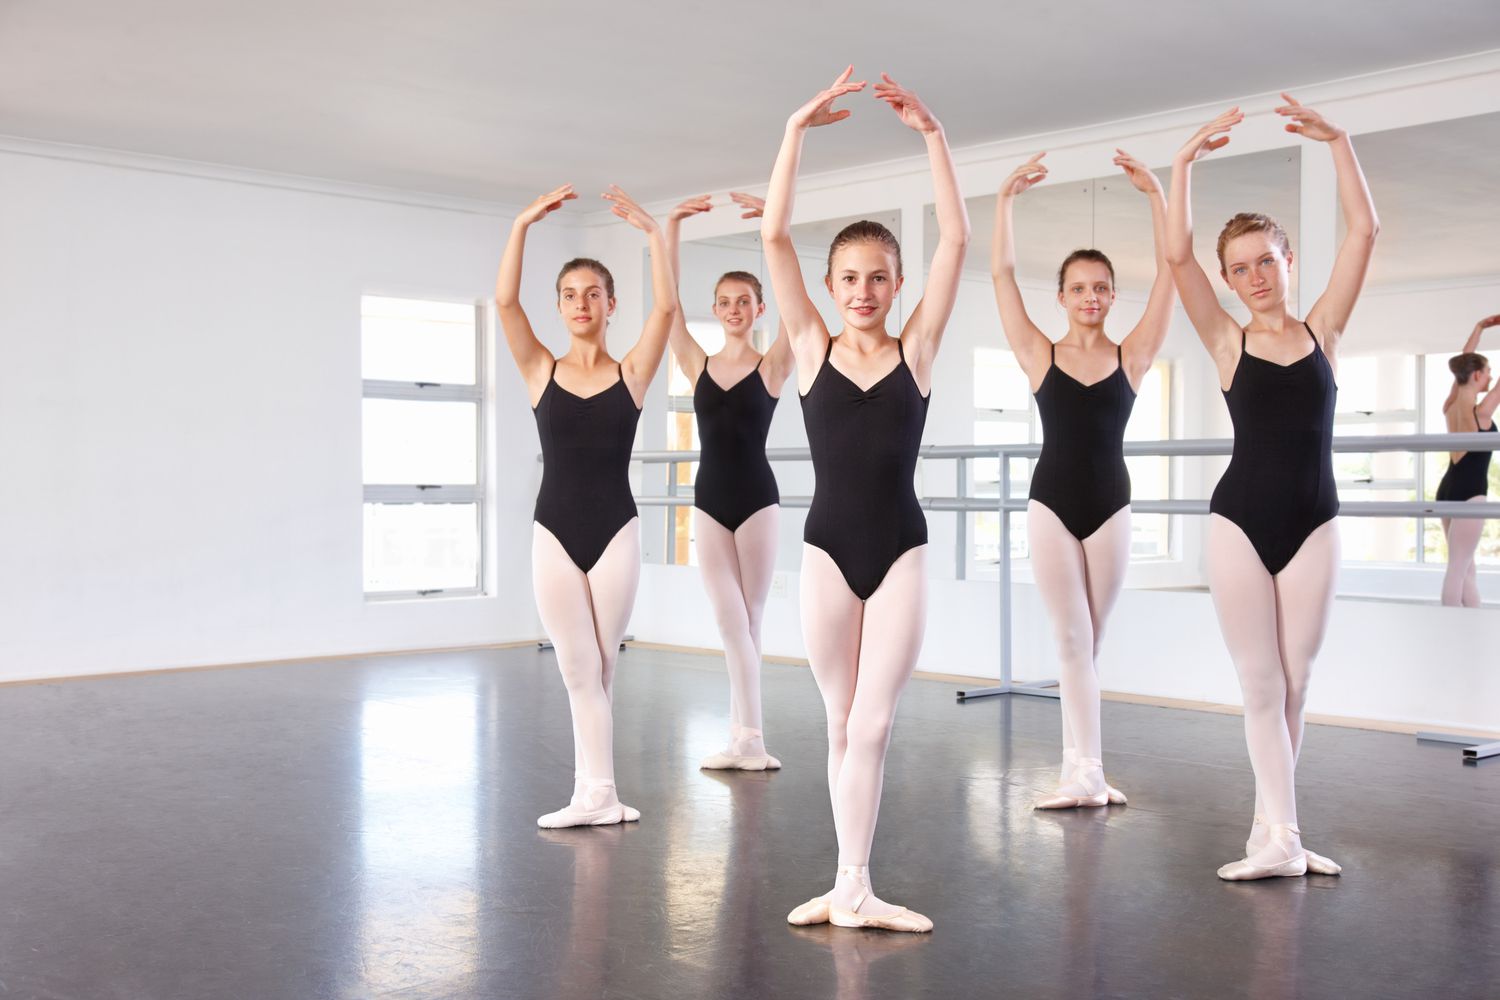
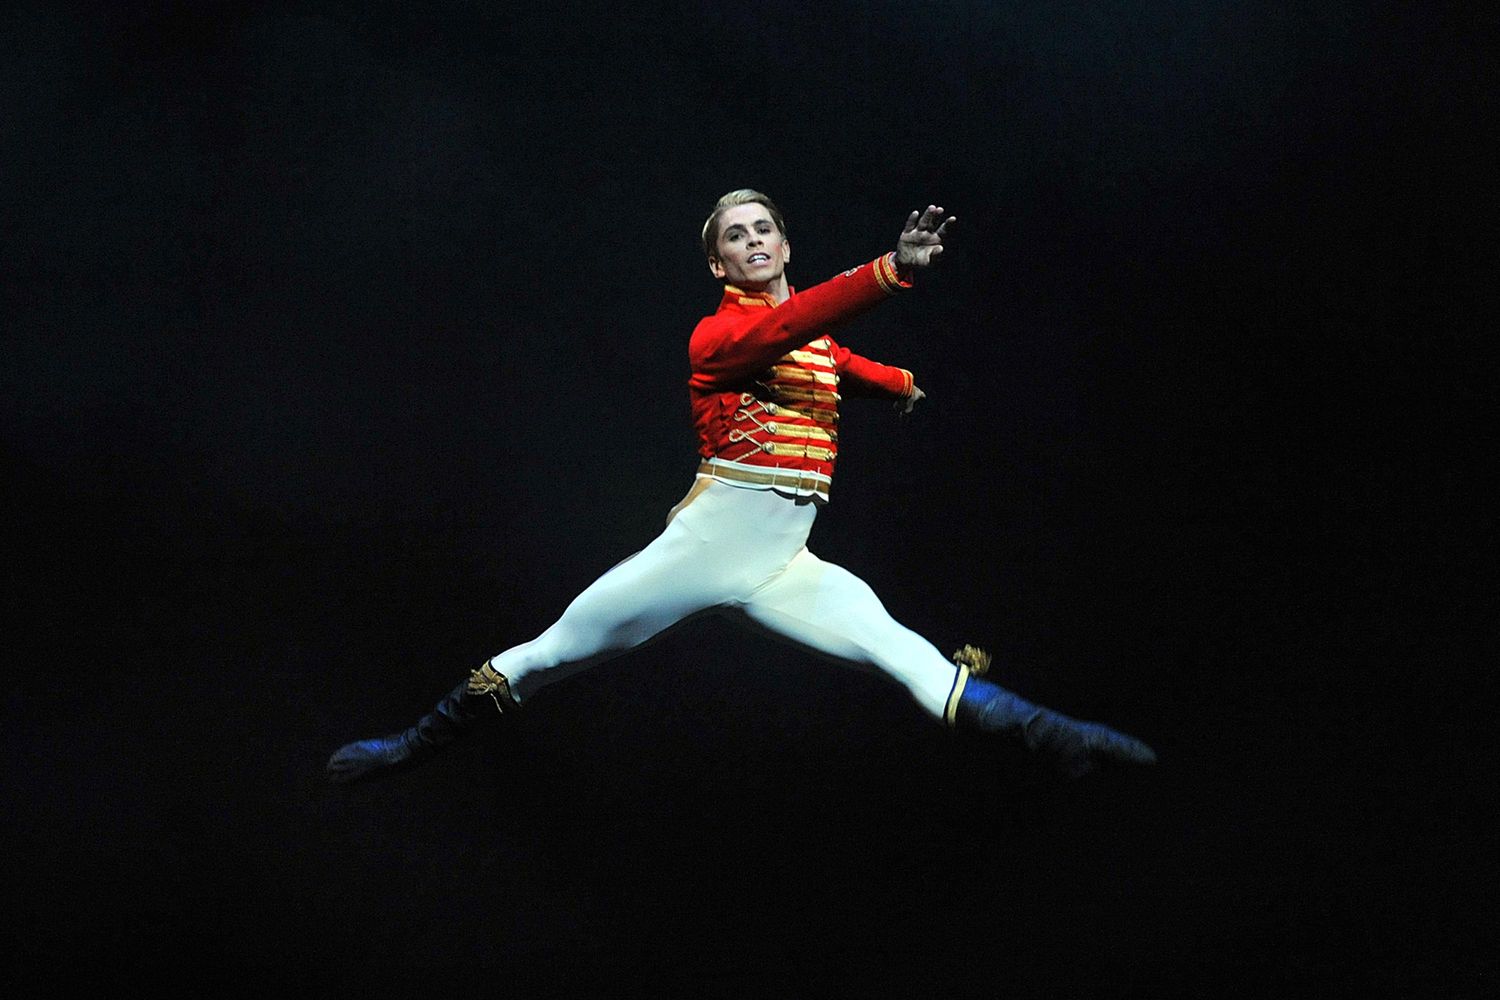
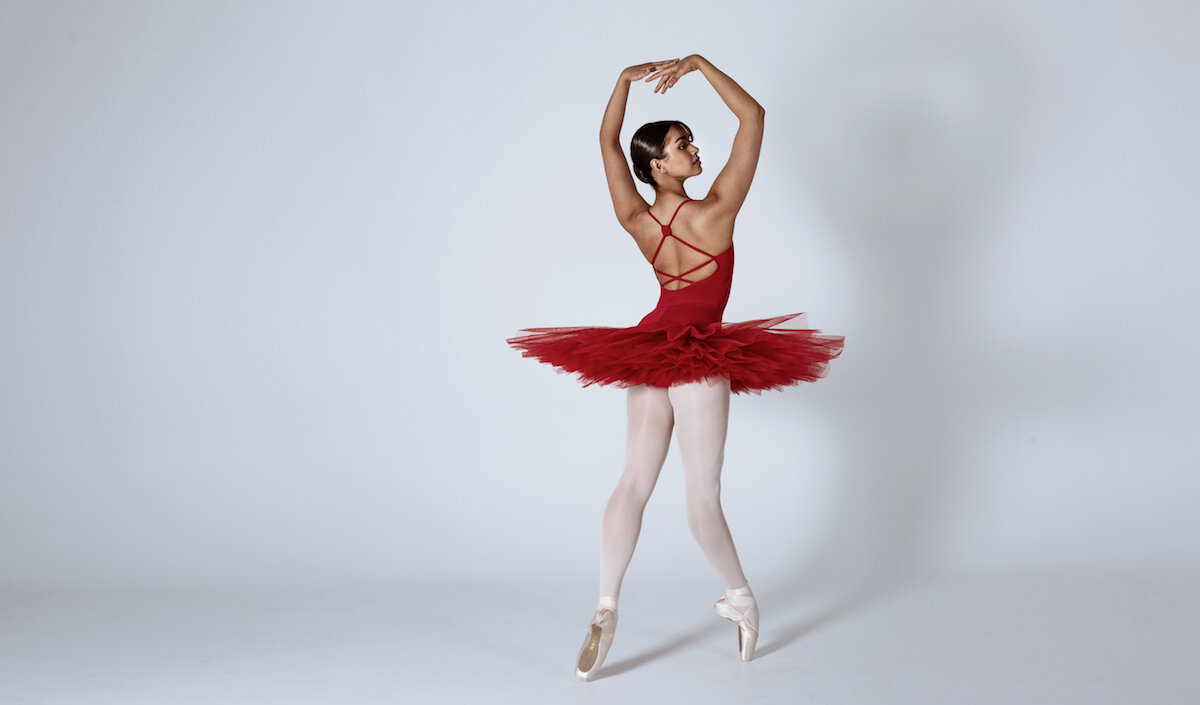
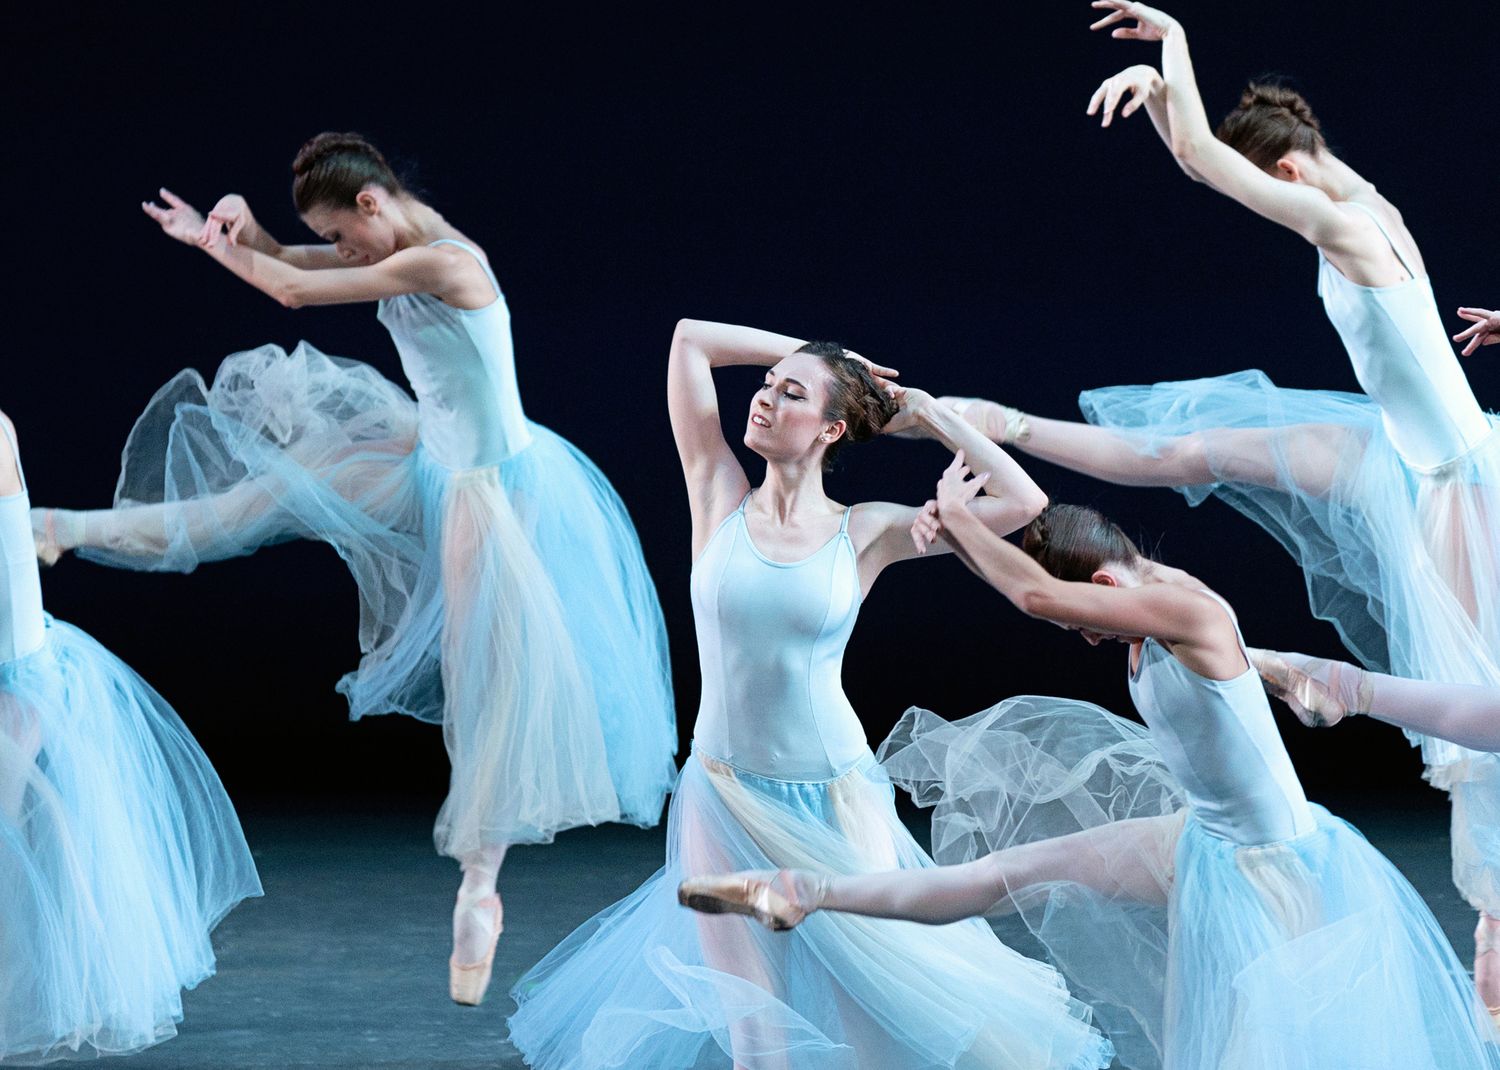
Ballet is a timeless and elegant art form that requires precision, discipline, and passion. From graceful leaps to intricate footwork, ballet dancers captivate audiences with their breathtaking performances. One iconic hairstyle often associated with ballet is the French twist. The French twist is a classic updo that exudes sophistication and showcases the dancer’s beautiful lines and posture.
In this article, we will guide you through the steps of creating a ballet-inspired French twist for your hair. Whether you are a ballet dancer wanting to perfect your hairstyle or simply someone looking to achieve an elegant updo for a special occasion, this tutorial is here to help you.
Before we begin, it’s important to gather your supplies. You will need a comb, hairpins, bobby pins, a brush, and hairspray. These tools will assist you in creating a secure and polished French twist.
Now, let’s delve into the step-by-step process of achieving the perfect ballet French twist.
Step 1: Gather your supplies
Before diving into creating a ballet French twist, it’s essential to ensure you have all the necessary supplies handy. Having the right tools will make the process smoother and help you achieve a professional-looking result.
Here are the supplies you will need:
- A comb: A fine-toothed comb will be handy for parting your hair and creating a clean and neat hairstyle.
- Hairpins: Hairpins are essential for securing the hair in place. Make sure to have a handful of hairpins ready to use.
- Bobby pins: Bobby pins will provide additional support and help keep the French twist securely in place.
- A brush: A brush will assist in smoothing out any tangles or knots in your hair before starting the styling process.
- Hairspray: Hairspray is essential for setting the French twist and ensuring it stays intact throughout the day or performance.
By gathering these supplies beforehand, you can save time and focus on creating the perfect ballet French twist. Now, let’s move on to preparing your hair for the updo.
Step 2: Prepare your hair
Preparing your hair is an essential step to ensure that your ballet French twist looks flawless and stays in place. Follow these steps to properly prepare your hair:
1. Clean and dry: Start with clean and dry hair. Wash and condition your hair as usual, and make sure it is completely dry before beginning the styling process. Wet hair can make the French twist less secure and prone to unraveling.
2. Brush and detangle: Use a brush or comb to gently detangle your hair and remove any knots. This will make it easier to work with and create a smooth and polished French twist.
3. Add texture (optional): If your hair is too silky or slippery, you may want to add some texture to help the French twist hold better. You can achieve this by applying a texturizing spray or mousse to your hair and lightly scrunching it with your fingers.
4. Consider adding volume (optional): If you desire extra volume in your French twist, you can tease the hair at the crown of your head using a comb. Gently backcomb small sections of hair to create a fuller look, but be careful not to damage your hair in the process.
5. Part your hair: Decide which side you would like the French twist to go towards. With your comb, create a side part in your hair or part it directly down the middle, depending on your preference. This will help guide the placement of the twist.
Once you have prepared your hair, you are ready to move on to the next step: creating a low ponytail.
Step 3: Create a low ponytail
Creating a low ponytail is the foundation of the ballet French twist hairstyle. Follow these steps to create a neat and secure base for your updo:
1. Brush your hair: Use a brush to smooth out any bumps or tangles in your hair. Ensure that it is brushed back and free from any knots.
2. Gather your hair: Using your hands, gather all of your hair at the nape of your neck. Ensure that the ponytail is positioned low, just above the hairline at the back of your neck.
3. Secure with a hair elastic: Wrap a hair elastic around the base of the ponytail. Make sure it is tight enough to hold the ponytail securely in place, but not so tight that it causes discomfort or pulls on your hair.
4. Smooth the ponytail: Use your hands or a brush to smooth out any bumps or flyaways in the ponytail. The key is to create a sleek and polished look.
5. Optional: Wrap a small section around the hair elastic: For an extra touch of elegance, you can take a small section of hair from the ponytail and wrap it around the hair elastic to conceal it. Secure the end of the wrapped section with a hairpin or bobby pin.
By creating a low ponytail, you have established a solid base for your ballet French twist. Now, it’s time to move on to the next step: twisting the ponytail to create the iconic style.
Step 4: Twist the ponytail
Now that you have created a low ponytail, it’s time to transform it into a beautiful ballet French twist. Follow these steps to create the twist:
1. Divide the ponytail: Divide the ponytail into two equal sections. Imagine a line running vertically through the center of the ponytail and separate it into an upper and lower section.
2. Twist the lower section: Take the lower section of the ponytail and twist it clockwise or counterclockwise, depending on your preference. The key is to create a tight and secure twist.
3. Hold the twist: Once you have twisted the lower section, hold it firmly with one hand to keep it in place.
4. Wrap the upper section over the twist: Take the upper section of the ponytail and wrap it over the twisted lower section. This will create a smooth and seamless look.
5. Secure with hairpins: Insert hairpins diagonally into the twisted section, starting from the base of the twist. Be sure to pin the hairpins securely to ensure that the French twist stays in place.
6. Continue twisting and pinning: Working your way from the base of the twist towards the top, continue to twist the ponytail and secure it with hairpins. This will ensure that the twist stays secure and tight.
As you twist and pin the hair, make sure to smooth out any bumps or stray hairs to maintain a polished and elegant look. Once you have finished twisting the ponytail, it’s time to move on to the next step: securing the twist.
Step 5: Secure the twist
With the ballet French twist taking shape, it’s important to secure it properly to ensure it stays in place throughout the day or performance. Follow these steps to secure the twist securely:
1. Check for any loose sections: Take a moment to go through the twist and check for any loose sections or areas that need to be tightened. Use your fingers or a comb to smooth out any imperfections.
2. Insert additional hairpins: Insert hairpins vertically or diagonally into the twist to secure it further. Make sure to push the pins through the twist and into the hair at the base to create a strong hold.
3. Use bobby pins: If needed, you can also use bobby pins to secure any loose ends or sections. Bobby pins provide extra support and help keep the French twist in place.
4. Spray with hairspray: To set the style and provide extra hold, spray the entire French twist with hairspray. Hold the can about 12 inches away from your head and mist the twist evenly. This will help prevent any flyaways and keep the twist looking polished.
5. Double-check the security: Gently tug on the twist and check if it feels secure. If any sections still feel loose, insert more pins as needed.
Securing the twist properly is crucial for the longevity of the style. By following these steps, you can ensure that your ballet French twist stays in place and looks impeccable. Now, let’s move on to the final step: adding the finishing touches.
Step 6: Finishing touches
After securing your ballet French twist, it’s time to add the final touches to complete the elegant and polished look. Follow these steps to perfect your hairstyle:
1. Smooth out any bumps: Use your fingers or a comb to gently smooth out any bumps or imperfections in the twist. Pay special attention to the front and sides to create a sleek appearance.
2. Add decorative accessories (optional): If desired, you can enhance your French twist by adding decorative accessories such as hairpins with pearls or rhinestones, a delicate hair comb, or a sparkly hair clip. These accessories can add a touch of glamour and individuality to your hairstyle.
3. Apply more hairspray: For extra hold and longevity, apply another coat of hairspray over the entire French twist. This will help secure any loose hairs or flyaways and keep the hairstyle looking pristine.
4. Check for symmetry: Take a step back and ensure that your French twist is symmetrical and even on both sides. Adjust the twist as needed to create a balanced and harmonious look.
5. Final look check: Take a mirror and look at your hairstyle from different angles to make sure you are satisfied with the overall appearance. You can make any last-minute adjustments if needed.
6. Confidence is key: Lastly, wear your ballet French twist with confidence and poise. Remember that your grace and beauty as a ballet dancer, or as someone embracing the elegance of ballet, will shine through in your performance or event.
With these finishing touches, you have successfully achieved a stunning ballet French twist. Your hair is now ready to complement your graceful movements and captivate all who see you. Enjoy the elegance and charm of this classic hairstyle!
Conclusion
Creating a ballet French twist can elevate your hairstyle to a new level of sophistication and elegance. By following the steps outlined in this guide, you can achieve a stunning updo that complements your ballet performance or any special occasion.
Remember, preparation is key. Gather all the necessary supplies, prepare your hair by ensuring it is clean, dry, and smooth, and create a low ponytail as the foundation of the French twist. Then, twist the ponytail, securing it with hairpins to keep it in place.
Take the time to properly secure the twist, using additional hairpins and hairspray for extra hold. Smooth out any bumps or stray hairs, and add any finishing touches such as decorative accessories to enhance the overall look.
Throughout the process, embrace your individuality and wear your ballet French twist with confidence. Let it be a reflection of your grace, poise, and love for the beautiful art of ballet.
Now that you have learned the steps to create a ballet French twist, practice and experiment with different variations. Mastering this timeless hairstyle will not only enhance your performance but also showcase your dedication to the art of ballet.
So, whether you’re a professional ballet dancer or someone looking to add a touch of elegance to a special occasion, enjoy the process of creating this classic updo and mesmerize everyone with your beauty and charm.