Home>Events & Info>Ballet>How To Do Ballet Bun
Ballet
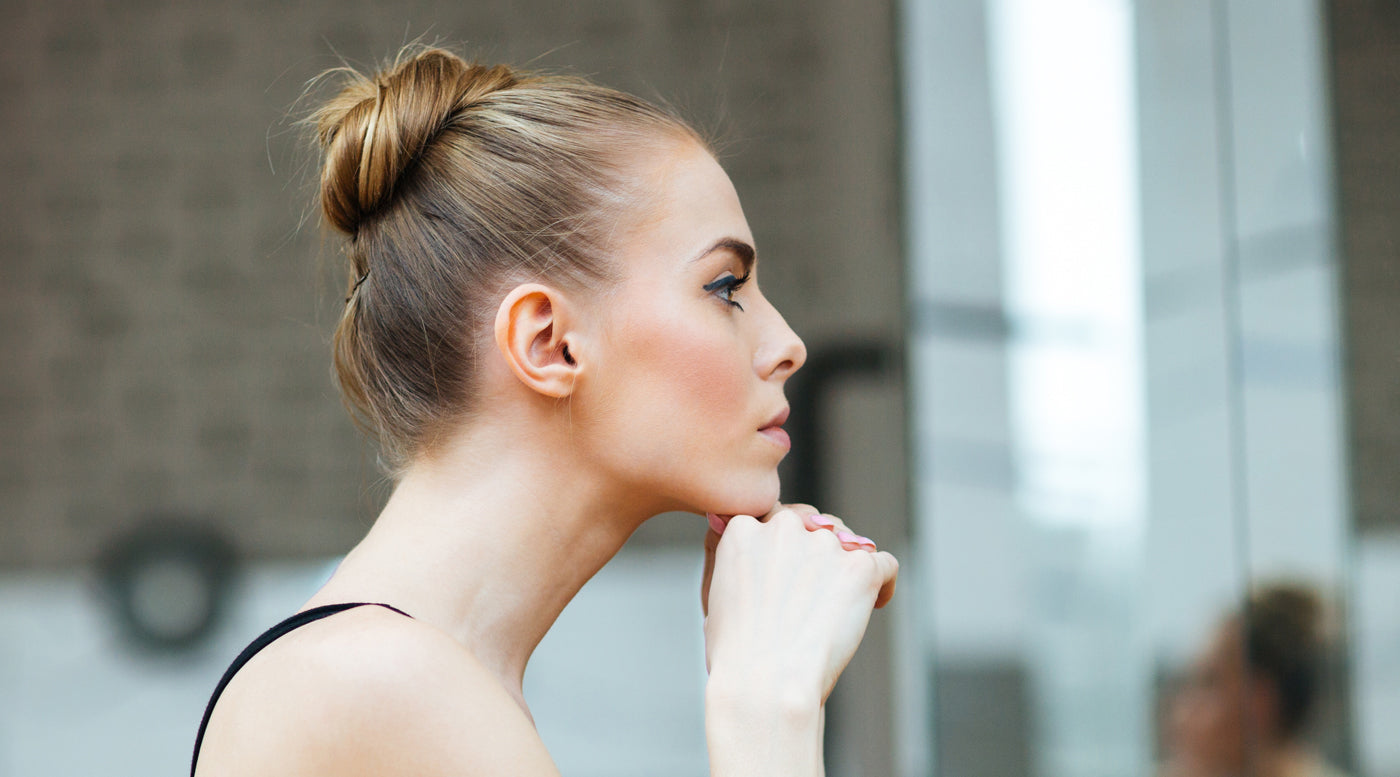
How To Do Ballet Bun
Modified: January 22, 2024
Learn how to create a perfect ballet bun with our step-by-step guide. Get tips and tricks to achieve a sleek and elegant look for your ballet performances.
(Many of the links in this article redirect to a specific reviewed product. Your purchase of these products through affiliate links helps to generate commission for AudioLover.com, at no extra cost. Learn more)
Table of Contents
Introduction
Are you eager to learn how to create a perfect ballet bun? Whether you are a ballet dancer yourself or a parent helping your child get ready for dance class, mastering the art of the ballet bun is essential. Not only does it provide a neat and polished look, but it also keeps the hair securely in place while dancing.
A ballet bun is a classic hairstyle that allows dancers to focus on their technique without hair getting in the way. It is a simple yet elegant updo that can be achieved with a few easy steps. In this article, we will guide you through the process of creating a flawless ballet bun.
Before we begin, it’s important to have the necessary materials on hand. You will need:
- Hairbrush or comb
- Hair elastic
- Hairspray
- Hairpins or bobby pins
- Hairnet (optional)
With these supplies ready, you are now prepared to create a beautiful ballet bun. Let’s get started!
Materials Needed
Before you start creating your ballet bun, it’s important to gather all the necessary materials. Here’s what you’ll need:
- Hairbrush or comb: This will help you detangle and smoothen your hair before styling.
- Hair elastic: You’ll use this to create the initial ponytail and secure the bun in place.
- Hairspray: Using a hairspray will help keep your ballet bun in place and prevent flyaways.
- Hairpins or bobby pins: These will be crucial for securing the bun and keeping it tight and secure.
- Hairnet (optional): A hairnet can be used to cover the bun, providing extra security and a more polished appearance.
It’s important to ensure that you have quality hair accessories that will hold your hair in place throughout your ballet class or performance. Look for hair elastics and pins that are sturdy and reliable, as you don’t want your bun to come undone mid-dance.
Additionally, if you have long or thick hair, you may want to consider using hairnets and extra hairpins to provide additional support and hold. These accessories can help keep your bun neat and secure, even during vigorous movements.
Now that you have all the necessary materials ready, it’s time to move on to the next steps in creating the perfect ballet bun.
Step 1: Gather Your Hair
The first step in creating a beautiful ballet bun is to gather and prepare your hair. Follow these simple steps:
- Start by brushing or combing your hair thoroughly to remove any knots or tangles. This will help ensure a smooth and polished look for your bun.
- If you have long or thick hair, you may find it helpful to dampen your hair slightly. This will make it easier to manage and control while creating the bun.
- Using your fingers or a comb, part your hair in the desired manner. For a classic ballet look, a center part is most commonly used. However, you can also experiment with side parts or other styles to suit your preferences.
- Gently brush the hair towards the back of your head, gathering it into a ponytail. Make sure the ponytail is positioned at the desired height, typically at the nape of the neck or slightly higher for a more lifted look.
By following these steps, you have successfully gathered your hair and are ready to move on to the next stage of creating the perfect ballet bun. Stay tuned!
Step 2: Create a Ponytail
Once you have gathered your hair, the next step in creating a ballet bun is to create a secure ponytail. Follow these instructions to create a sleek and tight ponytail:
- Using one hand, hold your gathered hair firmly at the desired height for your bun.
- With your other hand, take a hair elastic and wrap it around the base of the ponytail. Make sure the elastic is tight enough to hold the hair securely in place.
- Once the elastic is secured, double-check the tightness of the ponytail. You want it to be snug to prevent any loose strands or flyaways.
- For added security, you can wrap the elastic around the ponytail one more time, creating a double-looped ponytail. This will ensure that the bun stays in place even during vigorous movements.
Remember, the key to a perfect ballet bun is a secure base, which starts with a well-made ponytail. Take your time to create a ponytail that feels tight and secure to give your bun a solid foundation.
Once your ponytail is created, you are ready to move on to the next step in creating your ballet bun. Stay tuned!
Step 3: Twist the Ponytail
Now that you have created a secure ponytail, it’s time to move on to the next step – twisting the ponytail. Follow these simple instructions to achieve a well-formed twist:
- Start by holding the base of the ponytail with one hand to keep it secure.
- With your free hand, take the length of the ponytail and begin to twist it in one direction. You can twist it clockwise or counterclockwise, depending on your preference.
- As you twist the ponytail, make sure to continue holding the base with the other hand to maintain control and prevent it from unraveling.
- Keep twisting until the entire length of the ponytail is tightly twisted.
- Once the twist is complete, hold the end of the twisted ponytail with one hand, while using the other hand to keep the base secure.
By carefully twisting the ponytail, you create the foundation for a well-shaped and secure ballet bun. The twist helps to compact the hair and provide structure for the final bun shape.
With the ponytail properly twisted, you are now ready to move on to the next step and transform it into a beautiful ballet bun. Stay tuned!
Step 4: Coil the Twisted Ponytail
After twisting the ponytail, the next step is to coil it to create the actual bun. Follow these simple instructions to achieve a neat and well-coiled ballet bun:
- While still holding the twisted ponytail securely, start to coil it around the base of the ponytail.
- Continue coiling the twisted ponytail around itself, making sure to keep it tight and close to the head.
- As you coil, use your free hand to guide and shape the bun, ensuring that it is even and symmetrical.
- Continue coiling until you reach the end of the twisted ponytail.
- Tuck any loose hair ends into the bun and adjust the shape as needed.
The key to a well-formed bun is to maintain control and keep it tight and compact. By coiling the twisted ponytail snugly, you create a beautifully shaped ballet bun that will stay in place throughout your dance routine.
Remember to take your time and adjust the shape as needed. You want the bun to look clean and polished, enhancing your overall appearance as a ballet dancer.
With the twisted ponytail successfully coiled, you are now ready to move on to the next step and secure the bun in place. Stay tuned!
Step 5: Secure with Hairpins
With the ballet bun coiled in place, the next step is to secure it using hairpins. Follow these instructions to ensure your bun stays put:
- Start by gently inserting hairpins into the base of the bun, angling them towards the center.
- Continue inserting hairpins around the perimeter of the bun, spacing them evenly to provide maximum support.
- Make sure to push the hairpins into the bun and anchor them into the twisted hair for a secure hold.
- If needed, slightly adjust the position of the hairpins to ensure they are holding the bun tightly and keeping it in place.
- For extra security and to prevent any stray hairs from escaping, you can also crisscross hairpins in an “X” shape over the bun.
It’s important to remember that hairpins are your best friend when it comes to creating a long-lasting ballet bun. Take the time to insert them properly and ensure they are holding the bun snugly. This will prevent any accidental unraveling during your dance routine.
Additionally, make sure to use enough hairpins to provide adequate support. The number of hairpins needed may vary depending on the thickness and length of your hair. Be prepared with a sufficient number of hairpins to keep your bun secure and worry-free.
With your ballet bun securely fastened, you are almost ready to showcase your elegant look. The next step involves smoothing out the bun for a clean and professional finish. Let’s move on!
Step 6: Smooth Out the Bun
Now that you have secured the ballet bun with hairpins, it’s time to focus on achieving a smooth and polished look. Follow these steps to perfect your bun:
- Using your hands or a comb, carefully smooth out any bumps or unevenness in the bun. Gently pat down any stray hairs.
- Consider using a small amount of hairspray to help tame any flyaways or frizz. Spray your hands lightly and run them over the surface of the bun for a sleeker appearance.
- Take a moment to evaluate the overall shape of the bun and make any necessary adjustments. You want it to look neat and well-rounded from all angles.
- If desired, you can cover the bun with a hairnet to provide extra security and a more polished look. Simply stretch the hairnet over the bun and tuck any loose ends underneath.
- With the bun smoothed out and shaped to your satisfaction, take one final look in the mirror to ensure it looks clean and presentable.
Remember, attention to detail is key when it comes to a polished ballet bun. Take the time to smooth out any imperfections and make any necessary refinements. This will help you achieve a sophisticated and professional look.
Now that your ballet bun is looking flawless, let’s move on to the final steps to add the finishing touches that will complete your elegant hairstyle.
Step 7: Finishing Touches
With your ballet bun smoothed out and perfectly in place, it’s time to add those final touches that will elevate your hairstyle and complete the look. Pay attention to these key details:
- Check for any loose hairs or flyaways and secure them with additional hairpins or hairspray. You want a clean and polished finish, with all strands neatly tucked away.
- Consider using a decorative hair accessory, such as a ballet bun cover, hair flowers, or a sparkly hairpin. These can add a touch of elegance and personal style to your bun, especially for performances or special events.
- Take a moment to adjust the placement and position of your bun. Ensure that it sits securely and comfortably on your head, without pulling or feeling too tight.
- If desired, you can lightly mist your entire bun with hairspray to set the style and provide extra hold. Be careful not to overspray, as you don’t want your hair to become stiff or weighed down.
- Lastly, take a moment to admire your final creation in the mirror. A well-executed ballet bun not only looks beautiful but also gives you confidence and poise as you step onto the stage or into your dance class.
Remember, the finishing touches are what truly bring your ballet bun to life. Take pride in the meticulous effort you put into creating a flawless hairstyle that complements your dance moves and showcases your professionalism.
Now that you have completed the final steps, it’s time to go out and confidently embrace your ballet performance or dance class with your stunning ballet bun.
Conclusion
Creating a perfect ballet bun may seem challenging at first, but with the right guidance and practice, you can master this essential hairstyle. A well-executed ballet bun not only adds to the overall aesthetic of a dancer but also keeps the hair securely in place during intense movements.
In this article, we have provided a step-by-step guide to help you achieve a flawless ballet bun. From gathering your hair and creating a secure ponytail to twisting, coiling, and securing with hairpins, we have covered each stage of the process. Remember to smooth out the bun, add any finishing touches, and pay attention to every detail to achieve a polished look.
While the steps outlined here provide a solid foundation, it’s important to note that every dancer’s hair is unique. You may need to make slight modifications or experiment with different techniques to find the perfect ballet bun style that works for you.
Whether you are a ballet dancer yourself or a parent helping your child prepare for dance class, mastering the art of the ballet bun is a valuable skill. It not only showcases your dedication to the art form but also helps create a cohesive and professional appearance among performers.
With practice, patience, and attention to detail, you will soon be creating beautiful ballet buns effortlessly. So, embrace the elegance and grace of ballet with your perfectly styled bun and let your passion for dance shine through.