Home>Events & Info>Ballet>How To Do A Perfect Ballet Bun
Ballet
How To Do A Perfect Ballet Bun
Modified: January 22, 2024
Learn how to create a flawless ballet bun with these easy steps. Perfect for dancers of all levels, achieve a polished and elegant look for your ballet performances.
(Many of the links in this article redirect to a specific reviewed product. Your purchase of these products through affiliate links helps to generate commission for AudioLover.com, at no extra cost. Learn more)
Table of Contents
Introduction
Ballet is a beautiful and elegant dance form that requires precision, grace, and discipline. Whether you are a professional dancer or a ballet enthusiast, there is one essential element of a dancer’s appearance that should never be overlooked: the ballet bun. The perfect ballet bun not only completes the overall look but also ensures that the dancer’s hair is secured and out of the way during performances and practices.
In this article, we will guide you through the steps to create a flawless ballet bun. We will provide detailed instructions on how to prepare your hair, create a ponytail, twist and wrap it, secure it with pins, and add the finishing touches. So, grab your hairbrush, gather your hair supplies, and let’s get started!
Before we dive into the steps, let’s quickly go over the materials you will need to create a perfect ballet bun:
- Hairbrush or comb
- Elastic hair ties
- Bobby pins or hairpins
- Hairspray or gel
- Hairnet (optional)
Materials Needed
Before you begin creating your ballet bun, it’s important to gather all the necessary materials. Here’s a list of what you’ll need:
- Hairbrush or Comb: Choose a brush or comb that is suitable for your hair type. It should have wide teeth and be gentle on your hair to avoid breakage.
- Elastic Hair Ties: These will be used to secure your hair in a ponytail. Opt for hair ties that match your hair color for a seamless look.
- Bobby Pins or Hairpins: These will be used to secure and hold the twisted hair in place. Make sure you have enough pins to keep your ballet bun secure throughout your dance routine.
- Hairspray or Gel: Using a hairspray or gel will help to tame any flyaways and keep your ballet bun in place. Choose a product that provides a strong hold without making your hair feel stiff.
- Hairnet (Optional): If you have thicker or longer hair, using a hairnet can provide extra support and hold for your ballet bun. It helps to keep the bun neat and prevents stray hairs from escaping.
Having all of these materials ready before you start will make the process smoother and ensure that you can create a beautiful and secure ballet bun.
Step 1: Prepare Your Hair
Before you can create a perfect ballet bun, it’s important to prepare your hair properly. Follow these steps to ensure your hair is in the ideal condition for styling:
- Start with Clean Hair: Begin by washing your hair with a gentle shampoo and conditioner. It’s important to have clean hair to create a neat and polished ballet bun.
- Detangle and Smooth: After washing, gently comb through your hair to remove any tangles. Use a wide-toothed comb or a brush with soft bristles to avoid causing breakage or damage.
- Dry Your Hair: Make sure your hair is completely dry before styling. Wet or damp hair is more difficult to work with and can result in a messy bun. Use a blow dryer on a low heat setting if needed.
- Apply Hairspray or Gel: To ensure your ballet bun stays in place, apply a light coat of hairspray or gel to your hair. This will help control flyaways and provide extra hold.
- Brush Back Your Hair: Use your brush or comb to gently brush your hair back, away from your face. Smooth out any bumps or unevenness as you go.
- Choose Your Parting: Decide whether you want a middle part or side part for your ballet bun. Use the end of your brush or a comb to create a straight and clean parting.
By following these steps, you will have a clean and well-prepared canvas for creating your perfect ballet bun.
Step 2: Create a Ponytail
Once you have prepared your hair, it’s time to create a ponytail. This serves as the foundation for your ballet bun. Follow these steps to create a sleek and secure ponytail:
- Gather Your Hair: Using your brush or comb, gather all your hair towards the back of your head. Make sure it is smooth and free from any bumps or tangles.
- Position Your Ponytail: Decide on the position of your ponytail. It can be high on the back of your head or lower, depending on your preference.
- Secure with an Elastic: Once you have the desired position, take an elastic hair tie and wrap it around the gathered hair. Make sure it is tight enough to hold the ponytail securely in place.
- Smooth Out Any Bumps: After securing the ponytail, use your brush or comb to smooth out any bumps or lumps along the hairline. Go over the hair gently to create a neat and polished look.
- Tighten the Ponytail: If the ponytail feels loose or droopy, gently tug on the hair tie to tighten it. This will ensure that your ballet bun stays secure during your dance routine.
Creating a well-positioned and tightly secured ponytail is essential for a perfect ballet bun. Take your time to adjust and refine your ponytail before moving on to the next step.
Step 3: Twist and Wrap
Now that you have a secure ponytail, it’s time to twist and wrap the hair to create the foundation of your ballet bun. Follow these steps to achieve a beautifully twisted and tucked bun:
- Divide the Ponytail: Take the ponytail and divide it into two equal sections. Hold each section in your hands.
- Twist the Right Section: Begin by twisting the right section of the ponytail towards the left. Continue twisting until the entire section is tightly twisted.
- Wrap the Twisted Section: Once the right section is twisted, wrap it around the base of the ponytail in a circular motion. Keep wrapping until the twisted section is completely tucked and secured.
- Repeat with the Left Section: Now, take the left section of the ponytail and repeat the same process. Twist it towards the right and wrap it around the base of the ponytail, overlapping the previously wrapped section.
- Secure with Pins: As you wrap each section, use bobby pins or hairpins to secure the ends of the hair underneath the bun. Make sure the pins are hidden and the bun feels tight and secure.
By twisting and wrapping the hair in this manner, you create a neat and elegant ballet bun. It’s important to take your time with each step to ensure the bun looks polished and stays in place during your dance routine.
Step 4: Secure with Pins
Now that you’ve twisted and wrapped your hair into a ballet bun, it’s time to secure it with bobby pins or hairpins. Properly securing the bun will prevent it from unraveling during your dance routine. Follow these steps to ensure a secure and long-lasting ballet bun:
- Start with the First Pin: Take your first bobby pin or hairpin and insert it into the bun at an angle. Slide it through the bun and catch a small section of hair from the bun’s base.
- Secure with Multiple Pins: Continue inserting pins around the bun, spacing them evenly apart. Make sure each pin goes through the bun and catches some hair to hold it in place.
- Create an “X” Pattern: For added security, try creating an “X” pattern with your pins. Cross two pins over each other diagonally to firmly hold the hair in place.
- Hide the Pins: As you insert the pins, make sure they are well hidden within the bun. Tuck the ends of the pins underneath the hair to create a seamless and polished look.
- Test the Bun’s Stability: Gently shake your head or lightly tug on the bun to ensure it feels secure. If you feel any looseness, add additional pins to reinforce the bun.
Securing the ballet bun with pins is essential to keep it in place throughout your dance performance. Take your time to place the pins strategically and ensure the bun feels secure and comfortable.
Step 5: Finishing Touches
Now that your ballet bun is securely in place, it’s time to add the finishing touches to complete your polished look. These final steps will help to enhance the appearance of your ballet bun and ensure it stays intact throughout your performance:
- Smooth Out Flyaways: Use a small amount of hairspray or gel to tame any flyaway hairs around your hairline or the bun itself. Gently brush or pat down any stray hairs to create a sleek and neat look.
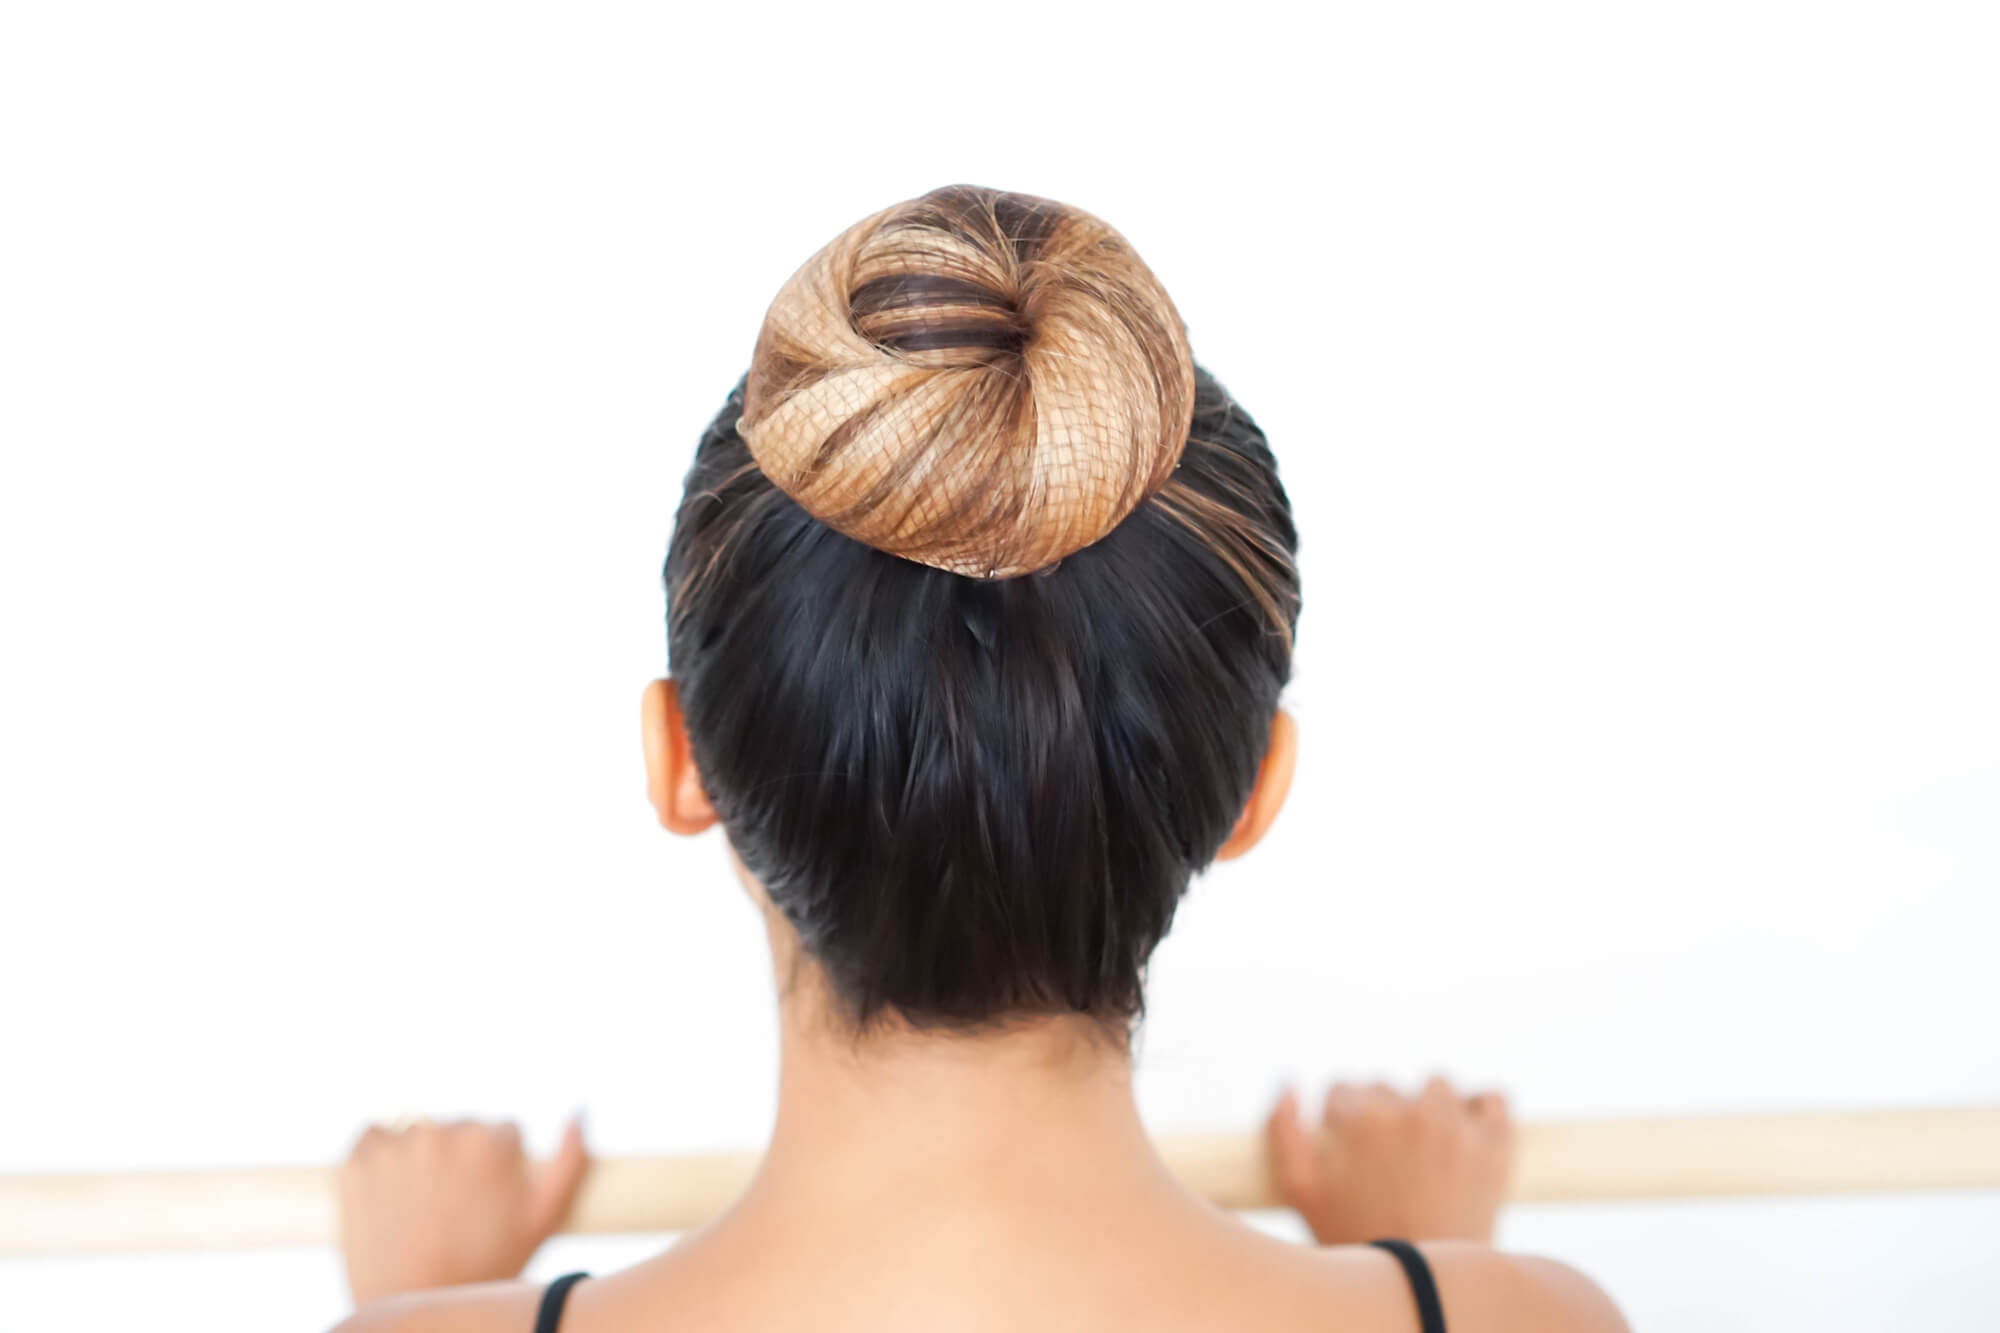
- Add a Hairnet (Optional): If you have thicker or longer hair, consider using a hairnet to provide extra support and hold. Place the hairnet over the bun and secure it with bobby pins, tucking any loose ends underneath.
- Add Hair Accessories: If desired, you can enhance your ballet bun with decorative hair accessories such as a sparkly hairpin, flower, or bow. Choose accessories that complement your dance attire and securely attach them to the bun.
- Apply Final Coat of Hairspray: To keep your ballet bun in place and prevent any unruly hairs from disrupting your performance, spray a light coat of hairspray all over the bun. Be careful not to overspray, as it may leave a sticky residue.
- Double Check the Bun: Before heading to the stage or studio, take a final look at your ballet bun in the mirror. Ensure that it is symmetrical, secure, and meets your desired aesthetic.
By adding these finishing touches, you’ll elevate your ballet bun from functional to stunning. Remember to keep spare pins and hairspray on hand for touch-ups as needed during your dance routine.
Conclusion
Creating a perfect ballet bun is not just about style but also about functionality. A well-executed ballet bun ensures that your hair stays secure and out of your way during intense dance movements. By following the steps outlined in this guide, you can achieve a flawless ballet bun that will withstand even the most vigorous performances.
Remember, preparation is key. Start by gathering all the necessary materials, including a hairbrush or comb, elastic hair ties, bobby pins or hairpins, hairspray or gel, and optionally, a hairnet. Properly preparing your hair, including washing, detangling, and applying hairspray or gel, sets the foundation for a clean and sleek ballet bun.
Next, create a secure ponytail and twist and wrap the hair to form the bun. Use bobby pins or hairpins to keep the bun in place, ensuring each pin catches some hair for added security. Take your time during this step to ensure a tight and polished bun.
Finally, add the finishing touches to complete your ballet bun. Smooth out any flyaways, consider using a hairnet for extra hold, and add any desired hair accessories. A final spray of hairspray will keep everything in place.
Now you’re ready to showcase your ballet skills with confidence, knowing that your bun is secure and professional-looking. Practice these steps to perfect your technique and achieve consistent results every time. Whether you’re preparing for a ballet performance or simply want to emulate the classic ballet look, a perfect ballet bun is a crucial element of your ensemble.
So, grab your hair supplies, follow the steps outlined in this guide, and get ready to shine on the stage or in the dance studio with your impeccable ballet bun.