Hip Hop
How To Make A Hip-Hop Sample
Modified: February 20, 2024
Learn how to make a hip-hop sample with our step-by-step guide. Explore the techniques and tools used in producing catchy and authentic hip-hop beats.
(Many of the links in this article redirect to a specific reviewed product. Your purchase of these products through affiliate links helps to generate commission for AudioLover.com, at no extra cost. Learn more)
Table of Contents
Introduction
Hip-hop music has become a global phenomenon, captivating audiences with its infectious beats, clever lyrics, and innovative production techniques. At the heart of this genre lies the art of sampling, which involves taking snippets or loops from existing songs and incorporating them into a new composition. Sampling has been an integral part of hip-hop’s evolution, serving as a creative tool for artists to express themselves and pay homage to their musical roots.
In this article, we will explore the process of making a hip-hop sample and delve into the various techniques and equipment needed to create a captivating and unique sound. Whether you’re a seasoned producer or just starting your journey into music production, this guide will provide you with the knowledge and inspiration to craft your very own sampled masterpiece.
Before we dive into the specifics, it’s important to note that sampling requires proper knowledge and understanding of copyright laws and licensing. It’s essential to obtain the necessary permissions or licenses before using copyrighted material in your tracks. Always respect and give credit to the original artists and songwriters.
Now let’s explore the exciting world of hip-hop sampling and unlock the secrets behind creating your own signature sound.
Equipment Needed
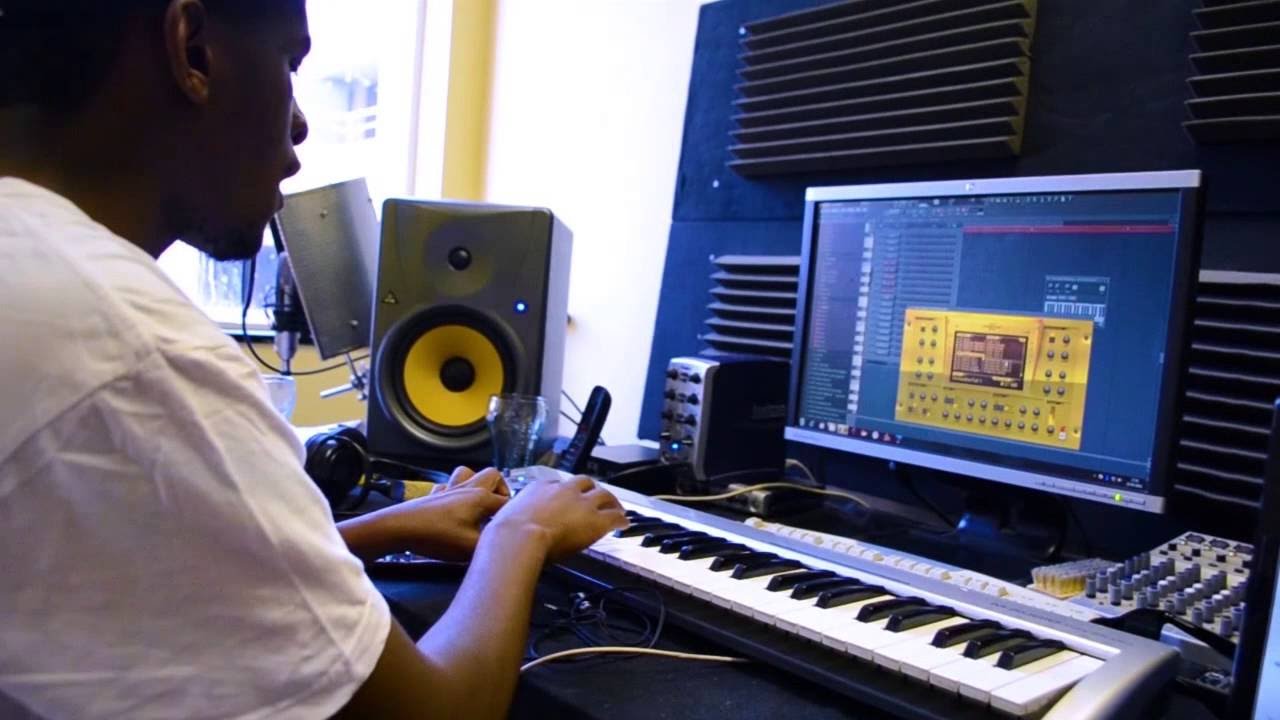
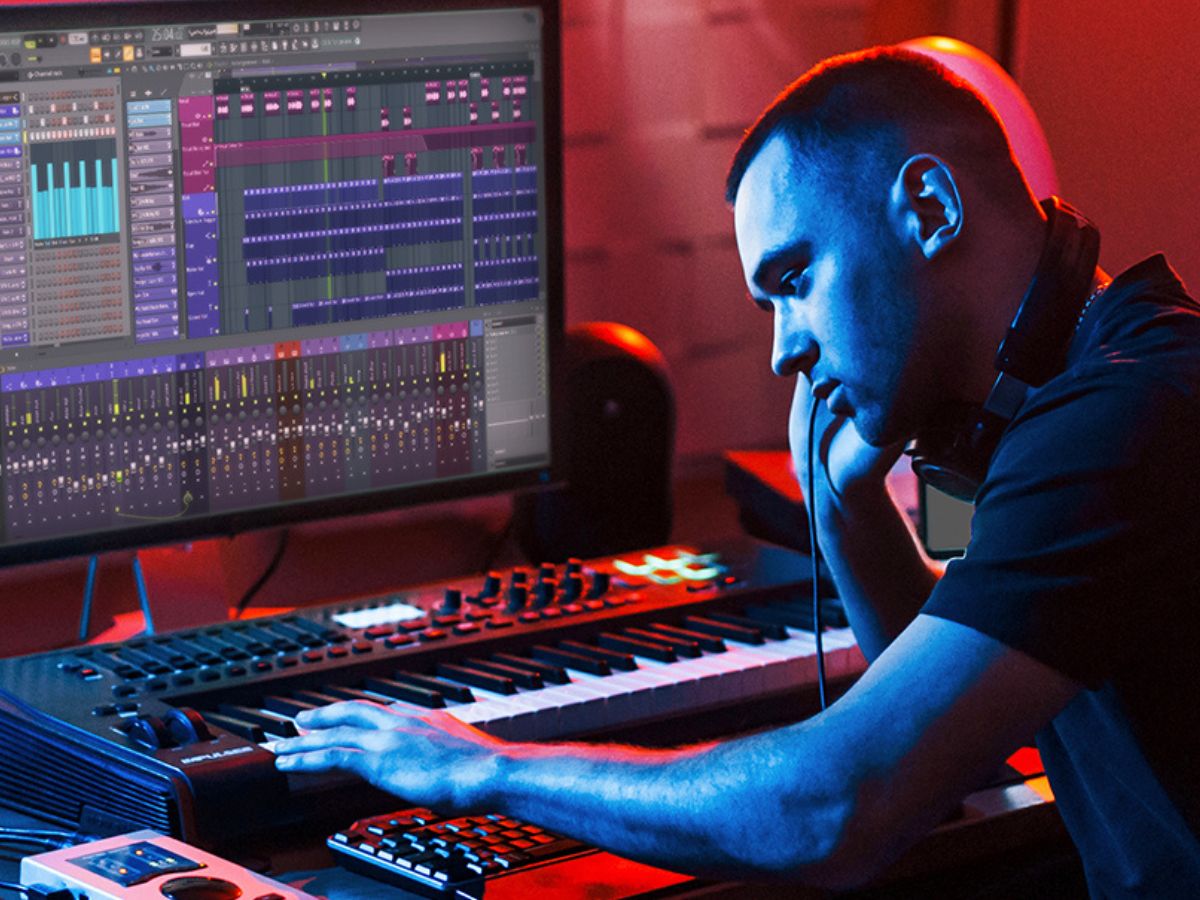
Creating a hip-hop sample can be accomplished with a minimal setup, but having the right equipment will greatly enhance your production capabilities. Here are some essential tools and gear that you’ll need:
- Computer: A reliable computer with sufficient processing power is crucial for running digital audio workstations (DAWs) and music production software. Make sure your computer meets the system requirements for your preferred software.
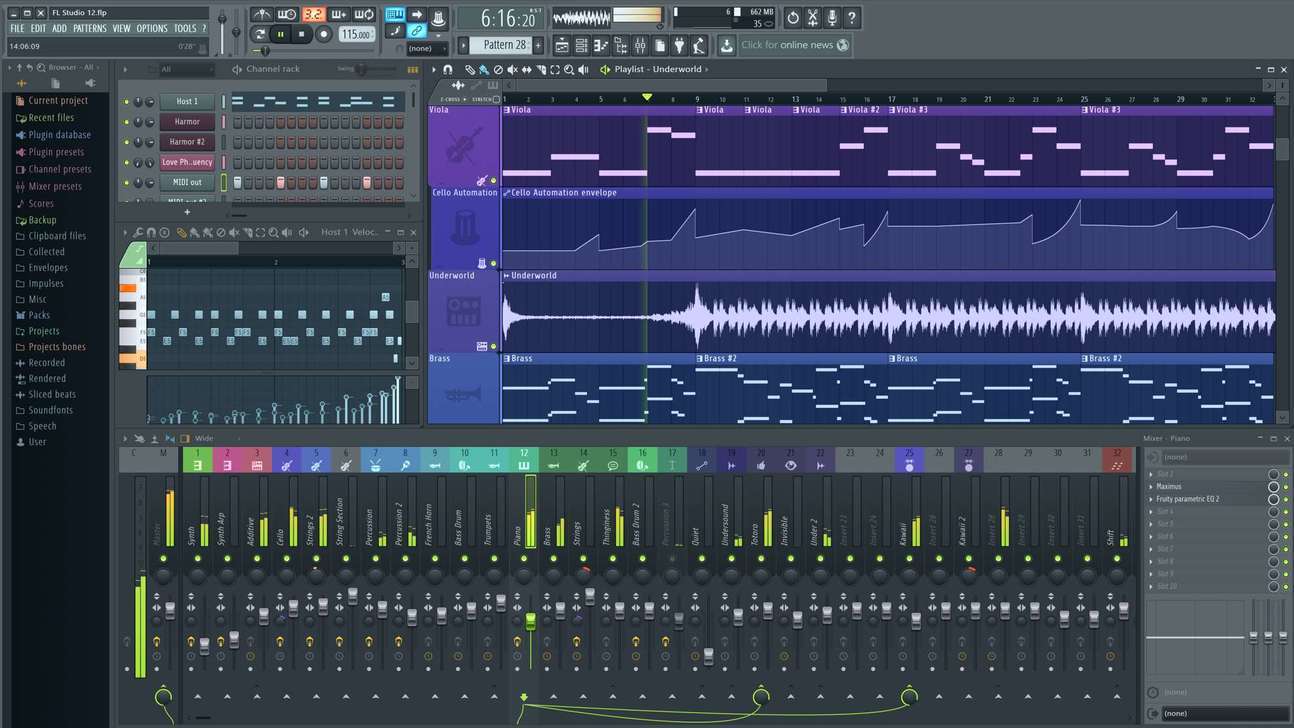
- DAW Software: Choose a DAW that suits your workflow and preferences. Popular options include Ableton Live, FL Studio, Logic Pro, and Pro Tools. These software platforms provide the necessary tools for recording, sequencing, and arranging your samples.
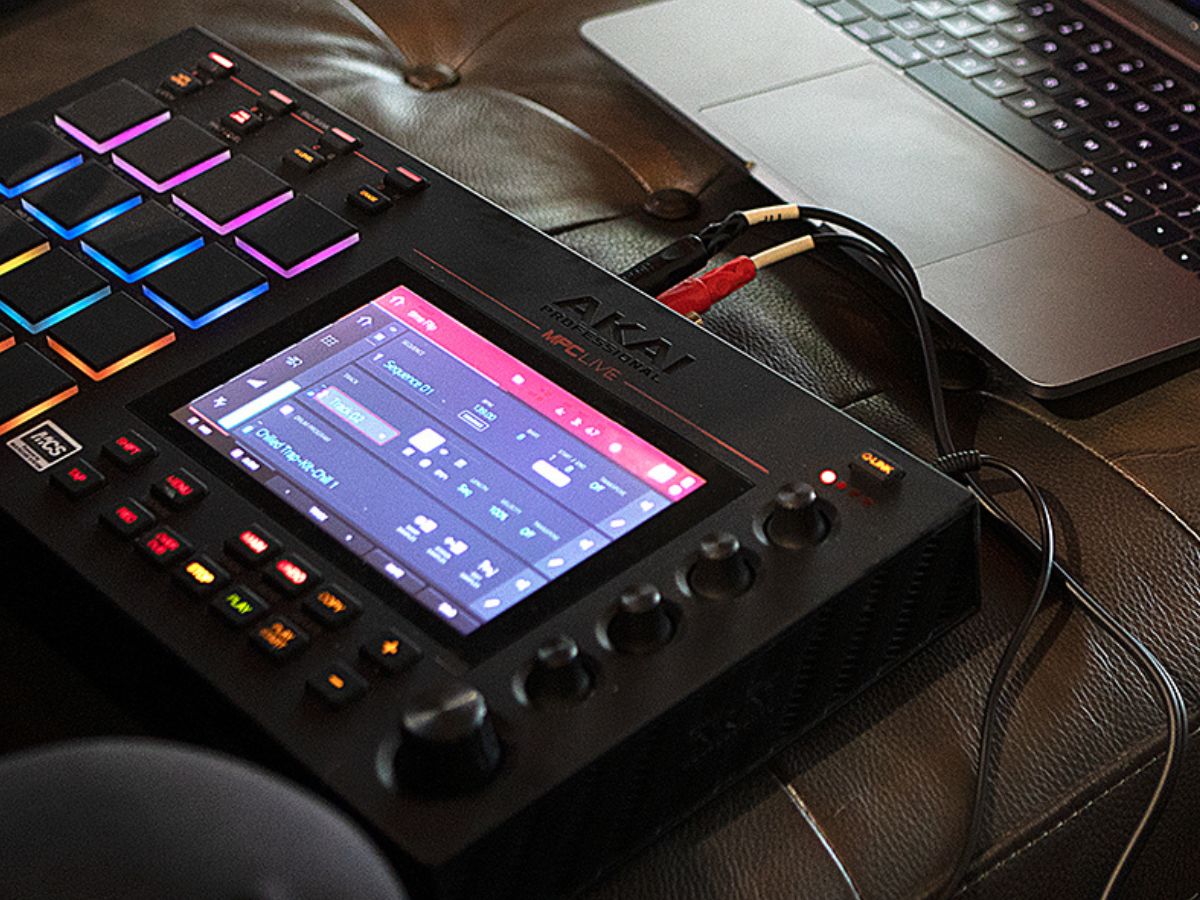
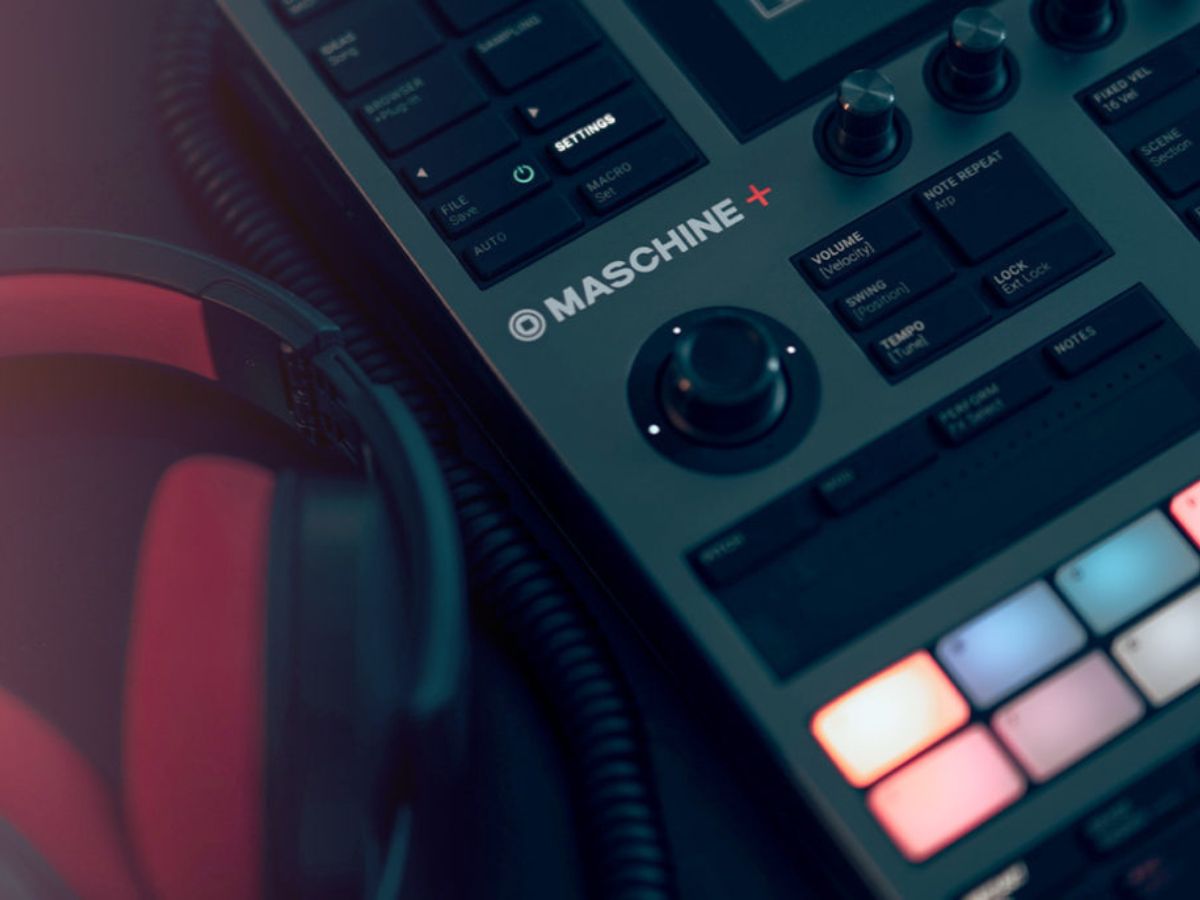
- MIDI Controller: A MIDI controller allows you to input musical notes and control various parameters within your DAW. It can be a keyboard, drum pad controller, or even a simple MIDI-enabled controller. This will help you play and record instruments and trigger samples more intuitively.
- Audio Interface: An audio interface serves as the connection between your computer and audio equipment. It provides high-quality audio inputs and outputs, which are essential for recording and monitoring your samples.
- Headphones/Speakers: A good pair of headphones or studio monitors will enable you to accurately hear the details and nuances of your samples. Invest in quality monitoring equipment to ensure your mix translates well on different playback systems.
- Samples and Sounds: Building a collection of quality samples and sounds is crucial for creating unique and engaging hip-hop tracks. Explore different sample packs, virtual instruments, and sound libraries to find the perfect elements for your production.
- Microphone (optional): If you plan to record your own vocals or live instrumentations, a microphone is essential. Choose a microphone that suits your recording needs and budget.
Remember, while having professional equipment can enhance your production quality, creativity and skill are ultimately what make a great hip-hop sample. It’s the artist’s vision and musicality that bring samples to life and create a unique sonic experience.
Selecting the Right Sample
One of the most important aspects of creating a compelling hip-hop sample is selecting the right source material. The sample you choose will serve as the foundation of your track, setting the tone and vibe for the entire composition. Here are some tips to help you find the perfect sample for your production:
- Listen Widely: Explore a wide range of musical genres and eras to find inspiration and potential sampling material. Don’t limit yourself to just hip-hop or popular songs; hidden gems can be found in jazz, funk, soul, rock, and even classical music.
- Dig for Vinyl: If you’re looking for unique and vintage sounds, consider digging through record stores or online vinyl marketplaces. Vinyl records often have rich and warm tones that can add character to your sample.
- Trust Your Ears: While searching for the right sample, trust your instincts and go with what resonates with you. The sample should evoke an emotional response and connect with your artistic vision.
- Consider Musical Elements: Pay attention to the different musical elements within a sample. Look for captivating melodies, catchy hooks, distinctive chord progressions, or interesting rhythms that can be reimagined and reinterpreted.
- Look for Breaks and Loops: Drum breaks and loops are often the backbone of hip-hop samples. Look for sections of the sample that have clear drum patterns that can be isolated and looped to create a rhythmic foundation for your track.
- Be Mindful of Tempo and Key: When selecting a sample, consider its tempo and key. It’s easier to work with samples that are in a similar or compatible tempo and key with the rest of your project, although creative pitch-shifting and time-stretching can be used to adapt samples as needed.
- Think Outside the Box: Don’t be afraid to experiment and think outside the box. Chop, reverse, pitch-shift, or manipulate the sample in unconventional ways to create unique and unexpected sounds.
Remember, sampling is about paying homage to the original artists and songs that inspire you. Always respect copyright laws and obtain the necessary permissions or licenses for any sampled material you use in your tracks.
Now that you have your perfect sample, it’s time to dive into the next stage of the process: chopping and slicing the sample.
Chopping and Slicing the Sample
Once you have selected your sample, it’s time to chop and slice it to create smaller, more manageable sections that can be used in your hip-hop composition. Chopping and slicing allow you to manipulate the sample, rearrange its elements, and create your own unique musical phrases. Here are some techniques for effectively chopping and slicing your sample:
- Find the Start and End Points: Listen closely to your sample and identify the precise start and end points you want to use. This will help you isolate the desired portion and remove any unnecessary elements.
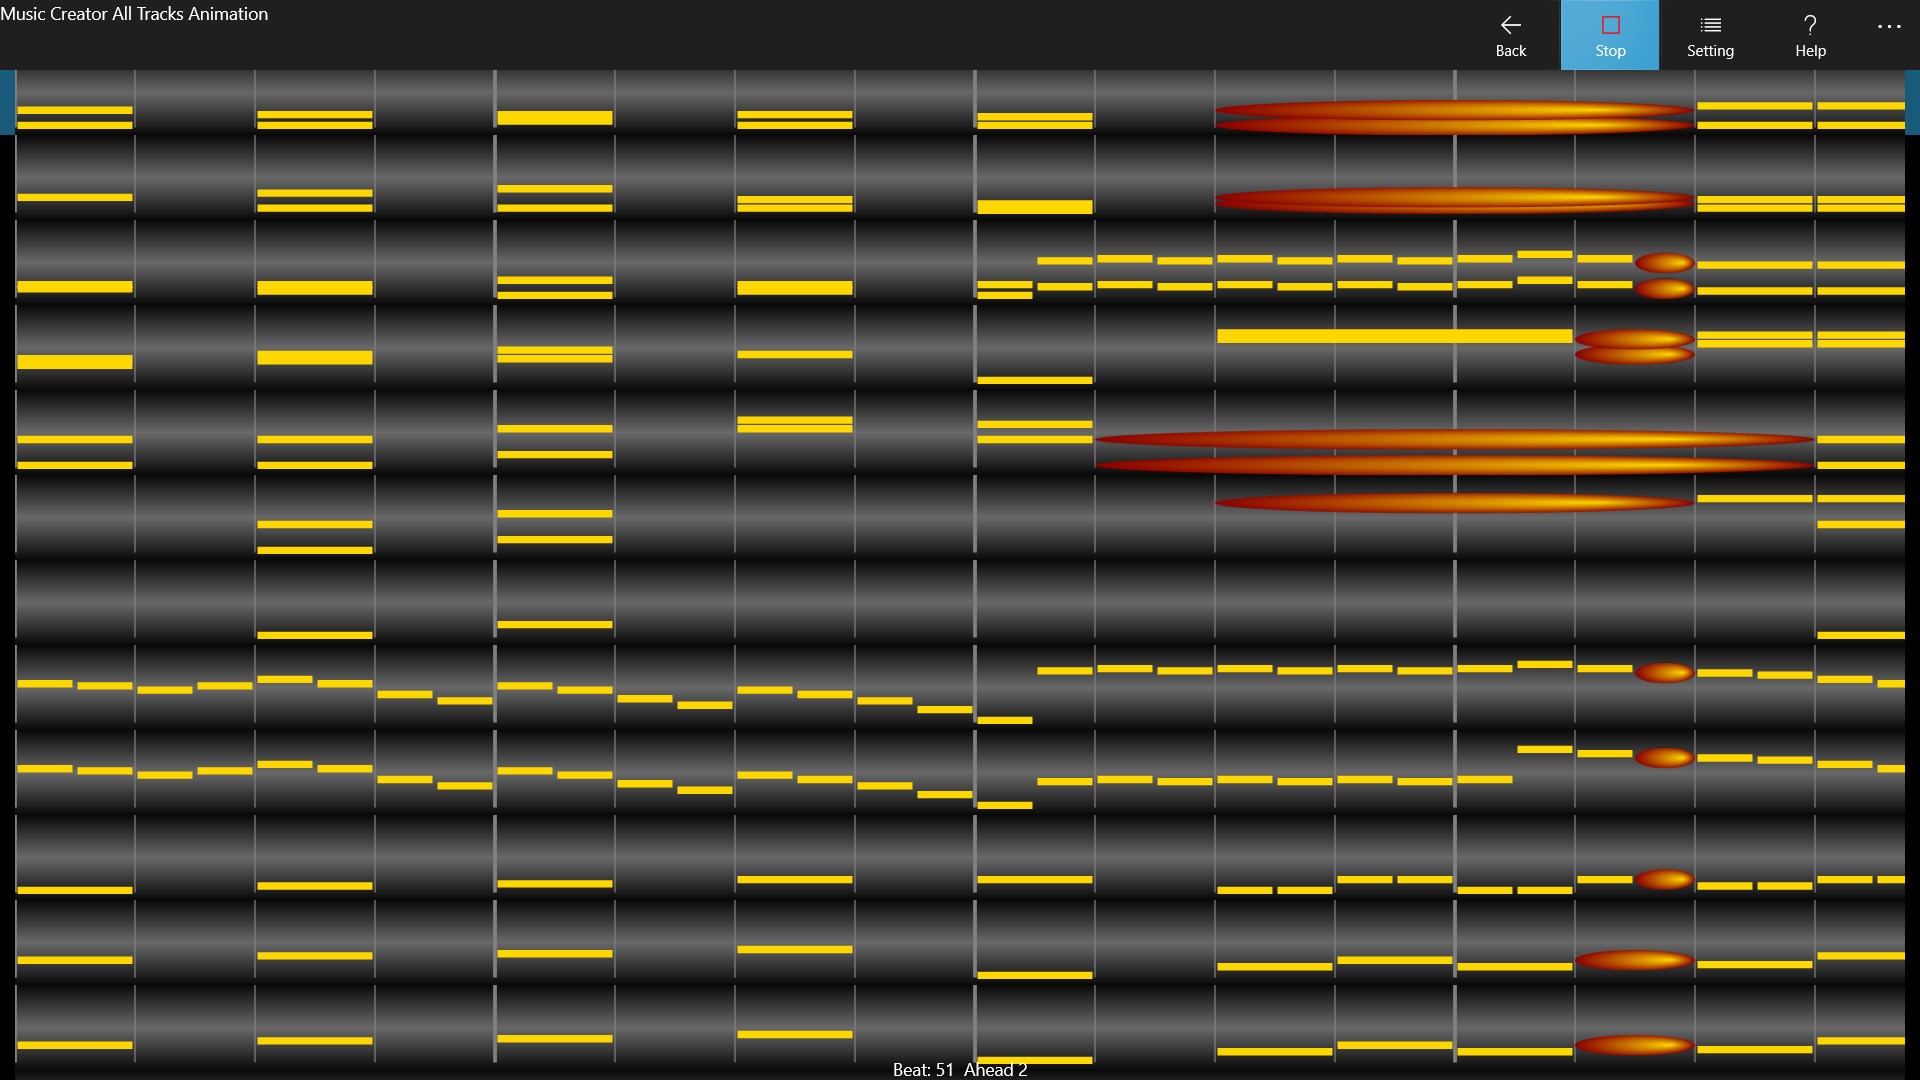
- Use a DAW’s Editing Tools: Most DAWs provide powerful editing tools that make chopping and slicing samples a breeze. You can use functions like cut, copy, and paste to manipulate the sample in the DAW’s timeline.
- Grid and Snap Settings: Set your DAW’s grid and snap settings to ensure precise cuts and alignments. This will help you maintain rhythmic consistency throughout your composition.
- Experiment with Different Slices: Try chopping your sample into shorter segments to create variety and interest. Experiment with different slice points and arrangements to find the most pleasing combinations.
- Apply Fade-ins and Fade-outs: Smooth out any harsh transitions between slices by applying fade-in and fade-out effects. This will create a more cohesive and polished sound in your composition.
- Layer and Stack Slices: For added depth and complexity, consider layering and stacking different slices from your sample. This can create unique textures and harmonies that enhance the overall musical experience.
- Time-Stretch and Pitch-Shift: Use time-stretching and pitch-shifting techniques to further manipulate your chopped samples. Adjusting the tempo or pitch can create interesting variations and fit the sample more seamlessly into your composition.
- Experiment with Effects: Apply various effects like reverb, delay, EQ, and modulation to further shape the chopped samples. Effects can add depth, space, and character to your composition, giving it a distinct and professional sound.
Remember to experiment and trust your creative instincts when chopping and slicing samples. There are no hard and fast rules, so let your ears guide you to create a unique and captivating hip-hop sample.
Now that you have chopped and sliced your sample, it’s time to explore the next step: applying effects and processing to enhance the sound.
Applying Effects and Processing
Applying effects and processing is a crucial step in shaping the sound of your hip-hop sample. This stage allows you to add depth, texture, and character to the individual slices and the overall composition. Here are some techniques and effects you can use to enhance your sampled track:
- Equalization (EQ): Use EQ to adjust the frequency balance of your samples. Boost or cut certain frequencies to bring out specific elements or create a better blend with other instruments in your arrangement.
- Compression: Apply compression to control the dynamics of your samples. This will help even out the volume levels and add sustain to the sound, resulting in a more polished and cohesive performance.
- Reverb: Add reverb to give your samples a sense of space and depth. Experiment with different reverb settings to achieve the desired ambiance and create a realistic or ethereal atmosphere.
- Delay: Use delay effects to create interesting rhythmic patterns and add depth to your samples. Adjust the delay time, feedback, and other parameters to achieve the desired effect.
- Modulation: Apply modulation effects like chorus, flanger, or phaser to add movement and character to your samples. These effects can create swirling or sweeping textures that add a unique touch to your composition.
- Saturation and Distortion: Experiment with saturation and distortion effects to add warmth, grit, or grittiness to your samples. These effects can give your track a vintage or edgy vibe, depending on the desired aesthetic.
- Stereo Imaging: Use stereo imaging tools to widen the stereo field of your samples. This can create a more immersive sound and make the track feel more spacious and immersive.
- Automation: Explore automation to create dynamic changes in your effects and processing. Automating parameters like volume, EQ, or filter cutoff can add movement and interest to your samples.
Remember to use effects judiciously and in service of the musicality of your sample. Avoid overloading the mix with excessive effects that could distract from the essence of the sample itself.
Now that you’ve processed your samples and added effects, it’s time to move on to arranging and sequencing them into a cohesive track.
Arranging and Sequencing the Samples
Arranging and sequencing the samples you’ve created is where you bring your hip-hop composition to life. This is the stage where you structure and organize the different elements of your track to create a cohesive and engaging musical experience. Here are some tips to help you with arranging and sequencing your samples:
- Intro: Start your arrangement with an impactful intro that grabs the listener’s attention. Consider using a stripped-down version of your sample or introducing unique elements that set the tone for the rest of the track.
- Verse and Chorus: Create the foundation of your track by arranging your samples into verses and choruses. Use contrasting sections to build tension and release, and experiment with different combinations of samples to create catchy and memorable hooks.
- Bridge or Breakdown: Add variety to your arrangement by including a bridge or breakdown section. This allows for a change in mood or a shift in dynamics, keeping the listener engaged and adding interest to the composition.
- Build-ups and Drops: Use rhythmic and textural elements to create build-ups that lead to impactful drops. These moments of release and impact can elevate the energy of the track and provide a satisfying listening experience.
- Transitions: Pay attention to the transitions between different sections of your arrangement. Smooth out any abrupt changes by using fade-ins, fade-outs, filter sweeps, or other transition effects. This ensures your track flows seamlessly from one section to another.
- Dynamics and Variation: Incorporate dynamics and variation throughout the arrangement. This can be achieved by introducing new samples, manipulating existing ones, or adding additional layers to create peaks and valleys in the track.
- Layering and Textures: Experiment with layering different samples and textures to create depth and richness in your arrangement. This can involve adding additional instrumentation, vocal chops, or atmospheric elements to enhance the overall sound of the track.
- Breaks and Solos: Consider including breaks or solos where individual samples take the center stage. This gives certain elements a chance to shine and adds a dynamic and expressive element to your arrangement.
- Climax and Outro: Build towards a climax in your arrangement that leaves a lasting impression on the listener. Follow it with a well-crafted outro that provides a sense of closure or leaves room for a smooth transition to the next track.
Remember, arranging and sequencing is a creative process, so trust your instincts and let your musicality guide you. Be open to experimentation and don’t be afraid to try unconventional or unexpected ideas to make your arrangement stand out.
Now that your arrangement is complete, it’s time to add additional instruments and layers to enhance the overall sound of your sampled track.
Adding Additional Instruments and Layers
While the sampled elements form the core of your hip-hop track, adding additional instruments and layers can elevate the overall sound and bring new dimensions to your composition. These elements can complement and enhance the sampled material, providing depth, texture, and variation. Here are some tips for incorporating additional instruments and layers:
- Choose Complementary Sounds: Select instruments and sounds that complement the mood and vibe of your sampled material. Consider instruments like basslines, synths, pads, strings, or brass to add richness and harmony to your composition.
- Create Counter-Melodies: Experiment with creating counter-melodies that intertwine with your sampled elements. These additional melodic lines can add complexity and interest to your arrangement, providing a fresh perspective to the overall sound.
- Add Harmonic Elements: Introduce harmonic elements, such as chords or arpeggios, to provide a solid foundation and harmonic structure to your track. These elements can add depth and richness, enhancing the emotional impact of your sampled material.
- Rhythm and Percussion: Layer in percussion sounds or drum patterns to expand and reinforce the rhythmic foundation of your track. This can include additional drum samples, shakers, tambourines, or even live percussion recordings.
- Textural Elements: Consider adding textural layers, such as ambient soundscapes, atmospheric effects, or field recordings, to create a unique sonic backdrop. These elements can give your track a sense of space and immersion.
- Vocal Samples: Incorporate vocal samples or vocal chops to add a human touch and lyrical element to your composition. These samples can be used to create hooks, ad-libs, or even as a lead vocal if you have the necessary permissions.
- Effects and Processing: Apply effects and processing to the additional instruments and layers to integrate them seamlessly with the sampled material. Use EQ, compression, reverb, and other effects to achieve a cohesive and balanced mix.
- Pan and Stereo Width: Experiment with panning and stereo width to create a sense of spatialization and separation between different elements. This can help give each instrument and layer its own space within the stereo field.
- Automation: Use automation to control the volume, effects, or any other parameters of the additional instruments and layers. This allows for dynamic changes throughout the composition and ensures that these elements enhance the overall musical journey.
Remember to strike a balance between the sampled elements and the additional instruments and layers. These elements should enhance and support the core of your hip-hop sample while still allowing the original sample to shine through.
Now that you have incorporated additional instruments and layers, the next step is to focus on mixing and mastering your sampled track to achieve a professional sound.
Mixing and Mastering the Sampled Track
Mixing and mastering are crucial stages in the music production process that ensure your sampled track sounds polished, cohesive, and ready for distribution. These stages involve refining the balance, clarity, and overall sonic quality of the individual elements and the entire composition. Here are some key steps for mixing and mastering your sampled track:
- Balance and Levels: Achieve a balanced mix by adjusting the levels of each element in your track. Make sure the different instruments, samples, and layers sit well together and nothing is overpowering or getting lost in the mix.
- Panning and Stereo Imaging: Implement panning and stereo imaging techniques to create a sense of space and separation between the elements. Place instruments and samples in the stereo field to provide width and depth to the mix.
- EQ and Frequency Balance: Use EQ to shape the frequency balance of each element in your track. Make sure different instruments aren’t competing for the same frequency range and that each sound has its own space in the mix.
- Compression and Dynamics Control: Apply compression to control the dynamics of individual elements and the overall mix. Use it sparingly to even out the volume levels and add sustain, avoiding over-compression that can lead to a lifeless sound.
- Reverb and Delay: Use reverb and delay effects to add depth and ambience to your track. Experiment with different settings to create a sense of space and cohesion, ensuring the reverberation matches the mood and style of your sample.
- Stereo Bus Processing: Apply gentle processing to the stereo bus to enhance the overall mix. This can include using a stereo enhancer, subtle compression, or a master EQ to add polish and cohesion to the entire track.
- Mastering Compression and Limiting: Apply mastering compression and limiting to ensure the final mix reaches an appropriate loudness level without sacrificing too much dynamic range. Be cautious not to over-compress, as it can result in a distorted and fatiguing sound.
- EQ and Balance: Use mastering EQ to make slight tonal adjustments and polish the overall frequency balance of the mix. Pay attention to any problematic frequencies that may need to be tamed or boosted.
- Finalize and Export: Once you’re satisfied with the mix and master, make a final check for any issues or adjustments that need to be addressed. Then, export the track in a suitable format for distribution or further post-production.
It’s important to critically listen to your mix and compare it to commercially released tracks in the same genre. Take breaks and listen with fresh ears to ensure you’re achieving the desired sonic quality.
Remember, mixing and mastering are iterative processes, and it’s common to revisit and make adjustments along the way. Trust your ears and take the time to fine-tune your sampled track until you achieve the desired professional sound.
Now that your sampled track is mixed and mastered, you’re ready to share your creation with the world and showcase your unique style and talent within the realm of hip-hop music.
Conclusion
Creating a hip-hop sample is a captivating and intricate process that allows you to weave together the past and the present, merging different genres, eras, and styles into a unique musical expression. Throughout this article, we have explored the essential steps and techniques involved in crafting a captivating hip-hop sample.
From selecting the right sample to chopping, slicing, and processing, each stage requires careful consideration and creative exploration. The equipment and tools you use, such as your computer, DAW, MIDI controller, and audio interface, empower you to bring your artistic vision to life.
Sampling is not only about technical prowess but also about the ability to listen widely, trust your instincts, and think outside the box. It’s about finding that perfect snippet of music that resonates with you and using it as a canvas to create something entirely new.
Throughout the process, it’s important to respect copyright laws and obtain the necessary permissions or licenses for your sampled material. Giving credit to the original artists and songwriters is a fundamental aspect of sampling and pays homage to the rich musical heritage that inspires us.
Mixing and mastering your sampled track takes your creation to the next level of professionalism. Through careful balance, EQ, compression, and attention to detail, you can achieve a polished and cohesive sound that will capture the listener’s attention and stand out in the competitive music industry.
Remember, the beauty of creating a hip-hop sample lies in the freedom of self-expression and the endless possibilities that sampling offers. Each artist brings their unique blend of creativity and musicality to the table, shaping the future of hip-hop with their sampled masterpieces.
Now it’s time for you to take what you’ve learned here and delve into the world of hip-hop sampling. Embrace the challenges, celebrate the triumphs, and let your passion for the art form guide you on this exciting and fulfilling musical journey.