Hip Hop
How To Make Hip Hop Beat Fl Studio 12
Modified: February 15, 2024
Learn how to create Hip Hop beats using FL Studio 12. Get expert tips and techniques for producing professional-quality tracks in this comprehensive guide.
(Many of the links in this article redirect to a specific reviewed product. Your purchase of these products through affiliate links helps to generate commission for AudioLover.com, at no extra cost. Learn more)
Table of Contents
Introduction
Hip Hop music has been a powerful and influential force in the music industry for decades. From its humble beginnings in the Bronx in the 1970s to its mainstream domination in the 21st century, Hip Hop has carved a unique place in musical history. At the core of this genre is the beat – the rhythmic foundation that drives the energy and groove of a Hip Hop track.
If you’re a music producer or an aspiring beatmaker, you may wonder how to create your own Hip Hop beats. With the help of digital audio workstations (DAWs) like FL Studio 12, you have all the tools at your fingertips to craft the perfect Hip Hop beat.
In this article, we will explore the process of making a Hip Hop beat using FL Studio 12. From setting up the software to selecting sounds, programming drums, creating catchy melodies, and adding additional elements, we will guide you through each step of the process. By the end of this article, you’ll have the knowledge and confidence to start producing your own unique Hip Hop beats.
But before we dive into the technical aspects, let’s take a moment to appreciate the artistry and essence of Hip Hop. It emerged as a voice for marginalized communities, expressing their struggles, triumphs, and stories. Hip Hop not only revolutionized music but also became a platform for social commentary, self-expression, and cultural identity.
With its roots in sampling, remixing, and creativity, Hip Hop has evolved to embrace a wide range of styles and sub-genres – from boom bap to trap, lo-fi to conscious rap. It’s a genre that encourages experimentation, pushing boundaries, and breaking the rules.
So, whether you’re looking to produce hard-hitting club bangers or introspective and soulful tracks, the process of making a Hip Hop beat on FL Studio 12 will equip you with the necessary techniques and knowledge to explore your artistic vision.
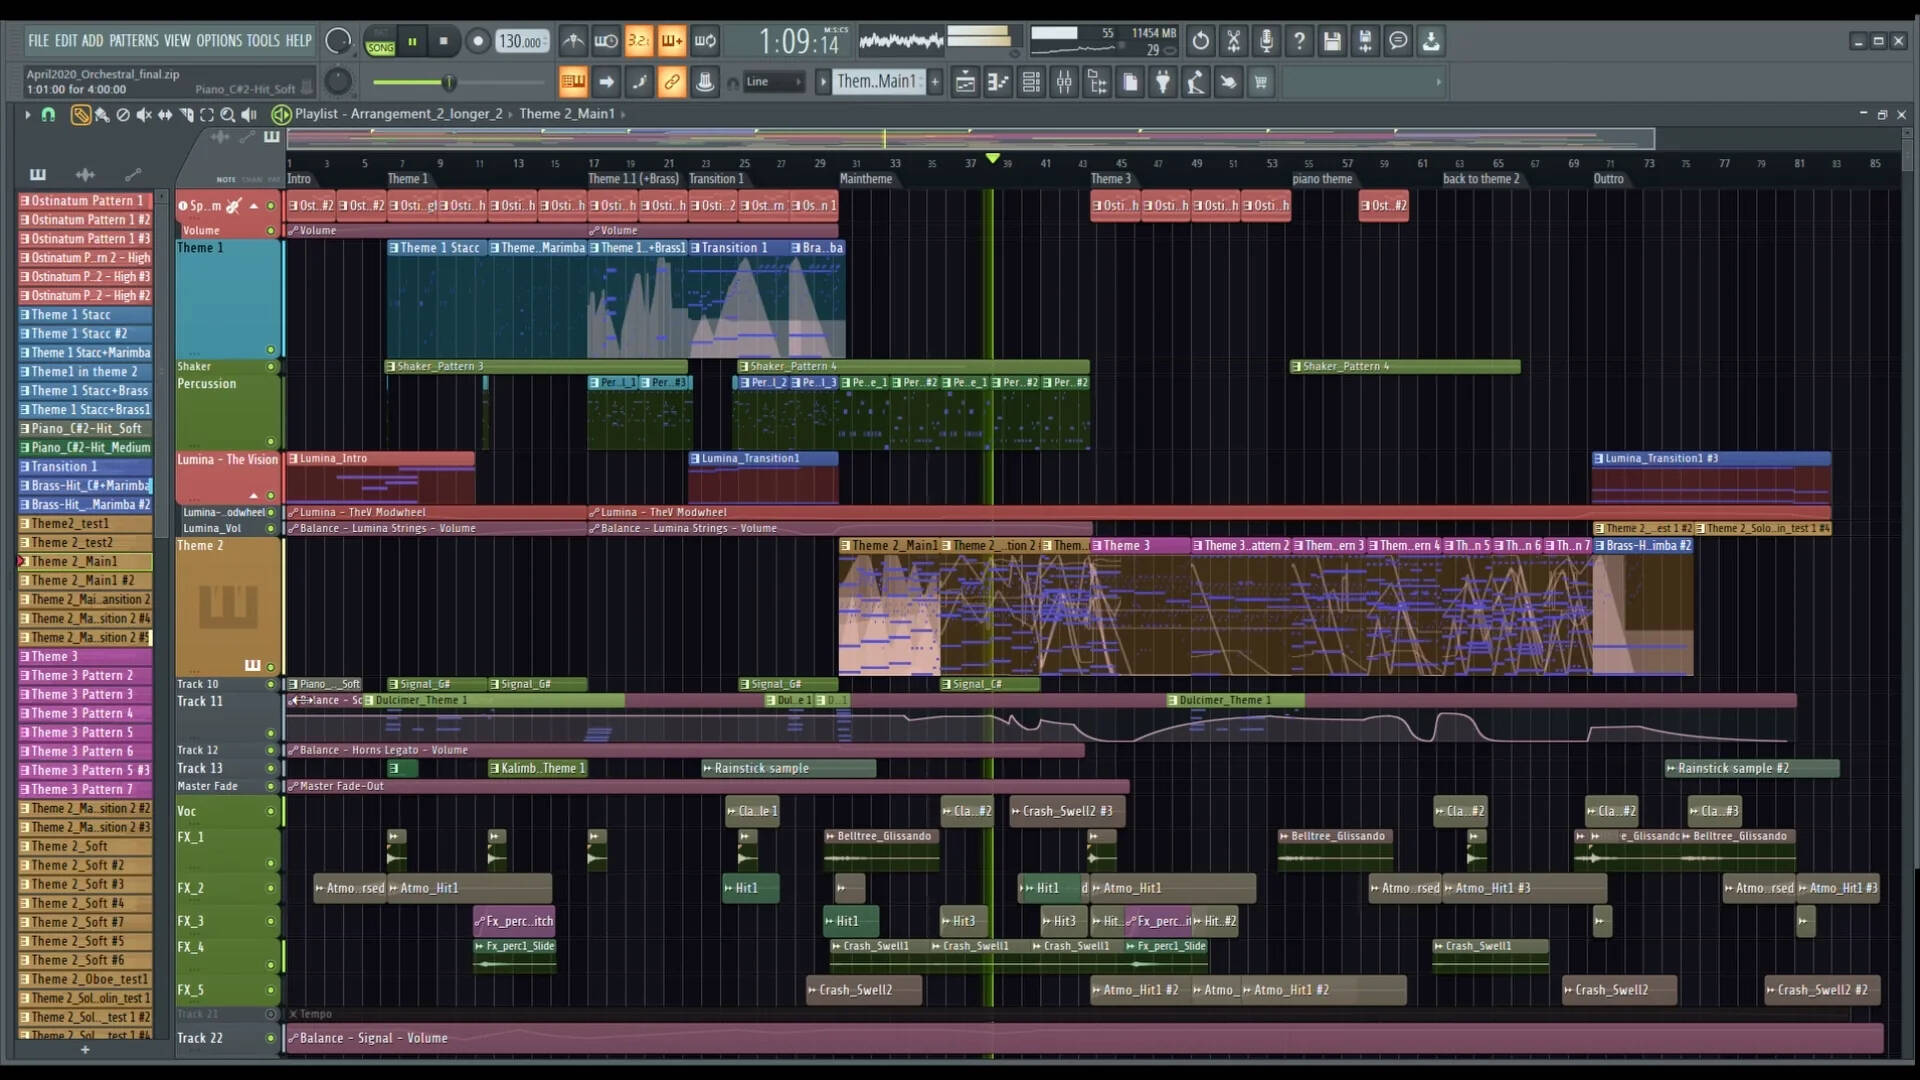
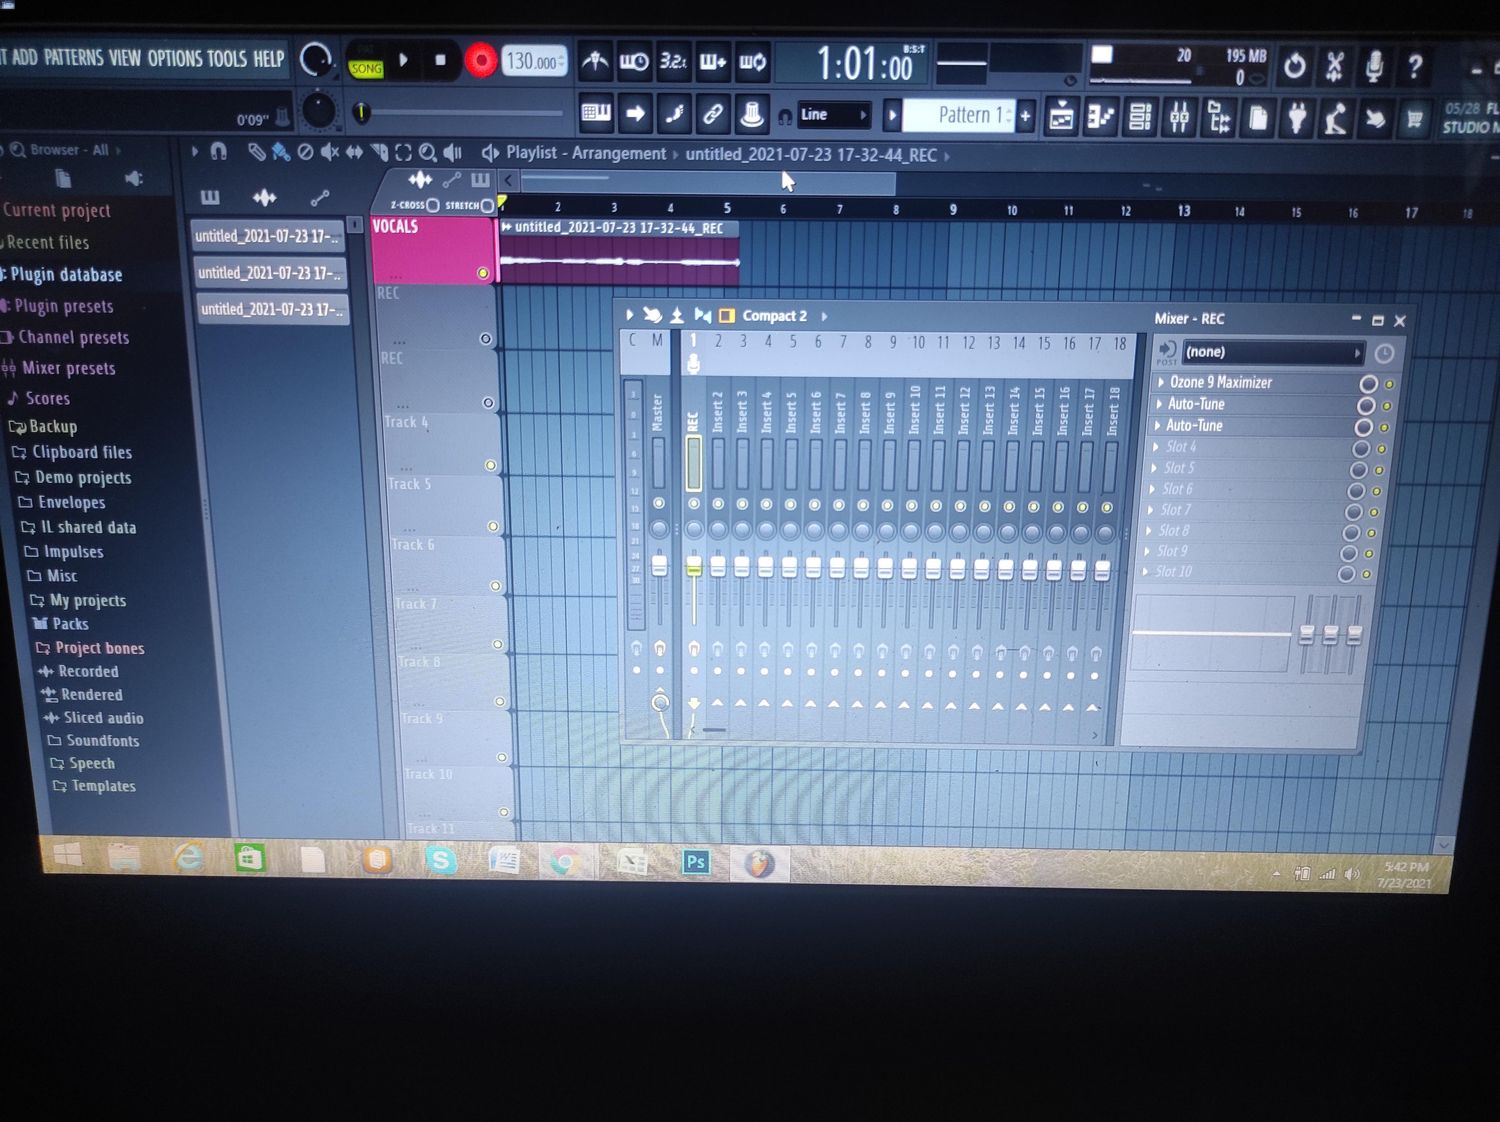
Setting up FL Studio 12
Before you can start creating your Hip Hop beat, you’ll need to set up FL Studio 12 on your computer. Follow these steps to ensure you have everything you need to begin your musical journey:
- Installation: Download and install FL Studio 12 from the official website. Follow the instructions provided by the installer to complete the installation process.
- Audio Interface: If you’re using external audio hardware, make sure your audio interface is connected to your computer and properly configured. This will ensure you have the best audio quality and latency performance.
- Audio Settings: Open FL Studio 12 and navigate to the Options menu. Click on “Audio Settings” and select your audio device from the input/output drop-down menus. Adjust the sample rate and buffer size according to your preferences. These settings will affect the audio latency and performance.
- Project Settings: Set the project tempo and time signature by clicking on the menu bar and selecting “Project” and then “Project Info.” Enter the desired tempo and time signature for your beat. This will define the overall rhythmic structure and tempo of your track.
- Plugin Setup: FL Studio 12 comes with a variety of built-in plugins, but you may also want to use third-party plugins for additional sounds and effects. Make sure your plugins are installed and properly configured within FL Studio 12. You can access the plugin manager by clicking on “Channels” and then “Add one” to browse and select your plugins.
Once you’ve completed these setup steps, FL Studio 12 is ready to unleash your creativity. Familiarize yourself with the software’s interface, such as the pattern sequencer, piano roll, mixer, and step sequencer. These tools will be essential for constructing and arranging your Hip Hop beat.
Remember to save your project regularly to avoid losing any of your hard work. FL Studio 12 allows you to save multiple versions of your project, making it easy to experiment and revert back to previous stages of your beat’s development.
With FL Studio 12 set up and your creative space ready, you’re now ready to dive into the world of Hip Hop beat-making. Let’s move on to the next step: choosing the right sounds.
Choosing the right sounds
The sound selection is crucial in creating a high-quality Hip Hop beat that captures the essence and vibe you want to convey. Here are some tips for choosing the right sounds in FL Studio 12:
- Drum Samples: Start by selecting the drum sounds that will form the backbone of your beat. Look for punchy kicks, crisp snares, tight hi-hats, and other percussion elements that fit the style you’re aiming for. FL Studio 12 provides a variety of built-in drum kits, but you can also explore sample packs or create your own samples by recording or layering sounds.
- Instrument Sounds: Consider the instruments you want to use in your beat. Whether it’s a classic piano, a booming bass, or a melodic synth lead, FL Studio 12 offers a range of virtual instruments to choose from. Experiment with different sounds to find ones that complement each other and create a cohesive musical arrangement.
- Sample Libraries: If you’re looking to add texture, depth, or unique elements to your beat, consider using sample libraries. These collections of pre-recorded sounds, such as vinyl crackles, vocal snippets, or atmospheric effects, can add character and authenticity to your Hip Hop production.
- Layering and Processing: Don’t be afraid to layer sounds and experiment with processing techniques. Layering multiple drum sounds can create a thicker and more dynamic drum pattern, while processing techniques like EQ, compression, and reverb can enhance and shape the sound to fit your vision.
- Genre-specific Sounds: Depending on the sub-genre or style of Hip Hop you’re aiming for, you may want to incorporate specific sounds that define that particular genre. For example, trap beats often incorporate heavy 808 basses and snappy snares, while boom bap beats might feature dusty vinyl samples and gritty drum breaks. Understanding the conventions and signature sounds of the genre will help you select the appropriate sounds for your beat.
Listening and experimenting with different sounds will ultimately help you cultivate your own unique sound palette as a Hip Hop producer. Remember, there are no strict rules when it comes to sound selection – follow your intuition and trust your ears to choose the sounds that resonate with you and bring your beat to life.
Once you have your sounds in place, it’s time to move on to programming the drum patterns that form the rhythmic foundation of your Hip Hop beat.
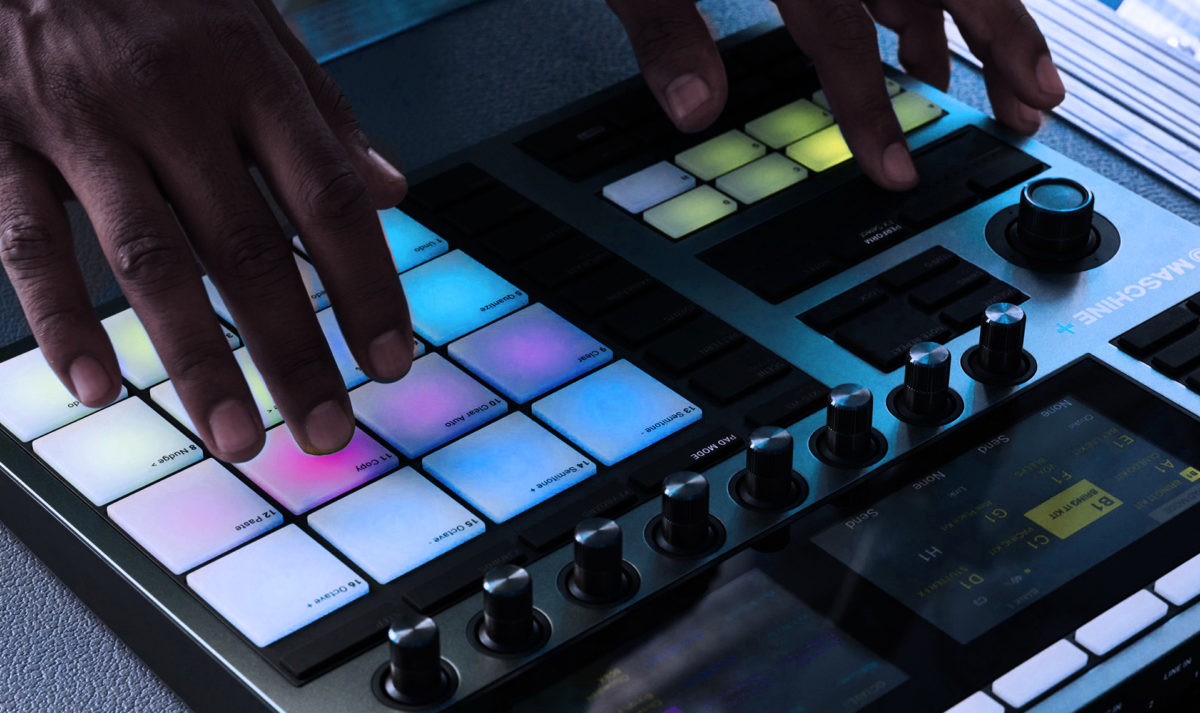
Creating the drum patterns
The drum patterns play a vital role in shaping the groove and energy of a Hip Hop beat. It’s important to craft a rhythm that captivates listeners and provides a solid foundation for other elements in your production. Here’s how you can create impactful drum patterns in FL Studio 12:
- Kick and Snare: Start by programming the kick and snare, which are the backbone of your drum pattern. The kick drum provides the low-end thump while the snare adds the punch and snap. Experiment with different patterns, such as the typical “boom-bap” pattern with the kick on the downbeat and the snare on the 2nd and 4th beats, or try more intricate rhythms to add complexity.
- Hi-Hats and Cymbals: Add hi-hats and cymbals to enhance the groove and add variation. Use closed hi-hats for a consistent and rhythmic sound, open hi-hats for added emphasis, and cymbals for crashes and accents. Experiment with different patterns and velocities to create interesting rhythmic patterns and dynamics.
- Percussion Elements: Consider incorporating additional percussion elements to add flavor and texture to your drum pattern. This could include shakers, tambourines, claps, or other unique percussion sounds that complement the overall vibe of your beat. Place them strategically throughout the pattern to create variation and interest.
- Humanize and Quantize: To add a human touch to your drum patterns, consider using FL Studio 12’s quantize and humanize functions. Quantizing ensures that your drum hits align perfectly to the beat, while humanizing introduces subtle variations in timing and velocity to mimic the imperfections of a live drummer.
- Layering and Processing: Experiment with layering different drum samples to create a fuller and more dynamic drum sound. Processing techniques like EQ, compression, and saturation can be used to shape and enhance the drum sounds. Use these tools subtly to achieve a cohesive and polished drum mix.
Creating compelling drum patterns requires a balance of creativity and technical skill. Start with simple patterns and gradually experiment with more complex rhythms as you gain confidence and experience. Trust your instincts and let your ears guide you in deciding what rhythm best suits the style and mood of your beat.
Once you’ve crafted your drum patterns, it’s time to move on to programming the bassline, which adds depth and groove to your Hip Hop beat.
Programming the bassline
The bassline is a fundamental element in Hip Hop beats that provides depth, weight, and groove. It helps drive the low-frequency energy and adds a sense of movement to your production. Here’s how you can program a compelling bassline in FL Studio 12:
- Choose the right sound: Start by selecting a bass sound that complements the overall style and mood of your beat. Whether you prefer a deep 808 bass, a punchy synth bass, or a warm and mellow upright bass, FL Studio 12 offers a range of virtual instruments and plugins to choose from.
- Stay in key: Ensure that your bassline is harmonically aligned with the other elements of your beat. Consider the key of your song and experiment with different notes and patterns that work well together. Use the piano roll in FL Studio 12 to input the bassline notes and adjust the length, velocity, and timing as needed.
- Create a rhythmic foundation: The bassline should synchronize with the drum patterns to create a cohesive rhythmic foundation. Coordinate the rhythm of the bassline with the kicks, snares, and hi-hats to establish a solid groove. Experiment with different rhythmic patterns and syncopation to add interest and complexity.
- Add variations and fills: To make your bassline more dynamic, incorporate variations and fills. This could involve accentuating certain notes, sliding between pitches, or adding occasional fills and melodic flourishes. These variations will add musicality and help maintain the listener’s interest throughout the track.
- Layering and processing: Consider layering multiple bass sounds to create a fuller and richer bassline. Use processes like EQ, compression, and distortion to shape and enhance the sound. Carefully balance the low end to ensure it doesn’t overpower other elements in the mix. Use bass-specific plugins, such as saturation or amp simulation, to add warmth and character to the bassline.
Programming the bassline requires a good ear for melody and rhythm. Experiment with different note progressions and rhythmic patterns to find the right balance that complements your drum patterns and enhances the overall musicality of your beat.
Once you’ve mastered the bassline, it’s time to move on to crafting the melody, which adds melodic hooks and memorable motifs to your Hip Hop beat.
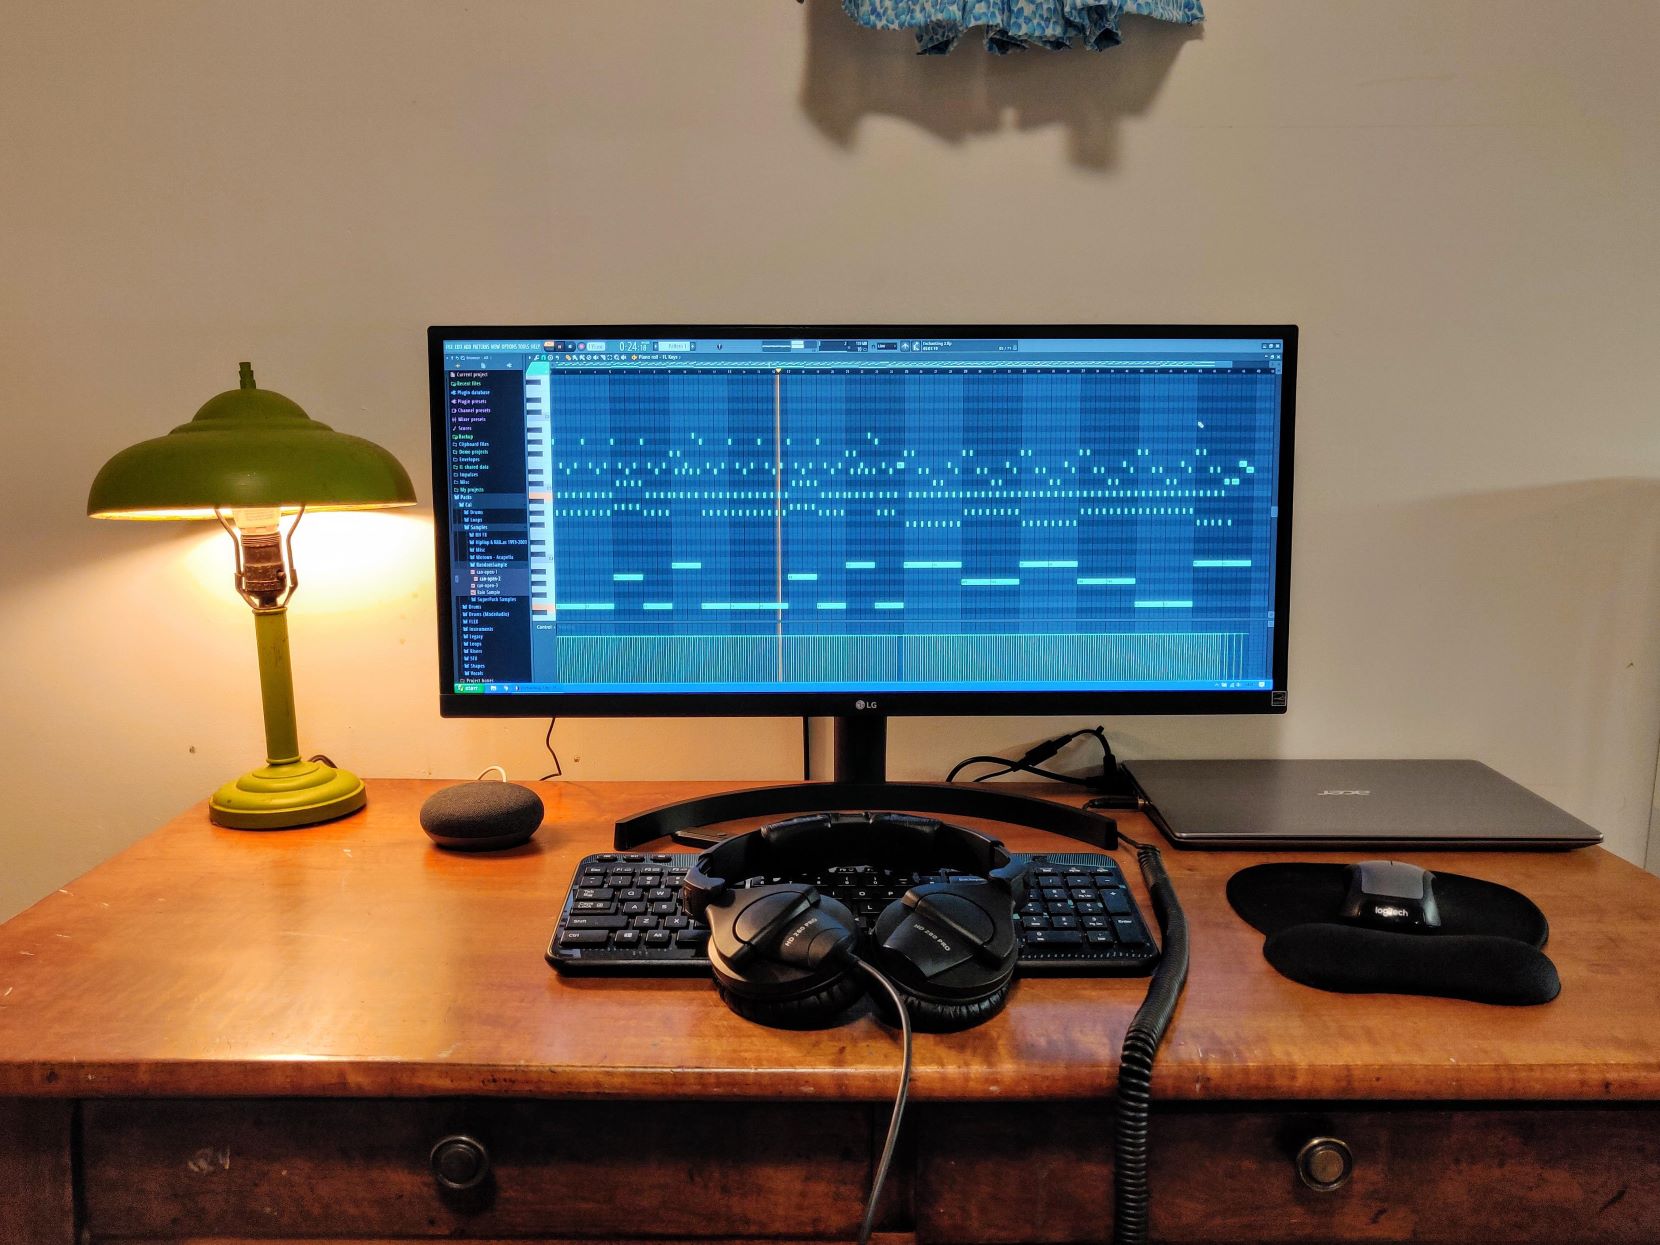
Crafting the melody
The melody is a central component of a Hip Hop beat that adds emotion, hooks, and memorability. It’s the part that sticks in listeners’ minds and creates a strong connection with your music. Here’s how you can craft a captivating melody in FL Studio 12:
- Choose the right instrument: Start by selecting an instrument or sound that suits the mood and style of your beat. FL Studio 12 offers a wide range of virtual instruments and plugins, including pianos, synths, and strings. Experiment with different sounds and timbres to find one that resonates with your artistic vision.
- Find the key: Determine the key of your beat and ensure that your melody stays within the chosen scale. This ensures that the melody harmonizes with the bassline and other elements of your composition. Use the piano roll in FL Studio 12 to input the melody notes and experiment with different intervals and patterns.
- Create a memorable motif: Craft a memorable motif or hook that serves as the centerpiece of your melody. This motif can repeat throughout the beat, creating a cohesive and recognizable theme. Experiment with different rhythms, note lengths, and intervals to create a melodic motif that captures the essence of your beat.
- Add variations and dynamics: To keep your melody interesting and engaging, incorporate variations and dynamics. This could involve adding ornaments, such as trills or slides, or introducing subtle variations in pitch or rhythm. Use velocity changes to create dynamic contrasts and bring out different notes in the melody.
- Consider counterpoint: Experiment with counterpoint, which involves layering multiple melodies that harmonize or complement each other. This can add complexity and depth to your composition. Ensure that any additional melodies fit well with the main melody and don’t overpower or clash with other musical elements.
- Experiment with effects: Use effects like reverb, delay, and modulation to enhance the timbre and texture of your melody. These effects can add depth, space, and movement to your melody, giving it a professional and polished sound. However, use them sparingly to avoid overwhelming the melody.
When crafting the melody, let your creativity flow and don’t be afraid to take risks. Experiment with different ideas and explore various melodies until you find one that resonates with you and enhances the overall vibe of your Hip Hop beat.
With the melody in place, it’s time to add additional elements to add depth and texture to your production.
Adding additional elements
While the drum patterns, bassline, and melody form the core of a Hip Hop beat, adding additional elements can enhance the depth and texture of your production. Here’s how you can incorporate extra elements in FL Studio 12:
- Chords and Harmonies: Consider adding chords and harmonies to complement the melody and create a fuller sound. Use the piano roll or a chord generator plugin in FL Studio 12 to input chord progressions that align with the key and mood of your beat. Experiment with different voicings and inversions to find the right balance.
- Sound Effects: Incorporate sound effects to add interest and create transitions. These can include risers, impacts, sweeps, or vinyl scratches. Place them strategically throughout the beat to create tension, build-ups, or unique moments. FL Studio 12 offers built-in effects and plugins that allow you to manipulate and shape sound effects to fit your desired impact.
- Samples and Vocal Hooks: Integrate samples or vocal hooks to add character and create a unique identity for your beat. These can be short vocal snippets, spoken word samples or atmospheric recordings. Be sure to clear any copyrighted samples and properly credit the original creators when necessary.
- Additional Instrumentation: Experiment with additional instruments to enhance the musicality of your beat. This could include adding a guitar riff, a horn section, or even a synthesized pad. FL Studio 12 provides a wide array of virtual instruments that can help you achieve the desired sound and mood.
- Background Ambience: Consider incorporating ambient sounds or textures to create depth and atmosphere in your beat. This can include field recordings, nature sounds, or ethereal pads. Use these elements subtly to enhance the overall sonic landscape without overpowering the other elements.
Adding these extra elements allows you to explore your creativity and make your beat stand out. Keep in mind that balance is key – ensure that these elements complement rather than compete with the core components of your beat.
With additional elements integrated, it’s time to enhance your beat through effects and mixing.
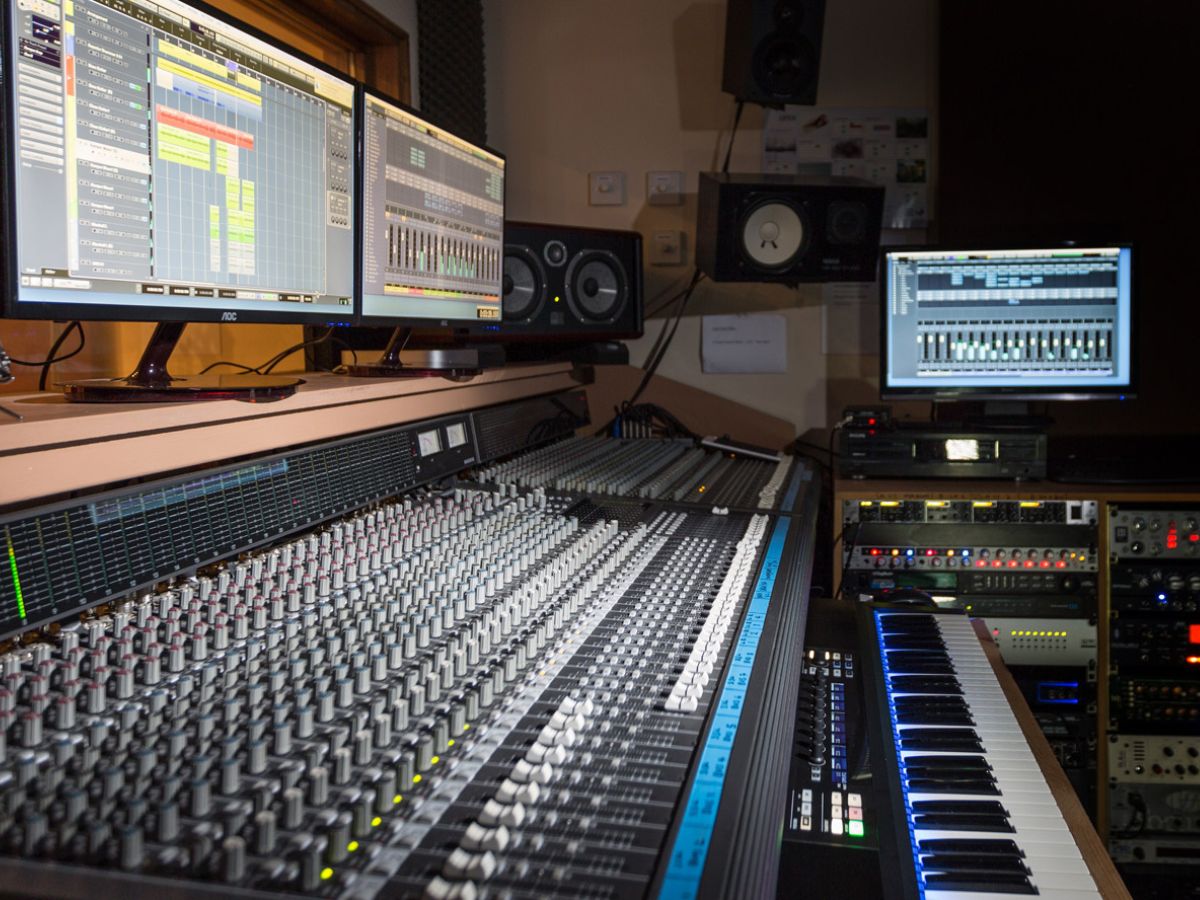
Applying effects and mixing
Once you have all the individual elements of your Hip Hop beat in place, it’s time to apply effects and mix them together to create a cohesive and polished sound. Here’s how you can use effects and mixing techniques in FL Studio 12:
- Equalization (EQ): Use EQ to shape the frequency balance of each element in your beat. You can boost or cut certain frequencies to make the drums punchier, emphasize the clarity of the melody, or carve out space for each instrument in the mix. Experiment with different EQ settings to achieve a clean and well-balanced sound.
- Compression: Apply compression to control the dynamic range of your beat. This ensures that the louder and softer parts of your production are more balanced, resulting in a more consistent and professional sound. Adjust the attack, release, threshold, and ratio settings to achieve the desired compression effect on individual elements or the overall mix.
- Reverb: Add reverb to create a sense of space and depth in your beat. Use different types of reverb (such as plate, room, or hall) to add ambiance to specific elements or the overall mix. Adjust the reverb parameters (such as decay time and pre-delay) to achieve the desired effect. Be mindful of not overusing reverb, as it can make the mix muddy or cluttered.
- Delay: Apply delay to add depth and dimension to certain elements of your beat. Use it sparingly on instruments or vocals to create echoes or repetitions. Adjust the delay time, feedback, and wet/dry mix to achieve the desired delay effect. Experiment with different delay settings to find what suits the vibe and style of your composition.
- Stereo Imaging: Utilize stereo imaging techniques to create a wide and immersive soundscape. Pan individual elements to different positions in the stereo field to provide separation and clarity. Use techniques like stereo widening or mid-side processing to enhance the stereo image of your beat. Be cautious with extreme stereo effects, as they can result in phase cancellation and compromise mono compatibility.
- Volume Balance: Achieve a balanced mix by adjusting the volume levels of each element in relation to each other. Ensure that no instrument or element is overpowering the others. Use automation to control volume changes over time, such as fading in or out certain elements for emphasis or transitions.
Remember that each element of your beat should work harmoniously together, creating a cohesive and professional sound. Take the time to experiment with different effects and mixing techniques until you achieve the desired sonic balance and clarity.
With your beat now fully mixed, it’s time to arrange it into a cohesive composition.
Arranging the beat
Arranging your beat is the process of organizing its various elements into a structured composition. This involves determining the arrangement and progression of sections such as verses, choruses, bridges, and breakdowns. Here’s how you can effectively arrange your Hip Hop beat in FL Studio 12:
- Intro: Start your beat with an engaging intro that grabs the listener’s attention. This section can be shorter and more minimalistic, setting the tone for the rest of the track.
- Verse: Begin with a verse section where the main elements of your beat are introduced. Keep the instrumentation relatively sparse to give the vocals (if present) space to shine. Experiment with variations and subtle changes to maintain interest throughout the verse.
- Pre-Chorus / Build-up: Build anticipation and momentum leading into the chorus by incorporating a pre-chorus or a build-up section. Increase the energy and tension gradually to prepare the listener for the upcoming chorus.
- Chorus: The chorus is usually the catchiest and most memorable section of the beat. It should be more energetic and robust, with all the elements coming together for a powerful impact. Make sure the chorus stands out from the rest of the sections to create a significant contrast.
- Bridge: Provide a break and contrast in the arrangement by incorporating a bridge. This section can feature different sounds or textures to add variety and keep the listener engaged. Experiment with different chord progressions and melodies to create a unique and captivating bridge.
- Breakdown: Introduce a breakdown section that strips back the instrumentation and creates a moment of respite. This section can build up tension once again before transitioning back into the chorus or another section.
- Outro: Conclude your beat with a satisfying outro. This section can gradually fade out or end abruptly, depending on the mood and style of your composition.
Pay attention to the overall flow and progression of your beat. Experiment with different arrangements and explore how different sections can interact and transition smoothly. Use automation to create subtle changes in elements like volume, panning, or effects, adding interest and dynamics to the arrangement.
Remember, the arrangement is an opportunity to showcase your creativity and storytelling abilities. Experiment with different structures and unconventional approaches to create a unique and captivating beat.
With your beat now arranged, take the time to listen to it in its entirety and make any necessary adjustments or refinements. Once you’re satisfied, it’s time to consider the final touches and conclude your production.
Conclusion
Congratulations! You have now learned the essential steps to create a captivating Hip Hop beat using FL Studio 12. From setting up the software to selecting sounds, programming drums, crafting melodies, adding additional elements, applying effects, mixing, and arranging, you’ve gained valuable knowledge that can elevate your beatmaking skills.
Remember, creating a unique and compelling Hip Hop beat requires practice, experimentation, and a keen sense of creativity. Use the techniques and tips discussed in this article as a starting point, but don’t be afraid to push boundaries and develop your own signature sound.
As you continue on your beatmaking journey, keep listening to a wide range of Hip Hop music and draw inspiration from various artists and sub-genres. Stay up-to-date with industry trends and techniques to continuously evolve and refine your skills.
Lastly, be open to collaboration and feedback. Share your beats with fellow producers or artists to gain valuable insights and learn from others in the music community. Constructive criticism can help you grow as a producer and refine your craft.
Now, armed with your FL Studio 12 knowledge and your Hip Hop expertise, it’s time to put your skills into action. Start creating your own unique and infectious Hip Hop beats that make heads nod and speakers bump. Embrace the freedom of expression that Hip Hop offers and make your mark on the genre.
Good luck, have fun, and let the rhythm guide you as you navigate the exciting world of Hip Hop beatmaking!