Home>Production & Technology>Metronome>How To Make A Sample Follow The Metronome

Metronome
How To Make A Sample Follow The Metronome
Modified: January 22, 2024
Learn how to make a sample follow the metronome with our easy-to-follow tutorial. Master the art of tempo synchronization and improve your musical performances.
(Many of the links in this article redirect to a specific reviewed product. Your purchase of these products through affiliate links helps to generate commission for AudioLover.com, at no extra cost. Learn more)
Table of Contents
Introduction
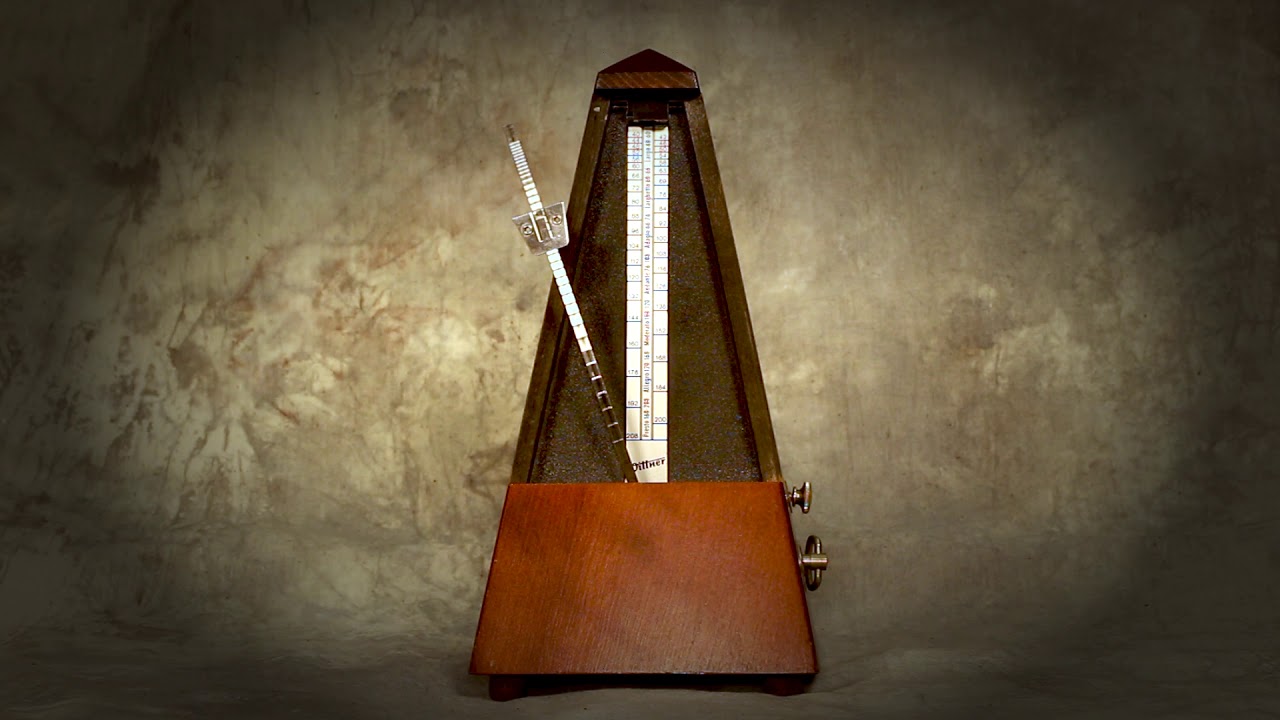
When it comes to music production, one of the essential tools that every musician and producer should be familiar with is the metronome. The metronome is a device that helps musicians keep a steady rhythm and maintain proper tempo while practicing or recording. It provides a consistent clicking or beeping sound at a defined tempo, acting as a reliable guide for musicians to stay in time.
In this article, we will explore how to make a sample follow the metronome, a technique that can greatly enhance the precision and synchronization of your music. Whether you are a beginner or a seasoned musician, understanding and effectively using the metronome can significantly improve your musical performance.
By aligning your samples with the metronome, you can ensure that your music maintains a consistent tempo throughout the song. This is crucial, especially when working with multiple instruments or collaborating with other musicians. Following the metronome can help you achieve tighter and more professional sounding tracks.
Before we dive into the steps, let’s first understand the concept of the metronome and its significance in music production.
Understanding the Metronome
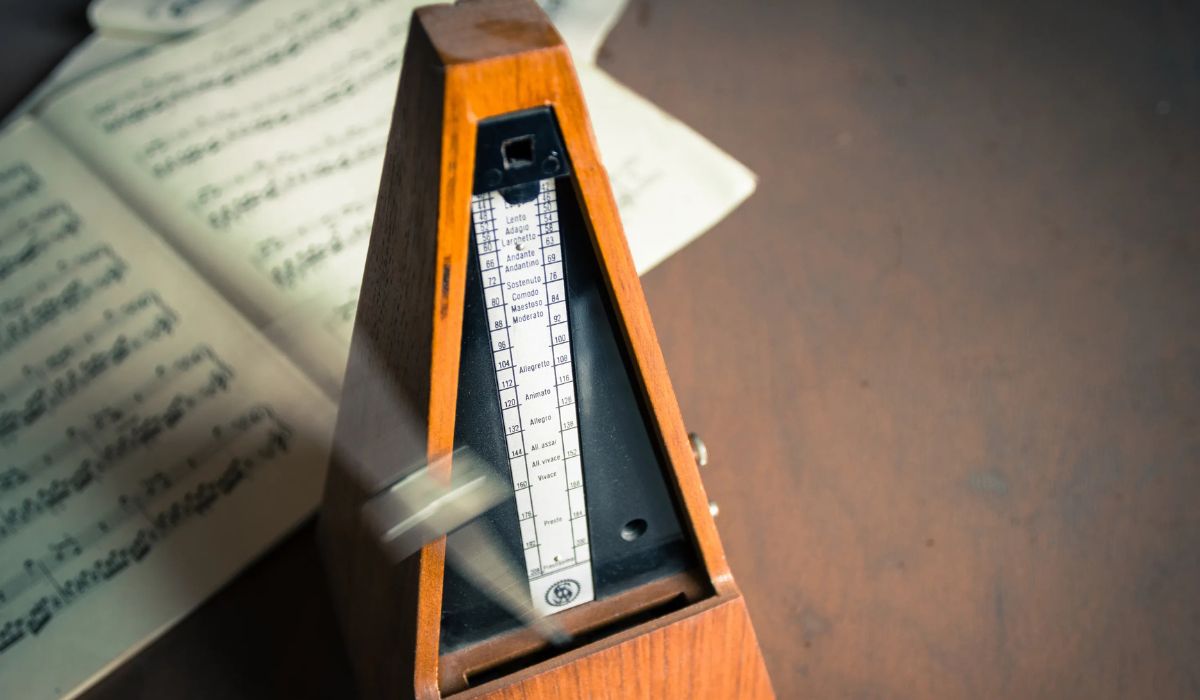
The metronome is a device that produces regular beats or clicks at a specific tempo. It is used as a reference point to help musicians play in time and maintain a consistent rhythm. Originally invented in the early 19th century, metronomes were mechanical devices with a pendulum or rotating arm that produced audible ticks.
Modern metronomes have evolved into digital tools found in music software or standalone devices, offering more flexibility and versatility in tempo options. They typically have adjustable tempo settings, allowing musicians to select a specific beats-per-minute (BPM) value that suits their musical needs.
The metronome is widely used in different genres of music, from classical to pop, jazz, and beyond. It is an invaluable aid for musicians at all levels, providing a steady tempo to practice scales, timing, and complex musical passages.
Using a metronome not only helps improve timing and precision but also enhances musicians’ ability to play with others. By being able to play in sync with a metronome, musicians can easily coordinate their parts and create tight arrangements.
Moreover, the metronome is an essential tool for developing a strong internal sense of timing and rhythm. Regular practice with a metronome can help musicians develop a better understanding of different rhythmic patterns and feel comfortable playing in various musical styles.
Now that we have a general understanding of the metronome and its importance, let’s move on to the next step: choosing the right sample to follow the metronome.
Choosing the Right Sample
When it comes to making a sample follow the metronome, it is crucial to select the right sample that aligns with the desired tempo. The sample should not only match the rhythm but also complement the overall vibe and feel of the song.
1. Tempo and genre: Consider the tempo of your song and the genre you are working in. Each genre has its own characteristic tempo range, such as slow and sultry for blues or upbeat and energetic for pop. Choose a sample that fits within the tempo range of your genre to ensure a cohesive and natural sound.
2. Timing: Pay attention to the timing of your sample. Listen to the rhythm and groove of the sample and determine if it matches the desired tempo. Adjustments may need to be made, such as stretching or shortening the sample, to ensure it aligns perfectly with the metronome.
3. Musical elements: Consider the musical elements of your sample. Does it have drum beats, melodies, or vocal phrases? Ensure that these elements fit well with the metronome and don’t clash or create a dissonance. It’s important to maintain musical coherence throughout your track.
4. Dynamic range: Consider the dynamic range of your sample. Does it have drastic changes in volume or intensity? If so, you may need to modify or automate certain sections to ensure consistency with the metronome. This will help maintain a solid and even rhythm throughout the song.
Remember, the goal is to make the sample seamlessly blend with the metronome, creating a harmonious and cohesive musical experience. Take your time to carefully choose the right sample, making sure it complements the overall structure and tempo of your song.
Now that you have selected the appropriate sample, let’s move on to the next step: setting the metronome tempo.
Setting the Metronome Tempo
Once you have chosen the right sample to follow the metronome, it’s time to set the tempo. The tempo, measured in beats per minute (BPM), determines the speed at which the metronome will click. Setting the tempo correctly is essential for maintaining a consistent rhythm throughout your music.
1. Identify the desired tempo: Determine the tempo that best suits your song. Consider the genre, mood, and energy level you want to convey. You can experiment with different tempos to find the perfect match for your music.
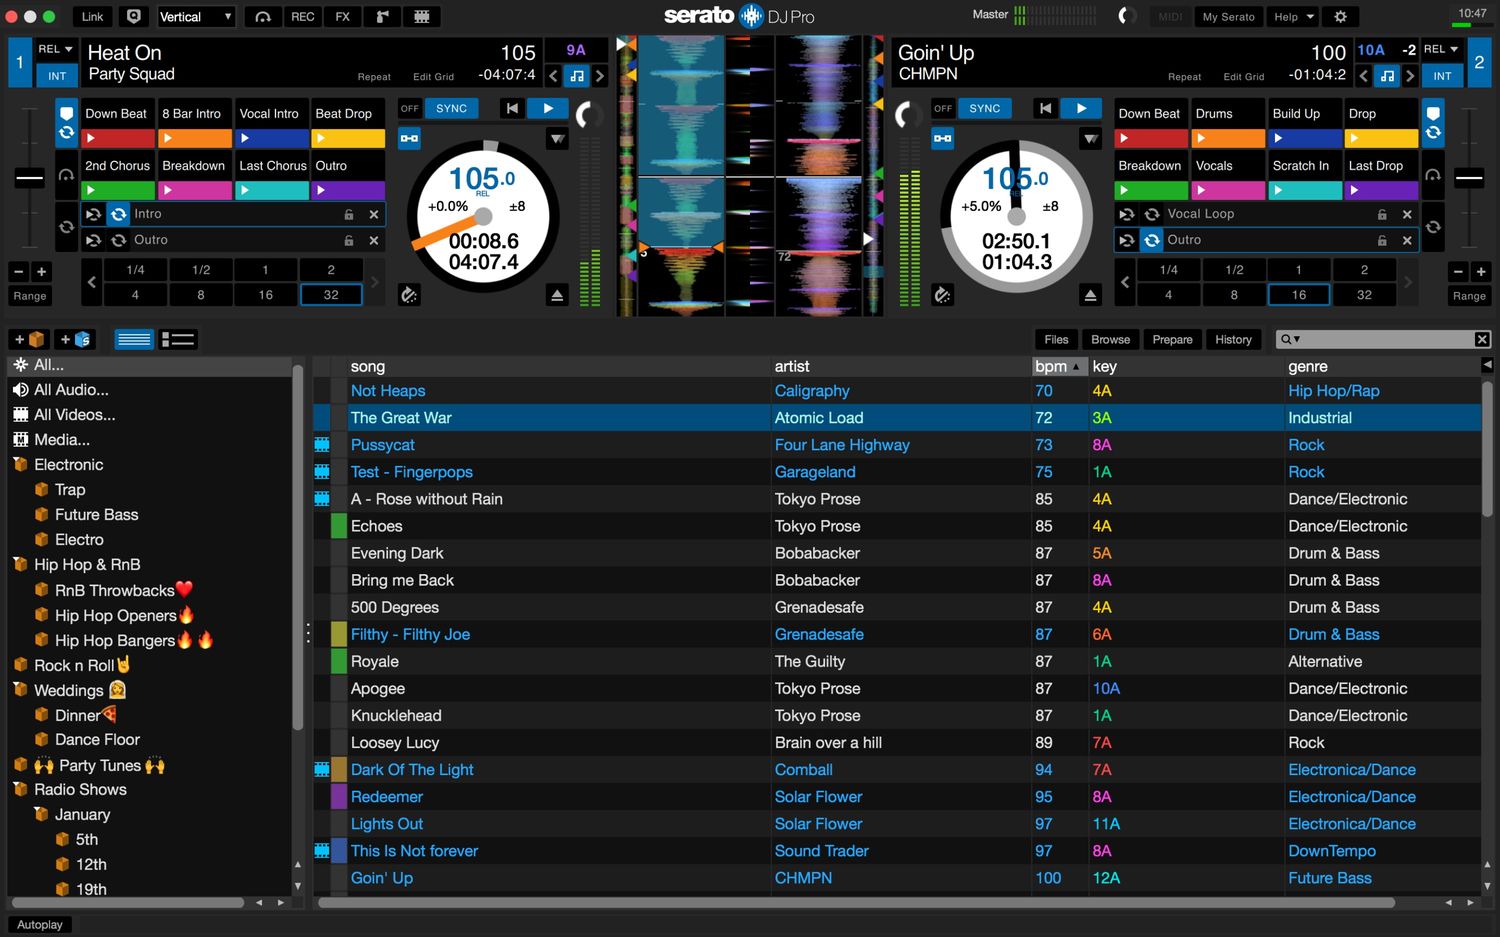
2. Use a metronome app or software: There are numerous metronome apps and software available that allow you to set the desired tempo digitally. These tools provide a visual representation of the beats per minute and can be easily adjusted with a slider or numerical input.
3. Tap along: If you’re unsure about the specific BPM, you can tap along to the sample or song’s rhythm and let the metronome “listen” and set the tempo automatically. Many metronome apps have a tap tempo feature that detects the rhythm you input and sets the tempo accordingly.
4. Adjust to precision: Once you have set the initial tempo, play the sample along with the metronome and listen for any discrepancies. If the sample seems slightly offbeat or out of sync, fine-tune the metronome tempo until it aligns perfectly with the sample’s rhythm.
Remember that the metronome tempo should be consistent throughout the entire song. If your song has tempo changes or different sections with varying speeds, you may need to adjust the metronome tempo accordingly to maintain a smooth transition.
Now that the metronome tempo is set, let’s move on to the next crucial step: aligning the sample with the metronome.
Aligning the Sample with the Metronome
Aligning your sample with the metronome is essential to ensure that your music stays in sync and maintains a consistent rhythm. Here are some steps to help you accurately align your sample with the metronome:
1. Start by playing the sample alongside the metronome: Play the sample and the metronome simultaneously. Pay attention to any timing discrepancies or sections where the sample seems to fall out of sync with the metronome.
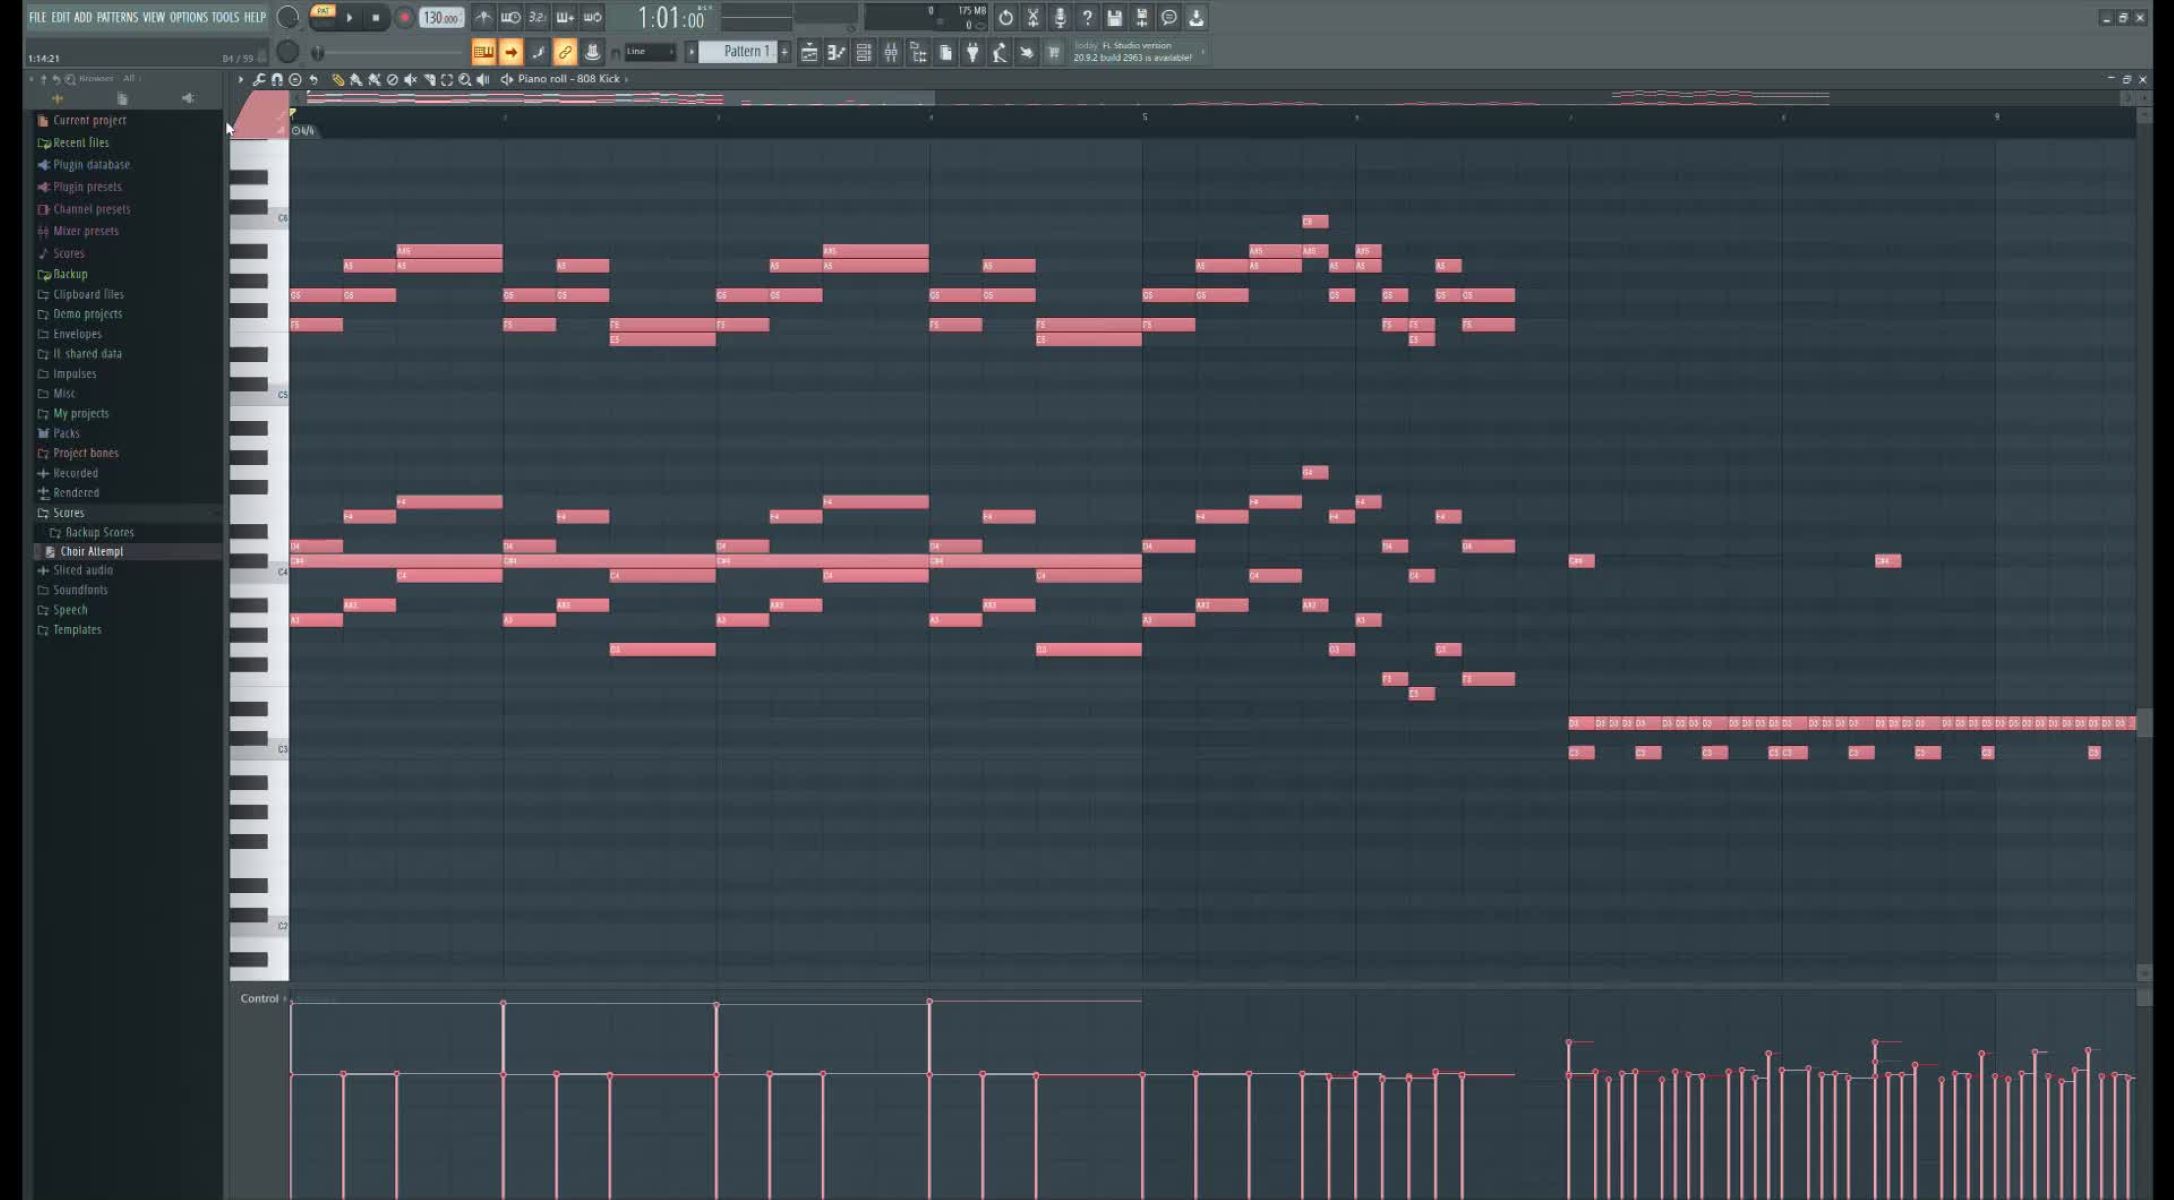
2. Zoom in on the waveform: Use your music production software to zoom in on the waveform of the sample. This allows for a more precise view of the individual beats and timing intervals within the sample.
3. Adjust the sample’s starting point: If you notice that the sample is slightly ahead or behind the metronome, you can make small adjustments to the sample’s starting point to align it with the metronome beat. This can be done by moving the sample forward or backward in your timeline.
4. Slice and rearrange: In some cases, you may need to slice the sample into smaller sections and rearrange them to match the metronome’s rhythm. This is particularly useful if the sample has sections with different timing or if specific segments require more precise alignment.
5. Time-stretching: If the sample’s tempo doesn’t perfectly match the metronome, you can use time-stretching techniques to adjust its speed. Most modern music production software has built-in time-stretching tools that allow you to stretch or shrink the sample without affecting the pitch.
6. Grids and snap-to-grid: Utilize the grid and snap-to-grid features in your music production software to align the individual beats of the sample with the metronome. This ensures accurate placement of each beat and helps maintain a consistent rhythm throughout the song.
Remember to make small adjustments and frequently listen to the sample alongside the metronome to ensure a seamless alignment. Take your time during this process, as it greatly impacts the overall tightness and precision of your music.
Now that we have aligned the sample with the metronome, it’s time to put it into practice and start playing along with the metronome.
Practicing with the Metronome and Sample
Now that you have aligned your sample with the metronome, it’s time to start practicing with both in order to improve your timing, groove, and overall musicality. Practicing with the metronome and sample will help develop a strong sense of rhythm and ensure that you stay in sync with the beat. Here’s how to make the most out of your practice sessions:
1. Start slow and gradually increase the tempo: Begin practicing with the metronome at a slower tempo than the intended speed of the song. This allows you to focus on accuracy and precision. As you become more comfortable and confident, gradually increase the tempo to match the desired speed of the song.
2. Focus on playing in time: Concentrate on playing your instrument or triggering your sample precisely on each click of the metronome. Ensure that your timing is tight and consistent, and that you maintain the rhythm throughout the entire duration of the sample.
3. Experiment with different subdivisions: To further improve your sense of rhythm, experiment with playing different subdivisions of the beat. For example, you can play eighth notes, sixteenth notes, or triplets along with the metronome. This helps develop your rhythmic versatility and adds variety to your playing.
4. Practice loops and challenging sections: Identify any challenging sections in the sample and focus on practicing those specific parts. Looping these sections allows you to work on them repeatedly, ironing out any timing issues and ensuring a seamless transition between different parts of the sample.
5. Incorporate dynamics and expression: While practicing with the metronome, don’t forget to incorporate dynamics and expressiveness into your playing. Use accents, dynamics, and subtle variations in volume to bring life and musicality to your sample, all while staying in time with the metronome.
6. Record and analyze your progress: Record yourself playing along with the metronome and sample, and take the time to analyze your performance. Listen for any timing inconsistencies or areas that need improvement. By identifying and working on these areas, you can continue to refine your skills and enhance your overall musicality.
Remember, practicing with the metronome and sample is not just about playing in strict time but also about developing a solid groove and internalizing the rhythm. It will take time and patience, but with consistent practice, you will notice a significant improvement in your playing and overall musical performance.
Now that you have the tools to practice effectively, let’s explore some additional tips for following the metronome effectively.
Tips for Following the Metronome Effectively
Following the metronome effectively can greatly enhance your musical performance and help you stay in time with precision. Here are some tips to make the most out of your metronome practice:
1. Internalize the beat: Rather than relying solely on the audible click of the metronome, aim to internalize the beat and feel the rhythm internally. This will help you develop a stronger sense of timing and improve your overall musicality.
2. Subdivide the beat: Subdividing the beat into smaller subdivisions, such as eighth notes or sixteenth notes, can help you further refine your timing. Practice playing along with these subdivisions to strengthen your rhythmic accuracy.
3. Vary the metronome sound: Experiment with different sounds or click patterns for the metronome. Some metronome apps or software offer various options such as different sounds or even musical instruments. Choosing a sound that resonates with you can make practicing more enjoyable and engaging.
4. Incorporate expressive playing: While the metronome provides a consistent tempo, don’t shy away from adding expressive elements to your playing. Use dynamics, phrasing, and artistic interpretations to bring your music to life, all while maintaining a strong sense of timing with the metronome.
5. Start with slower tempos: When practicing a new technique or complex passage, begin at a slower tempo before gradually increasing the speed. This allows you to build muscle memory and accuracy, ensuring that you maintain a solid timing foundation.
6. Practice with different metronome subdivisions: Some metronomes have the option to emphasize certain subdivisions of the beat. Practice playing along with these different subdivisions to develop a versatile and adaptable sense of rhythm.
7. Record and analyze your practice sessions: Use your music recording software to record yourself playing with the metronome. Take the time to analyze your recordings and identify areas that need improvement. This allows you to track your progress and make targeted adjustments to your playing.
8. Play along with different musical styles: Experiment with playing along with different styles of music, as each genre has its own distinct rhythm and groove. This will help you develop a broader understanding of different rhythmic patterns and improve your overall versatility as a musician.
Remember, the metronome is a tool to guide and enhance your musical performance. Use it as a tool for growth and practice, but don’t become too reliant on it. As you become more comfortable with the timing and rhythm, gradually challenge yourself by practicing without the aid of the metronome.
By following these tips and incorporating the metronome effectively into your practice sessions, you will significantly improve your timing, precision, and overall musicality.
Now, let’s conclude our discussion on following the metronome.
Conclusion
The metronome is an invaluable tool for musicians and producers to develop a strong sense of timing and maintain a consistent rhythm. By making a sample follow the metronome, you can enhance the precision and synchronization of your music, resulting in professional-quality tracks.
In this article, we’ve explored the importance of understanding the metronome and how to choose the right sample that aligns with the desired tempo and genre. We’ve also discussed the process of setting the metronome tempo, aligning the sample with the metronome, and practicing effectively with both the metronome and sample to improve your timing and musicality.
Remember to start slow, gradually increase the tempo, and focus on playing in time while practicing with the metronome. Use subdivisions, vary the metronome sound, and incorporate expressive playing to add depth to your music. Recording and analyzing your practice sessions will help track your progress and identify areas for improvement.
Ultimately, the metronome is a tool to guide and strengthen your musical abilities. Practice consistently, experiment with different styles, and cultivate a deep understanding of rhythm and timing. With dedication and patience, following the metronome will become second nature, enhancing your musical skills and taking your performances to new heights.
So, embrace the metronome as your ally in music production, and let its steady beats become the foundation of your musical greatness.