Home>Genres>Hip Hop>How To Make A Hip Hop Beat On Garageband
Hip Hop
How To Make A Hip Hop Beat On Garageband
Modified: February 20, 2024
Learn how to create your own hip hop beats on Garageband with this easy step-by-step guide. Perfect for beginners and seasoned producers alike.
(Many of the links in this article redirect to a specific reviewed product. Your purchase of these products through affiliate links helps to generate commission for AudioLover.com, at no extra cost. Learn more)
Table of Contents
- Introduction
- Step 1: Setting up Garageband
- Step 2: Selecting the Right Drum Samples
- Step 3: Creating the Drum Pattern
- Step 4: Adding a Bassline
- Step 5: Layering Additional Instruments
- Step 6: Editing and Arranging the Beat
- Step 7: Adding Effects and Mixing
- Step 8: Exporting and Saving Your Hip Hop Beat
- Conclusion
Introduction
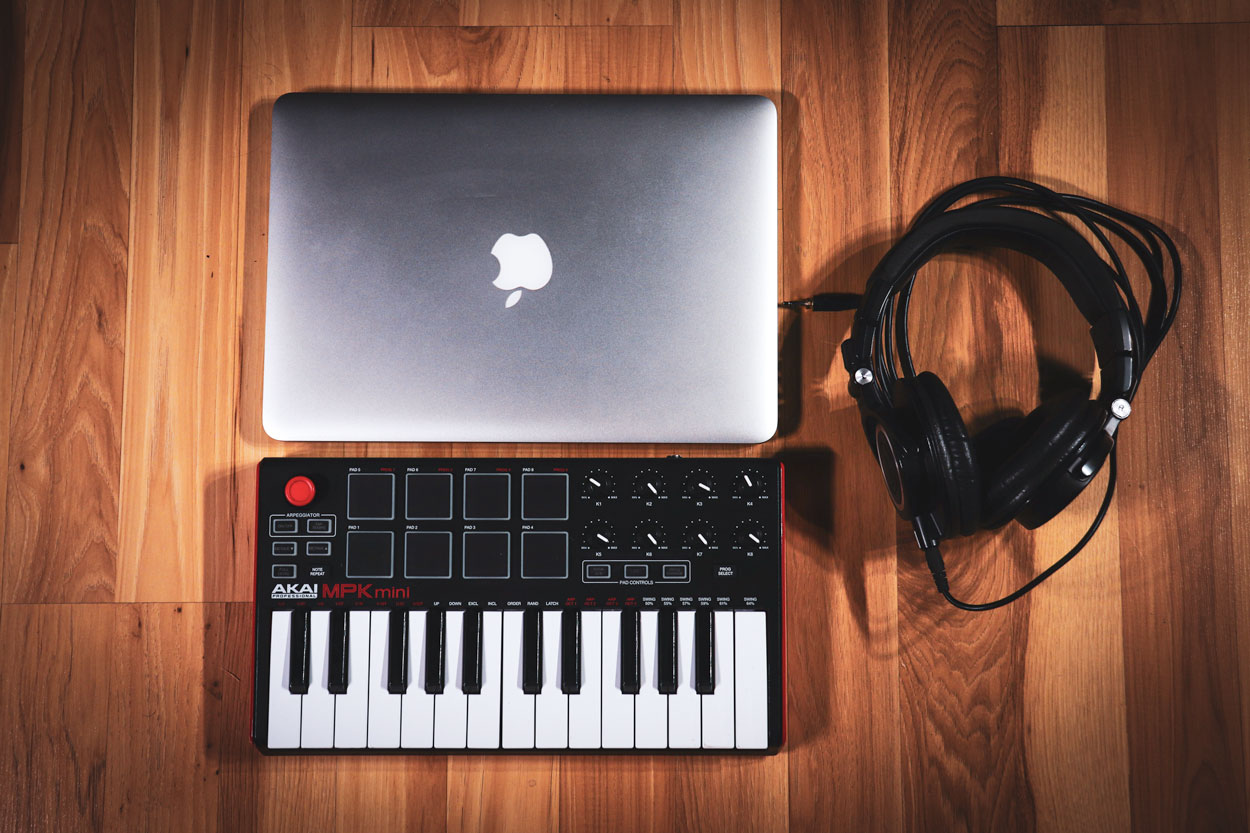
Welcome to the world of hip hop beats! Creating your own beats is not only a creative outlet but also a way to express your musicality and bring your unique style to life. In this article, we will guide you through the process of making a hip hop beat using Garageband, a popular digital audio workstation (DAW) that offers powerful features and an intuitive interface.
Whether you’re a seasoned producer or just starting out, Garageband provides a user-friendly platform to craft your own beats. With its wide range of virtual instruments, drum kits, and audio effects, you have everything you need to create professional-sounding hip hop tracks.
Before we dive into the step-by-step process, it’s important to understand the essential elements of a hip hop beat. At its core, a hip hop beat typically consists of drums, bassline, and various additional instruments like melodies, chords, and samples. These elements work together to create the rhythmic foundation and distinct sound that defines hip hop music.
Now that we have a basic understanding of what makes up a hip hop beat, let’s get started on crafting our own masterpiece. So fire up Garageband, put on your creative hat, and get ready to make some dope beats!
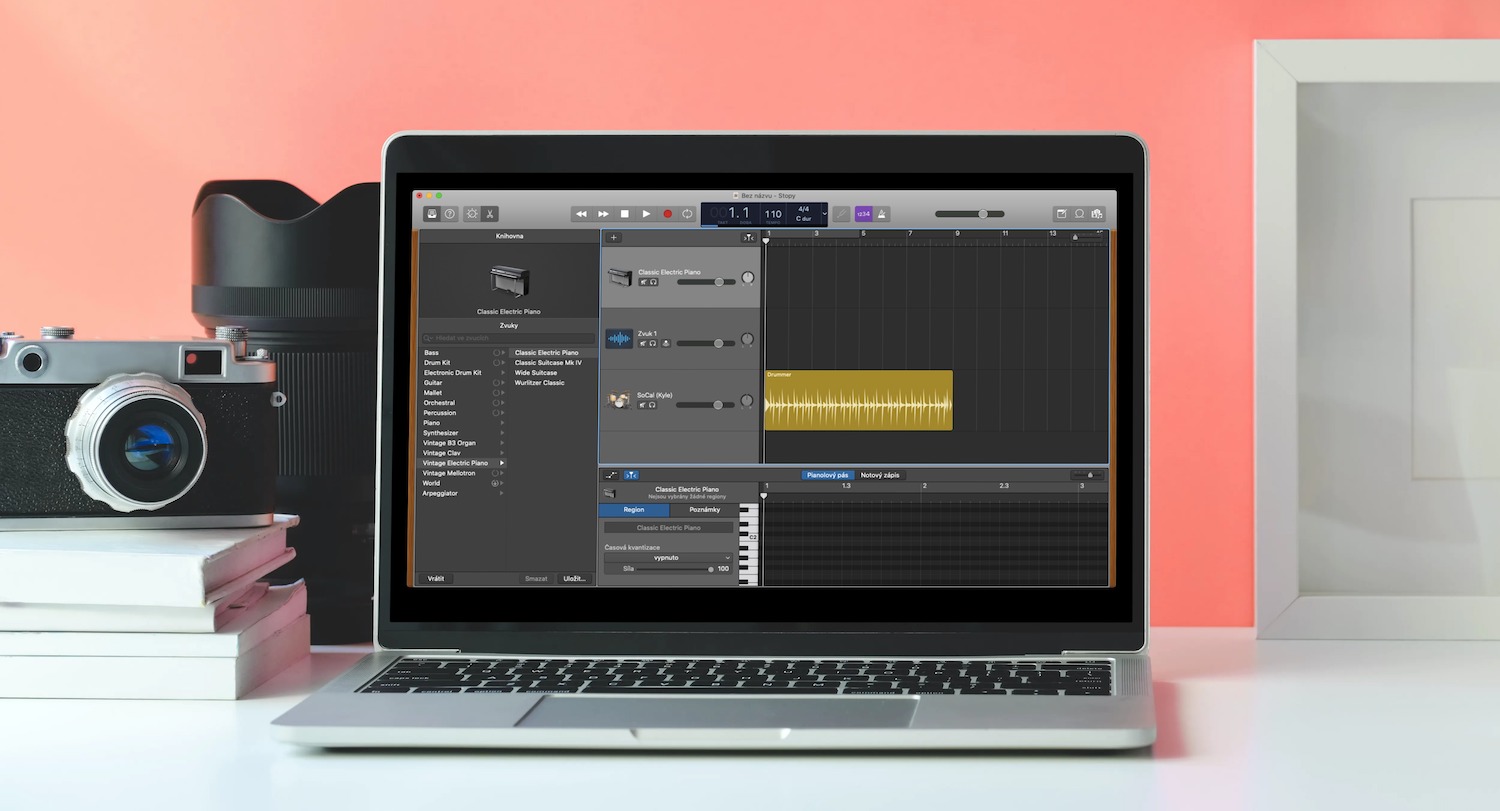
Step 1: Setting up Garageband
Before we can start creating our hip hop beat, we need to set up Garageband and make sure we’re ready to unleash our creativity. If you haven’t already, go ahead and download Garageband on your computer or mobile device. Once installed, follow these steps:
- Open Garageband: Launch the Garageband application on your device. You will be greeted with a simple interface and various options to choose from.
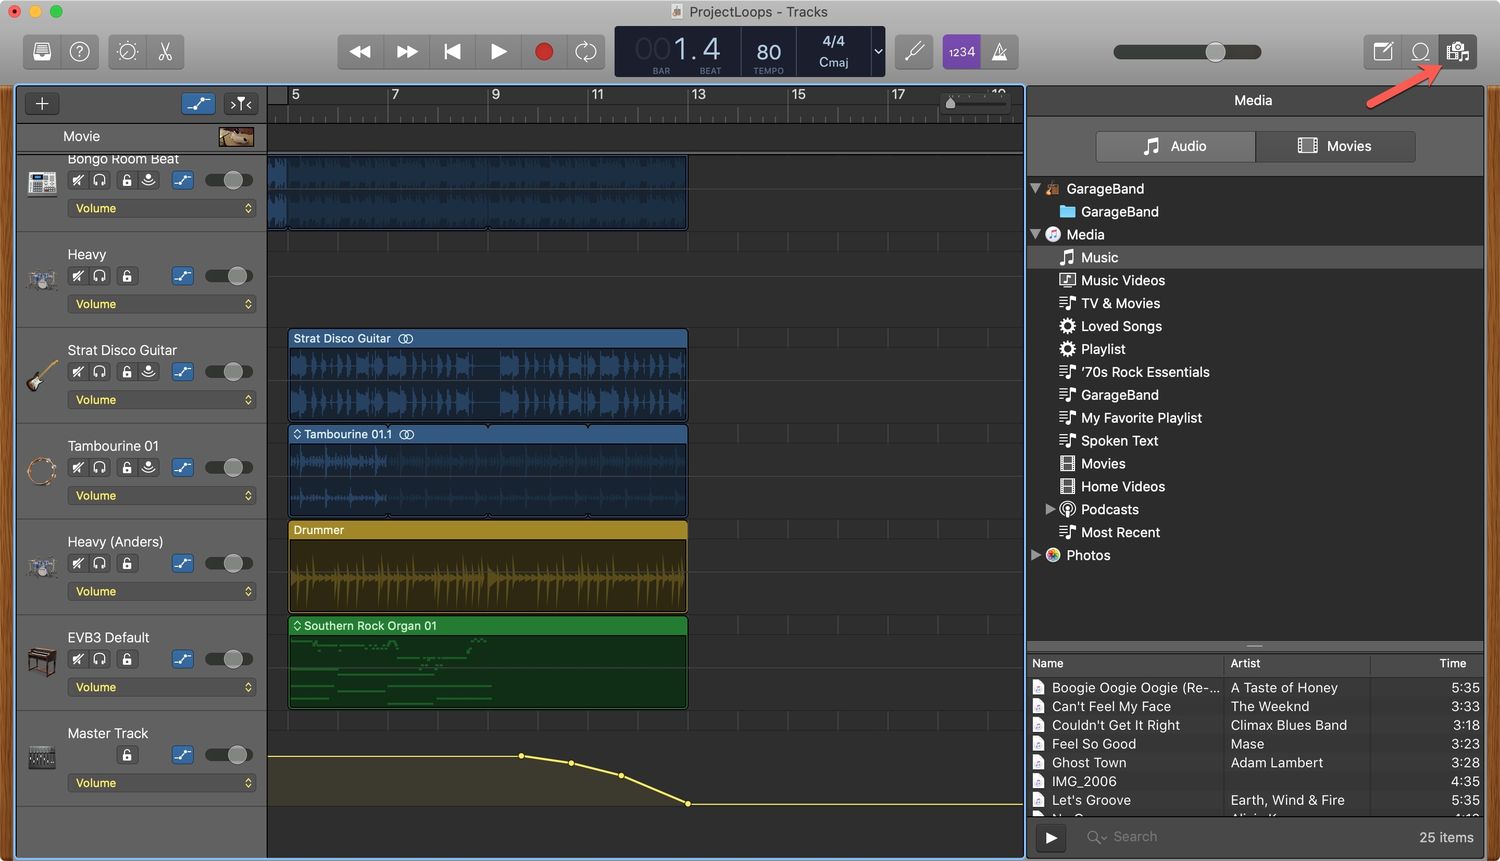
- Create a new project: Click on “New Project” or “Create New Song” to start a new project. Garageband offers several project templates, but for our hip hop beat, we will choose the “Empty Project” template. This gives us a blank canvas to work with and more flexibility in creating our own sound.
- Select the BPM: The BPM (beats per minute) determines the tempo of your beat. Hip hop beats typically range from 80 to 100 BPM, but feel free to experiment and find a tempo that suits your style. You can adjust the BPM by clicking on the metronome icon at the top of the Garageband interface.
- Choose a time signature: The time signature defines the rhythmic structure of your beat. For most hip hop beats, a common time signature is 4/4, which means there are four beats in a measure. You can set the time signature by clicking on the time signature icon next to the metronome.
- Select the instrument: Garageband offers a wide range of virtual instruments to choose from. For our hip hop beat, we will start with the classic drum kit. Click on the “Software Instrument” option, then choose “Drum Kit” from the list of instruments.
- Configure audio and MIDI settings: Before we start recording or creating our beat, it’s important to configure the audio and MIDI settings in Garageband. Click on the “Garageband” menu at the top of the screen, then select “Preferences.” From there, you can adjust settings like input/output devices, sample rate, and buffer size to ensure optimal audio performance.
Once you’ve completed these steps, you’re all set to start making your hip hop beat in Garageband. Take a moment to familiarize yourself with the interface and the different tools at your disposal. In the next steps, we will dive into creating the drum pattern and adding other instruments to bring our beat to life.
Step 2: Selecting the Right Drum Samples
Choosing the right drum samples is crucial in creating a captivating hip hop beat. The drums are the backbone of any hip hop track, providing the driving rhythm and energy that make you want to nod your head. Here’s how you can select the perfect drum samples:
- Explore the drum library: Garageband offers a wide range of pre-loaded drum samples. To access the drum library, click on the “Library” icon in the top-right corner of the Garageband interface. From there, navigate to the “Drums” section to find various drum kits and individual drum samples.
- Experiment with different drum kits: Garageband provides an assortment of drum kits to choose from, each with a distinct sound. Explore different kits, such as classic hip hop, electronic, or acoustic, to find the one that fits the vibe you want to create. You can preview the drum sounds by clicking on them in the library.
- Layer drum samples: To add depth and complexity to your beat, consider layering multiple drum samples. For example, you can combine a kick drum sample with a clap or snare to create a punchy rhythm. Experiment with different combinations to achieve the desired texture and groove.
- Pay attention to the sound quality: When selecting drum samples, listen carefully to the sound quality and clarity. Look for samples that have a good balance between punchiness and warmth. Avoid samples that are too muddy or overly compressed, as they can affect the overall mix of your beat.
- Consider adding percussion elements: In addition to the traditional drum sounds, consider incorporating percussion elements like shakers, hi-hats, or cymbals. These subtle additions can add flair and groove to your beat, providing intricate rhythmic patterns and accents.
- Customize and tweak drum samples: Garageband allows you to customize drum samples by adjusting parameters such as attack, decay, and sustain. Experiment with these settings to fine-tune the sound to your liking. You can also apply audio effects like EQ, compression, or reverb to further shape the drum samples.
Remember, the drum samples you choose will set the foundation for your hip hop beat, so take your time to explore and experiment until you find the perfect combination that matches your artistic vision. Once you’ve selected the right drum samples, we can move on to creating the drum pattern in the next step.
Step 3: Creating the Drum Pattern
Now that we have selected the perfect drum samples for our hip hop beat, it’s time to create the drum pattern. The drum pattern forms the rhythmic foundation of a track and sets the groove for the rest of the instruments and elements. Follow these steps to create an engaging drum pattern:
- Add a new software instrument track: Click on the “+” icon in the Garageband interface and select “Software Instrument.” This will create a new track for us to work with.
- Choose the drum kit: In the track settings, select the drum kit you want to use for your drum pattern. You can choose the same drum kit you selected in Step 2 or try a different one to experiment with different sounds.
- Enable the musical typing keyboard: Garageband offers a handy feature called “Musical Typing” that turns your computer keyboard into a virtual piano keyboard. To enable it, go to the “Window” menu and select “Show Musical Typing.” This will allow you to easily play the drum sounds using your computer keyboard.
- Record the basic drum pattern: Use the musical typing keyboard to play the kick drum and snare/clap sounds to create a basic drum pattern. Start by recording a simple rhythm, usually starting with a kick on beats 1 and 3, and a snare/clap on beats 2 and 4. This creates a solid foundation for the rest of the pattern.
- Add variations and embellishments: Once you have the basic drum pattern recorded, start adding variations and embellishments to make it more interesting. Experiment with different kick and snare drum placements, add syncopated hi-hats or cymbals, and incorporate fills or rolls to create dynamic moments within the pattern.
- Utilize drum machine patterns: Garageband offers pre-programmed drum machine patterns that you can use as a starting point. Explore the “Drummer” feature or the “Drum Patterns” library to find patterns that match the style and mood of your hip hop beat. Customize these patterns by adding your own variations and accents.
- Quantize and edit the drum pattern: To ensure that your drum pattern is tight and on beat, use the quantize feature in Garageband. This aligns the recorded notes to the nearest grid, perfecting the timing. You can also manually edit the drum pattern by selecting and moving individual notes to fine-tune the rhythm.
- Experiment with drum fills and transitions: Drum fills and transitions are essential elements in creating dynamic hip hop beats. These are short rhythmic phrases that often lead into a new section or add an exciting moment within the beat. Experiment with adding drum fills and transitions to elevate the energy and keep the listener engaged.
Creating a captivating drum pattern requires a balance between simplicity and complexity. Keep in mind the overall vibe and groove you want to achieve with your hip hop beat. In the next step, we will add a bassline to further enhance our track’s low-end presence and musicality.
Step 4: Adding a Bassline
Now that we have established a solid drum pattern for our hip hop beat, it’s time to add a bassline. The bassline serves as the foundation of the track, adding depth and richness to the overall sound. Here’s how you can create an impactful bassline:
- Add a new software instrument track: Click on the “+” icon in Garageband and select “Software Instrument” to create a new track for the bassline.
- Choose a bass instrument: In the track settings, select a bass instrument that suits the style and tone you want to achieve. Garageband offers a variety of bass sounds, including synth basses, electric basses, and upright basses. Explore different options to find the one that complements your hip hop beat.
- Enable the musical typing keyboard: Just like in Step 3, enable the “Musical Typing” feature so you can play the bassline using your computer keyboard as a virtual piano keyboard.
- Find the root note: Determine the root note of your hip hop beat. The root note is the key or tonal center of the track. You can identify it by listening to the drum pattern and the overall mood of the beat.
- Play a simple bassline: Start by playing single notes on the root of each chord change in the chord progression. This provides a solid foundation for the bassline and gives the beat a sense of stability.
- Experiment with different rhythms: Once you have a basic bassline, try experimenting with different rhythms and patterns. Play around with eighth notes, sixteenth notes, and syncopated rhythms to add groove and variation to your bassline.
- Add melodic fills and slides: To make your bassline more interesting, incorporate melodic fills and slides. These additional embellishments can add a unique flair to your hip hop beat and create memorable moments within the track.
- Layer the bassline: Consider layering multiple bass sounds to add depth and texture to the bassline. You can duplicate the bass track and choose a different bass instrument or apply effects to create a layered sound that complements the overall mix.
- Quantize and edit the bassline: Use the quantize feature in Garageband to ensure that your bassline is perfectly in time with the drum pattern. You can also manually edit the notes to adjust their timing or length in case it needs some fine-tuning.
- Experiment with effects: Don’t be afraid to experiment with effects like EQ, compression, and distortion to shape and enhance the sound of your bassline. Each effect can offer a unique sonic character and help the bassline stand out in the mix.
Remember, the bassline is a crucial element in creating a powerful hip hop beat. It adds weight and groove to the track, establishing a solid foundation for the rest of the instruments and vocals. In the next step, we will explore layering additional instruments to further enhance our beat.
Step 5: Layering Additional Instruments
With the drum pattern and bassline in place, it’s time to add more depth and musicality to our hip hop beat by layering additional instruments. Layering instruments can enrich the overall sound and create interesting textures. Here’s how you can do it:
- Identify the musical elements: Listen to your beat and determine which musical elements or instruments would complement the drum pattern and bassline. Common instruments used in hip hop beats include melodies played on keyboard/piano, chords from guitars or synthesizers, and atmospheric textures from pads or strings.
- Add a new software instrument track: Click on the “+” icon in Garageband to create a new track for the additional instrument. Make sure to select the appropriate instrument from the available options.
- Choose the instrument sound: Select a sound or preset for the instrument that fits the mood and style of your hip hop beat. Experiment with different sounds until you find one that complements the drum pattern, bassline, and overall vibe of the track.
- Compose a melody or chord progression: Use the musical typing keyboard or a MIDI controller to play melodies or chord progressions on the chosen instrument. Focus on creating catchy and memorable melodies or harmonies that add depth and emotion to the beat.
- Layer multiple instrument tracks: Don’t be afraid to layer multiple instrument tracks to create a fuller and more textured sound. Each individual layer can bring a unique quality to the beat. For example, you can layer a piano track with a synth track to add warmth and depth to the melody.
- Experiment with different voicings and sound textures: Try playing the melodies or chords in different voicings or octaves to add variety and richness to the sound. Additionally, explore different effects and sound processors in Garageband to further shape and manipulate the tone and texture of the layered instruments.
- Consider using samples or loops: Garageband offers a vast library of samples and loops that you can integrate into your beat. These can include drum loops, vocal samples, or instrument loops that can add extra flavor and creativity to your track. Browse through the library to find samples that match the style and mood of your hip hop beat.
- Give each instrument its own space: Pay attention to the panning, volume, and EQ settings of each instrument to ensure they have their own space in the mix. This will help create a balanced and well-defined soundstage for all the layered instruments to coexist harmoniously.
- Be mindful of the overall mix: Continuously monitor the overall mix and make adjustments as needed. Ensure that no instrument is overpowering or clashing with the others. Each layer should contribute to the overall sonic landscape of the beat.
By layering additional instruments, you can truly bring your hip hop beat to life and create a captivating musical experience. Be creative and experiment with different sounds, melodies, and textures to find the perfect combination that elevates your beat to the next level.
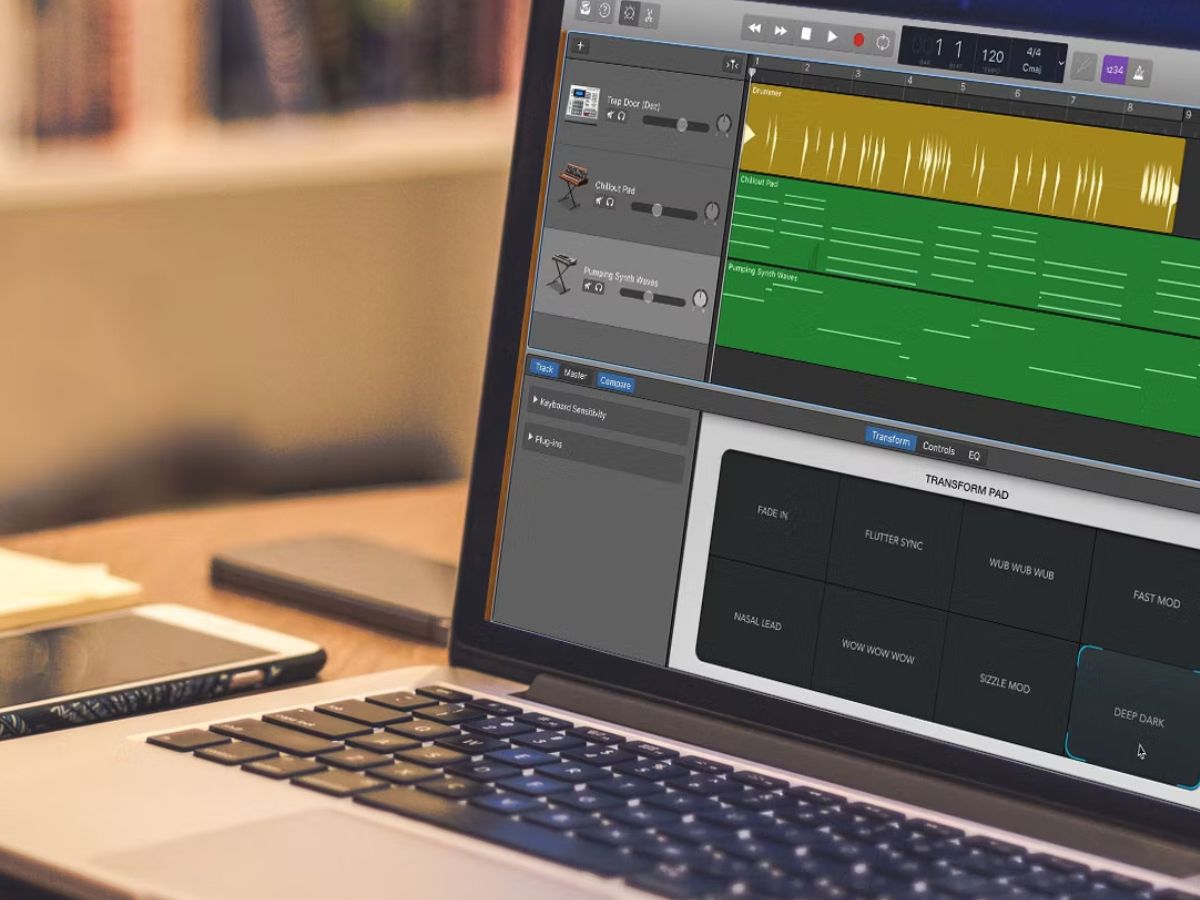
Step 6: Editing and Arranging the Beat
Once you have added the drum pattern, bassline, and additional instruments to your hip hop beat, it’s time to focus on editing and arranging the elements to create a cohesive and engaging musical arrangement. Here’s how you can polish and structure your beat:
- Review and refine individual parts: Listen to each element of your beat and make any necessary adjustments. This could involve tightening up the timing of drum hits, refining the bassline, or fine-tuning the melodies and chords. Pay attention to the balance and dynamics of each part, ensuring they work together harmoniously.
- Arrange the sections: Think about the overall flow and structure of your beat. Most hip hop beats follow a traditional arrangement of intro, verse, chorus, and bridge sections. Experiment with different arrangements and transitions, keeping in mind the mood and energy you want to convey.
- Create variations: To add interest and keep your beat engaging, consider creating variations within the sections. This could involve changing drum patterns, adding or removing elements, or altering the melody or chord progression. These variations help prevent the beat from becoming repetitive and keep the listener captivated.
- Work on transitions: Smooth transitions between sections are crucial for the flow of your beat. Use techniques like drum fills, cymbal crashes, or reverse effects to create seamless transitions between different parts of the arrangement. Pay attention to the dynamics and energy levels as you transition from one section to another.
- Add breaks and build-ups: Breaks and build-ups are effective in creating tension and anticipation in your beat. Introduce breaks where you briefly strip down the instrumentation, allowing certain elements to shine, before building up to a climactic moment. These breaks and build-ups enhance the overall dynamics and impact of your beat.
- Experiment with automation: Automation is a powerful tool in Garageband that allows you to control various parameters over time. Use automation to create dynamic changes in volume, panning, effects, or any other parameter that adds movement and interest to your beat. This can help emphasize specific sections or highlight certain instruments.
- Arrange the song structure: Once you have fine-tuned the individual elements and transitions, arrange the sections of your beat in a cohesive and logical manner. Consider the length and repetition of each section to ensure the beat flows naturally and is not too monotonous or too short.
- Listen and make adjustments: Take the time to listen to your beat as a whole and make any final adjustments. Pay attention to the overall balance, EQ, and levels, ensuring that each instrument is clearly audible and sits well in the mix. Make any necessary tweaks to achieve a polished and professional sound.
By focusing on editing and arranging your beat, you can transform it from a collection of individual elements into a compelling and well-structured musical composition. Take the time to refine and perfect each aspect, ensuring that your beat hooks the listener and keeps them engaged from start to finish.
Step 7: Adding Effects and Mixing
Now that you have crafted your hip hop beat and arranged it into a cohesive arrangement, it’s time to take it to the next level by adding effects and applying proper mixing techniques. This step is crucial for achieving a professional and polished sound. Here’s how you can enhance your beat through effects and mixing:
- Apply EQ and balance the frequencies: Use the EQ (equalizer) to shape the tonal balance of each instrument in the mix. Boost or cut specific frequencies to ensure that each element sits well within its frequency range and is not clashing with other instruments. This will provide clarity and separation in the overall mix.
- Add compression for dynamics: Apply compression to control the dynamic range of instruments and add consistency to the sound. Compression helps tame any overly loud peaks and enhances the sustain and body of sounds. Experiment with different compression settings to achieve the desired level of impact and balance in your beat.
- Use reverb and delay: Reverb and delay effects can add depth, space, and a sense of ambiance to your beat. Apply these effects to specific instruments or to the overall mix to create a realistic and immersive sound. However, exercise caution to avoid overwhelming the mix with excessive reverb or delay.
- Experiment with other effects: Don’t be afraid to explore other effects, such as modulation (chorus, flanger, phaser), distortion, or saturation, to add character and uniqueness to different elements of your beat. Be selective and use these effects sparingly to maintain a clean and controlled sound.
- Balance the levels: Pay attention to the volume levels of each instrument in the mix. Aim for a balanced sound where no single instrument or element dominates over the others. Adjust the volume faders accordingly to achieve a cohesive and well-blended mix.
- Pan the instruments: Utilize panning to create spatial width and separation in the mix. Experiment with panning different elements to the left or right side of the stereo spectrum to add depth and dimension to the sound. This can enhance the overall stereo image and improve the listening experience.
- Stereo imaging: Use stereo imaging techniques to further enhance the sense of space and width in your beat. This can involve widening certain instruments or elements with stereo widening plugins or panning effects. Be mindful of maintaining a balanced and coherent image, ensuring that important elements remain focused and centered.
- Make use of automation: Automation is an effective tool for adding movement and interest to your mix. Utilize automation to control parameters such as volume, panning, or effect levels over time. This can introduce dynamic shifts and bring specific sections or elements to the forefront, enhancing the overall impact of your beat.
- Regularly reference your mix: It’s important to regularly reference your mix on different playback systems and monitors to ensure it translates well across various platforms. Check for any issues, such as frequency imbalances, excessive panning, or any elements that need further tweaking to achieve a polished and professional sound.
By adding effects and applying proper mixing techniques, you can elevate your hip hop beat and give it the final touch it needs to shine. Take the time to fine-tune each element, ensuring they work together cohesively and create a balanced and impactful sound. Remember, mixing is both a technical and creative process, so trust your ears and make adjustments based on what sounds best to you.
Step 8: Exporting and Saving Your Hip Hop Beat
Congratulations! You’ve created an amazing hip hop beat using Garageband. Now it’s time to export and save your work so you can share it with the world. Here’s how you can do it:
- Prepare your mix: Before exporting, make sure you’re satisfied with the overall mix and sound of your beat. Take a final listen and make any last-minute adjustments to ensure the best possible representation of your work.
- Select the export format: Garageband allows you to export your beat in various audio formats. Choose the format that suits your needs, such as MP3, WAV, or AIFF. Keep in mind that different formats have different file sizes and compatibility, so choose accordingly.
- Configure export settings: Specify the export settings such as the quality, sample rate, and bit depth. Higher quality settings will result in larger file sizes but better audio fidelity. Consider the platform or purpose for which you’re exporting and adjust the settings accordingly.
- Choose the export location: Select the folder or directory where you want to save your exported hip hop beat. Create a new folder specifically for your beats to keep everything organized.
- Name your beat: Give your beat a unique and memorable name. This will make it easier for others to identify and remember your work.
- Export your beat: Click on the “Export” or “Save” button to start the export process. Garageband will generate the audio file based on your chosen settings and save it to the specified location. This might take a few moments, depending on the length and complexity of your beat.
- Tag and add metadata: Consider adding relevant metadata and tags to your exported beat. Include information such as the artist name, track title, genre, and any other relevant details. This will help with organization and discoverability when sharing or uploading your beat.
- Backup your project files: It’s always a good practice to backup your Garageband project files. This ensures that you can make future modifications or edits to your beat if needed. Store your project files in a secure location, whether it’s on an external hard drive, cloud storage, or both.
- Share your beat: Now that your hip hop beat is exported, it’s time to share it with the world! Upload your beat to music platforms, social media, or your own website. Connect with other artists and producers, and consider collaborating or licensing your beats to showcase your talent and potentially monetize your work.
Remember, exporting and saving your beat is the final step in the process of creating a hip hop masterpiece. Take pride in your work and continue to explore and refine your skills as a beatmaker. With Garageband as your tool and your creativity as your guide, the possibilities are endless. Good luck and keep making those killer hip hop beats!
Conclusion
Congratulations on creating your own hip hop beat using Garageband! You’ve learned how to set up the software, select the right drum samples, create a compelling drum pattern, add a captivating bassline, layer additional instruments, edit and arrange your beat, apply effects and mix your track, and finally export and save your masterpiece. By following these steps and infusing your own creativity, you have crafted a unique and engaging hip hop beat that showcases your musicality.
Remember, making beats is an art form that requires practice, experimentation, and a keen ear for detail. As you continue to create more beats, don’t be afraid to push boundaries, explore different styles, and refine your skills. With Garageband as your creative tool, you have a world of possibilities at your fingertips.
Now that you have your finished beat, it’s time to share your work with the world. Take advantage of various platforms and social media to showcase your talent. Connect with other artists and producers, collaborate, and continue to grow and evolve in your musical journey.
Creating hip hop beats is not just about following a formula; it’s about expressing your unique style, personality, and emotions. Use your knowledge, skills, and passion to craft beats that resonate with your audience and leave a lasting impact.
So, fire up Garageband, put on your creative hat, and let your imagination run wild. Whether you’re producing for yourself or for others, the world of hip hop beats offers endless opportunities to explore and innovate. Let your beats be the soundtrack to the stories you want to tell and the emotions you want to evoke.