
Rock
How To Set Equalizer For Rock Music
Modified: January 22, 2024
Learn how to set the perfect equalizer for rock music, enhancing the guitar riffs and powerful drums. Rock out with a customized sound that will make your music come alive.
(Many of the links in this article redirect to a specific reviewed product. Your purchase of these products through affiliate links helps to generate commission for AudioLover.com, at no extra cost. Learn more)
Table of Contents
Introduction
Rock music has a unique and powerful sound that resonates with fans all over the world. The distinctive guitar riffs, thunderous drum beats, and soaring vocals create an energy that is hard to resist. However, to truly experience the full impact of rock music, it is crucial to have the right audio setup, and that includes setting the equalizer properly.
The equalizer is a powerful tool that allows you to adjust the balance of frequencies in your audio system. It enables you to fine-tune the bass, mid-range, and treble levels, ensuring that each element of the music is heard clearly and in harmony. By setting the equalizer specifically for rock music, you can enhance the dynamics and richness of the sound, bringing out the punch and intensity that is synonymous with the genre.
In this article, we will guide you through the process of setting up your equalizer for rock music, step by step. Whether you are a casual listener or an audiophile, these tips and techniques will help you achieve the optimal audio experience when listening to your favorite rock bands and artists.
Understanding the Equalizer
Before diving into the process of setting up your equalizer for rock music, it’s essential to have a basic understanding of how it works. An equalizer consists of a series of frequency bands that can be adjusted to control the volume of specific ranges of frequencies in your audio. Each band represents a different section of the frequency spectrum, from the low bass frequencies to the high treble frequencies.
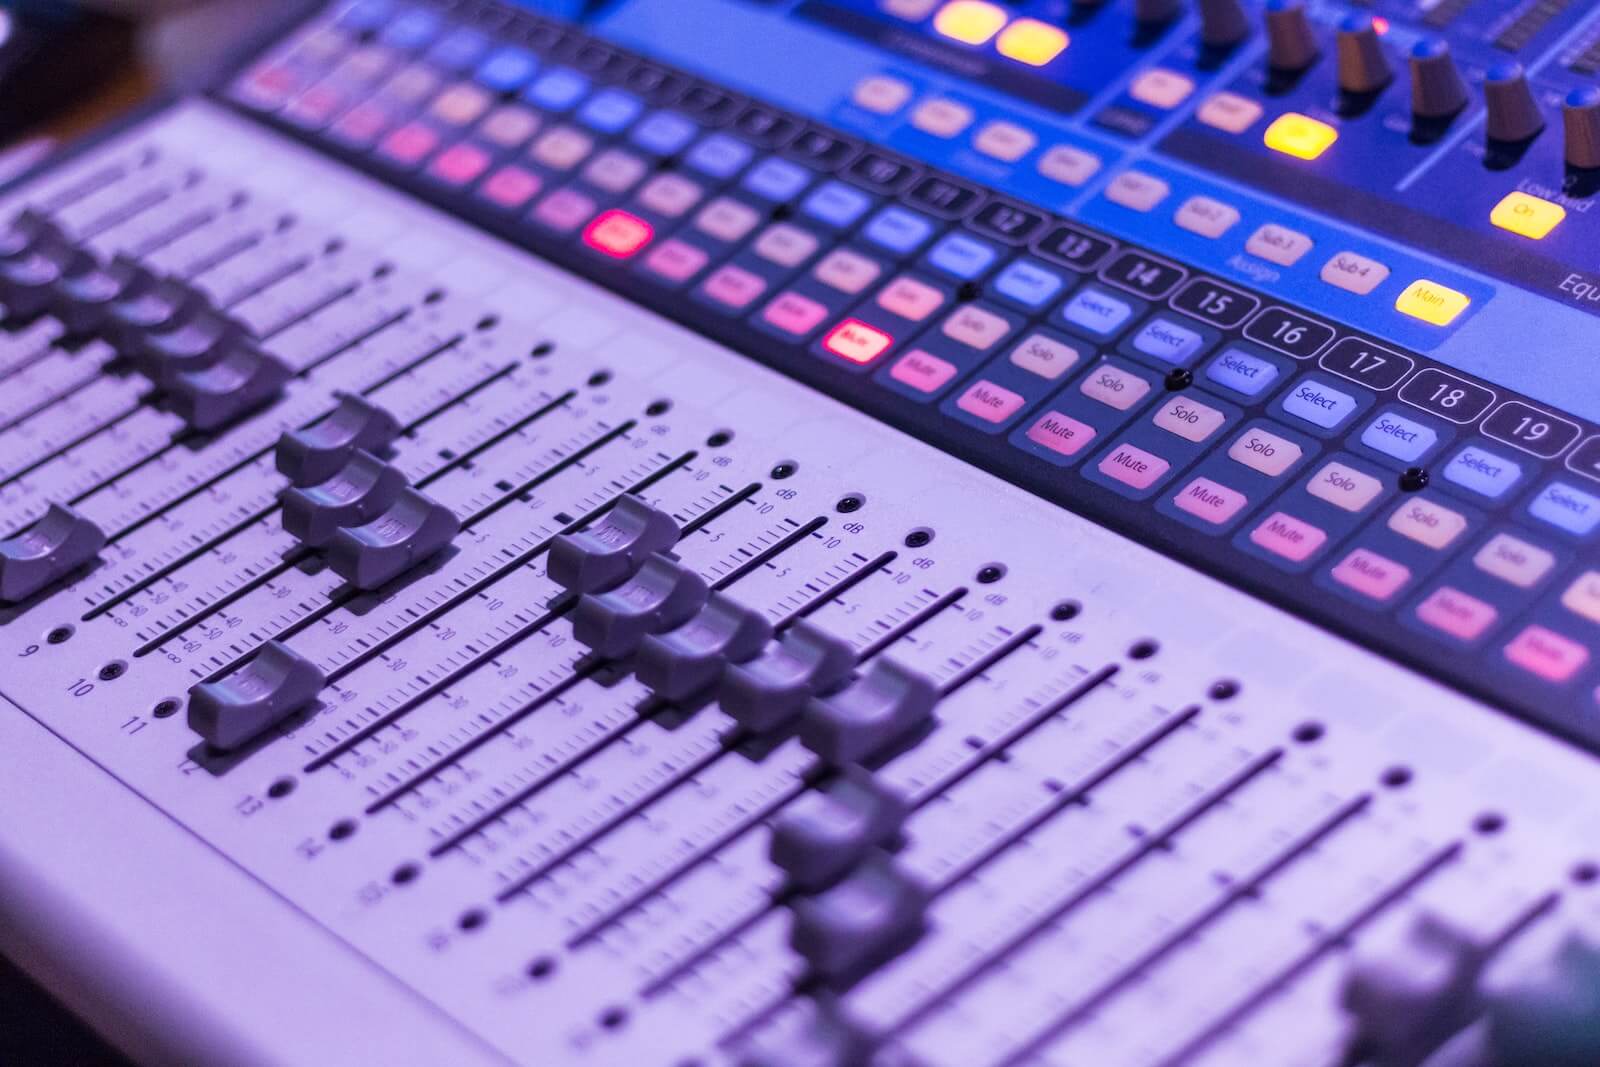
Typically, an equalizer will have sliders or knobs that allow you to boost or cut the volume of each frequency band. Boosting a frequency band increases the volume of that particular range, while cutting reduces its volume.
When it comes to rock music, there are certain frequency ranges that are particularly important to pay attention to. The bass frequencies, usually ranging from around 20Hz to 200Hz, give rock music its powerful and heavy feel. The mid-range frequencies, around 200Hz to 2kHz, help to bring out the crunchiness of guitars and the clarity of vocals. Lastly, the treble frequencies, typically around 2kHz to 20kHz, add brightness and detail to the music, making cymbals shimmer and guitars scream.
By understanding these frequency ranges, you can effectively adjust your equalizer to enhance the different elements of rock music. Boosting the bass frequencies will give your music a thumping and full-bodied sound, while cutting these frequencies can reduce any muddiness or overpowering low-end. Adjusting the mid-range frequencies can help to bring out the guitars and vocals, adding clarity and definition to the music. Lastly, tweaking the treble frequencies can make the high-end elements of the music shine, adding crispness and sparkle to the overall sound.
It’s important to note that every audio system is different, and the equalizer settings that work well for one person may not work as effectively for another. It’s all about finding the right balance that suits your personal preferences and the capabilities of your audio setup. With that in mind, let’s move on to the next section and explore how to set up your equalizer for rock music.
Setting Up Your Equalizer
Now that you have a basic understanding of how the equalizer works and the importance of different frequency ranges in rock music, it’s time to set up your equalizer to optimize your listening experience. Here is a step-by-step guide to help you get started:
- Start with a flat EQ: Begin by resetting all the equalizer sliders or knobs to their default or neutral position. This ensures that no frequencies are boosted or cut, providing a neutral starting point.
- Identify your audio system: Different audio systems may have different equalizer options. Some systems have a built-in equalizer, while others may require external equalizer units. Identify the equalizer options available to you to begin the setup process.
- Focus on the bass: Start by adjusting the low-frequency bands, typically labeled as “Bass” or “Low.” Experiment with boosting or cutting these frequencies to achieve the desired level of bass response. Remember, too much bass can overpower the other elements of the music, while too little can make the music sound thin and weak.
- Tweak the mid-range: Move on to the mid-range frequencies, often labeled as “Mid” or “Mid-range.” Adjust these bands to bring out the guitars, vocals, and other mid-range instruments in the music. Be careful not to boost these frequencies excessively, as it can result in a harsh or unpleasant sound.
- Enhance the treble: Lastly, focus on the high-frequency bands, typically labeled as “Treble” or “High.” Adjust these frequencies to add brightness and detail to the music. Be cautious with boosting the treble too much, as it can lead to a harsh or piercing sound, especially with cymbals and high-pitched instruments.
- Test and refine: Once you have made adjustments to the bass, mid-range, and treble frequencies, it’s time to test your settings. Play a variety of rock songs that you are familiar with and listen carefully. Make further tweaks as needed to achieve a balanced and satisfying sound.
Remember, setting up an equalizer is a subjective process, and it may take some trial and error to find the perfect balance. Take the time to listen to different songs and genres within rock music to ensure that your equalizer settings work well across a range of tracks.
Additionally, it’s important to note that the quality of your audio equipment can greatly impact the effectiveness of your equalizer settings. Investing in high-quality speakers or headphones can significantly enhance the overall listening experience and allow you to appreciate the full potential of your equalizer adjustments.
With your equalizer properly set up, you can now enjoy the full power and energy of rock music, with each instrument and element shining through in perfect harmony. In the next section, we will discuss how to fine-tune your equalizer settings for specific frequency ranges, starting with the bass frequencies.
Adjusting the Bass Frequencies
Bass frequencies are a fundamental element of rock music, giving it that powerful and thunderous quality. Adjusting the bass frequencies on your equalizer can make a significant impact on the overall sound. Here’s how you can fine-tune the bass frequencies:
1. Find the right balance: Start by playing a bass-heavy rock song that you are familiar with. Listen carefully and assess the current bass level. If it feels too overwhelming or boomy, you might need to cut the bass frequencies. Conversely, if the bass feels weak or lacking presence, you can boost these frequencies.
2. Adjust the low-frequency bands: Locate the sliders or knobs that control the lower frequency bands on your equalizer. These are typically labeled as “Bass” or “Low.” Begin with small adjustments, either by boosting or cutting the bass frequencies a few decibels at a time.
3. Listen and reassess: Play the same bass-heavy rock song again and listen attentively to the changes you made. Pay attention to how the bass sounds – if it feels more balanced and controlled, or if it’s still overpowering or lacking impact. Continue adjusting until you achieve the desired bass response.
4. Be mindful of your audio system limitations: It’s important to consider the capabilities of your audio equipment when adjusting the bass frequencies. If you have small speakers or headphones that struggle to reproduce deep bass, boosting the bass frequencies excessively may result in distortion or muddiness. Take care to find the right balance that works well with your specific setup.
By fine-tuning the bass frequencies on your equalizer, you can bring out the low-end punch and weightiness of rock music without overpowering the other elements. Remember that moderation is key – aim for a well-balanced bass response that complements the rest of the audio spectrum.
In the next section, we will explore how to adjust the mid-range frequencies, which are crucial for bringing out the grit and definition of guitars, vocals, and other mid-range instruments in rock music.
Tweaking the Mid-Range Frequencies
The mid-range frequencies play a vital role in rock music, allowing guitars, vocals, and other mid-range instruments to cut through the mix with clarity and definition. By adjusting the mid-range frequencies on your equalizer, you can enhance the presence and crunchiness of these elements. Follow these steps to tweak the mid-range frequencies to perfection:
1. Choose the right starting point: Select a rock song that showcases a strong mid-range presence, such as a track with prominent guitars and vocals. This will serve as your reference point for making adjustments.
2. Locate the mid-range controls: Find the sliders or knobs that correspond to the mid-range frequencies on your equalizer. These are often labeled as “Mid” or “Mid-range.”
3. Boost or cut as needed: Begin by making small adjustments to the mid-range frequencies. If the guitars or vocals sound too soft or muffled, try boosting these frequencies slightly. Conversely, if they are overpowering or harsh, you may want to cut the mid-range frequencies.
4. Listen attentively: Play the selected rock song again and carefully listen to the changes you made. Pay attention to how the guitars and vocals sound. Aim for a balance where they are clearly defined and present in the mix without overpowering other elements.
5. Adjust for different tracks: It’s essential to test your settings with various rock songs to ensure that the adjustments work well across different genres and recording styles. Some tracks may require more emphasis on the mid-range frequencies, while others may benefit from a more subtle adjustment.
By tweaking the mid-range frequencies, you can bring out the distinctive character and energy of guitars, vocals, and other mid-range instruments in rock music. It adds clarity, definition, and a pleasant crunch that helps capture the essence of the genre.
Next, we’ll hone in on the treble frequencies and explore how to add brightness, detail, and brilliance to the high-end elements of rock music.
Enhancing the Treble Frequencies
The treble frequencies in rock music contribute to its crispness, sparkle, and overall clarity. By focusing on the treble frequencies and making adjustments on your equalizer, you can bring out the high-end elements with enhanced brightness and detail. Here’s how you can enhance the treble frequencies:
1. Select a reference track: Choose a rock song that showcases prominent high-frequency elements, such as cymbals, high-pitched guitar solos, or vocal harmonies. This will serve as your reference point for adjusting the treble frequencies.
2. Locate the treble controls: Find the sliders or knobs that correspond to the treble frequencies on your equalizer. These are typically labeled as “Treble” or “High.”
3. Make subtle adjustments: Begin by making small adjustments to the treble frequencies. If the high-end elements sound dull or muted, try increasing these frequencies slightly. Alternatively, if they become too piercing or harsh, you may need to decrease the treble levels.
4. Listen carefully: Play the reference track again and listen attentively to the changes you made. Focus on how the cymbals, high-pitched guitar parts, and vocals sound. Aim for a balance where they are clear and vibrant without overpowering the rest of the music.
5. Adapt to different songs: It’s important to note that not all rock songs have the same treble requirements. Some tracks may benefit from a slight boost to add sparkle and presence, while others may need a more subtle adjustment. Experiment with different songs to find the sweet spot for your preferred treble settings.
By enhancing the treble frequencies on your equalizer, you can add brilliance, detail, and shimmer to the high-end elements of rock music. It helps to bring clarity and showcase the intricate nuances within the music, elevating the listening experience to a new level.
In the next section, we will discuss how to test and adjust your equalizer settings to ensure that they work well across different tracks and provide a balanced sound for all your favorite rock songs.
Testing and Adjusting Your Settings
Once you have made adjustments to the bass, mid-range, and treble frequencies on your equalizer, it’s essential to test and fine-tune your settings. This step ensures that your equalizer is optimized for different rock songs and provides a balanced sound. Follow these tips to test and adjust your settings effectively:
1. Listen to a variety of rock songs: Play different rock tracks that represent various subgenres and recording styles. This will help you gauge the effectiveness of your equalizer settings across different types of rock music.
2. Pay attention to the overall balance: Listen to how each element of the music blends together. The bass, mid-range, and treble frequencies should work harmoniously, with no frequency overpowering or dominating the mix.
3. Make incremental adjustments: If you notice any imbalances or areas that need improvement, make slight adjustments to the corresponding frequency bands. Small changes can have a significant impact, so avoid making drastic modifications.
4. Consider different listening environments: Test your equalizer settings in various listening environments, such as headphones, speakers, or car audio systems. Different environments can affect the perception of sound, so ensure that your settings work well across different setups.
5. Trust your ears: Remember that your personal preference and perception of sound are crucial. While guidelines can assist you, ultimately, trust your ears to determine what sounds best to you.
6. Take breaks: Listening fatigue can affect your judgment. Take short breaks between testing different tracks to refresh your ears and maintain accurate perceptions.
By testing and adjusting your equalizer settings, you can refine the sound to suit your preferences and the characteristics of different rock songs. Experimentation and fine-tuning are key to finding the optimal balance that brings out the energy, dynamics, and nuances of rock music.
Now that you have a solid understanding of how to set up and adjust your equalizer for rock music, you can immerse yourself in the world of dynamic and captivating rock sounds. In the final section, we will share some closing thoughts on achieving the best audio experience for your rock music enjoyment.
Final Thoughts
Setting up and adjusting your equalizer for rock music is a journey that allows you to fully appreciate the power and intricacies of the genre. By understanding the equalizer’s functions and the importance of different frequency ranges, you can fine-tune the sound to achieve the optimal listening experience. Here are a few final thoughts to keep in mind:
1. Personal preference is key: Remember that everyone has a unique preference when it comes to sound. While this guide provides general tips, feel free to experiment and adapt the settings to suit your own taste.
2. Balance is crucial: The key to a well-adjusted equalizer is finding the right balance between the bass, mid-range, and treble frequencies. Each element should complement and enhance the others, resulting in a cohesive and enjoyable listening experience.
3. Take your setup into account: Different audio systems, headphones, or speakers may have different strengths and limitations. Consider the capabilities of your setup when making adjustments to ensure that you achieve optimal results.
4. Continued exploration: Even after perfecting your equalizer settings, don’t be afraid to continue exploring and experimenting. As you listen to different rock songs or upgrade your audio equipment, you may discover new opportunities to refine and enhance your settings further.
5. Enjoy the music: Ultimately, the purpose of fine-tuning your equalizer is to enhance your enjoyment of rock music. Allow yourself to immerse in the electrifying energy, powerful riffs, and captivating lyrics that make rock music so beloved.
By investing time and effort into setting up your equalizer for rock music, you can unlock the full potential of your audio system and experience the music as the artists intended. So, crank up the volume, let the guitars wail, and get ready to rock out like never before!


